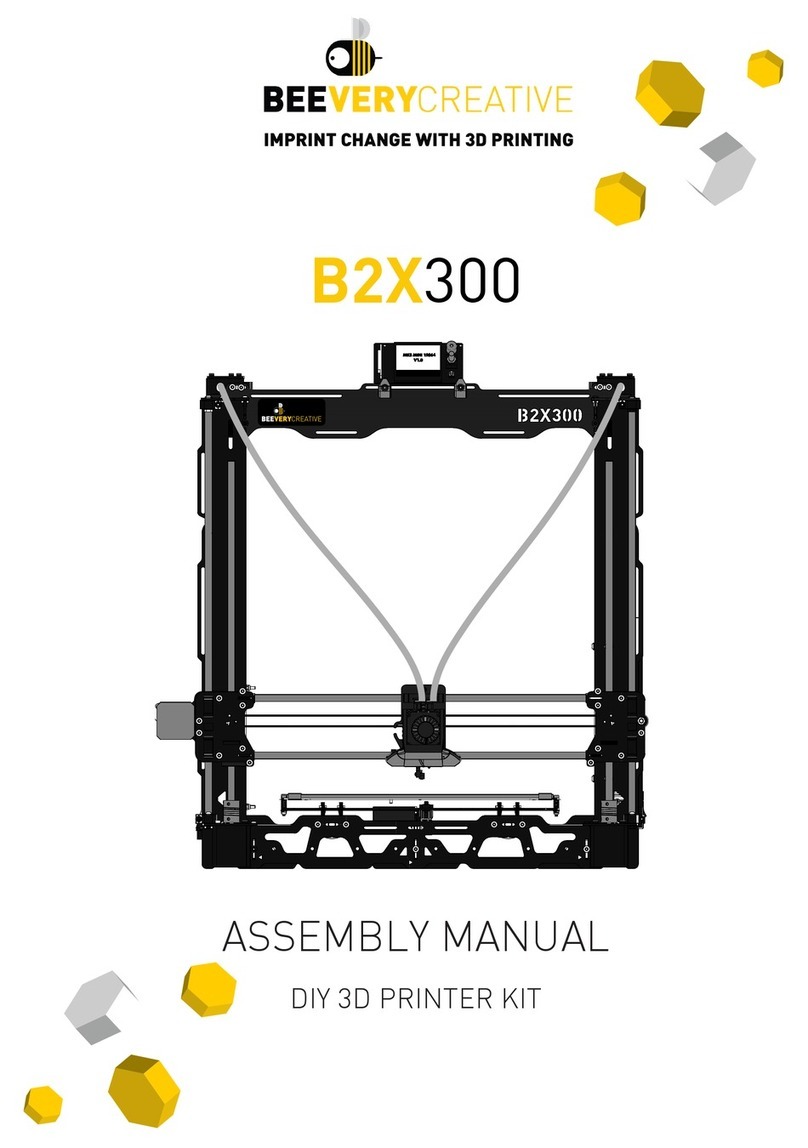
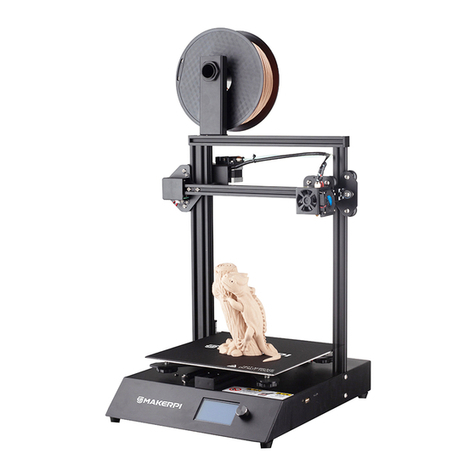
Beeverycreative B2X300 User manual

0
B2X300
DIY 3D PRINTER KIT

1
1. VERSIONS...............................................................................................................................................................................2
2. FIRST CHECKS BEFORE TURNING B2X300 ON .........................................................................................................................3
2.1 PARALLELISM BETWEEN LINEAR GUIDES IN Z.....................................................................................................................................3
2.2 PARALLELISM BETWEEN LINEAR GUIDES IN ZAND TRAPEZOIDAL THREADED RODS.....................................................................................4
2.3 HEATED BED HORIZONTALITY .......................................................................................................................................................5
2.4 LUBRICATION.............................................................................................................................................................................6
3. B2X300 FIRST USE ..................................................................................................................................................................7
3.1 FIRMWARE UPDATE ....................................................................................................................................................................7
3.2 INITIAL ZOFFSET CALIBRATION ......................................................................................................................................................8
3.3 SELF-TEST WIZARD ...................................................................................................................................................................11
3.4 ZOFFSET CALIBRATION ..............................................................................................................................................................12
4. FIRST PRINT AND SLICER ......................................................................................................................................................14
4.1 HOW TO INSTALL AND SET UP CURA SLICER....................................................................................................................................14
4.2 HOW TO IMPORT A FILE INTO CURA SLICER (.3MF)..........................................................................................................................15
4.3 COMO GERAR UM GCODE ATRAVÉS DO CURA.................................................................................................................................18
4.4 HOW TO LOAD FILAMENT ...........................................................................................................................................................20
4.5 HOW TO START PRINTING...........................................................................................................................................................21
5. DUAL EXTRUSION CALIBRATION ..........................................................................................................................................23
5.1 ZOFFSET CALIBRATION ..............................................................................................................................................................23
5.2 XZ OFFSET CALIBRATION ............................................................................................................................................................23
6. COMMON ERRORS AND RESPECTIVE SOLUTIONS ................................................................................................................29
7. MENU MAP ..........................................................................................................................................................................31
8. ERROR CODES ......................................................................................................................................................................37
8.1 OTHER CODES..........................................................................................................................................................................39

2
VERSION
DATE
DESCRIPTION
PART NUMBERS
V1.20181126
26th November 2018
Launch Version
1212300001 to --------

3
Procedure
watch video
Measure the distance between both positions with a measuring tape, at the top and at the
bottom.
Adjust until you reach the same distance on both.

4
Procedure
watch video
Using a measuring tape, check the distance between the nuts and the left linear guide in both
positions, at the top and at the bottom.
Adjust until they are at the same distance.
Repeat the procedure for the left side.

5
Procedure
watch video
Make sure that the screw length after the nut is the same on both four corners.
You can even use a measuring device to check the distance between the PCB heated bed and the
structure that holds the table to the bearings and make sure it is at the same distance on all four
corners.
Adjust if necessary.

6
Procedure
watch video
Add a small amount of lubricant:
On X Axis bearings.
On Y Axis bearings.
On the top of the copper nut in
each one of the Z threaded rod.

7
It is necessary to update the firmware after its first use, ensuring it has the latest firmware version.
Procedure
Download the
firmware
’s B2X300 updater at folder
B2X300_Firmware Updater
in B2X300
repository.
Install this software.
Connect the 3D printer to your computer through the USB cable.
Turn on your 3D printer.
Start the B2X300 updater software and follow the instructions given.

8
It is necessary to confirm that both nozzles are at the same height. This ensures the inactive nozzle
won’t collide with the parts already printed.
This procedure is essential both for the dual extrusion but also for the single nozzle extrusion.
Procedure
Lower the X axis, rotating both the Z axis screws at the same time, until the nozzles are close to
the hotbed, then center the carriage.
Measure the distances between both the Z axis motors (left and right) and the X axis.

9
Adjust both until the distance is the same.
Untighten the 4 screws that hold the extruder heatsink.

10
Rotate the extruder heatsink until both nozzles have the same distance from the hotbed.
Maintaining that position, re-tighten the 4 screws.

11
To ensure the proper functionality of the 3D printer, after you turn on your 3D printer, a Self-test
Wizard will be executed. This procedure will validate and calibrate the main parameters.
This procedure is not optional on the first use but it can be repeated if necessary, accessible at LCD
menu:
Machine Settings/ Self-test Wizard
.
Just follow the instructions shown on the LCD display.
The following tests will be conducted during the procedure:
Extruder heating test.
Heated bed heating test.
Blower test.
Stepper drivers Trinamic test.
Power loss detection test.
Sensorless homing Calibration test.
Nozzle height calibration test.

12
It is necessary to confirm that both nozzle are at the same height. This ensures the inactive nozzle
won’t collide with the parts already printed.
This procedure is essential both for the dual extrusion but also for the single nozzle extrusion.
Procedure
Turn on your 3D printer.
Go to the menu and select:
Maintenance > Auto home.
Wait for the procedure to end.
Go to the menu and select:
Maintenance> Move axis > Move Z.
Place a sheet of paper on top of the middle of the bed, under the nozzles.
Rotate the LCD button so that it reaches Z: 000.0.
Turn off your 3D printer.

13
Rotate the sheet of paper and pay attention to which nozzle is the paper rotating under.
Adjust the threated rod, rotate clockwise to move up the nozzle that is holding the sheet of
paper, until you feel the paper is looser.
Adjust the threated rod opposite from the one you already adjusted on step 9, rotating it
counterclockwise to lower the nozzle. Initially this nozzle did not touch the sheet of paper, it
should now slightly scratch the sheet.
Repeat step 9 and 10 until both nozzles slightly scratch the sheet.
From this moment on, your 3D printer is ready to be used for single nozzle extrusion.

14
Next, you will learn how to set up your computer for operating the 3D printer.
The recommended slicer software for operating this 3D printer is Cura 3, for which there is a project
file (.3mf) for. This file is already set up for B2X300 and includes an optimized profile for PLA for this
3D printer. You can find this file on the SD card or in folder
Printing_Profiles
on the B2X300
repository.
Procedure:
Install Cura 3, which you can find on the SD card or you can download it online
(we recommend the version 3.5.1).
After installing, open Cura.
On the
Add Printer
menu, leave the pre-selected 3D printer and press the button
Add Printer

15
On the next screen, click the
Finish.
Procedure:
Open Cura.
Open the file .3mf in the SD card or download it in folder
Printing_Profiles\B2X300_Cura_Projects
on B2X300 repository.
.

16
Select
the Open as project
option.
Select
Open
for the B2X300 profile to be imported.

17
Change option
Print Setup
to
Custom.

18
Procedure
Open the STL file in Cura, in alternative you can drag the file to the printer’s table in Cura. By
default, with the 3D printer profile, an STL file of a bee will appear when the profile is imported.
You can print it as a first test.
Ensure the profile selected is the correct one as well as the material.
Adjust 3D Printing parameters
: Layer height
,
Infill
e
Support
.
By default, the set up for medium resolution is:
Layer height
: 0.2mm
Infill
: 15%
Support
: deactivated
Press
Prepare
on the lower right corner of Cura.
This will process your 3D model.

19
Insert the SD card on your computer.
Press
Save to Removable Drive
on the lower right corner of Cura, it will save the Gcode onto your
SD card. You will also find an estimated print time as well as the material consumption.
Alternatively, you can press the arrow next to the
Save to Removable Drive
and select
Save to file
option to export the Gcode to another location.
Wait until the File Saved message shows up on the lower corner of the screen. Then, press Eject
to remove the SD card safel.
Remove SD card from your computer.
Other manuals for B2X300
1
Table of contents
Other Beeverycreative 3D Printer manuals
