manuals.online logo
Brands
  1. Home
  2. •
  3. Brands
  4. •
  5. Beghelli
  6. •
  7. Lantern
  8. •
  9. Beghelli OL2 User manual

Beghelli OL2 User manual

INSTRUCTIONS
IMPORTANT SAFEGUARDS
When using electrical equipment, basic safety precautions should always be followed including the following:
1. READ AND FOLLOW ALL SAFETY INSTRUCTIONS
2. Disconnect power before performing work on electrical equipment
3. Do not use outdoors
4. Do not let power cords touch hot surfaces and do not mount near gas or electric heaters.
5. Use caution when servicing batteries. Battery acid can cause burns to skin and eyes. If acid is spilled on skin or eyes, flush with
fresh water and contact a physician immediately.
6. Equipment should be mounted in locations and at heights where unauthorized personnel will not readily subject it to tampering.
7. The use of accessory equipment not recommended by Beghelli USA, may cause an unsafe condition, and will void the
unit’s warranty.
8. Do not use this equipment for other than its intended purpose.
9. Servicing of this equipment should be performed by qualified service personnel.
10. SAVE THESE INSTRUCTIONS!
INSTALLATION
1. Extend 24 hour AC supply of rated voltage (see product label) to an electrical box. Leave at least eight (8) inches of
slack wire. The circuit should not be energized at this time - do not energize the AC supply until indicated.
2. Remove cover by unscrewing (2) screws and lifting up (figure 1).
3. Feed wires through entry hole in housing (figure 2).
4. Secure housing to mounting surface (screws not supplied)(figure 3).
5. Connect AC supply per diagram provided (figure 5). Insulate unused wire!
CAUTION! - Failure to insulate unused wire may result in a shock hazard or unsafe condition as well as equipment failure.
6. Reinstall cover (figure 4).
7. Energize power to fixture. The LEDs board inside will light and the EXIT faceplate will now be illuminated.
SELF-POWERED:
1. For models GDE-SP, plug the battery into the circuit board per (figure 5) self-powered sign.
MAINTENANCE
1. Code requires that the equipment be tested every 30 days for 30 seconds, and that written records be maintained.
Further, the equipment is to be tested once a year for the required time duration. The the equipment is to be
repaired whenever the equipment fails to operate as intended during the duration test. Written records of test results
and any repairs made must be maintained. Beghelli USA strongly recommends compliance with these code requirements.
2. Clean faceplates/lenses on a regular basis.
NOTE: Always turn off AC power before servicing. The servicing of any parts should be performed by qualified service personnel.
The use of replacement parts not furnished by Beghelli USA, may cause equipment failure and will void the warranty.
OL2
Mullion Mount
926000--- 05/16/2017
Beghelli U.S.A., 3250 Corporate Way, Miramar, Florida, Tel: (800) 726-4316 Tel: (954) 442-6600 Fax: (954) 442-6677
TROUBLESHOOTING
EXIT SIGN DOES NOT COME ON AT ALL
1. Check AC supply - be sure unit has 24 hour AC supply (unswitched).
2. AC supply is OK and indicator light is out, replace PC Board Assembly.
3. This could be the result of a switched AC supply to the unit (which has been turned off at some point).
SAVE THESE INSTRUCTIONS
926000---
Figure 2Figure 1 Figure 3
Figure 4
Chassis GND LED Board
AC ONLY SIGN
Chassis GND
GREEN Ground
BLACK 120VAC
RED 347VAC or ORANGE 200-277VAC
WHITE Neutral
LED Board
AC & UNIVERSAL DC SIGN
YELLOW Positive 6 to 24VDC
PURPLE Negative
Emergency Supply
FROM Battery Pack
SELF-POWERED SIGN
Chassis GND
24 hours
Unswitched Supply
GREEN Ground
BLACK 105 to 360VAC
WHITE Neutral
LED Board
DUAL UNIVERSAL AC SIGN
From Generator OR
Emergency Supply
BROWN 105 to 360VAC
BLUE Neutral
NOTE: Cap unused AC Wire!
24 hours
Unswitched Supply
GREEN Ground
BLACK 120VAC
RED 347VAC or ORANGE 200-277VAC
WHITE Neutral
24 hours
Unswitched Supply
Chassis GND LED Board
NOTE: Cap unused AC Wire!
GREEN Ground
BLACK 120VAC
RED 347VAC or ORANGE 200-277VAC
WHITE Neutral
24 hours
Unswitched Supply
Ni-Cd
Battery
Figure 5
05/16/2017
1
1
2
2
3
3
4
4
A A
B B
C C
D D
This document is theproperty of and contains information proprietary to Beghelli Canada, Inc. Iti s submitted in confidence and is to be used solely for the
purposefor whichit was furnishedand returned upon request. Thisdocument and such information is not to be reproduced, transmitted, disclosed,or used
otherwise in whole ori n part without priorauthorization of Beghelli Canda, Inc. The recepient's acceptance of this document shall beconsidered an
agreement to the foregoing.
UNLESS OTHERWISE SPECIFIED
ALL DIMENSIONS = INCHES
ANGLES + 1/2

TOLERANCES:
.X =

.020
.XX =

.010
.XXX =

.005
.XXXX =

.003
3900 14Th. Avenue
Markham Ontario, L3R 4R3
Tel. # 905 948-9500 Fax # 905 948 8673
email: sales@beghellicanada.com
Web: http://www.beghelli.com
MATERIAL
FINISH
DRAWN BY DATE
SIZE SCALE
REV
SHEET
PART NAME
DWG NO
REF NO
DO NOT SCALE
GUIDA EXIT MULLION MOUNT
7/14/2016
L D
1
1
2
2
3
3
4
4
A A
B B
C C
D D
This document is the property of and contains information proprietary to Beghelli Canada, Inc. It is submittedin confidence and is to be used solely for the
purpose for which it was furnished and returned upon request. This document and such information is not to be reproduced, transmitted, disclosed, or used
otherwise in whole or in part without prior authorization of Beghelli Canda, Inc. The recepient's acceptance of this document shall be considered an
agreement to the foregoing.
UNLESS OTHERWISE SPECIFIED
ALL DIMENSIONS = INCHES
ANGLES + 1/2

TOLERANCES:
.X =

.020
.XX =

.010
.XXX =

.005
.XXXX =

.003
3900 14Th. Avenue
Markham Ontario, L3R 4R3
Tel. # 905 948-9500 Fax # 905 948 8673
email: sales@beghellicanada.com
Web: http://www.beghelli.com
MATERIAL
FINISH
DRAWN BY DATE
SIZE SCALE
REV
SHEET
PART NAME
DWG NO
REF NO
DO NOT SCALE
GUIDA EXIT MULLION MOUNT
7/14/2016
L D
Beghelli U.S.A., 3250 Corporate Way, Miramar, Florida, Tel: (800) 726-4316 Tel: (954) 442-6600 Fax: (954) 442-6677
Entry hole

Other Beghelli Lantern manuals

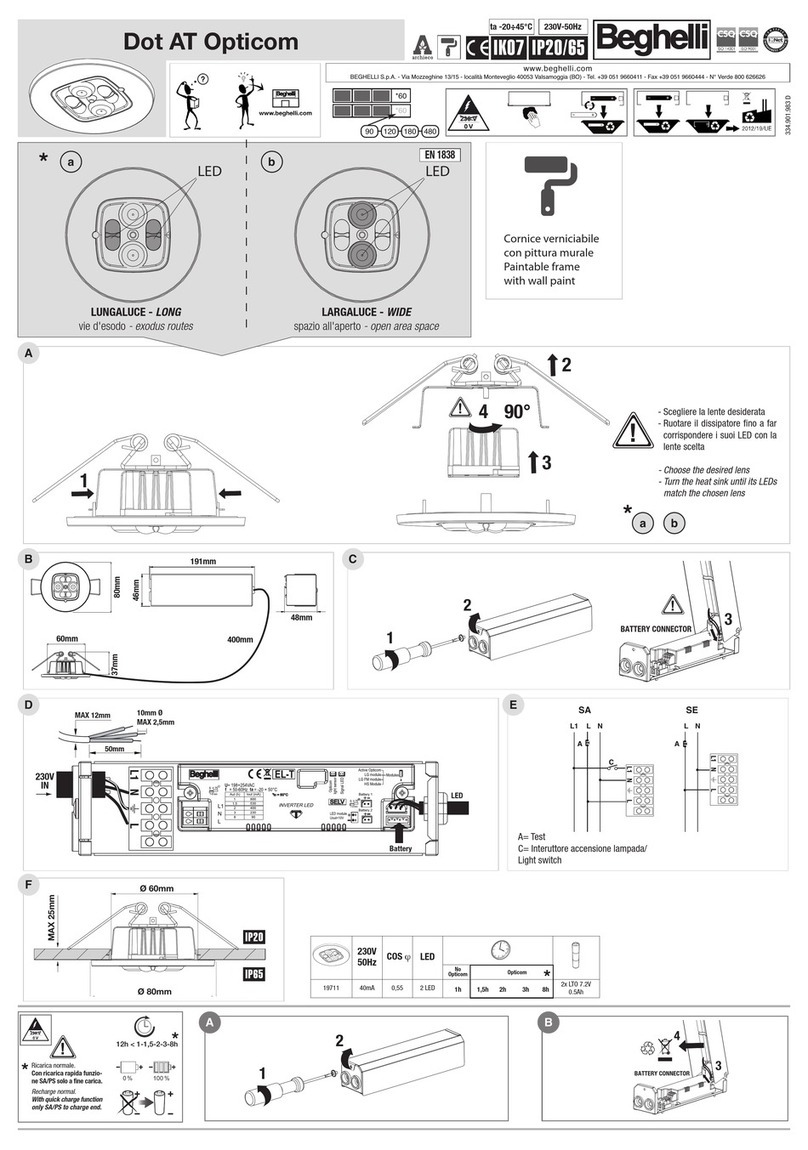
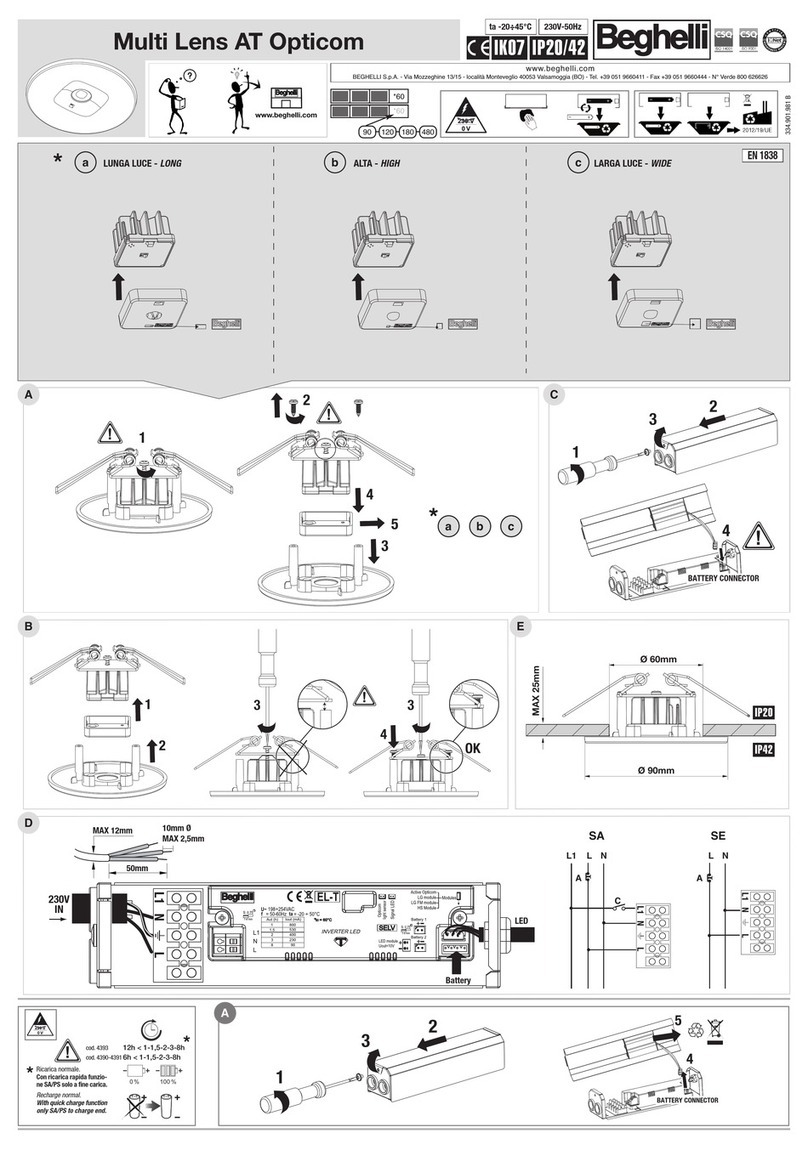
Beghelli Multi Lens AT Opticom User manual

Beghelli

Beghelli Multi Lens AT Opticom User manual

Beghelli Cyclone Eco User manual

Beghelli

Beghelli Cyclone Eco User manual

Beghelli Dot AT Opticom User manual

Beghelli

Beghelli Dot AT Opticom User manual

Popular Lantern manuals by other brands

Nitecore LR40 user manual

Nitecore

Nitecore LR40 user manual

Cooper Lighting Lumark LAS Area/Site installation instructions

Cooper Lighting

Cooper Lighting Lumark LAS Area/Site installation instructions

Targetti ZEDGE manual

Targetti

Targetti ZEDGE manual

Philips SmartBright BY240P Mounting instruction

Philips

Philips SmartBright BY240P Mounting instruction

Chalmit Protecta III Installation, operation and maintenance instructions

Chalmit

Chalmit Protecta III Installation, operation and maintenance instructions

Sealite iridium SL-510-SA Installation & service manual

Sealite

Sealite iridium SL-510-SA Installation & service manual

Malmbergs Ferrara LED QS-NC-CL18W-EM instruction manual

Malmbergs

Malmbergs Ferrara LED QS-NC-CL18W-EM instruction manual

Perel EFCL01 Guide

Perel

Perel EFCL01 Guide

Bresser NATIONAL GEOGRAPHIC 91-07000 operating instructions

Bresser

Bresser NATIONAL GEOGRAPHIC 91-07000 operating instructions

Jula Anslut 422-365 User instructions

Jula

Jula Anslut 422-365 User instructions

Leviton MSU-DFX Series Installation instruction

Leviton

Leviton MSU-DFX Series Installation instruction

Enlite T8 quick start guide

Enlite

Enlite T8 quick start guide

Stahl TRANHBERG TEF 2440 user manual

Stahl

Stahl TRANHBERG TEF 2440 user manual

Allen + Roth GLL30C manual

Allen + Roth

Allen + Roth GLL30C manual

Coleman 635B721 user manual

Coleman

Coleman 635B721 user manual

Sylvania UltraLED Series installation guide

Sylvania

Sylvania UltraLED Series installation guide

Ansell APLEDDVRL installation instructions

Ansell

Ansell APLEDDVRL installation instructions

Eaton Champ VMVL Series Installation & maintenance information

Eaton

Eaton Champ VMVL Series Installation & maintenance information

manuals.online logo
manuals.online logoBrands
  • About & Mission
  • Contact us
  • Privacy Policy
  • Terms and Conditions

Copyright 2025 Manuals.Online. All Rights Reserved.