8 / 29 EN Refrgerator / User Manual
Always have the repair procedures
carried out by the Authorised Service
Agent. Manufacturer shall not be held
liable for damages that may arise from
procedures carried out by unauthorised
persons.
To make the product ready for use, make
sure that the electricity installation
is appropriate before calling the
Authorised Service Agent. If not, call
a qualified electrician to have any
necessary arrangements carried out.
C
Preparaton of the locaton and
electrcal nstallaton at the
place of nstallaton s under
customer's responsblty.
B
Product must not be plugged n
durng nstallaton. Otherwse,
there s the rsk of death or
serous njury!
B
WARNING:Manufacturer shall
not be held lable for damages
that may arse from procedures
carred out by unauthorsed
persons.
A
WARNING:Pror to nstallaton,
vsually check f the product
has any defects on t. If so, do
not have t nstalled. Damaged
products cause rsks for your
safety.
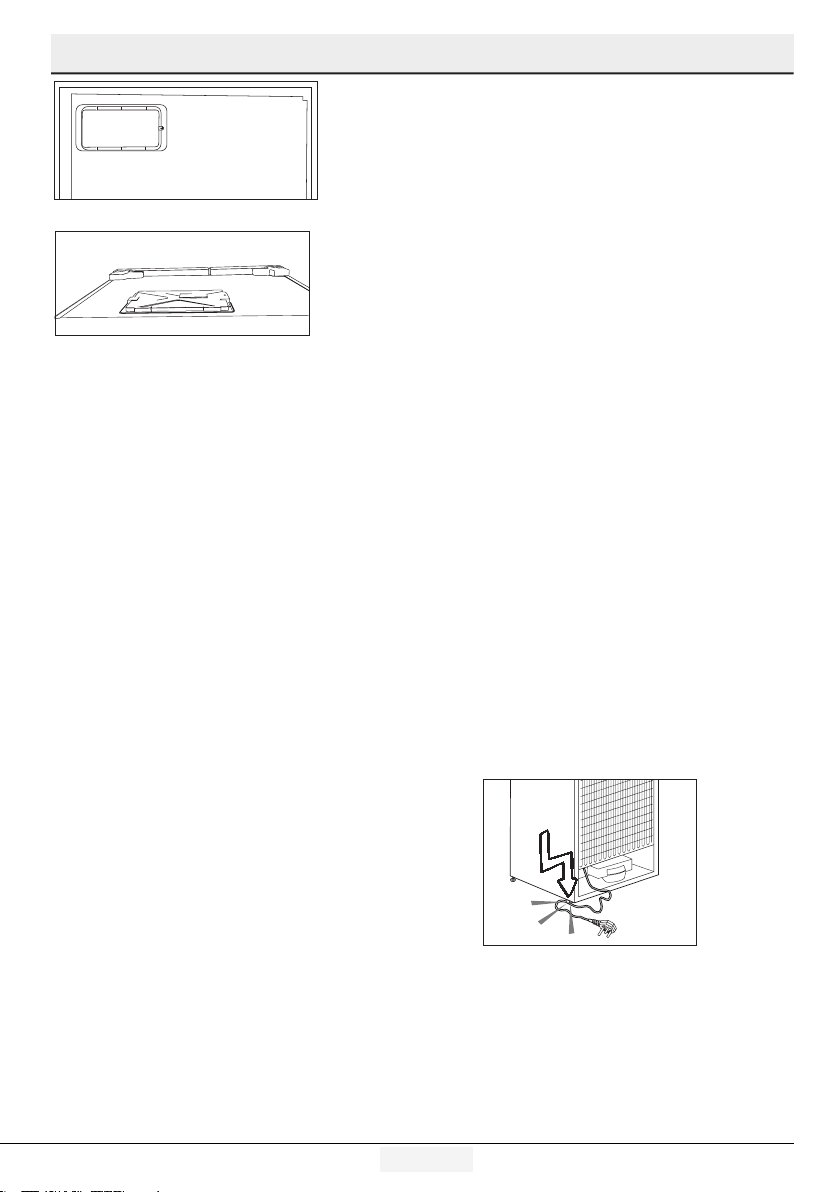
C
Make sure that the power
cable s not pnched or crushed
whle pushng the product nto
ts place after nstallaton or
cleanng procedures.
3.1.Appropriate
installation location
A
WARNING:If the door of the
room where the product wll be
placed s too small for the product
to pass, then the product's doors
can removed and the product
turned asde to pass t through.
use the product comfortably.
from heat sources such as hobs, ovens,
heaters and stoves.Product must not
be subjected to drect sun lght and
kept n humd places after nstallaton.
provded around your product n order
to acheve an effcent operaton. If the
product s to be placed n a recess n
the wall, pay attenton to leave at least
5 cm dstance wth the celng and sde
walls.
materals such as rugs or carpets.
surface to prevent jolts.
where the temperature falls below
-5°C.
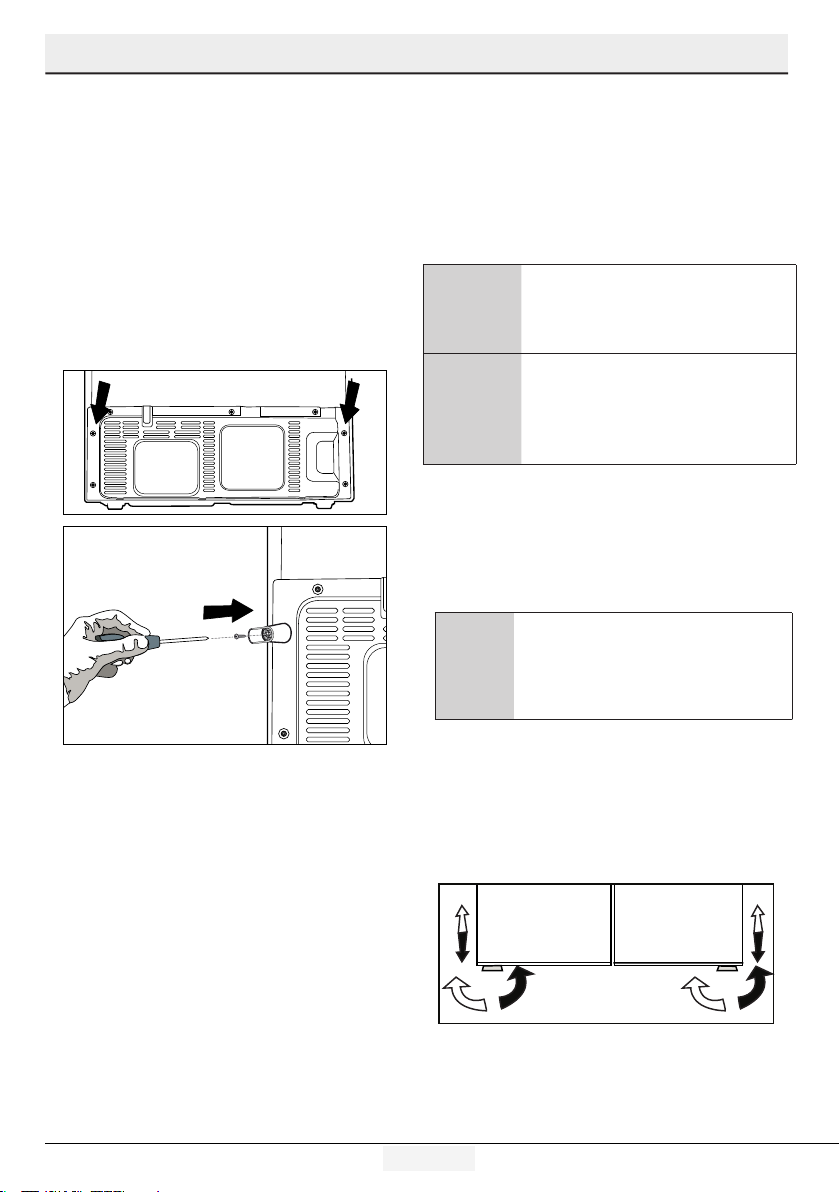
C
If two coolers are to be nstalled
sde by sde, there should be at
least 4 cm dstance between
them.
3Installaton