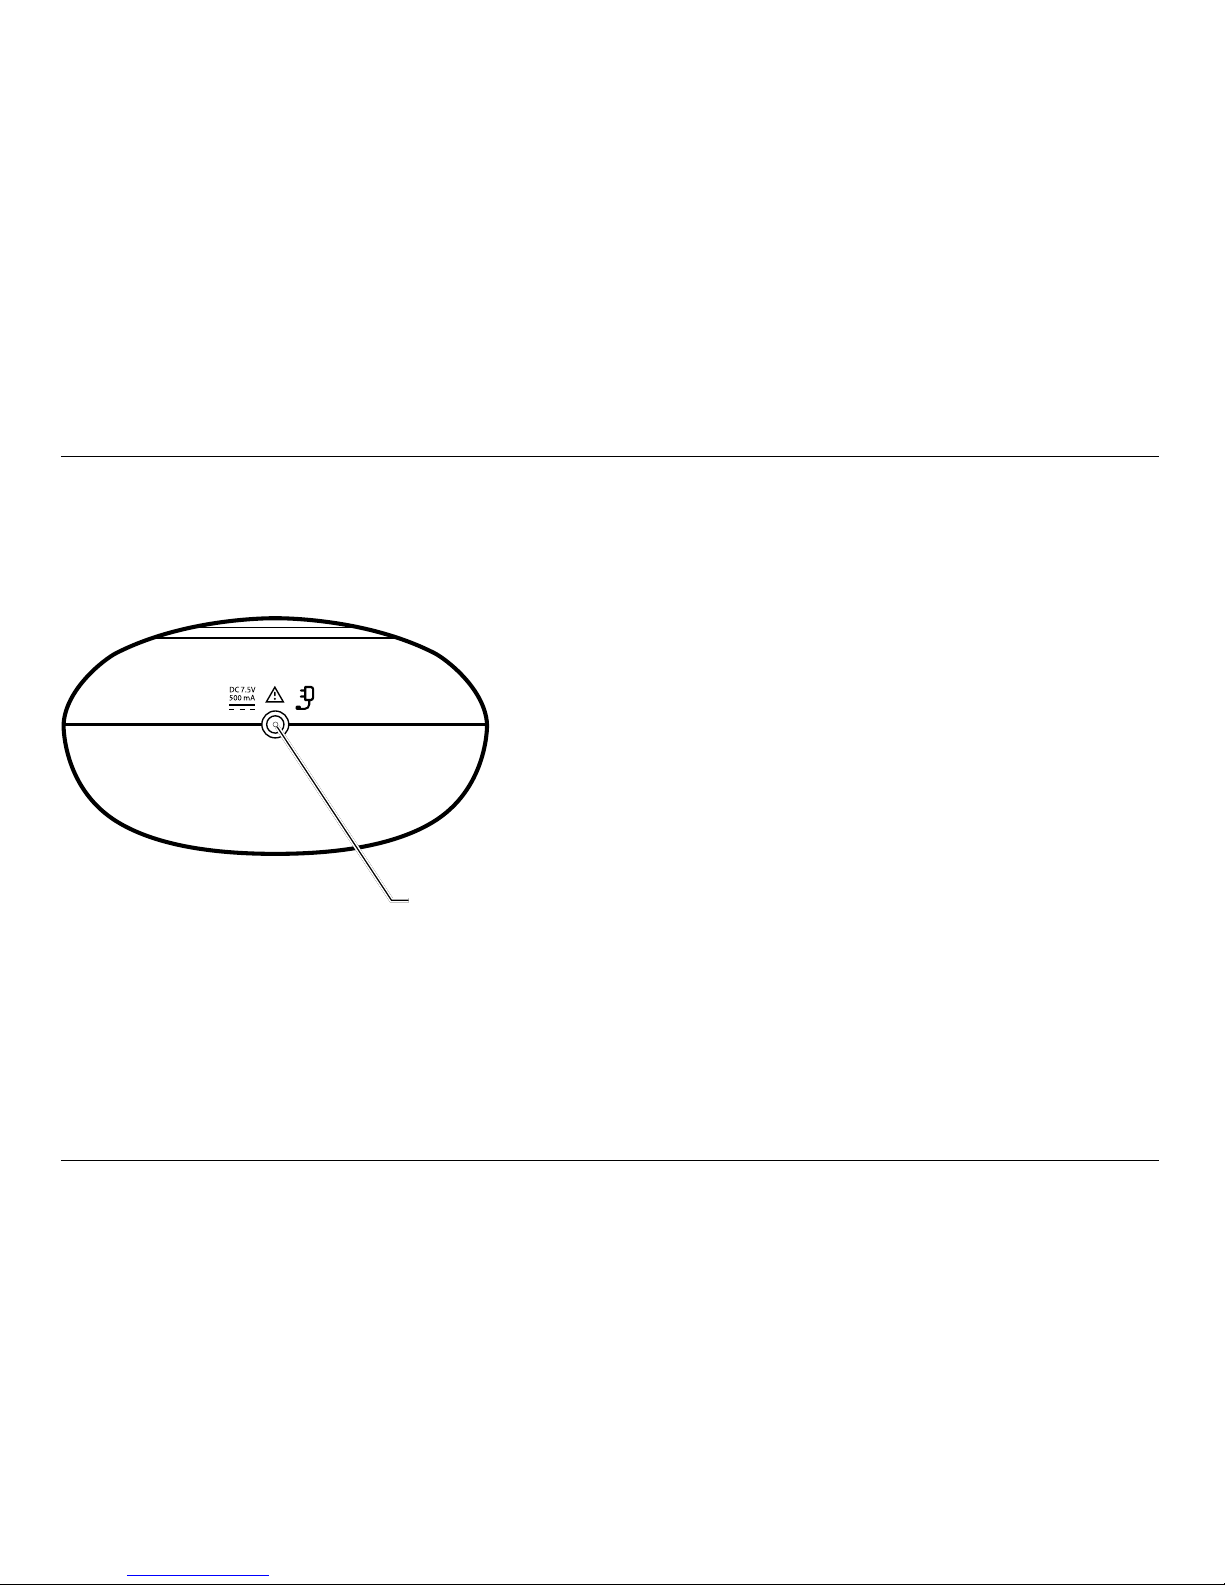
Belkin Baby 250 User manual

User Manual
F7C035_8830ed01742uk_Rev.A00
Digital BaBy Monitor with
rooMteMperature changing nightlight
BaBy 250

TABLE OF CONTENTS
Your Belkin baby 250 ...................................... 1
Setting up................................................ 7
Using your Belkin baby 250 ............................... 12
Help .................................................... 29
Support and warranty .................................... 31
Regulatory .............................................. 35

1
YOUR BELKIN BABY 250
Parent unit
Parent unit
1Baby sound level LEDs
Indicates the level of received sound. The LEDs
will light up progressively as the sound increases.
See page 18 for further information.
2 Mute LED
Steady red indicates that Mute All has been switched on.
Amber indicates that Mute Low has been switched on.
3 Talk (on side of unit)
Press to talk to your baby.
4 LCD Display
Power saving backlight turns on when you press any
button and then switches off after 15 seconds.
5 Menu
Press to open the menu. Press and hold to exit
the menu and return to the idle screen.
6 Down
Decrease speaker volume. Scroll through the menu options.
7 Up
Increase speaker volume. Scroll through the menu options.
8OK
Press to confirm the menu option displayed.
9Microphone
1
2
3
4
5 6 7
8
9
10
11
12
13
14
15

2
YOUR BELKIN BABY 250
Parent unit (continued)
10 Battery status indicator
Red light indicates the batteries are
low and need re-charging.
11 Link indicator
Steady green indicates that the Baby and Parent units
are linked. Flashes green if no link established for 30
seconds. Flashes red if no link established after 30
seconds. Also flashes green when the Talk button is
pressed on the Parent unit to initiate parental talk back.
12 Torch (on back of unit)
Press to switch the torch feature on and off.
13 Power on/off (on top of unit)
Press and hold to switch the power on or off.
14 Mute All (on top of unit)
Press to toggle the Parent unit receive
volume between on and off.
15 Mute Low(on top of unit)
Press to toggle the Baby unit microphone
sensitivity between normal and Mute Low.

3
YOUR BELKIN BABY 250
Temperature alert (vibrate on)
Temperature alert (vibrate off)
Nightlight is on
Music is playing
Displays the temperature as measured at the Baby unit
Crying alert (vibrate on)
Crying alert (vibrate off)
Feed timer on (vibrate on)
Feed timer on (vibrate off)
Full charge (75-100%)
Medium charge (51-74%)
Low charge (25-50%)
Empty (8-24%)
Flashing (0-7%)
Icon will scroll when charging
Indicates when you can scroll up or down
through the menu options
Nightlight Music Feed Timer Setup
Battery status
Parent unit display icons

4
Charging light
Red when the Parent unit is correctly placed on the charger.
Power socket
For connection to the mains power socket via
the power adapter cable supplied.
Parent unit charger
BackFront
Charging light
Power socket
YOUR BELKIN BABY 250

5
1
11
YOUR BELKIN BABY 250
Baby unit
1 Nightlight
Press to switch the Nightlight on or off.
2 Power on/off
Press and hold to switch the power on or off.
3 Skip forward
When music has been switched on (see Music button description
below), press to skip through the songs available.
4 Music
Press to switch music on at the Baby unit (the music and duration
will be as last set at the Parent unit). Press again to switch the
music off. To change the song, press the Skip button.
5 Link indicator
Steady green indicates that the Baby and Parent units are linked.
Flashes green if no link established for 30 seconds. Flashes red if no
link established after 30 seconds. Also flashes green when the Talk
button is pressed on the Parent unit to initiate parental talk back.
6 Temperature sensor
Make sure the sensor is placed with clear space around it and not
in contact with any surfaces to ensure it works effectively.
7 Microphone
8 Brightness
Press to adjust the nightlight brightness: high, medium or
low (once the nightlight has been switched on).
9 Find
Press to emit an alert beep from the Parent unit – useful
for finding the Parent unit if you’ve misplaced it.
10 Volume up/down
Increase or decrease the loudspeaker volume for
playing music or for parental talk back.
11 Nightlight
Illuminates around the base.
Baby unit
2
3
4
5
6
7
8
9
10

6
Power socket
For connection to the mains power socket via
the power adapter cable supplied.
Back of Baby unit
Power socket
YOUR BELKIN BABY 250

7
SETTING UP
Warning!
Only use the power adapters supplied. Using incorrect
power adapters may permanently damage your product.
Battery performance
Rechargeable batteries in the Parent unit will last approximately 20
hours in normal use. Please note that new batteries do not reach full
capacity until they have been in normal use for several days.
The charge capacity of rechargeable batteries will reduce with
time as they wear out, so reducing the performance time of
the Parent unit. Eventually they will need to be replaced.

8
SETTING UP
Parent unit
Plug one of the power adapter cables into the socket marked
on the back of the Parent unit charger and plug the other end
into the mains power wall socket and switch the power on.
Activate the batteries by pulling the plastic tab
away from the bottom of the Parent unit.

9
SETTING UP
Place the Parent unit into the charger. The red charging
light will illuminate on the charger and the battery
icon will start scrolling on the Parent unit display to
indicate that the batteries are being charged.
Leave the batteries to charge for 16 hours to reach
maximum charge. When the batteries are fully charged the
battery icon on the display will show a full charge .
Battery low warning – Parent unit
When the batteries are low – approximately within 1 hour
of running out – the Parent unit will emit a low battery alert,
the low battery indicator will turn red, the display will show
Low Battery and the icon will flash. Place the Parent
unit back on the charger to charge the batteries.
To speed up the charging process turn the Parent
unit off when charging if it’s not being used.
You can still use your Parent unit to monitor your baby
even when the batteries are low, provided it remains
in the charger cradle to re-charge the batteries.
Charging light
Battery icon
Low battery indicator

10
SETTING UP
Baby unit
Plug the remaining power adapter cable into the
socket marked on the back of the Baby unit and plug
the other end into the mains power and switch on.
Warning
Never use non-rechargeable batteries in the
Parent unit. Only use the recommended type – 2
x AA NiMH 1300mAh batteries. Using other types
could permanently damage the unit. Charge the
batteries as instructed in this user guide. The Parent
unit can still be used when it is in the charger.
Removing the batteries
If you ever need to remove the batteries, simply slide open the battery
compartment cover and use the ribbon to eject the batteries.
Switch on and link the Parent and Baby units
1.Press and hold the button on the Baby unit
for 1 second. The nightlight will briefly illuminate
and then the green Link indicator will flash.
2.Press and hold the button on the Parent unit until
all the LEDs on the unit briefly illuminate. The green Link
indicator will flash and the display will show I’m Linking.

11
SETTING UP
Positioning your units
The Baby unit should ideally be within 1m-2m
of your baby for best performance.
If you place the Parent and Baby units too close together you will
hear a high pitched noise, this is normal. The units are designed to
be located at a distance from one another, e.g. in separate rooms.
Important:
The link confirmation between the two units is vital for use so
they can communicate. If the link between the units is broken
at any time, the Link indicators on the Parent and Baby units
will flash green as they try to search for each other. After
30 seconds, if the link is still broken they will flash red and
you will also hear an alert signal from the Parent unit.
If the link is broken:
• check that the mains power is plugged in
and switched on at the Baby unit
• check that both units are switched on
• check that the batteries are charged in the Parent unit
• check that the Parent and Baby units are within
range of each other (in ideal conditions the range is
up to 300 metres outdoors and 50m indoors)

12
USING YOUR BELKIN BABY 250
Switch the Baby unit on
1.Press and hold the button for 1 second. The nightlight will
briefly illuminate and then the green LED will flash until it Links
with the Parent unit. Once linked the green LED will remain on.
Switch the Parent unit on
1.Press and hold the button on the Parent unit
until all the LEDs on the top of the unit briefly
illuminate. The green Link indicator will flash.
Once the units are linked, the green Link indicators on
the Parent and Baby units will stop flashing and remain
a steady green. The units are now ready to use.
Switch the Baby unit off
1.Press and hold the button on the Baby unit.
The green Link indicator will switch off.
Switch the Parent unit off
1.Press and hold the button on the Parent unit until
an audible alert sounds. The green Link indicator
will switch off and the display will go blank.
Baby sound level LED indicatorsSwitching on/off
LEDs 1-2 = Green
(or Amber if Mute
Low is on)
LEDs 3-4 = Green LEDs 5-7 = Red
H
D
S
o
u
n
d
The seven LEDs across the top of the Parent unit light up to
indicate the level of sound being received from the Baby unit.
The LEDs light up progressively as the sound increases.
LEDs 1-2 light up Green (or Amber if Mute
Low is on) when sounds of 57dB and 63dB are received.
LEDs 3-4 light up Green when sounds of 69dB and 75dB are received.
LEDs 5-7 light up Red when sounds of 83dB,
89dB or 95dB are received.
Equivalent sound level examples: 60dB-70dB = normal conversation.
75dB = loud conversation and 83-95dB = loud traffic noise

13
USING YOUR BELKIN BABY 250
At the Parent unit:
1.Press or to select the required level. The first press will
show and sound the current setting. There are 5 volume levels
and off (Mute). The volume level will be heard and shown on the
display at each press, e.g. Level 3 is shown as Volume .
If you wish to switch the volume off, keep pressing until the
display shows Volume Off. The Mute All indicator will illuminate.
At the Baby unit:
There are 5 volume settings.
1.When Music is being played or Talk back is in progress from
the Parent unit, press the or button to adjust the volume.
2.If no music or Talk back is in use, pressing the
or buttons will adjust the volume and a beep will
sound at the appropriate volume level set.
If you try and set the volume higher or lower than the 5 settings
available on either unit you will hear an error tone.
Setting the Parent unit to Volume off is the equivalent of switching the
Mute All feature on. See page 20 for more information.
The default loudspeaker volume on both units is Level 3.
Mute All feature – Parent unit onlyAdjust the Parent unit loudspeaker volume
The Mute All feature prevents any sound coming out
from the Parent unit loudspeaker. With Mute All on you
can still monitor your baby using the Baby sound level
LED indicators and the Crying Alert (below).
1.To switch Mute All on, press the button located on the
top of the unit. The Mute indicator will illuminate red.
2.To switch Mute All off, press the button again.
The red Mute indicator will go off

14
USING YOUR BELKIN BABY 250
Mute Low
For discreet operation when you do not wish to hear
any low level sounds, you can still monitor your baby
using the Baby sound level LED indicators.
When Mute Low is switched on, any sounds from the Baby
unit to the Parent unit will be muted unless a sound is
made above a set level. The set level are sounds that are
louder than the first two green LEDs would register
If the Parent unit receives sound up to the level of the first two LEDs
then they will turn amber but no sound will be heard, if the sound rises
above this level then the unit will un-mute so you can hear the sounds.
1.To switch Mute Low on, press the button located on the
top of the Parent unit. The Mute indicator will turn amber.
2.To switch Mute Low off, press the button
again. The amber indicator will switch off.
Be careful not to accidentally
switch the torch feature on because
Mute All is automatically switched
on when the Torch is switched on.
Setting the Parent unit loudspeaker
volume to Volume o is the
equivalent of switching the Mute All
feature on.
If the or buttons are
pressed whilst Mute All or Mute
Low has been set then Mute All or
Low will be switched o and the
loudspeaker volume will return to
Level 3 automatically.
Once the Mute Low sound
threshold has been exceeded,
baby sounds will be able to be
heard for a further six seconds
even if they do not reach the Mute
Low threshold.

15
USING YOUR BELKIN BABY 250
Find
You can press the button on the Baby unit to make the Parent unit
sound an alert beep to help you find it if it’s been misplaced. If the
Parent unit loudspeaker volume had been Muted (or set to volume
off), the volume level will be reset to the default setting of Level 3.
1.Press on the Baby unit. The paging alert will sound at
the Parent unit and the display will show Here I am!
2.To stop the alert, press any button on the Parent unit or press
the button again on the Baby unit. If no button is pressed
after 2 minutes then the alert will automatically stop.
Torch
The Parent unit has a high intensity white LED torch that
can be used when the Parent unit is switched on or off.
1.Press the button located on the back of the
Parent unit to switch the Torch on and off.
When the Torch is switched on it
will automatically switch Mute All
on as well. If you then press the
button Mute will be disabled and
the Torch will remain on. When the
Torch is switched o, the previous
Mute setting will be restored (No
Mute, Mute All or Mute Low).

16
USING YOUR BELKIN BABY 250
The Parent unit menu
The button on the Parent unit can be used to select and
change settings on the Baby unit without having to risk
disturbing your baby. You can access the settings by:
1.Press then press or to scroll through the
menu options shown on the top of the display. Press
when the option you want is displayed.
2.The first sub menu option will be displayed, press to scroll
through the options. The ( arrows) indicate when you can scroll
either up or down. Press when the option you want is displayed.
3.To exit the menu at any time, press briefly and step back one
menu level at a time, or press and hold to return to the idle screen.
If no buttons are pressed for 10 seconds whilst accessing the menu,
the display will return to idle and any unsaved changes will be lost.

17
USING YOUR BELKIN BABY 250
Nightlight
You can set a comforting nightlight on the Baby unit.
There are 3 brightness levels to choose from and you can
set a period of time for the nightlight to illuminate.
Switch nightlight on/off and select brightness level using the Baby unit
1.To switch on, press the button.
2.Press repeatedly to select the brightness level.
3.To switch off, press .
Switch nightlight on/off using the Parent unit
1.To switch on, press the button. Nightlight is displayed, press .
2.Turn On? is displayed, press . Light On will
briefly be displayed, then the icon.
3.To switch off, press . Nightlight is displayed, press
. Turn Off? is displayed, press . Light Off will briefly
be displayed and then the icon will disappear.
The Baby unit must be switched on
for the nightlight to work, but need
not be linked to the Parent unit.

18
USING YOUR BELKIN BABY 250
Select the nightlight brightness level using the Parent unit
1. Press . Nightlight is displayed, press .
2. Press to display Brightness and press .
3. Press or to display either Low, Medium or
High and press to select. The display will show
Saved briefly and you’ll hear a confirmation tone.
Set the nightlight timer
1. Press . Nightlight is displayed, press .
2. Press to display Timer and press .
3. Press or to display either 5 min, 10 min, 15 min
or Constant and press to select. The display will show
Saved briefly and you’ll hear a confirmation tone.
Play music from the Baby unit
The Baby unit has eight songs that can be played to
gently soothe your baby. You can select one song to play
repeatedly or select the Play All option for a medley of all
eight songs. The songs can be set to play in a loop for 5, 10
or 15 minutes or you can leave them playing constantly.
The default setting is Medium.
The default setting is Constant.
The default music setting is Play All
songs Constantly.
Table of contents
Other Belkin Baby Monitor manuals