manuals.online logo
Brands
  1. Home
  2. •
  3. Brands
  4. •
  5. Belkin
  6. •
  7. Control Unit
  8. •
  9. Belkin F1DE101H User manual

Belkin F1DE101H User manual

Other manuals for F1DE101H

2

Other Belkin Control Unit manuals

Belkin F1DN002R User manual

Belkin

Belkin F1DN002R User manual

Belkin OmniView Quad-Bus User manual

Belkin

Belkin OmniView Quad-Bus User manual

Belkin F1DN001R User manual

Belkin

Belkin F1DN001R User manual

Popular Control Unit manuals by other brands

Seitz 14A80 user manual

Seitz

Seitz 14A80 user manual

Wilo RS485 Installation and operating instructions

Wilo

Wilo RS485 Installation and operating instructions

Becker CentralControl CC41 Commissioning Instruction

Becker

Becker CentralControl CC41 Commissioning Instruction

SICK CDB650 operating instructions

SICK

SICK CDB650 operating instructions

Panduit NetKey NKP5E88M Series installation instructions

Panduit

Panduit NetKey NKP5E88M Series installation instructions

MX Options Concentric Petite Fitting instructions

MX

MX Options Concentric Petite Fitting instructions

Clean Water Systems Fleck 2510 Installation & start?up guide

Clean Water Systems

Clean Water Systems Fleck 2510 Installation & start?up guide

Fairchild FSB44104A user guide

Fairchild

Fairchild FSB44104A user guide

LEGRAND Wattstopper LMIN-104 installation instructions

LEGRAND

LEGRAND Wattstopper LMIN-104 installation instructions

PMK ATT10BNCS instruction manual

PMK

PMK ATT10BNCS instruction manual

Tektronix TDS3FFT user manual

Tektronix

Tektronix TDS3FFT user manual

Woodward easYgen Technical manual

Woodward

Woodward easYgen Technical manual

Balluff BNI EIP-502-105-R015 user guide

Balluff

Balluff BNI EIP-502-105-R015 user guide

NXP Semiconductors TWR-LS1021A Getting started

NXP Semiconductors

NXP Semiconductors TWR-LS1021A Getting started

Advantech PCM-3117 Startup manual

Advantech

Advantech PCM-3117 Startup manual

Danfoss MCO 101 manual

Danfoss

Danfoss MCO 101 manual

Moons' Lin Engineering R701P user manual

Moons'

Moons' Lin Engineering R701P user manual

Aventics RV1 operating instructions

Aventics

Aventics RV1 operating instructions

manuals.online logo
manuals.online logoBrands
  • About & Mission
  • Contact us
  • Privacy Policy
  • Terms and Conditions

Copyright 2025 Manuals.Online. All Rights Reserved.

To install the RIPM, you will need the following:
To install the RIPM, you will need the following 1 1. Connect the Console 2 4. Connect the Mini-USB Cable 4
2–3. Connect the Computer and/or KVM Switch 3
Introduction
This Quick Installation Guide will guide you through the steps needed to install the
OmniView Remote IP Manager (RIPM). If you have any problems during this installation,
please refer to the User Manual.
5. Power Up the RIPM 5
1.1 Power down your server or
KVM switch.
1.2 Connect your PS/2-type keyboard
and mouse to the appropriate PS/2
“Console” ports.
1.3 Connect the video cable that is
attached to your VGA monitor to
the “Console” port on the back of
the RIPM.
Step 2. Connect the Computer
NOTE: Skip Step 2 if connecting to a
KVM switch.
2.1 Using the provided PS/2 Cable Kit,
connect one end of the VGA and PS/2
cables to your server.
2.2 Connect the other end to the
“CPU/KVM” ports on the back of
the RIPM.
Step 3. Connect a KVM Switch
NOTE: Skip Step 3 if KVM switch is
not available.
3.1 Using the provided PS/2 Cable Kit,
connect one end of the VGA and PS/2
cables to your server.
3.2 Connect the other end to the
“CPU/KVM” ports on the back of
the RIPM.
NOTE: Steps 1–3 must be completed
prior to connecting the Mini-USB Cable
for Virtual Media.
4.1 Power down your server or
KVM switch.
4.2 Connect the USB cable provided from
the back of the RIPM to the USB port
on the computer.
5.1 Connect the included power supply unit
into an available power outlet.
5.2 Attach the barrel plug into the power
jack located on the rear of the RIPM to
the power unit.
5.3 Turn on your KVM switch. If you do not
have a KVM switch, please proceed
with powering on your computers.





 

    


Step 1
Mini-USB Cable (included) PS/2 Keyboard and Mouse,
and VGA Monitor
5V DC, 2A Power
Supply (included)
VGA Cable (included)PS/2 Cable Kit (included)Remote IP Manager
(included)
Null Serial CableCAT5e Crossover Cable
Steps 2–3 Step 4 Step 5
Connect the Console
Connect the Computer
and/or KVM Switch
Connect the Mini-USB Cable
to Support Virtual Media Power Up the RIPM
Belkin Tech Support
US: 310-898-1100, ext. 2263
800-223-5546, ext. 2263
Europe: 00 800 223 55 460
Australia: 1800 235 546
New Zealand: 0800 235 546
Belkin Corporation
501 West Walnut Street
Los Angeles, CA 90220, USA
310-898-1100
310-898-1111 fax
Belkin Ltd.
Express Business Park, Shipton Way
Rushden, NN10 6GL, United Kingdom
+44 (0) 1933 35 2000
+44 (0) 1933 31 2000 fax
Belkin B.V.
Boeing Avenue 333
1119 PH Schiphol-Rijk, The Netherlands
+31 (0) 20 654 7300
+31 (0) 20 654 7349 fax
Belkin Ltd.
7 Bowen Crescent, West Gosford
NSW 2250, Australia
+61 (0) 2 4372 8600
+61 (0) 2 4372 8603 fax
© 2006 Belkin Corporation. All rights reserved. All trade names are registered trademarks of
respective manufacturers listed.
Start Here
Control Control your computer or KVM switch
through a web browser—from anywhere
Quick Installation Guide F!DE101H
P75073
OmniView® Remote
IP Manager
OmniView® Remote
IP Manager
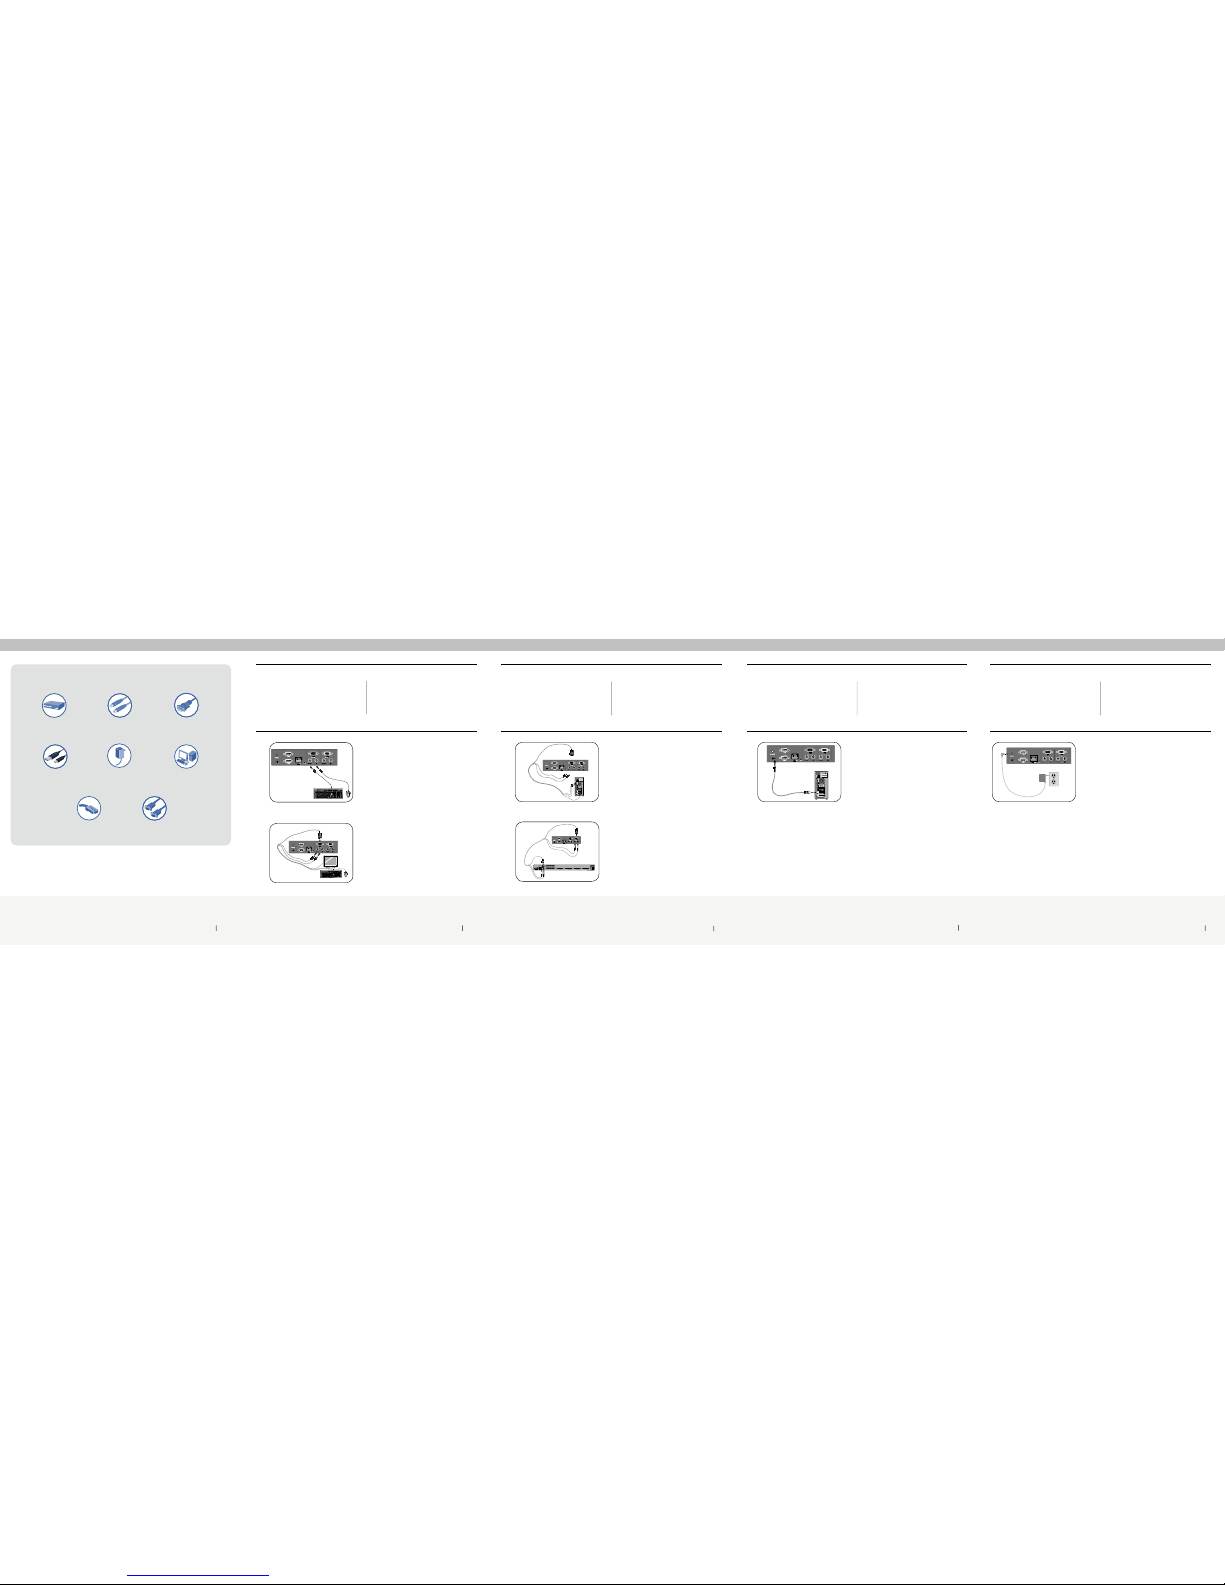
6. Initialize Network Confi guration 6 7. Connect the RIPM to the Network 8
6.1 Using an RJ45 crossover cable, connect
one end to the computer and the other
end to the port labeled “Network”.
6.2 Set the IP address to be in the same
range as 1.2.3.4 (e.g., 1.2.3.2).
6.3 Open the Microsoft® Internet Explorer
web browser.
6.4 Enter the IP address “1.2.3.4”.
6.5 Enter the default login name
“administrator”.
6.6 Enter the default password “belkin”.
6.7 Under “Device Settings”, click
on “Network”.
6.8 Enter the desired network settings and
click on “Apply Changes” to save new
network settings.
6.9. Reset the local IP address settings on
the computer used for configuration
of the RIPM.
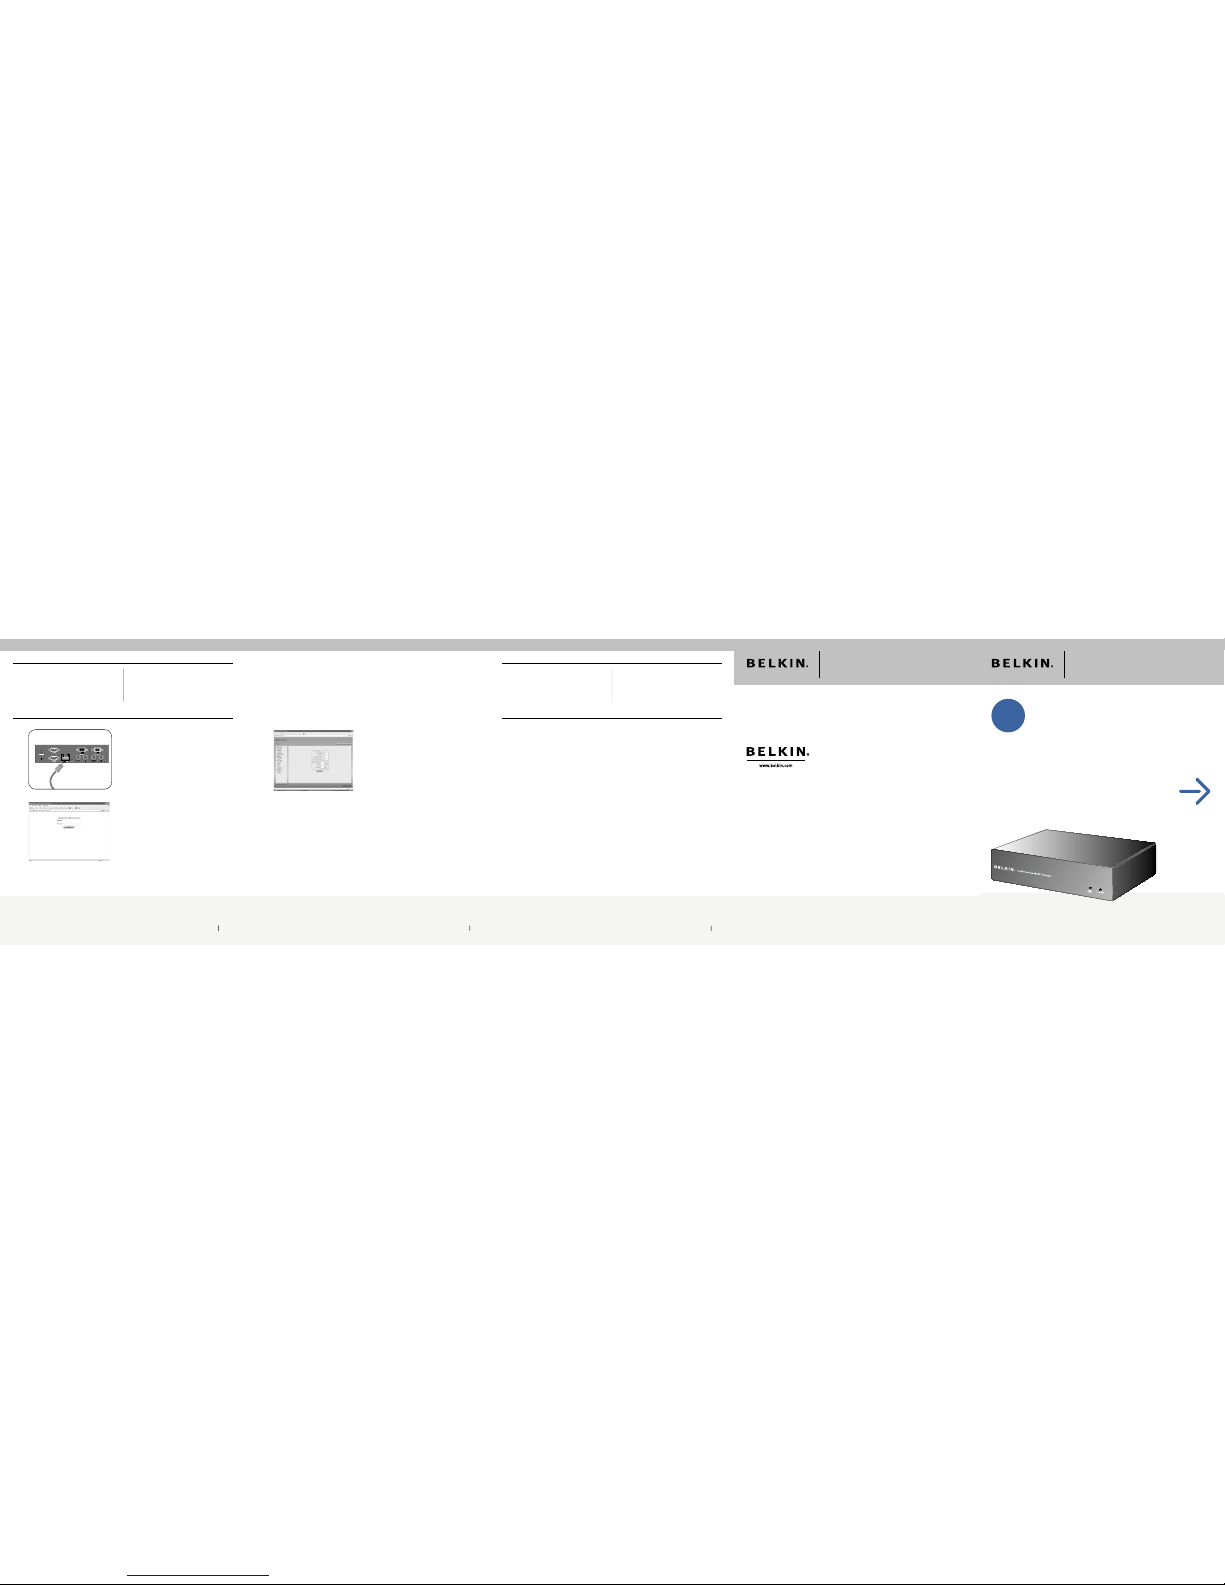
7.1 Connect the RIPM to the network using
a straight-through RJ45 Category 5
network cable.
You are now ready to use the RIPM.
Please refer to your User Manual for
additional information.
Step 6 Initialize Network
Configuration Step 7 Connect the RIPM to
the Network
6. Initialize Network Confi guration 7