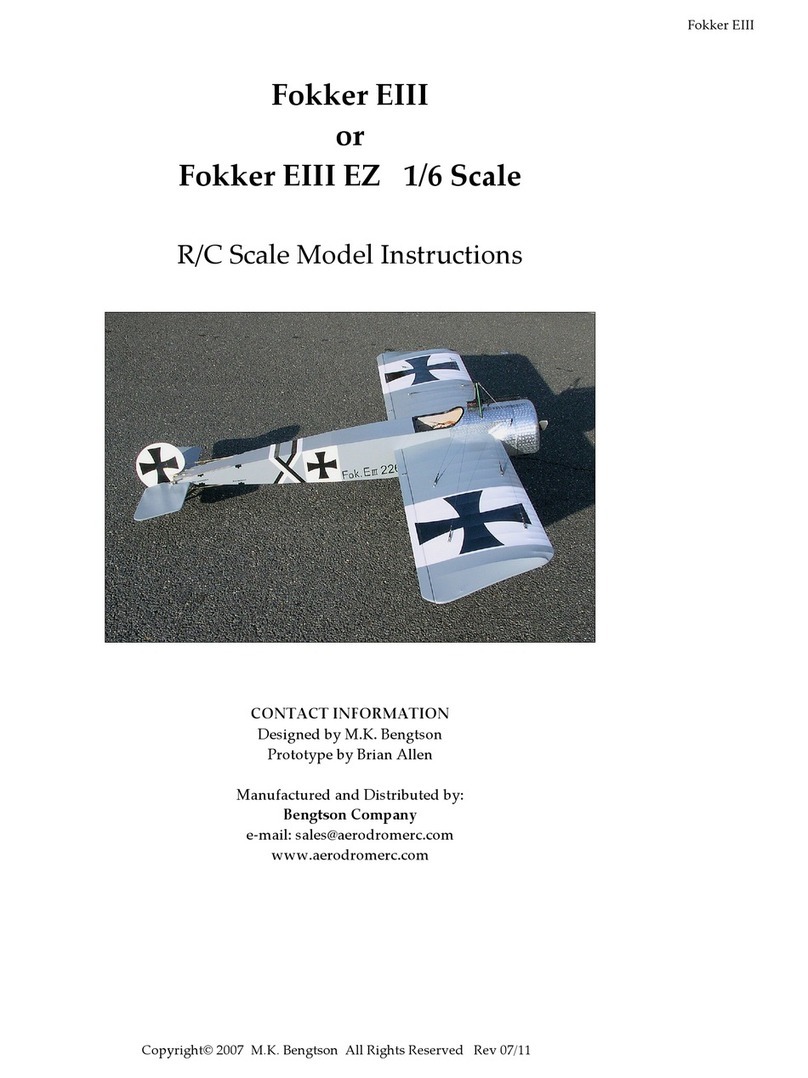
Albatros CIII 38”
Copyright© 2004-11 M.K. Bengtson All Rights Reserved Rev 07/11
ASSEMBLY
Wing
Using Spars And Aligning Wing Panels
The first task is to epoxy the lower wings accurately onto the
fuselage. Use 5-minute epoxy for this task. Apply epoxy to
the wing rib that meets the fuselage. Attach the wings to the
fuselage. Use the locating spars to assist with aligning the
wing panels. Allow epoxy to set.
After the lower wings are attached, the struts are inserted.
Use thin CA to strengthen the laser cut ply cabane struts.
These provide attachment points to be epoxied into hard
bass blocks in the top wings. The top wing is added and
epoxied in place.
Fitting Tail Surfaces
The horizontal stabilizer is in two halves and has tabs that fit
into slots in the side of the fuselage. Insert the two halves,
and dry fit the elevator using CA hinges. The elevator
serves as an alignment tool so that the horizontal stab can
be CA glued in place. The vertical stabilizer also fits into a
slot in the top of the fuselage formed in F11.
Adding Detail Of Control Horns On The Pushrod Ends
Slip the control horns onto the wire pushrod ends and, with
both the servos and the control surfaces centered, glue the
horns into their slots.
Fitting the Guy Wires
Use strong thread or Kevlar fishing line or elastic beading
cording to simulate rigging wires. Use small screws, fishing
hook eyes, straight pinheads or small eyelets to attach the
lines. While not technically required these wires can add a
degree of strength to your model.
Windsock Datafiles “Albatros CII/CIII “ publication has details
on placement and markings. Available at:
http://www.aeroplanebooks.com/
Battery Hatch
Fashion a battery hatch from 1/32” plywood
Balancing The Model
Balance the model at the point shown. It is best to position
the battery to do this operation.
FLYING
Robert posted this on Ezone's Scale Modelling discussion
forum:
“The Albatros flew successfully today! You can now
advertise the plane "as flown in the San Diego Mid-Winter
Electrics" meet. (2003)
Otherwise, the power is quite satisfactory for scale flying
without being feeble. That's with a 3:1 gearbox, 9x6 prop,
Speed 400 motor and an 8-cell KAN 950 battery pack. As
you can see, it can be given a more powerful prop if desired.
The relatively small rudder (compared to non-scale, r/c'ified
planes) means that one has to be careful of ground loops
until up to speed. After trying some gradual accelerations
unsuccessfully, I just gave it max throttle; it scooted along,
picked up speed and behaved itself.
It is going to need some trimming. The right top wing didn't
accept the washout warp during construction. I think the
strut moved while the glue was drying. I'll have to fix that.
Once I trimmed the ailerons to counteract the roll tendency,
it tracked quite well in the sky, and landed kissing soft at a
nice sedate speed. I didn't try any stall tests, because of the
trim issue. I'll wait until a quieter weekend to test its
envelope further.
Bottom line? A beautiful kit, that flies very nicely. I give it two
thumbs up! Saluda! “
The model should ROG on pavement or hard surfaces. On
grass, the model may require hand launching. Be careful
that your hand or fingers do not catch on the lower rigging.
Launch firmly and level.
The tail surfaces should not need excessive throws. Let the
model gain altitude slowly off the runway. Applying too
much up elevator at slow speeds risks a stall. Make your
turns gently as tight turns risk tip stalling in any model. Don’t
expect the elevator to make the model climb. Think of the
elevator as a device to change the attitude of the model.
The wing and airspeed ultimately make the model climb.
Often down elevator applied at stalling can avoid a major
crash. The most important details for proper flight
operations are:
1) CG location. Tail-heavy models never fly well or at all.
2) Down and right thrust
3) Straight and non-warped wings.
CONTACT INFORMATION
Distributed by:
Bengtson Company
Web Site: www.aerodromerc.com
