Car Kit Bluetooth®SIM (en)4
Direct installation of the display
First clean the area where you
want to attach the display 6
using a grease-dissolving clean-
ing agent. The adhesive pad will
only adhere permanently to a
grease-free surface.
Mount the display 6using the
adhesive pads.
Installation using the display holder
The display holder 7allows you
to mount the display 6in the
various positions specified in the
diagram (see bottom right on
page iv).
The cable must be fed through
the display holder 7in the ap-
propriate position. To this end,
notches must be cut into the
case edging at specific points
where the wall thickness is
recognisably thinner.
Mount the display holder 7on-
to the dashboard using the
adhesive pads supplied or the
appropriate screws*.
Then press the display 6into
the opening on the display
holder 7until it clicks into
place.
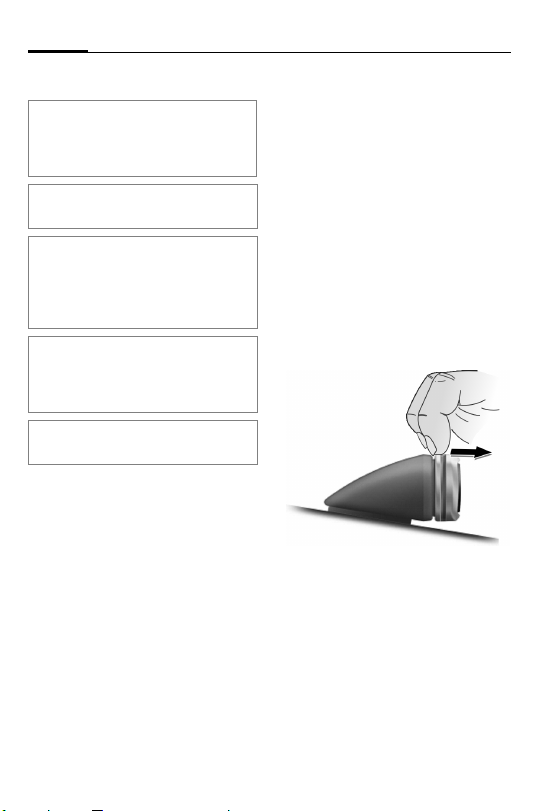
Loudspeaker
The inclination and the rotation
of the loudspeaker 8can be ad-
justed. Loosen the set screw in
the base, install the loud
speaker 8, and tighten the
screw.
Secure the loud speaker 8in an
appropriate location (e.g. the
passenger footwell).
The screws can be found in the
base of the loud speaker 8.
Wiring loom
Electrical connections
When connecting the Car Kit to
the wiring loom 3, make sure
the functionality and operation
of other devices are not compro-
mised (e.g. voltage drop).
Disconnect the car battery cor-
rectly before installing the wir-
ing loom 3and the electronics
box 1.
Connect the §B§ 12 V+ cable (red)
to the positive terminal of the
car battery.
* Not included in standard delivery.