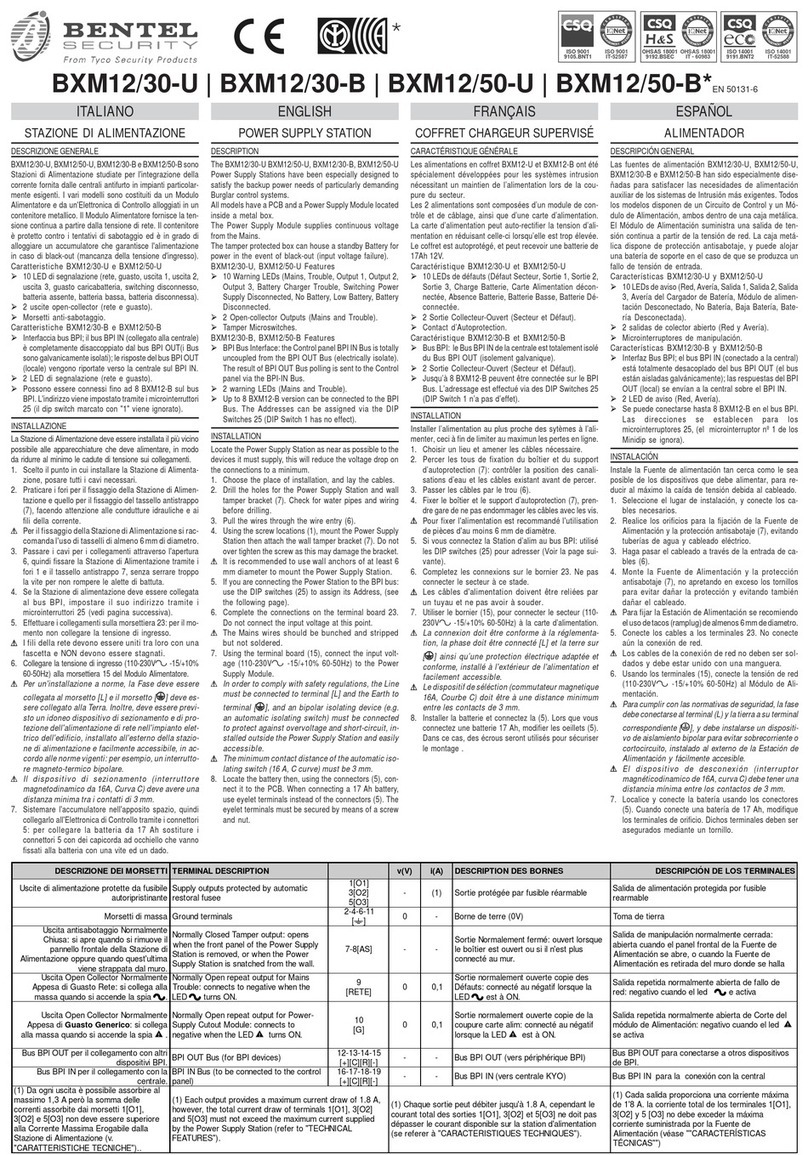
Bentel Security BXM24/25-U User manual

ITALIANO
Descrizione
BXM24/25-U e 50-U, BXM24/25-B
e 50-B sono Stazioni di Alimenta-
zione studiate per l'integrazione
della corrente ornita dalle centrali
antincendio in impianti particolar-
mente esigenti. I vari modelli sono
costituiti da un Modulo Alimenta-
tore e da un'Elettronica di Control-
lo alloggiati in un contenitore me-
tallico. Il Modulo Alimentatore or-
nisce la tensione continua a parti-
re dalla tensione di rete. Il conteni-
tore può alloggiare due Accumu-
latori che garantiscono l'alimenta-
zione in caso di black-out (man-
canza della tensione d'ingresso).
Caratteristiche: BXM24/25-U,
BXM24/50-U:
10 LED di segnalazione (gua-
sto, rete, uscita 1, uscita 2, bat-
teria bassa, batteria assente,
guasto caricabatteria,
switching disconnesso, batte-
ria disconnessa, guasto
CPU);
1 Uscita Relé di Guasto
Caratteristiche: BXM24/25-B,
BXM24/50-B:
Inter accia bus RS485;
10 LED di segnalazione (guasto,
rete, uscita 1, uscita 2, batteria
bassa, batteria assente, guasto
caricabatteria, switching
disconnesso, batteria
disconnessa, guasto CPU);
Possono essere connessi ino
ad 8 BXM24 versione -B sul bus
RS485. L'indirizzo viene impo-
stato tramite i microinterruttori
26 (il dip switch marcato con
"1" viene ignorato).
1 Uscita Relé di Guasto
ENGLISH
Description
The BXM24/25-U and 50-U,
BXM24/25-B and 50-B Power
Supply Stations have been
especially designed to satis y the
backup power needs o
particularly demanding Fire control
systems. All models have a PCB
and a Power Supply Module
located inside a metal box.
The Power Supply Module
supplies continuous voltage rom
the Mains. The tamper protected
box can house a standby Battery
or power in the event o black-
out (input voltage ailure).
BXM24/25-U BXM24/50-U
Features:
10 Warning LEDs (Trouble,
Mains, Output 1, Output 2,
Low Battery, No Battery,
Battery Charger Trouble,
Switching Power Supply
Disconnected, Battery
Disconnected, CPU Trouble);
1 Fault Relay output;
BXM24/25-B BXM24/50-B
Features:
RS485 Bus Inter ace;
10 Warning LEDs (Trouble,
Mains, Output 1, Output 2, Low
Battery, No Battery, Battery
Charger Trouble, Switching
Power Supply Disconnected,
Battery Disconnected, CPU
Trouble);
Up to 8 BXM24, -B version, can
be connected to the RS485 Bus.
The Addresses can be assigned
via the DIP Switches 26 (DIP
Switch 1 has no e ect).
1 Fault Relay output;
FRANCAIS
Description
Les alimentations en co ret métal
BXM24/25-U et 50-U, BXM24/25-
B et 50-B ont été spécialement
développées pour les systèmes
Incendie (norme Italienne)
nécessitant un maintien de
l’alimentation lors d’une coupure
secteur.
Les co rets sont autos protégées
et peuvent recevoir des Batteries
en cas d’absence de secteur.
Caractéristiques des BXM24/25-U
et BXM24/50-U:
10 LEDs de dé auts (Dé aut,
Secteur, Sortie 1, Sortie 2, Bat-
terie Basse, Pas de Batterie,
Dé aut Charge Batterie, Carte
Alimentation Déconnectée,
Batterie Déconnectée, Dé aut
CPU
1 Sortie Relais de Dé aut;
Caractéristiques des BXM24/25-B
et BXM24/50-B:
Inter ace BUS RS485;
10 LEDs de dé auts (Dé aut,
Secteur, Sortie 1, Sortie 2, Bat-
terie Basse, Pas de Batterie,
Dé aut Charge Batterie, Carte
Alimentation Déconnectée, Bat-
terie Déconnectée, Dé aut CPU;
Jusqu’à 8 BXM24, -version B,
peuvent être connecté à l’aide
du bus RS485. L’Adressage est
e ectué via les DIP Switches
26 (DIP Switch 1 n’a pas
d’e et).
1 Sortie Relais de Dé aut;

Installazione
La Stazione di Alimentazione deve
essere installata il più vicino pos-
sibile alle apparecchiature che
deve alimentare, in modo da ridur-
re al minimo le cadute di tensione
sui collegamenti.
¾Scelto il punto in cui installare la
Stazione di Alimentazione, po-
sare tutti i cavi necessari.
¾Praticare i ori per il issaggio
della Stazione di Alimentazio-
ne, acendo attenzione alle
condutture idrauliche e ai ili
della corrente.
¾Passare i cavi per i collegamenti
attraverso l'apertura (6), quin-
di issare la Stazione di Alimen-
tazione tramite i ori (1).
¾Se la Stazione di alimentazione
deve essere collegata al bus
RS485, impostare il suo indiriz-
zo tramite i microinterruttori (26).
¾E ettuare i collegamenti sulla
morsettiera (23): per il momen-
to non collegare la tensione di
ingresso (230V). I ili della rete
devono essere uniti tra loro con
una ascetta e NON devono es-
sere stagnati.
¾Collegare la tensione di ingres-
so (230V J -10/15% 50/60Hz)
alla morsettiera (15) del Modu-
lo Alimentatore.
Installation
Locate the Power Supply Station
as near as possible to the devices
it must supply, this will reduce the
voltage drop on the connections
to a minimum.
¾Choose the place o installation,
and lay the cables.
¾Drill the holes or the Power
Supply Station. Check or
water pipes and wiring
be ore drilling.
¾Pull the wires through the wire
entry (6).
¾Using the screw locations (1),
mount the Power Supply
Station.
¾I you are connecting the Power
Station to the RS485 bus: use
the DIP switches (26) to assign
its Address.
¾Complete the connections on the
terminal board (23). Do not
connect the input voltage (230
V) at this point. The Mains wires
should be bunched and
stripped but not soldered.
¾ Using the terminal board (15),
connect the input voltage
(230VJ -10/15% 50/60Hz) to
the Power Supply Module.
Installation
Installer l’alimentation au plus
proche des systèmes à alimenter,
ceci à in de limiter au maximum
les pertes en ligne.
¾Choisir un lieu et amener les
câbles nécessaire.
¾Percer les trous pour ixer le
boîtier au mur. Contrôler la
position des canalisations
d’eau et les câbles existant
avant de percer.
¾Passer les câbles par l’entrée
prévue (6).
¾Fixer le boîtier au mur (1)
¾Si vous utilisez le bus RS485:
Dé inir l’adresse à l’aide des DIP
switches (26)
¾Complétez les connexions sur le
bornier (23). A ce point, Ne pas
connecter le secteur (230 V)
¾Utilisez le bornier (15), pour
connecter le secteur (230VJ
-10/15% 50/60Hz) à
l’alimentation.
! " # $
%
&
'
("
)" #
*
$$
!+,-&!+,-& !!+,-&!!+,-&()
&
.(!!+,
-&!!+,-&
* / #) #
% 0 1) 23(
"( - !+() !(
!+
45
#678!/,/,
(#6078!!,/
9
")45
#678!/,/,
(#6078!!,/
4*5
#678!/,/,
(#6078!!,/
:8
*
(;+
<
:88&()
&
()&
2:8
&(
.
4
7 "4%.= .=82

?! ?"
>? >3 3
56
"$F
%$7
7$9 )$9
6:
17&
2 ""
?! ?"
>? >3 3
56
"$F
%$7
7$9 )$9
6:
17&
2 ""
Fig. 1 -Parti - Parts- Composition du produit

!
""
#
$%&% &'()(*+,-
.
$'&%&#*'/#-
0
$%,*&'()(,+-
1 *2 *2
*
!,
3
4
!
"
#(
$.156758-
7 #
$.156758-
,
$.156758-
6
* 9 $
-
62
!:
)
* ; )!
)
* ; )!
* < $
-
=>?$2
?-
)$#<*.756-
!
@!
A
)$#<*.756-
)$#<*.756-
* .5
!
"
.
!
""
.. #
B#
$,- .1 #$- 4$
.0-
C,' .3 C,' C,'!!
+0 .7 +# 4+
!! .9 *'( '(!
+3<7 .; +3<7# 4+3<7
)$#9D1*.756-
& .< )$#9D1*.756-&
)$#9D1*.756-
&
)$#9D1*.756-
&. .A )$#9D1*.756-&.
)$#9D1*.756-
&.

ATTENZIONE: Per un'installazione
a norme, la Fase deve essere col-
legata al morsetto [L] e il morsetto
[ Q] deve essere collegato alla
Terra. Inoltre, deve essere previ-
sto un idoneo dispositivo di
sezionamento e di protezione del-
l'alimentazione di rete nell'impian-
to elettrico dell'edificio, in accor-
do alle norme vigenti (legge 4 /
90): per esempio, un interruttore
magneto-termico bipolare.
¾Sistemare l'accumulatore nel-
l'apposito spazio, quindi col-
legarlo all'Elettronica di Con-
trollo tramite i connettori (5).
Per collegare la batteria da 17
Ah sostiture i connettori (5)
con dei capicorda ad occhiel-
lo che vanno fissati alla batte-
ria con una vite ed un dado.
Fare attenzione a non invertire
le polarità dei collegamenti; se
ciò si dovesse veri icare, sostitu-
ire il usibile 19 (T8A250V).Nella
Stazione di Alimentazione
BXM24 devono essere alloggiati
2 accumulatori da 12 V che,
collegati in serie tramite il
ponticello 7, orniscono una
tensione di 24 V (v. ig.1).
IMPORTANT: In order to comply
with safety regulations, the
Line must be connected to
terminal [L] and the Earth to
terminal [Q], and a bipolar
isolating device (e.g. an
automatic isolating switch)
must be connected to protect
against overvoltage and short-
circuit .
¾Locate the battery then, using
the connectors (5), connect it
to the PCB. When connecting
a 17 Ah battery, use eyelet
terminals instead of the
connectors (5). The eyelet
terminals must be secured by
means of a screw and nut.
Ensure the connection
polarity is correct. In the event
o unintentional inversion,
change the use 19 (T8A250V).
The BXM24 Power Supply
Station requires two 12 V
batteries that, when
connected in series by means
o jumper 7 will supply 24 V
(see ig. 1).
IMPORTANT: La connexion doit
être conforme à la
réglementation en vigueur. La
phase doit être connectée à
la borne [L] la terre à la borne
[Q], et une protection
électrique (ex :disjoncteur)
doit être installé contre les
surintensités et les courts-
circuits.
¾Installer la batterie et connecter
la (5). Si vous connectez une
batterie 17 Ah, modifier les
oeillets (5). Dans ce cas les
écrous seront utilisés pour
sécuriser le montage.
Assurez vous que la
polarisation de la batterie est
correcte. Dans l’éventuellité
d’une inversion de polarité,
changer le usible 19
(T8A250V). Le BXM24
nécessite 2 batteries 12 V, vous
devez les connecter en séries
avec la jarretière 7 pour
obtenir 24 V (voir la ig. 1).
¤
! !"
¤
!"!
#
$%&'
¤ !
!"
¤ !"
!
'
(¤)
! !"$
*¤)
!"! $
*!+*,
"+*!+*,
-
*!+*,
(1): Da ogni uscita è possibile assorbire al massimo 5 A però la somma delle correnti assorbite dai morsetti
1[O1], 2[O2] non deve essere superiore alla Corrente Massima Erogabile dalla Stazione di Alimentazione (vedi
“CARATTERISTICHE TECNICHE”).
(1): Each output provides a maximum current draw o 5 A, however, the total current draw o terminals
1[O1], 2[O2] must not exceed the maximum current supplied by the Power Supply Station (re er to
"TECHNICAL FEATURES").
(1): Chaque sortie peut ournir jusqu’à 5 A, cependant, le courant total tire sur les sorties 1[O1], 2[O2] ne
doit pas excéder les posibilités de la station d’alimentation (se ré erer à “CARACTERISTIQUES TECHNIQUES”).

!
"
!#$%
"
!#&
'
()
*
!#+&*"
!#+##$%
"
!#+##,-.
&#
,)/0
!1"
!1$%
"
!12
0
3*
45$67456
!#
8'"
9:0
*
45$67
456*.
!#+##-
#2
8'03.#
9:0
*45$67456
!1
2;8'0
9:0
&
0
,-.
&
#
&';
#
#
78**
*
7;
*<
*
;
0
&
'
7*
7
*
0
##,-
.&##-
2*
**080#
#-*
##<
0#
..-.#
*#,-.
#,-.
&0#
,-.&-
.-#
*-
#.##7#
7
0
=
2*080>
=
<
0>
?
#0>
7*7
#0
#
;
#
;
7@
#
*0(A
&'A
0
##.
##-*
.##7@
0#
#.0#
.-
#.#
,-.&0
7@0)
0>
#0

,..08,
!
"
#
$%
&&
'!
()*
+,,!&%
$%
&
-
./-&
%
'&
%
%
#0!
0()*
+,,!
00#0
/1
.
/1
0
#
(20
#
,..08,
!
&
'!
()*
+,,
&%
$%&
%&
!
&
#0!
0()*
+,,!
00#0(
##
!
0!
,..08,
$3
$3
#0$3
Informazioni sul riciclaggio
BENTEL SECURITY consiglia ai
clienti di smaltire i dispositivi usati
(centrali, rilevatori, sirene,
accessori elettronici, ecc. nel
rispetto dell’ambiente. Metodi
potenziali comprendono il
riutilizzo di parti o di prodotti interi
e il riciclaggio di prodotti,
componenti e/o materiali.
Per maggiori informazioni
visitare:
www.bentelsecurity.com/it/ambiente.htm
Direttiva Rifiuti di apparecchiature
elettriche ed elettroniche (RAEE
– WEEE
Nell’Unione Europea,
questa etichetta indica che questo
prodotto NON deve essere smaltito
insieme ai rifiuti domestici. Deve
essere depositato in un impianto
adeguato che sia in grado di
eseguire operazioni di recupero e
riciclaggio. Per maggiori
informazioni visitare:
www.bentelsecurity.com/it/ambiente.htm
Rec cling information
BENTEL SECURITY recommends
that customers dispose of their used
equipments (panels, detectors, sirens,
and other devices in an
environmentally sound manner.
Potential methods include reuse of
parts or whole products and recycling
of products, components, and/or
materials. For specific information
see:
www.bentelsecurity.com/en/environment.htm
Waste Electrical and Electronic
Equipment (WEEE Directive
In the European Union, this
label indicates that this product
should NOT be disposed of with
household waste. It should be
deposited at an appropriate facility
to enable recovery and recycling.
For specific information see:
www.bentelsecurity.com/en/environment.htm
Informations sur le rec clage
BENTEL SECURITY recomande à ses
clients de jeter le materiel appareils
usagés (centrales, detecteur, sirènes
et d’autres dispositifs de manière à
protéger l’environnement. Les
methods possibles incluent la
reutilisation de pieces ou de produits
entiers et le recyclage de produits,
composants, et/ou matériels. Pour
obtenir davantage d’informations,
veuillez vous rendre sur le site:
www.bentelsecurity.com/en/environment.htm
Waste Electrical and Electronic
Equipment (WEEE Directive
En Union européenne,
cette etiquette indique que ce
produit ne doit pas être jeté avec
les déchets ménagers. Il doit être
mis au rebut dans un centre de
dépôt spécialisé pour un recyclage
approprié. Pour obtenir davantage
d’informations, veuillez vous rendre
sur le site:
www.bentelsecurity.com/en/environment.htm

BENTEL SECURITY s.r.l.
Via Gabbiano, 22 - C.da Ravigliano, Z. Ind. S. Scolastica
64013 CORROPO I - (TE) - ITA Y -
Tel.: +39 0861 839060 -Fax: +39 0861 839065
E-mail: info@bentelsecurity.com - http://www.bentelsecurity.com ISTISB VBXM24-B 0.1 070308 P7.0
e stazioni di alimentazione BXM24 sono state sviluppate secondo criteri di qualità, affidabilità e prestazioni adotatti dalla BENTE SECURITY
srl. Gli elementi delle BXM24 sono in grado di lavorare quando le condizioni ambientali all'esterno del loro contenitore sono in accordo con la
categoria 3k5 della IEC 721-3-3. Bentel Security srl si riserva il diritto di modificare le specifiche tecniche di questo prodotto senza preavviso.
The BXM24 Power Supply has been designed and manufactured to the highest standards of quality and performance. The components of these
Power Station operate as intended when the external ambient conditions comply with the requirements of class 3k5 of IEC 721-3-3.
Bentel Security srl reserves the right to change the technical specifications of this product without prior notice.
a station d’alimentation BXM24 a été conçue et fabriquée dans les plus hauts standards de qualité et de performance. Ces composants sont
prévus pour fonctionner dans la classe 3k5 de la norme IEC 721-3-3.
Bentel Security srl se réserve le droit de changer sans préavis les données techniques indiquées dans cette notice.
& & &;
B!$8CD$E8CFG 3*
)20 7:' $7F' 7:' $7F' &2- )&2
2
:7@H$E &2* &2
7@H$E &* &
%7F I* I
&
J
$78E J 5
) 78' 878' 78' 878' I )I
&
$7F' @' $7F' @' &2 )&2
9E @# J#9E
.
J#
?A9E
/
&
&K
5*
A
*L>:@!
$!$%'#ML''
I,$%!$NJK
C
$!%'#ML''
I,%!$NJK
/.
/
&K
'*-#
L>:@!
##
)/
&K
*A
L>:@!
&' :7@ ,-&#-
##
// 7 >-/.
##
/
' 7@ /.#-
##
/
!8O@P) 5
) 3* )
Q>2G2, 92@92:% QR2G2Q QR2G2Q
,
$%'# $F78< R#-#$%'#. ,*$%
'#
This manual suits for next models
3
Other Bentel Security Power Supply manuals
Popular Power Supply manuals by other brands
PumpSpy
PumpSpy BU-2000 Instructions and operating manual

Bucher
Bucher JMX-15P23-R1A0 user manual
Pyramid
Pyramid PS-3KX instruction manual
Emerson
Emerson DCX S operating manual
Rockwell Automation
Rockwell Automation Allen-Bradley 1606-XLE192BDM installation instructions
Agilent Technologies
Agilent Technologies 6680A Service note

environmental potentials
environmental potentials EP-2800 Series Installation and application manual
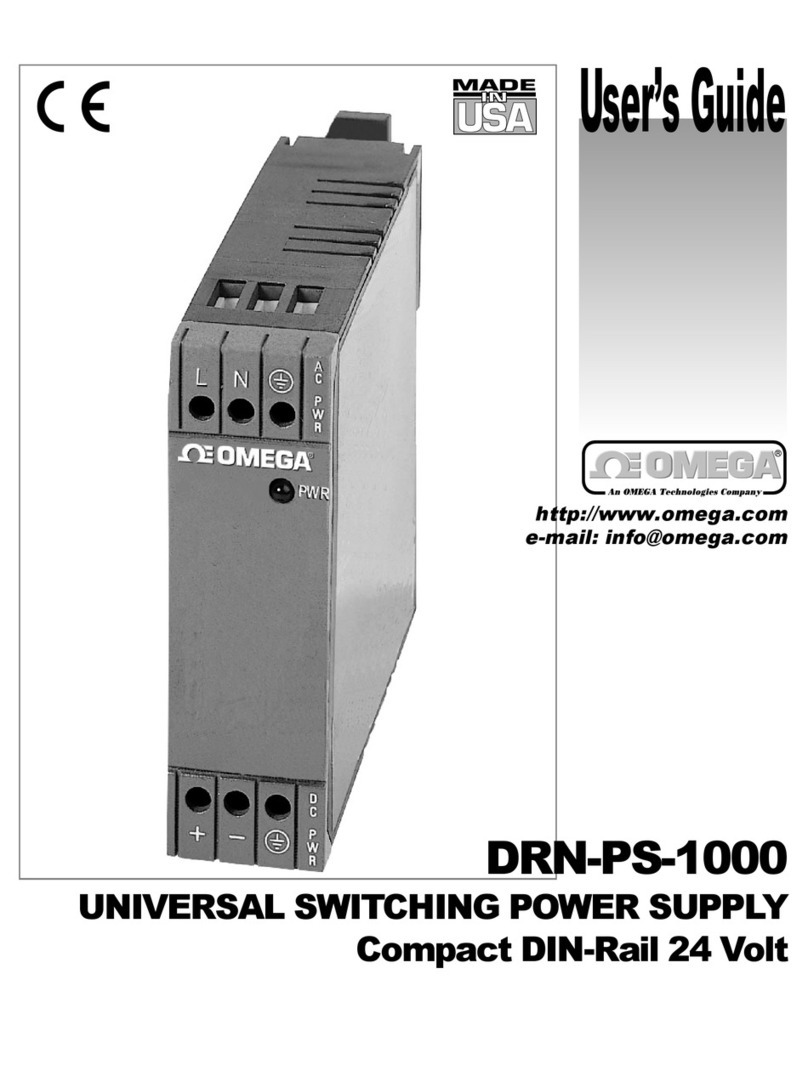
Omega
Omega DRN-PS-1000 user guide

Bluetti
Bluetti AC70 user manual

Elvox
Elvox 6680 Installation and operation manual
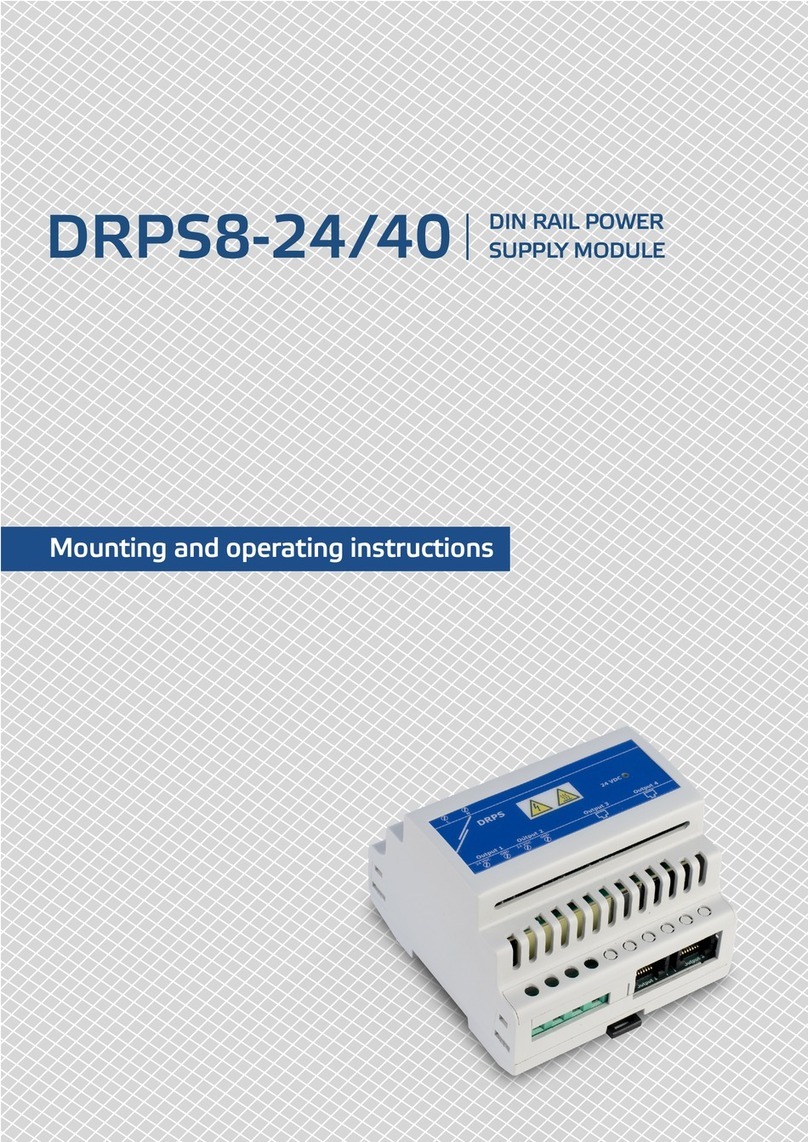
Sentera Controls
Sentera Controls DRPS8-24/40 Mounting and operating instructions
Pulsar
Pulsar Blue Power PSBS 5012E manual


