manuals.online logo
Brands
  1. Home
  2. •
  3. Brands
  4. •
  5. Bertolini
  6. •
  7. Indoor Furnishing
  8. •
  9. Bertolini DM-236 BE User manual

Bertolini DM-236 BE User manual

Assembly Instructions
Instrucciones de Montaje
Special Notes:
01 -
Examine carefully all parts of the furniture before starting the work.
02 -
It is recommended to assemble the furniture as this assembly manual, if in doubt contact the company.
03 -
The assembler has the responsibility of following the instructions of the Assembly Manual, which are essential to insure the
furniture structure.
Notas especiales:
01 -
Examine cuidadosamente todas las partes del mueble antes de comenzar el trabajo.
02 -
Se recomienda montar los muebles como este manual de montaje, en caso de duda contactar con la empresa.
03 -
El montador tiene la responsabilidad de seguir las instrucciones del Manual de Montaje, que son esenciales para asegurar la
estructura del mueble.
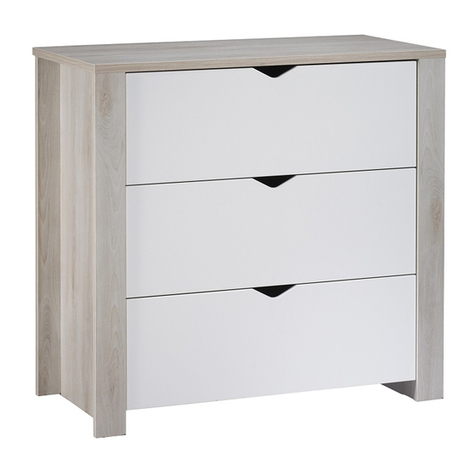
6-DRAWER DRESSER
CÓMODA 6 CAJONES
DM-236 BE
1196
802
446
ASSEMBLY INSTRUCTIONS
IMPORTANT: READ THESE INSTRUCTIONS CAREFULLY BEFORE ASSEMBLING OR USING YOUR PRODUCT
PLEASE KEEP THESE INSTRUCTIONS FOR FUTURE REFERENCE.
HEALTH & SAFETY:
DO NOT use this item if any parts are missing, damage or worn.
DO NOT use this item unless all fixings are secured.
Please keep small parts out of reach of children. Always use on a level, even surface.
It is recommended that two people handle and assemble the item.
Factory advise you use the wall straps provided to further enhance the safety of this product.
PLEASE NOTE: THIS IS NOT A SOLID WOOD PRODUCT,BE CAREFUL TO RESPECT THE LIMIT OF EACH SCREW AND HARDWARE.
IF USED EXCESSIVE POWER IT CAN DAMAGE THE MATERIAL.
WARNING:
This product includes tipover-prevention hardware that MUST BE ATTACHED TO THE WALL per the assembly instructions.
- ALWAYS install tipover restraint provider.
- NEVER put a TV on this product
- NEVER allow children to stand, climb or hang on drawers, doors, or shelves
- NEVER open more than one drawer at the time
- Place heaviest items on the lowest drawers.
CARE & MAINTENANCE:
Assemble in the room of use.
To avoid damages assemble the item on a soft, clean surface Periodically check all screws & fixings to ensure they are secure. DO NOT push the
item as this will damage the base.
Always lift the item with two people to reposition. Keep any sharp objects away from the item.
This product is manufactured in particle board.
On unpacking the item you may notice an odour due to production processes but this will disappear after a period of time.
DO NOT place the item next to a radiator or direct sunlight – this item is susceptible to temperature change.
It is recommended an even room temperature be maintained with no sudden fluctuations.
DO NOT place hot or cold items directly onto the surface of the item as marking will occur
For general cleaning use a duster or damp cloth (almost dry) not wet - do not use soap and water , detergents, aerosol sprays or any polish as
use of these would invalidate any claims.
DO NOT place the item onto wet or damp flooring as staining may occur to the floor.
INSTRUCCIONES DE MONTAJE
IMPORTANTE: LEA ATENTAMENTE ESTAS INSTRUCCIONES ANTES DE MONTAR O UTILIZAR SU PRODUCTO
CONSERVE ESTAS INSTRUCCIONES PARA FUTURAS CONSULTAS.
SALUD Y SEGURIDAD:
NO use este artículo si falta alguna pieza, está dañada o desgastada.
NO use este artículo a menos que todas las fijaciones estén aseguradas.
Mantenga las piezas pequeñas fuera del alcance de los niños. Úselo siempre en una superficie nivelada y nivelada.
Se recomienda que dos personas manipulen y ensamblen el artículo.
La fábrica le recomienda que utilice las correas de pared provistas para mejorar aún más la seguridad de este producto.
TENGA EN CUENTA: ESTE NO ES UN PRODUCTO DE MADERA MACIZA, TENGA CUIDADO DE RESPETAR EL LÍMITE
DE CADA TORNILLO Y TORNILLERÍA.
SI SE UTILIZA UNA POTENCIA EXCESIVA PUEDE DAÑAR EL MATERIAL.
ADVERTENCIA:
Este producto incluye herrajes de prevención de vuelcos que DEBEN FIJARSE A LA PARED según las
Instrucciones de montaje.
- SIEMPRE instale un dispositivo de seguridad contra vuelcos.
- NUNCA ponga un televisor en este producto
- NUNCA permita que los niños se paren, trepen o cuelguen de cajones, puertas o estantes
- NUNCA abra más de un cajón a la vez
- Coloque los artículos más pesados en los cajones más bajos.
CUIDADO Y MANTENIMIENTO:
Montar en la sala de uso.
Para evitar daños, ensamble el artículo sobre una superficie suave y limpia. Revise periódicamente todos los tornillos y fijaciones para
asegúrese de que estén seguros. NO empuje el artículo ya que esto dañará la base.
Siempre levante el artículo con dos personas para reposicionarlo. Mantenga cualquier objeto afilado alejado del artículo.
Este producto está fabricado en panel de particulas.
Al desembalar el artículo puede notar un olor debido a los procesos de producción pero este desaparecerá después
un período de tiempo.
NO coloque el artículo junto a un radiador o luz solar directa; este artículo es susceptible a cambios de temperatura.
Se recomienda mantener una temperatura ambiente uniforme sin fluctuaciones repentinas.
NO coloque elementos calientes o fríos directamente sobre la superficie del elemento, ya que se producirán marcas.
Para la limpieza general, use un plumero o un paño húmedo (casi seco) no mojado, no use agua y jabón,
detergentes, aerosoles o cualquier abrillantador, ya que su uso invalidaría cualquier reclamación.
NO coloque el artículo sobre pisos mojados o húmedos, ya que se pueden manchar.
ATTENTION
Cleaning: use only a cloth moistened with water.
ATENCIÓN
Limpieza: utilice únicamente un paño humedecido
con agua.
PLEASE OTE:
All part list are identified with a UMBER.
TE GA E CUE TA:
Todas las listas de piezas se identifican con un ÚMERO.
10
10
04
02
09
08
03
07
06
06
06
06
05
05
05
05
05
05
05 05 05
05
01
PART LIST/LISTA DE PIEZAS
Nº DESCRIPTION/DESCRIPCIÓN DIMENSION(mm) QTY
01 Right Side / Lateral Derecha 782 x 435 x 29 1
02 Left Side / Lateral Izquierda 782 x 435 x 29 1
03 Top / Tabla 1196 x 446 x 15 1
04 Division / División 782 x 431 x 15 1
05 Crossbar / Travesa 556 x 70 x 15 10
06 Back / Costa 740 x 289 x 3 4
07 Drawer Back / Costa Cajón 531 x 125 x 15 6
08 Drawer Bottom / Fondo Cajón 507 x 343 x 3 6
09 Drawer Front / Frente Cajón 550 x 206 x 15 6
10 Drawer Side / Lateral Cajón 335 x 125 x 15 12
6x
HARDWARE LIST / LISTA DE MATERIALES
COD DESCRIPTION / DESCRIPCIÓN QTY
A
Wood Dowel / Clavija
34
B
Plastic foot / Pie plástico
6
C
Screw / Tornillo
70
D
Screw / Tornillo
24
DE
Screw / Tornillo
1
E
Screw / Tornillo
12
F
Cam Bolt / Tornillo Minifix
40
G
Cam Lock / Tambor Minifix
50
H
Nail / Clavos
46
HE
Wall Fixation / Fijación Pared
1
I
Handle / Tirador
12
J
Drawer Fixation / Fijación Cajón
24
L
Plug / Tapón
1
L1
Metalic Left Slide / Corredera Lateral Izquierda
6
L2
Left Drawer Slide / Corredera Cajón Izquirda
6
M
H Channel / Perfil
2
O
Wood Dowel / Clavija
5
P
Cam Bolt / Tornillo Minifix
5
Q
Back Fixation / Fijación Costa
8
R1
Metalic Right Slide / Corredera Lateral Derecha
6
R2
Right Drawer Slide / Corredera Cajón Derecha
6
PLEASE OTE:
All hardware are identified with LETTERS.
TE GA E CUE TA:
Todos los herrajes están identificados con LETRAS.
NOT INCLUDED
1
real size
ATTENTION ON HARDWARE (F):
Screw in slowly until the dotted line is inside the part.
This hardware (F) is not removable. If removed, it
could damage the part.
5
2
5X
F
5X
5
10
12X
6X
7
6X
F
F
F
F
F
F
F
F
F
F
3
1
F
F
F
F
F
A
A
O
F
F
A
A
F
F
9
2
3
4
1
3º Screw
L1
R1
D
C
D
R1
HB
2
B
H
D
D
C
L1
D
C
CD
D
CD
BH
5
5
55
5
G
2
G
G
G
G
IMPORTANT:
Install flat screw (C)
after set screws (D).
ATTENTION ON HARDWARE (G):
Slowly screw until it locks itself, do
not use excessive force.
4
5
GG
G
O
P
P
P
O
1
4
P
O
4
1
2
5
5
5
5
5
5
5
5
G
G
G
G
G
G
ATTENTION ON HARDWARE (G):
Slowly screw until it locks itself, do
not use excessive force.
ATTENTION ON HARDWARE (G):
Slowly screw until it locks itself, do
not use excessive force.
6
7
1
2
4
3
G
G
G
G
M
6
M
C
C
C
C
6
6
6
H
H
H
H
H
H
H
H
Q
6
6
Q
H
M
ATTENTION ON HARDWARE (G):
Slowly screw until it locks itself, do
not use excessive force.
8
9
C
J
6x
G
G
G
G
C
C
J
J
C
10
10 7
9
8
C
C
R2
L2
I
I
E
E
6x
ATTENTION ON HARDWARE (G):
Slowly screw until it locks itself, do
not use excessive force.
10
11
Wall
20 mm
L
C
HE
DE
6
3
44 Lbs
11 Lbs
11 Lbs
11 Lbs

Other Bertolini Indoor Furnishing manuals

Bertolini DM-120 BE User manual

Bertolini

Bertolini DM-120 BE User manual

Bertolini R-618 BE User manual

Bertolini

Bertolini R-618 BE User manual

Bertolini 6156EX User manual

Bertolini

Bertolini 6156EX User manual

Bertolini 8005EX User manual

Bertolini

Bertolini 8005EX User manual

Bertolini 6155EX User manual

Bertolini

Bertolini 6155EX User manual

Bertolini R-620 BE User manual

Bertolini

Bertolini R-620 BE User manual

Bertolini 8003EX User manual

Bertolini

Bertolini 8003EX User manual

Bertolini E-959 BE User manual

Bertolini

Bertolini E-959 BE User manual

Bertolini 6146- 6147 User manual

Bertolini

Bertolini 6146- 6147 User manual

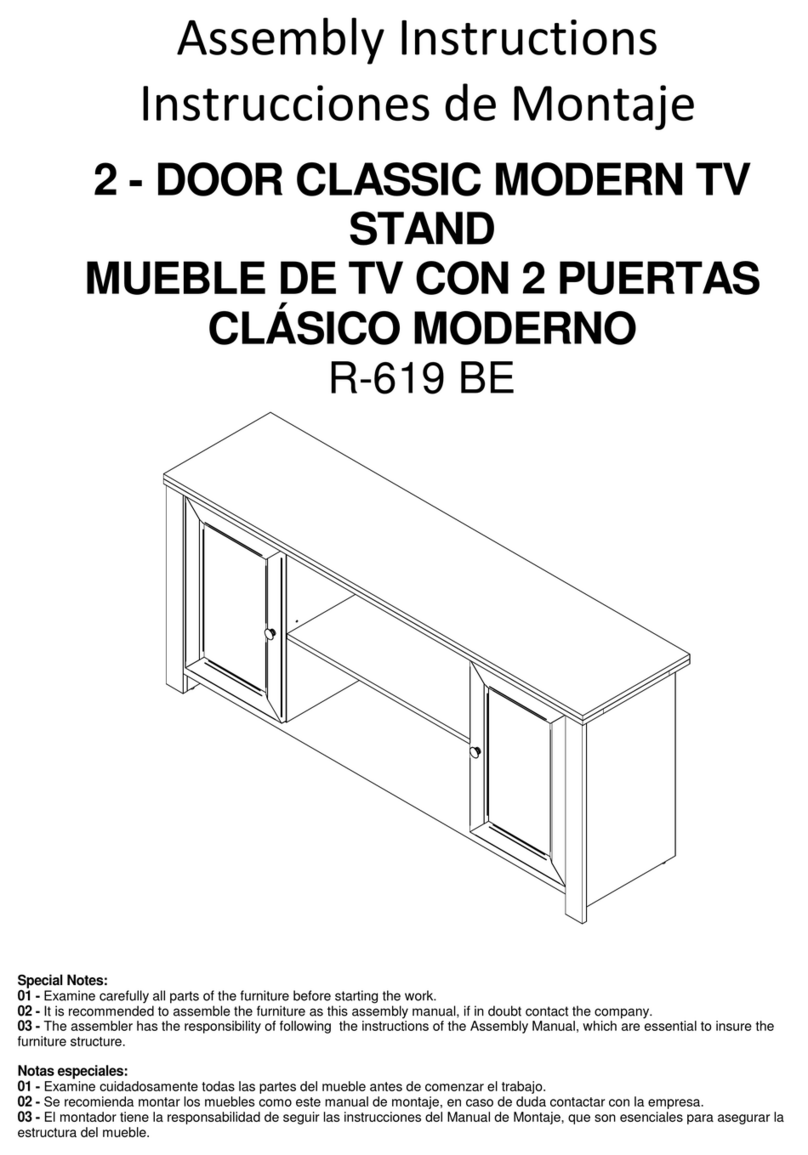
Bertolini R-619 BE User manual

Bertolini

Bertolini R-619 BE User manual

Bertolini 6053EX User manual

Bertolini

Bertolini 6053EX User manual

Popular Indoor Furnishing manuals by other brands

AVENO LIFE eSpirit Instruction manual & warranty

AVENO LIFE

AVENO LIFE eSpirit Instruction manual & warranty

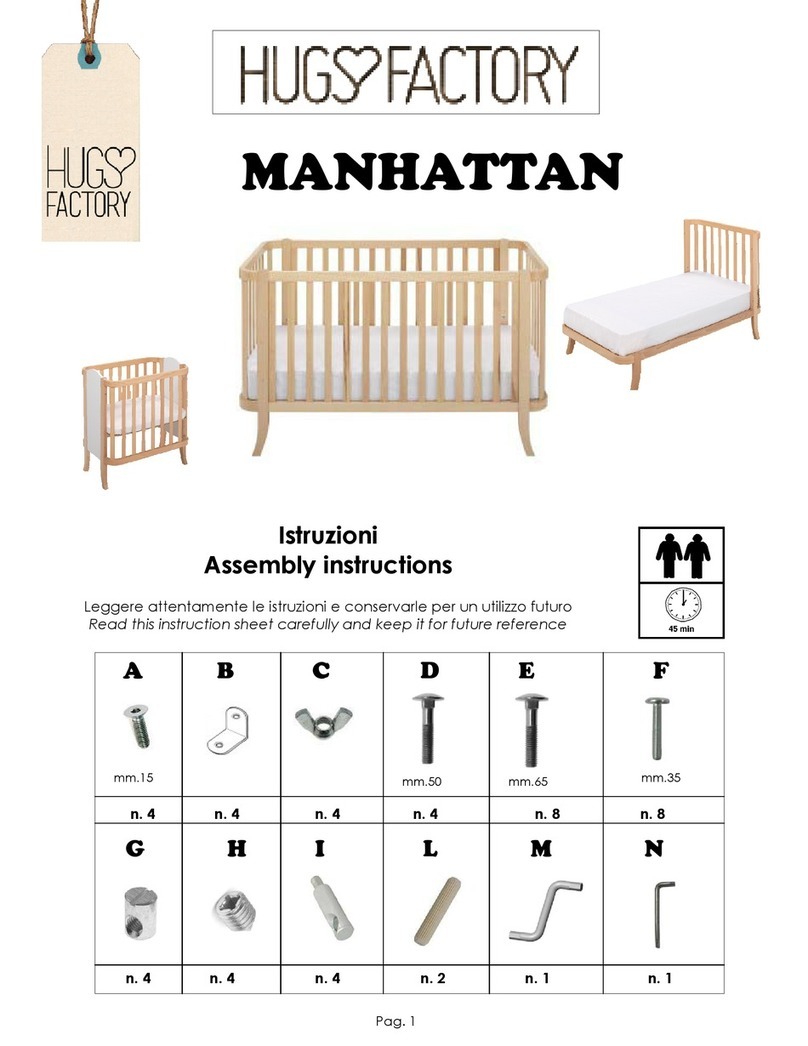
Hugs Factory MANHATTAN Assembly instructions

Hugs Factory

Hugs Factory MANHATTAN Assembly instructions

Safavieh Furniture Tezza COF9001A quick start guide

Safavieh Furniture

Safavieh Furniture Tezza COF9001A quick start guide

Universal Oxford Street 572-655 instruction sheet

Universal

Universal Oxford Street 572-655 instruction sheet

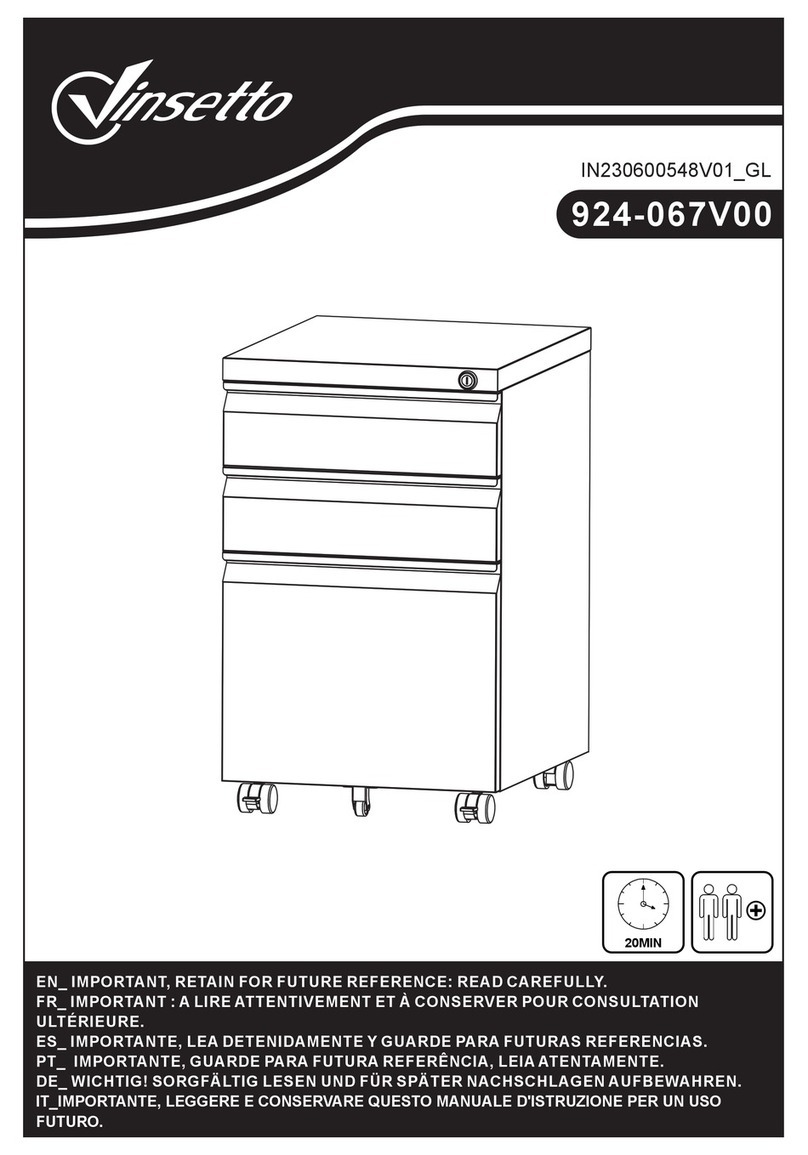
Vinsetto 924-067V00 quick start guide

Vinsetto

Vinsetto 924-067V00 quick start guide

MAISONS DU MONDE MATATA quick start guide

MAISONS DU MONDE

MAISONS DU MONDE MATATA quick start guide

SAUTHON signature TIPEE TI161A Technical manual

SAUTHON signature

SAUTHON signature TIPEE TI161A Technical manual

Wholesale Interiors LCF20205 manual

Wholesale Interiors

Wholesale Interiors LCF20205 manual

Home Decorators Collection Caville MR Assembly instructions

Home Decorators Collection

Home Decorators Collection Caville MR Assembly instructions

VIPACK PIMZ901 manual

VIPACK

VIPACK PIMZ901 manual

Steelcase Mitra Customer service

Steelcase

Steelcase Mitra Customer service

aidapt VG890W Fixing and maintenance instructions

aidapt

aidapt VG890W Fixing and maintenance instructions

AGILE Winder 2 Column installation guide

AGILE

AGILE Winder 2 Column installation guide

Dometic SK4 Installation and operating manual

Dometic

Dometic SK4 Installation and operating manual

drew & jonathan SCOTT LIVING Cahill SL36WBCH-4 Assembly instructions

drew & jonathan

drew & jonathan SCOTT LIVING Cahill SL36WBCH-4 Assembly instructions

Pressalit R8653 Mounting instruction

Pressalit

Pressalit R8653 Mounting instruction

Riverside Furniture Huntleigh 10280 Assembly instructions

Riverside Furniture

Riverside Furniture Huntleigh 10280 Assembly instructions

HJH office KIDDY COMFORT I Assembly instructions

HJH office

HJH office KIDDY COMFORT I Assembly instructions

manuals.online logo
manuals.online logoBrands
  • About & Mission
  • Contact us
  • Privacy Policy
  • Terms and Conditions

Copyright 2025 Manuals.Online. All Rights Reserved.