6
Agitation
Modèles CB161, CB162, SB161, SB162
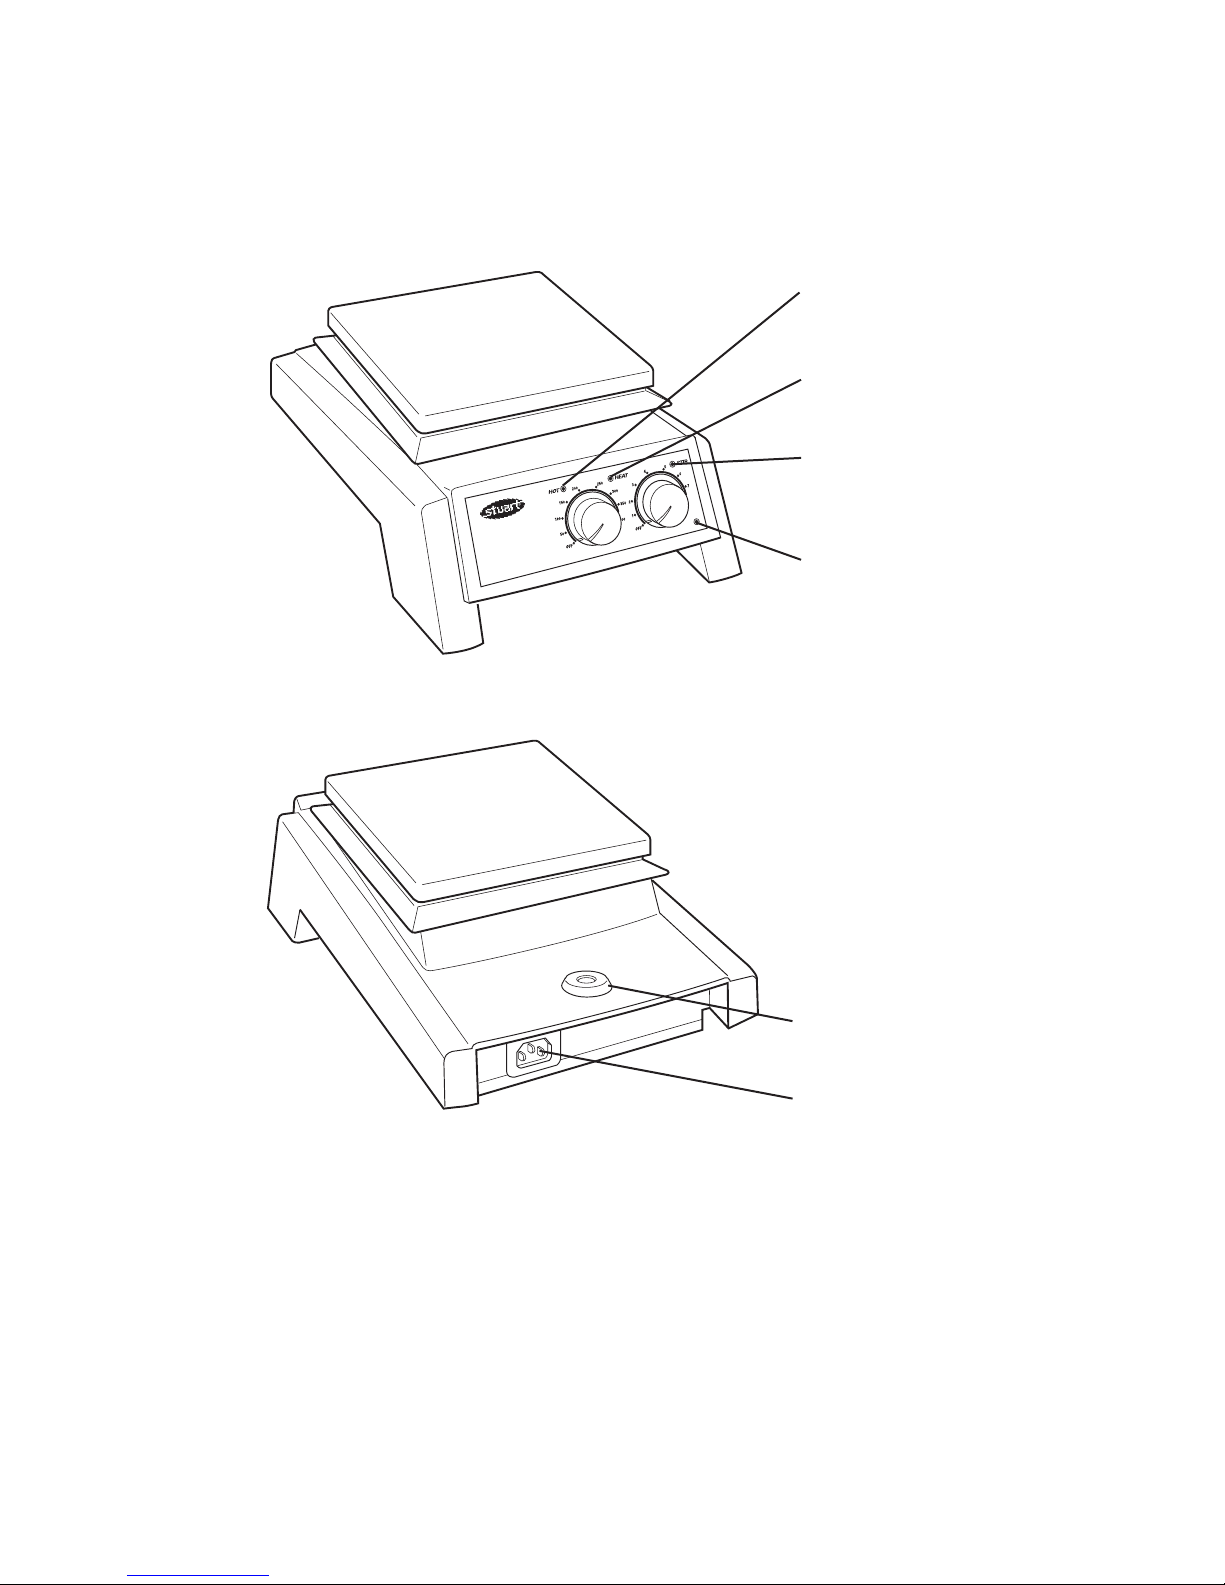
Le bouton de commande marqué “Stir” sur la
face avant de l’appareil commande la vitesse
d’agitation. Lors du fonctionnement, une lampe
témoin ambre s’illumine, (voir le schéma 1).
Le bouton est gradué arbitrairement de 1 à 9. La
rotation du bouton vers un nombre plus élevé
augmente la vitesse d’agitation.
Conseils de Sécurité
❖Ne pas utiliser l’instrument pour chauffer des
liquides inflammables
❖Ne jamais soulever ou porter l’instrument s’il
n’a pas été éteint et / ou laisser refroidir
pendant au moins 30 minutes. Le voyant
d’alarme “chaud” est là pour vous en informer.
❖L’unité doit être déplacée en utilisant les deux
mains sous les bords latéraux.
❖Ne jamais déplacer ou porter l’appareil avec
des récipients posés dessus ou s’il est encore
relié à son alimentation secteur.
❖Il y a un risque de débordement du liquide si
les récipients sont trop remplis et / ou agités à
une vitesse excessive. Toujours régler la vitesse
d’agitation progressivement.
❖Ne jamais placer un contenant en verre froid
sur une plaque chauffante chaude.
Nettoyage
Avant de procéder au nettoyage, s’assurer que la
surface est froide. Déconnecter l’appareil de son
alimentation électrique.
La surface métallique doit être nettoyée en
utilisant un tissu humide et une solution
détergente douce.
Surface en céramique:
Un chiffon humide enlèvera normalement la
plupart des types de contamination. Pour des
taches plus difficiles, une crème de récurage
domestique est recommandée. Le nettoyage est
facilité s’il est fait rapidement après salissures. Les
éclaboussures de substances alcalines, d’acide
phosphorique ou d’acide fluorhydrique DOIVENT
être éliminées immédiatement avant que ces
produits chimiques n’attaquent et endommagent
la céramique. S’assurer que l’on respecte les
mesures de sécurité appropriées.
Pendant le nettoyage et l’entretien général, ne
pas rayer la surface ceci pouvant avoir comme
conséquence une rupture thermique lors de
l’utilisation suivante.
AVERTISSEMENT: Un dessus en céramique qui est
rayé, ébréché, ou chimiquement attaqué ne doit
pas être utilisé.
Surface métallique:
La surface en métal doit être nettoyée en utilisant
un tissu humide et une solution détergente
douce.
Le nettoyage est facilité s’il est fait rapidement
après salissures. Les éclaboussures de substances
alcalines, d’acide phosphorique ou d’acide
fluorhydrique DOIVENT être éliminées
immédiatement avant que ces produits chimiques
n’attaquent et endommagent la partie
métallique. S’assurer que l’on respecte les
mesures de sécurité appropriées.
Préparation de milieux
Apporter une attention particulière lors du
chauffage des liquides ayant une viscosité élevée.
Les liquides visqueux peuvent agir en tant
qu’isolants thermiques et peuvent causer une
rupture thermique de la verrerie. Ceci est très
important avec les préparations de milieux
compte tenu que la viscosité augmente
généralement en même temps que la
température s’élève.
❖Vérifier que l’agitation est suffisante pour
agiter la totalité du liquide. Les parties non
agitées du liquide peuvent avoir comme
conséquence la formation de “points chauds “
dans la verrerie, induisant une contrainte
thermique et ainsi causer une cassure.
❖Vérifier l’agitation régulièrement pour s’assurer
qu’elle est adaptée à l’augmentation de la
viscosité de la solution
❖Utiliser toujours le plus grand barreau
magnétique possible et, si nécessaire un
agitateur à tige.