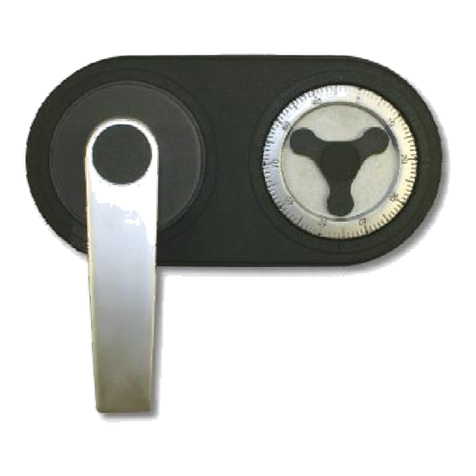
Big Red CDL-3 User manual

图3
WING
Big Red®Safe Locks
“Big Red®, The Safe-Lock with the Red-Wheels” ®
GROUP 2 and 2M MECHANICAL LOCKS
“PATENTPENDING” ™
OPERATION AND CHANGING INSTRUCTIONS
MODEL CDL-3/CDL-3M, UL GROUP 2, GROUP 2M COMBINATION LOCK
Featuring DeadLoc Technology®
TO OPEN:
Your lock may be set on a factory shipping combination, or it may be set on a true, three
number combination. To open a lock set on a factory shipping combination on 50, turn
the dial LEFT until “50” aligns with the OPENING INDEX the fourth [4] time. Now turn the
dial RIGHT until it comes to a complete stop. The dial should stop at about “86” indicating
the lock lock bolt has been retracted.
If your lock is set on a true, three-number combination, for example, 50-20-30, follow these steps to
open:
1. Turn the dial
LEFT until the first number of the combination 50 aligns with the OPENING INDEX the
fourth time.
2. Turn the dial RIGHT until the second number of the combination 20 aligns with the OPENING
INDEX the third time.
3. Turn the dial
LEFT until the third number of the combination 30 aligns with the OPENING INDEX the second time.
4. Turn the dial
RIGHT until it comes to a complete stop.
If the dial does not stop, carefully repeat the entire opening procedure. Remember to dial exactly to number of the
combination with which you are working. Dialing even a small amount past a number you meant to stop on will cause
the lock to remain locked. This is part of the lock’s mechanism security.
Note: The dial should stop between 80 and 100 depending on where the dial was splined at the factory indicating the
lock bolt has been retracted.
To RELOCK the combination lock, turn the dial FOUR complete revolutions to any NON-COMBINATION NUMBER.
CHANGE THE LOCK COMBINATION:
You will need the Yellow Zinc Color Change key [Part# CHKY-2030-000] in the figure to the right to access the lock
to change the combination.
To Change the combination, please first open the lock, with bolt fully retracted
(Refer to the [To Open] Section above)
If your lock is set on the factory shipping combination on 50:
Turn the dial LEFT until the number “50” aligns with the CHANGING INDEX the
fourth time. Go directly to the step titled “INSERT THE CHANGING TOOL”.
If your lock is set on a time, three-number combination:
1. Turn the dial LEFT until the first number of the combination aligns with the
CHANGING INDEX the fourth time.
2. Turn the dial RIGHT until the second number of the combination aligns with the
CHANGING INDEX the third time.
3. Turn the dial LEFT until the third number of the combination aligns with the
CHANGING INDEX the second time.
INSERT THE CHANGING TOOL:
The profile of both the change key and the opening in the lock’s cover allow the
change key insertion only when aligned correctly. It may be necessary to wiggle the
change key slightly in order to insert it to the point where the change key wing is
entirely inside the lock case and the key has fully engaged the lock case. DO NOT
attempt to turn the change key until the wing is completely inserted and bottoms out
in the lock case. Once this is accomplished, rotate the key approximately ninety
degrees COUNTERCLOCKWISE (the only direction in which it will turn). A definite
release of tension inside the lock will be felt (SEE FIGURE AT RIGHT).
Opening Index
Changing Index
1090 0

ENTER THE NEW COMBINATION:
1. Turn the dial
LEFT until the first new number aligns with the CHANGING INDEX the fourth time.
2. Turn the dial
RIGHT until the second new number aligns with the CHANGING INDEX the third time.
3. Turn the dial
LEFT until the third new number aligns with the CHANGING INDEX the second time.
4. Turn the dial
RIGHT approximately ten numbers.
If you feel you have made any errors, however small, in the changing procedure, begin again with the first step in
this section (“ENTER THE NEW COMBINATION”).
Rotate the changing tool approximately ninety degrees CLOCKWISE and remove it from the lock.
NOTE: DO NOT PULL OUTWARD ON THE CHANGING TOOL UNTIL IT HAS BEEN FULLY ROTATED TO THE
SAME POSITION AS WHEN YOU FIRST INSERTED IT.
When the safe dial is splined/index to the spindle at #41, do not use a number between “95” and “15” for the third (or
last) number of the combination. When the safe dial is splined/index to the spindle at #50, do not use a number
between “0” and “20” for the third (or last) number of the combination.
CHECK THE NEW COMBINATION:
Check your new combination by following these instructions, which are identical to those under “TO OPEN”.
1. Turn the dial
LEFT until the first number of the new combination aligns with the OPENING INDEX the fourth time.
2. Turn the dial
RIGHT until the second number of the new combination aligns with OPENING INDEX the third time.
3. Turn the dial
LEFT until the third number of the new combination aligns with OPENING INDEX the second time.
4. Turn the dial
RIGHT until it comes to a complete stop.
If the dial does not stop, carefully repeat the entire opening procedure at least two more times before calling a
qualified safe technician. DO NOT REMOVE THE BACK COVER OF THE LOCK AND/OR REMOVE ANY
COMPONENTS, AS YOU WILL VOID YOUR WARRANTY!
5. A combination change should be considered successful only when the new combination is successfully tried at
least [3] three times. Only then is it safe and permissible to close and lock the safe door.
WARNING! AFTER CHANGING, ALWAYS CHECK YOUR NEW COMBINATION AND RETRACT THE
COMBINATION LOCK BOLT SEVERAL TIMES BEFORE YOU CLOSE AND LOCK YOUR SAFE DOOR.
“Big Red®, The Safe-Lock With The Red-Wheels®”, Big Red®and DeadLock Technology® are Trademark of Michael J. Walsh &
Associates, Inc., USA, All Right Reserved.
Foe More Information go to www.bigredsafelocks.com
© 2003-2012 Michael J. Walsh & Associates, Inc., USA also known as MJWAA, Inc. – Big Red®Safe Locks.
Revision 2012 - 1
This manual suits for next models
1
Table of contents
Popular Lock manuals by other brands
M-LOCKS
M-LOCKS EuroLine Compact series Technical manual
Schlage
Schlage CL100 installation instructions
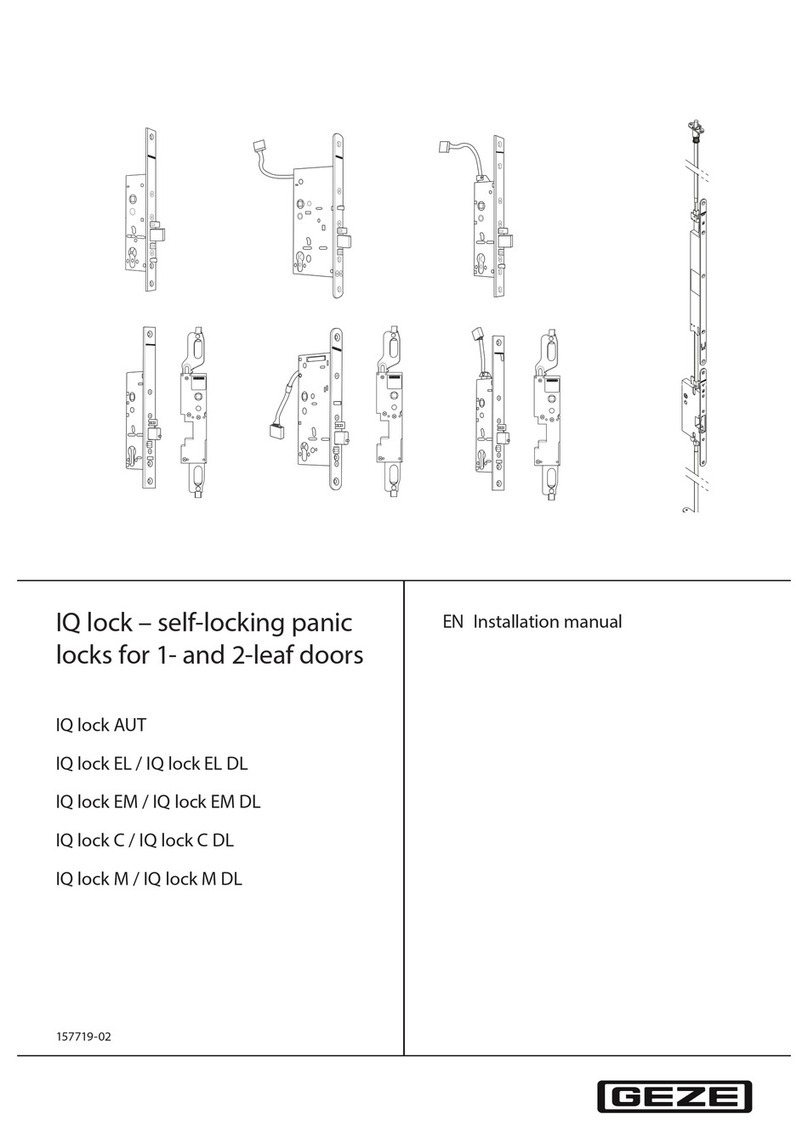
GEZE
GEZE IQ lock Series installation manual
Kaba Mas
Kaba Mas Low Profile 52 series installation guide
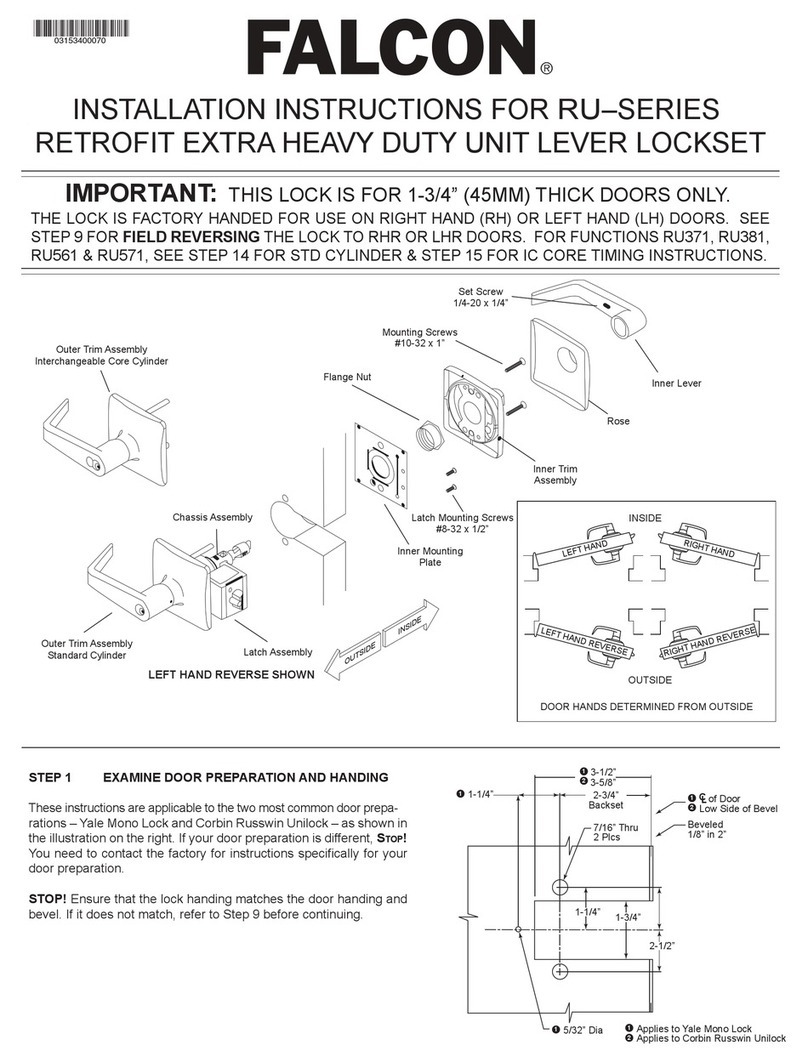
Ingersoll-Rand
Ingersoll-Rand Falcon RU Series installation instructions
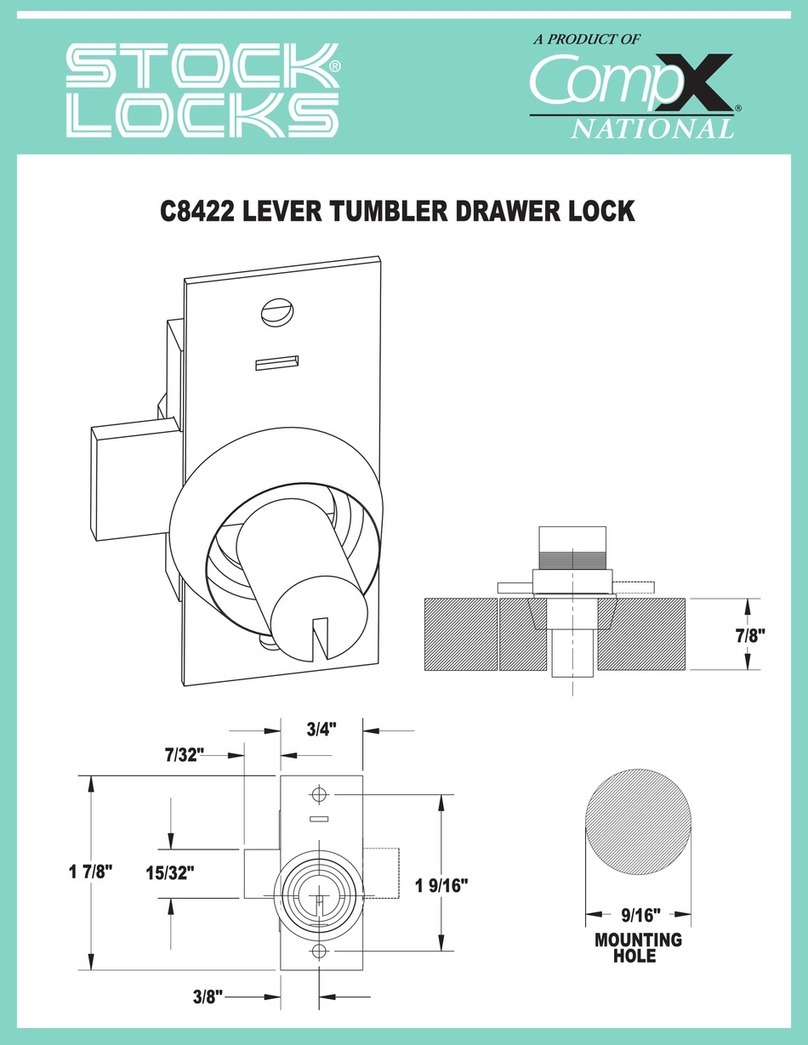
COMPX
COMPX C8422 Dimensional drawing
