BikeLogger L User manual

LOperating Instructions
Intended Use
The BikeLogger L is designed to capture the journey data of any bicycle with a hub dynamo. Make
sure your bicycle’s safety is not affected in any way by the installation of the BikeLogger. For
professional installation, we recommend you seek help from a specialist or your bicycle dealer.
Scope of Delivery
1. Supplemental sheet with basic information
2. Heat shrink tubing
3. Micro flat-plug shoes
4. BikeLogger L
Installation Summary
The BikeLogger L is designed for installation on your bicycle’s lamp
bracket (but can also be mounted onto another location). This is done
by attaching the BikeLogger along the cable, found between the hub
dynamo and lamp. To do this, please take the following steps below.
! Please read full instructions carefully before beginning installation.
www.bikelogger.de
www.bikelogger.de

Tools
Required
1. 2,5mm Allen key
2. Insulation strippers (or scissors/knife)
3. Crimp plier (or regular flat nose pliers)
4. Hot air gun (or lighter)
Optional
Busch& Müller headlight bracket - 474 DL or 475D
Extra cable (when extension necessary)
Soldering iron (for cable extension)
Wire cutters
Installation Instructions
1. Using the wire cutters, cut a section of the lamp cable
extending from the hub dynamo to the headlight. If possible,
level this with the headlight frame, cutting the cable as close
to its bracket as possible.
! Please pay attention to the length of cable which
requires cutting –cable may have to be extended to
accommodate for installation.
!If lighting is originally connected via a coaxial cable
instead of a two-wire cable, please see our additional
notes on http://bikelogger.de/manual-bikelogger-l/.
2. Unravel the cable and remove insulation with your
available tool.
3. Twist the two pairs of exposed cable-ends together
correspondingly.

4. Using the crimp plier (or other), pull the flat-plug
shoes over the twisted cable ends. Ensure both sets of
wire-ends are securely inside these accessories.
! Make sure these are very tightly connected
with the cables.
5. Pull the shrink tubing over the flat-plug shoes and,
using a heat source (hot air gun or lighter), heat the
tubing material so it contracts.
! Attention: please be aware of dangers of
radiated heat.
!Risk of injury.
6. The finished cable ends should now look like this.
7. The two flat-shoe plugs should now be securely
connected and attached to the BikeLogger L.
! Polarity is not important. Please note however,
for lamps with a battery or capacitator, a fault
with the BikeLogger app may occur. If so, simply
reverse the polarity with the BikeLogger device.
8. Attach the BikeLogger L onto the headlight bracket and
tighten securely with the Allen key.
! Briefly adjust or position your bicycle’s brake or
gear cables for easier handling.
Getting Started
! In order to initiate a connection between the BikeLogger and app, please ensure enough
energy is generated. Turn the bicycle’s wheel long enough to activate your LED light.
Connect your Smartphone
1. Install the BikeLogger app onto your smartphone. This can be found on the App Store.
2. Make sure your smartphone’s Bluetooth® is switched on.
3. Give your front-wheel a good spin to enable the BikeLogger. The device has been activated
once the LED lights up blue.
4. Connect with your Bikelogger by selecting “Preferences > Pair BikeLogger“ in your app
menu. The default PIN is “0000”.
Calibration
1. Select the menu item “Preferences > Calibrate BikeLogger“ in your BikeLogger app
2. Follow the instructions provided in the app.
Features
View your Journey
To view the default screen, choose “Start“ in your BikeLogger app, or simply spin your
front-wheel.
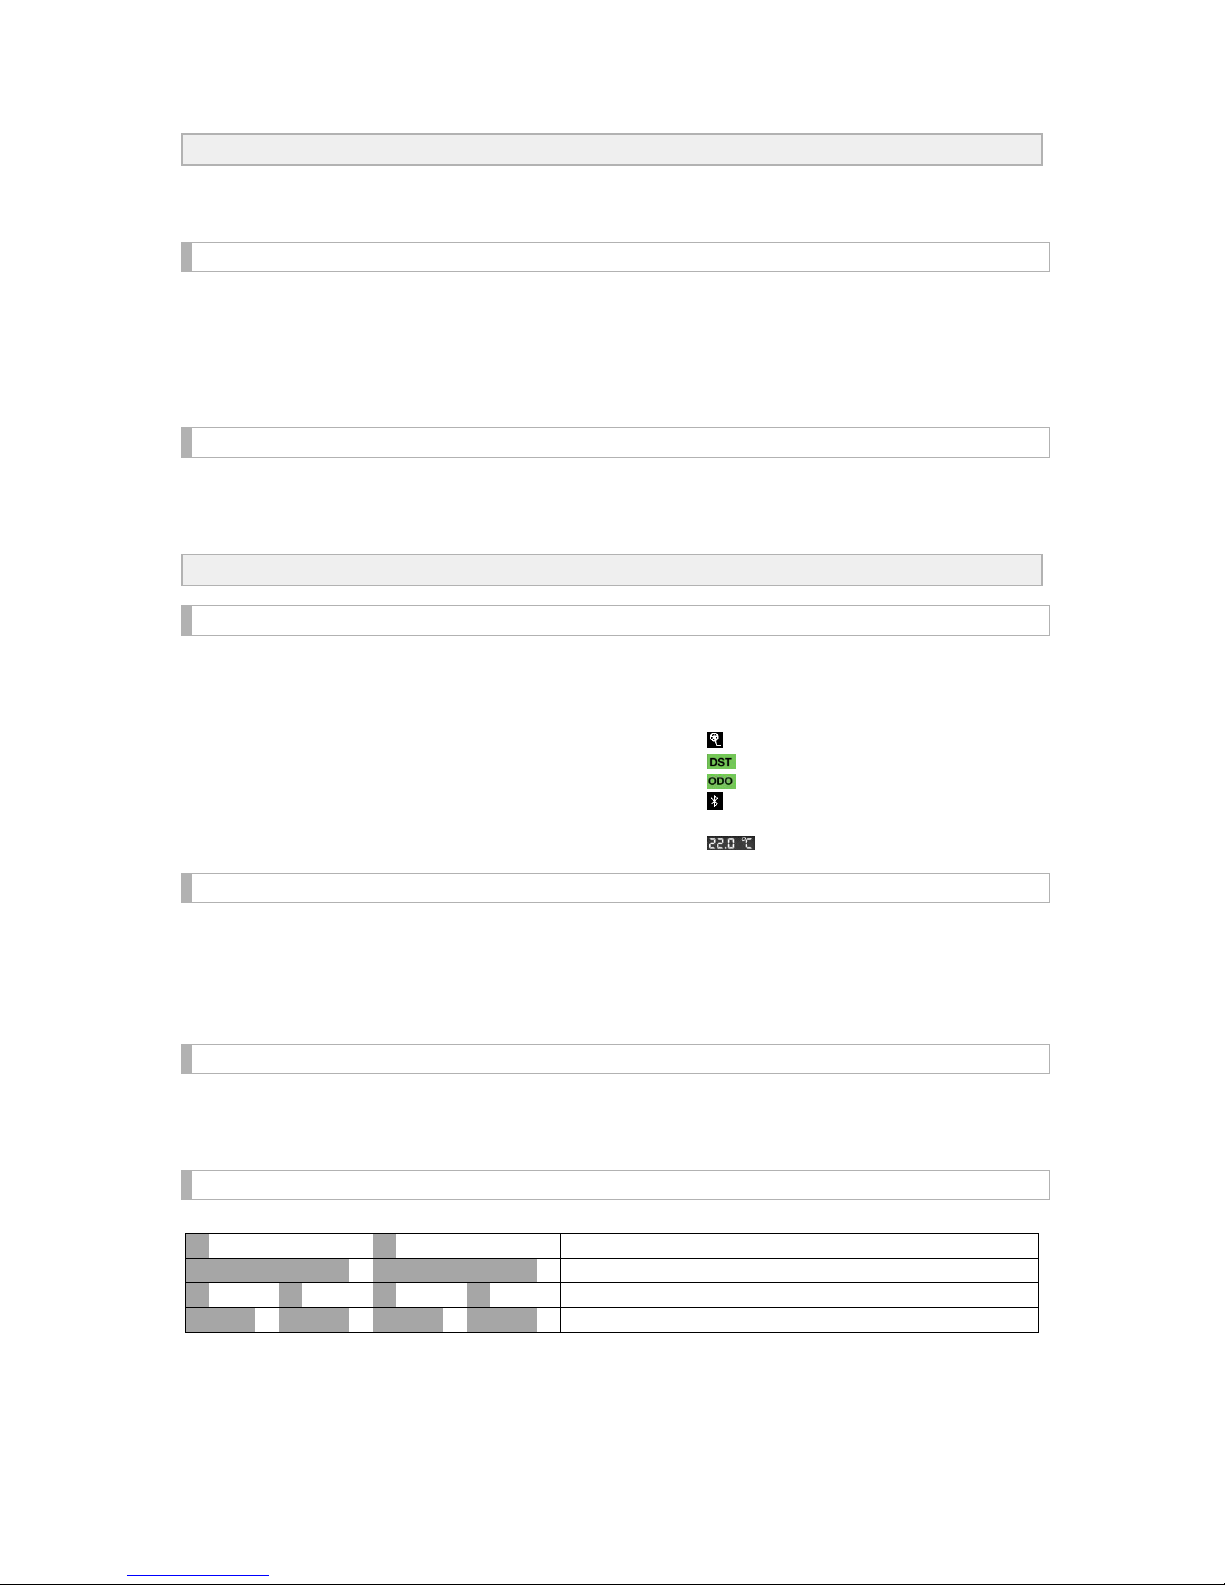
Please note the following indicators for displaying information during your active journey:
oRed needle: active speed
oOrange needle: average speed (of
active journey)
oAnalogue clock: active time
oDigital display (inside the analogue
clock): length (of active journey)
oCadence
oLength (of active journey)
ototal kilometre
oBluetooth®-Status: Blue =
connected, White = no connection
oactive outside temperature
View historical Data
Select “History“ in your BikeLogger app.
Speed, time and other parameters are diagrammed.
Anti-Theft Alarm
Swipe the default screen leftward to navigate to the Anti-Theft mode.
The BikeLogger will now notify you of any movement of your wheel, for approximately 30
minutes.
LED flashing sequence
Ready to connect
Connected
Ready to connect, Maintenance required
Connected, Maintenance required
Red flashing: If time not pre-set - please load your Smartphone’s BikeLogger app.
(Sufficient, if App runs in background).
On start, red LED means that energy buffer is charging. When full, blue LED is lighted shortly.

Electronic devices may not be
disposed with household
waste.
Please dispense the device at a
designated waste disposal.
This product is compliant with the Directives 93/42/EEC,
1999/5/EC and 2011/65/EU. The relevant Declaration of
Conformity is available at
http://bikelogger.de/wp-
content/uploads/BikeLogger_CE_eng.pdf
Technical Data
Power Supply: hub dynamo
Power consumption: ≈. 10 mW
Range: up to 100 m (open field)
Dimensions: 23mm x 32mm x 40mm
Weight: 20 g
Bluetooth®-Version: 4.0 (Bluetooth®
Smart)
Bluetooth®-Profile: Cycling Speed and
Cadence (CSCP)
Operating Temperature: -20°C –
60°C
Socket suitable for B&M headlight
brackets (two 4.5-5mm thick bars
that run parallel at a distance of 10
mm)
Guarantee, Warranty and Contact
We are liable to all contractual partners for any defects according
to our legal regulations. For guarantee, please contact your
BikeLogger dealer or send your item directly to our address (see
right) –please include your receipt and all billing attachments.
Please ensure adequate postage. The manufacturer reserves all
rights for technical modifications.
meso international GmbH
BikeLogger Support
Markt 21-23
09648 Mittweida
www.bikelogger.de/support
Important Notes
Apple and the Apple logo are trademarks of Apple Inc.,
registered in the U.S. and other countries. App Store is a
service mark of Apple Inc.
Bluetooth ® is a registered trademark of Bluetooth SIG,
Inc. All other trademarks are property of their respective
owners.

CE-Declaration of Conformity
According to the guidelines:
1999/5/EC: radio equipment and telecommunications terminal equipment and the mutual
recognition of their conformity (R&TTE)
2011/65/EC: restriction of the use of certain hazardous substances in electrical and electronic
equipment (RoHS II)
2002/96/EC: waste electrical and electronic equipment (WEEE)
The manufacturer hereby declares:
meso international GmbH
Markt 21 - 23
09648 Mittweida
under his sole responsibility, that the products listed hereafter;
BikeLogger L Fahrradcomputer mit Bluetooth LE zur Montage am Lampenbügel
BikeLogger C Fahrradcomputer mit Bluetooth LE zur Montage im Steuerrohr
conforms with the essential requirements of the directives mentioned above.
The conformity assessment procedures according to appendix IV of 1999/5/EC where carried out
with support of SGS Fimko Oy, Säriniementie 3, Helsinki, Finnland.
Applied standards:
Radio spectrum matters (ERM)
-EN 300 328 V1.7.1: Data transmission equipment operating in the 2,4 GHz ISM band
Electromagnetic compatibility (EMC)
-EN 301 489-1 V1.8.1: Common technical requirements
-EN 301 489-17 V1.3.x2: Specific requirements for 2,4 GHz broadband transmission
Safety
-EN 60950-1: 2006+A11:2009+A1:2010+A12:2011: Information technology equipment
The documents required for inspection of responsible authorities are kept by the manufacturer at
the address mentioned above.
Mittweida, March 1st 2013
Place, date Dipl.-Math. Christian Schwerin
CEO, head of development
Table of contents
Other BikeLogger Bicycle Accessories manuals

Popular Bicycle Accessories manuals by other brands


Specialized
Specialized Elite CylcoComputer user manual

Sigma
Sigma BC 16.16 manual

Playcore
Playcore Dero Setbacks installation instructions

VDO Cyclecomputing
VDO Cyclecomputing x3dw instruction manual

Cateye
Cateye RAPID X2 manual

buratti meccanica
buratti meccanica Clorofilla Trail Use and maintenance manual


