Biktrix Juggernaut Series User manual

User Guide
Biktrix Enterprises
Address:1A –640 Broadway Ave, Saskatoon SK S7N1A9, Canada

Welcome to the Biktrix family!
You are among the thousands of customers we have had the pleasure of doing business with over the
years. We thank you for your business and your trust in our product. If you have questions after reading
Disclaimers & Advisories
The purpose of this user guide is to get you started on your bike’s assembly and riding on it. This is not a
manual and therefore the contents of this guide are not guaranteed to match the actual product function
at all times. For more detailed information on our products please refer to the manufacturer’s website or
our help desk on https://support.biktrix.com/hc/en-us
Due to continuous product improvements and changes in e-bike technology some parts of this guide may
not match with the actual product delivered. For a more comprehensive guide on your product please visit
our help desk link as above or visit our global website www.biktrix.com orwww.biktrix.ca if you are in
Canada.
Please refer to your local laws and regulations about e-bikes before using your e-bike. As a standard policy,
we ship our e-bikes limited to either Class 2 or Class 3 depending on the model. If you intend to unlock
your bike for off-road riding conditions please contact our customer care. If your local bylaws require
specific e-bike configurations it is your responsibility to mention those specifics at the time of placing the
order.
Caution
Biktrix Enterprises reserves the right to the final explanation of all clauses in this user guide. We understand that this
guide does not, and cannot, fully cover all situations that may arise from riding an electric bicycle, however, we
remind you to be safe while on your bike. Obey all traffic laws, wear your safety gear at all times and observe local
laws relating to bikes and e-bikes.
Failure to follow the instructions in this user guide may lead to an improperly assembled, maintained, or operating
bike, and can lead to a damaged product or serious injury. Follow the instructions to the best of your ability if you
are unable to follow parts of this guide please contact us by email for support. If you are not confident in your ability
to assemble or maintain your Biktrix bike, be sure to take it to a certified professional.
While every effort is being made to make our bikes safe for riding purposes, under no circumstances shall Biktrix
Enterprises Inc. be held liable for direct, incidental or consequential damages, including, without limitation to
personal injuries, loss of life, property damage or economic losses incurred from using our products in any way
warranted or unwarranted.
Safety tips
Before operating and enjoying your new Biktrix e-bike, please read the contents of this User Guide carefully.
If you do not understand any part herein or if any function is not per this guide, please contact us
immediately.
Your electric bike is shipped 90% assembled. Follow these steps to get it ready and safe for your first ride.
Do not activate the brakes until the bike is fully assembled. Squeezing brake levers while calipers
have no disc rotor between them can damage the brakes.
To Prepare
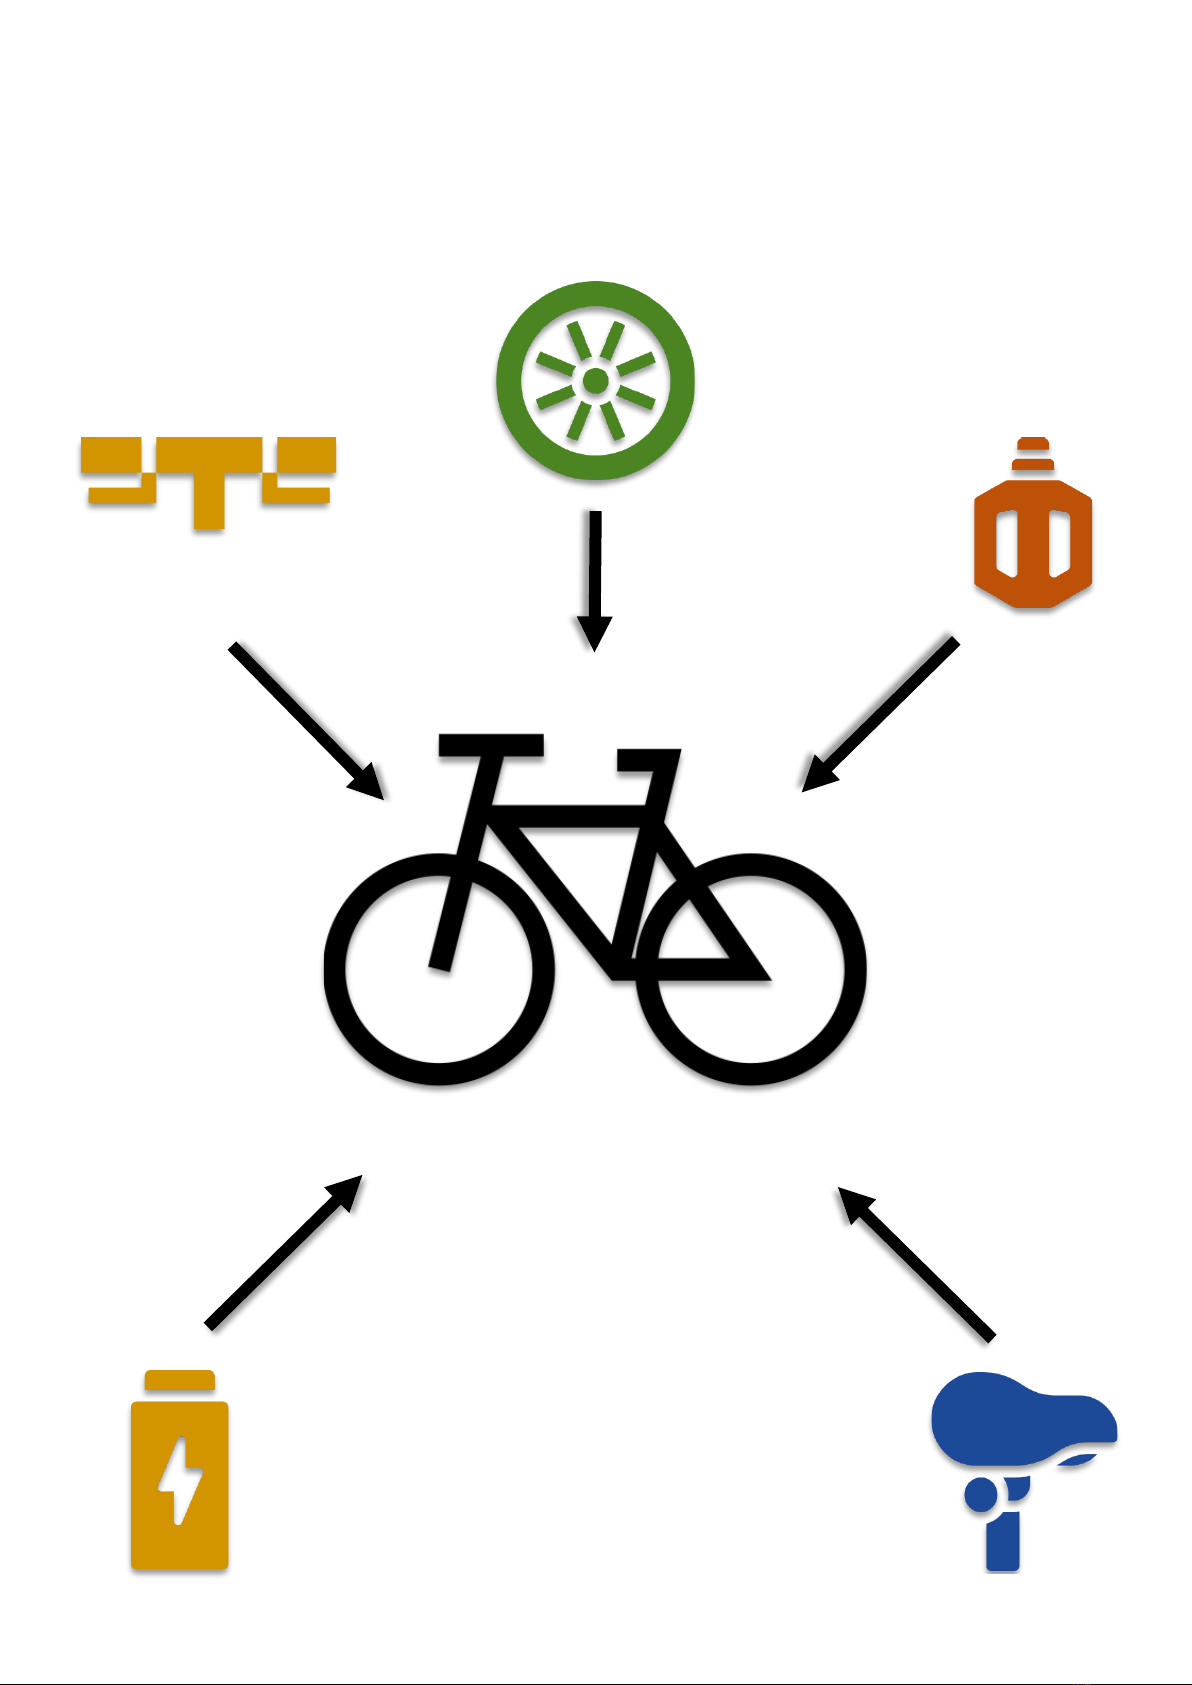
•We recommend that you familiarize yourself with the bike parts before assembling.
•Gather all the required tools. Be sure to work in a clean, dry space with plenty of room.
•You might wish to lay down a sheet of foam or an old blanket to protect the bike during assembly.
•You may find it helpful to stand the bike frame on a block or sturdy box under the battery housing to
work with it in an upright position.
•Watch the Bike’s balance when installing wheels.
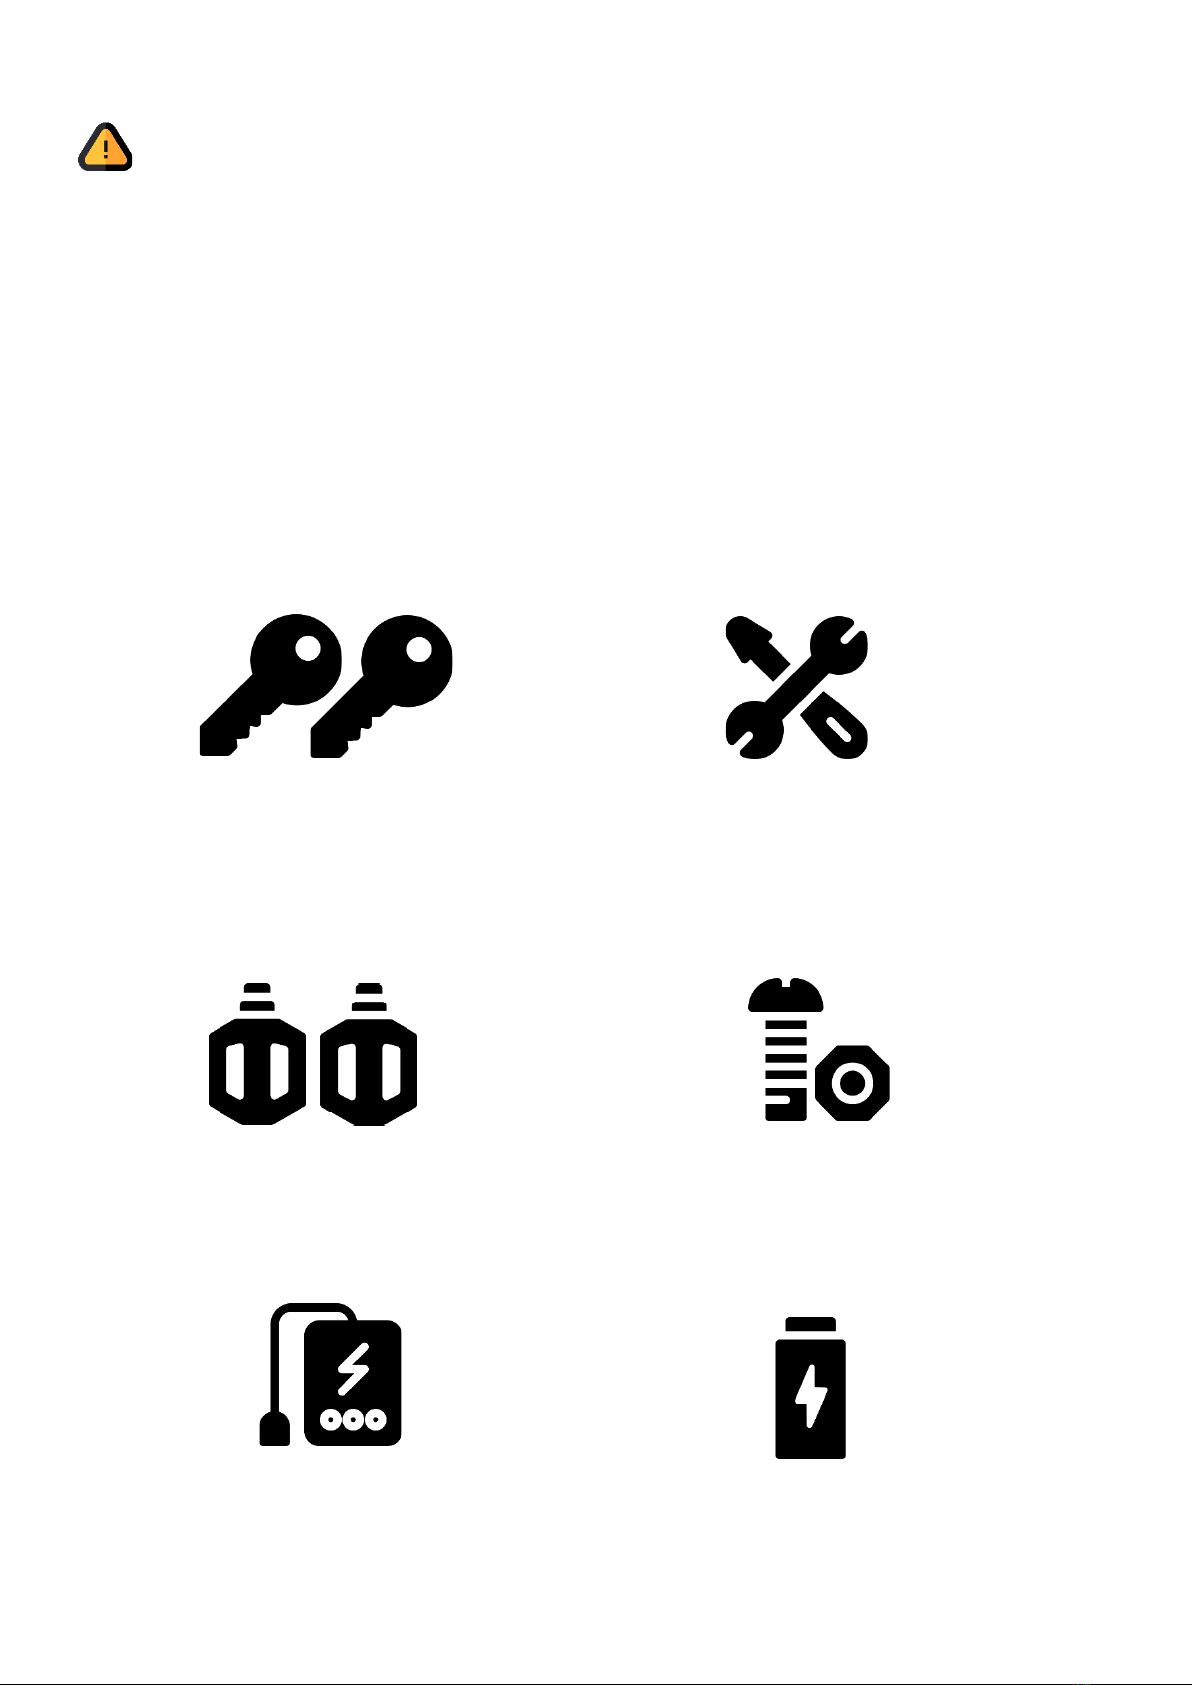
Your Bike comes with:
Battery Keys
Battery Charger
Pedal Set
Tool Set
Rechargeable
Battery
Fittings
Assembling Steps
(1)
(2)
(3)
(4)
(5)

For Juggernaut Series
(1) (2) (3)
(1) Remove the faceplate bolts from the front of the stem.
(2) Place handlebar onto the stem and hold the faceplate and thread the bolts a few turns by hand. Adjust
the angle of the handlebar as desired.
(3) In an X pattern gradually tighten the 4 bolts.
(4) (5)
(4) Align the handlebars to the fork.
(5) Tighten the bolts on either side of the stem
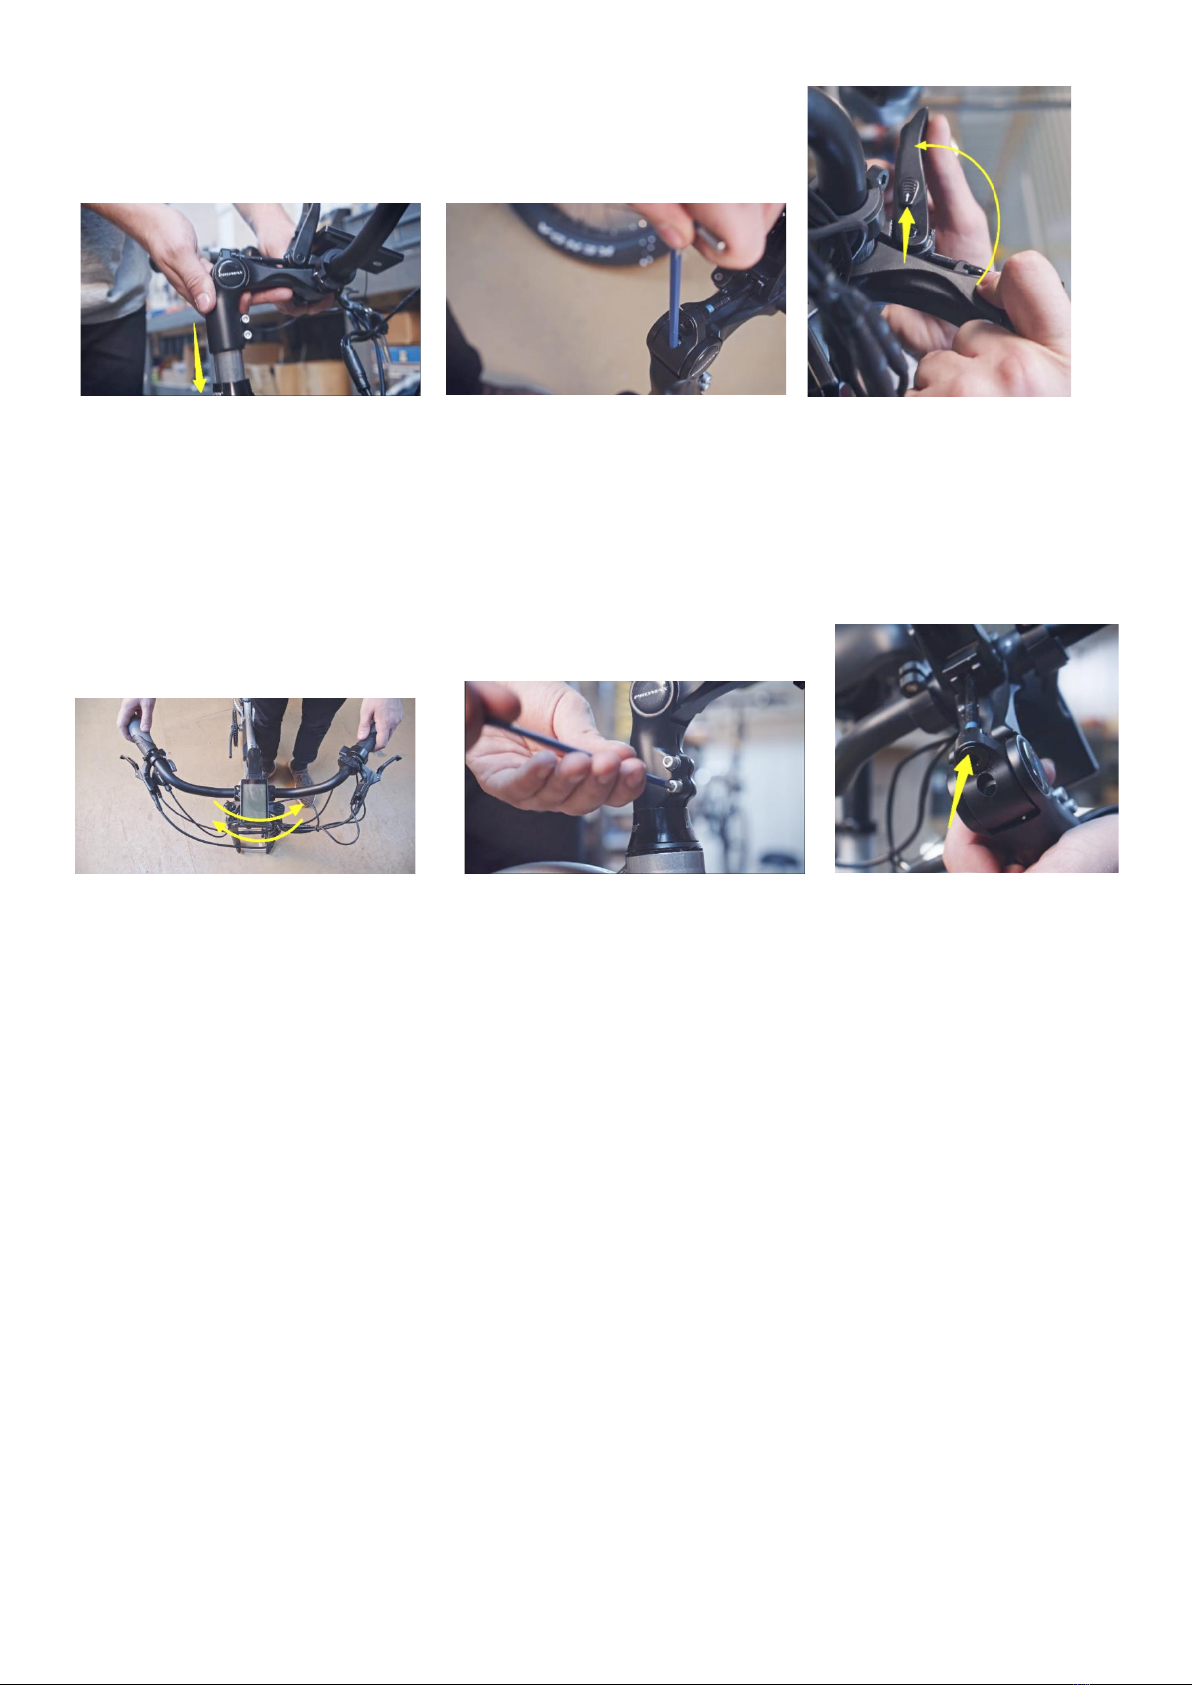
Mounting Handlebars

For Stunner Step-over/ Stunner Step-thru
(1) (2)
1. Insert the stem into the head tube as shown above.
2. Stand in front of the seat post and rotate the handlebar to align.
(3) (4)
3. Tighten the bolt on top as shown in pic.
4. Adjust the angular alignment and horizontal positioning of the handlebar by loosening the two Allen
bolts shown with 2 white arrows and then retighten them after the adjustment.
5. Adjust the Pitch of the handlebars by loosening this bolt and then retighten once the desired angle is
achieved.
(5)
For Stunner LT with Adjustable Stem
(1) (2) (3)
1. Insert the stem into the head tube as shown above.
2. Tighten the top bolt using a 5mm Allen wrench/ key until no play is felt but the fork turns freely.
3. Slide the lock to flip open the cam lever and then adjust the height by moving the bar up/down and
angle of by rolling the bar.
(4) (5) (6)
4. Stand in front of the seat post and rotate the handlebar to align.
5. Tighten the 2 bolts.
6. Turn the pitch adjustment screw to achieve your desired pitch angle for the handlebar.

(A) Thru-Axle Wheel
(1) (2)
1. To install the wheel you must first remove the Thru-axle from the fork.
•With a 6mm hex key unthread the axle bolt from the drive side of the bike.
•Now push the long thru-axle through to the non-drive side and pull it out.
2. Grab the wheel and insert between fork dropouts taking care not to scratch the brake pads.
•Push the thru-axle from the non-drive side, through the dropouts and hub, towards the drive side.
•Now thread the axle bolt into the thru-axle.
•Tighten on both sides with a 6mm hex key.
Prot Tip: If you find it difficult to slide-out or slide-in the thru-axle DO NOT hammer the axle!
Loosen the 2 bolts at the bottom of each fork leg as shown in Pic-2 with White Arrows.
Wheel Mounting

(B) QR (Quick-Release) Wheel
(1) (2)
1. Gently slide the front wheel in between the fork legs taking care not to scratch the brake pads.
2. The small end of the springs must face inwards. Open the cap and remove the spring next to it.
(3) (4)
3. Insert the QR shaft as shown from the brake rotor side.
4. Insert the spring with the small end facing inwards and screw on the end cap while holding the lever
from the other end such that the lever on the other end can slightly rotate.
(5) (6)
5. Rotate the lever to align it such that when you flip it to lock position it should flip upwards.
6. Lock the quick-release; with the lever in the palm of your hand, move the lever upwards as shown in
the pic to the CLOSE position.
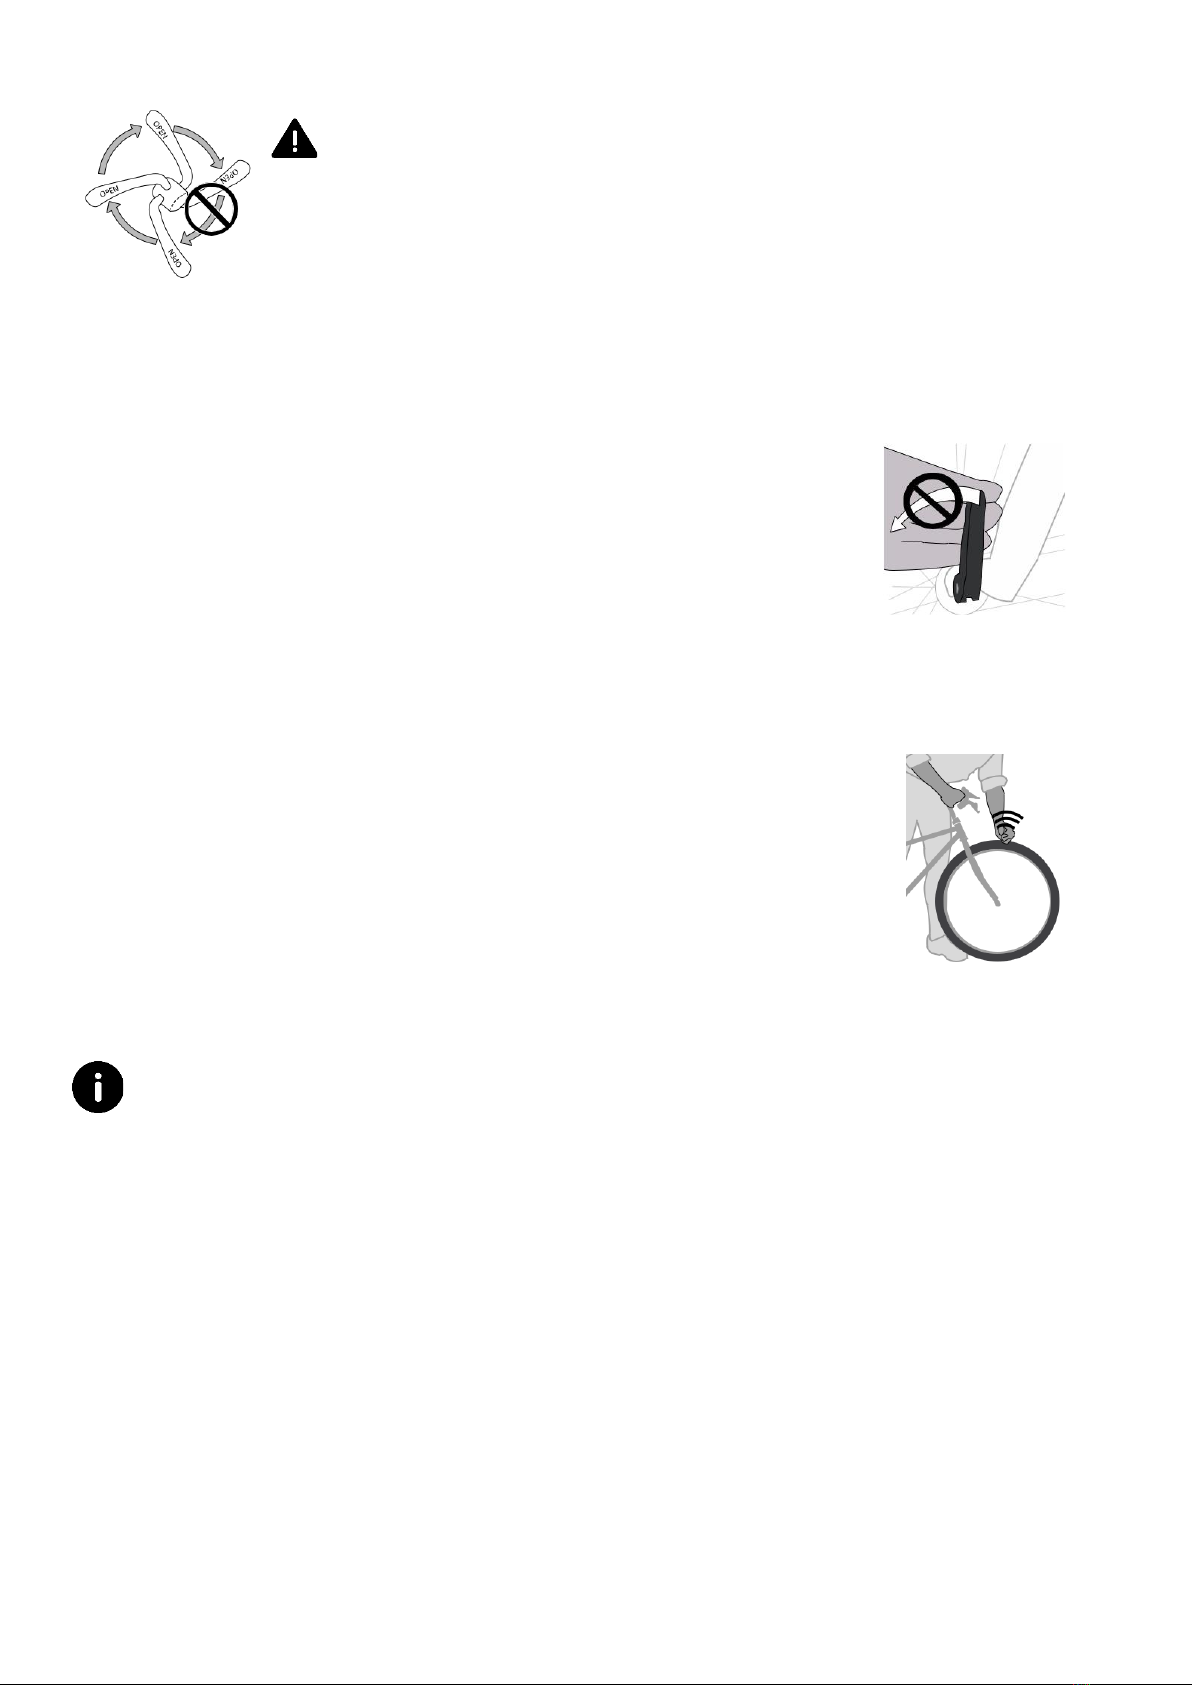
Do not turn the lever like a wing-nut to tighten it (Figure 7); this will not make
sufficient force to hold the wheel.
If you can close the lever with little or no resistance, the clamp-force is not sufficient.
Go back to Step 4 and slightly tighten the adjustment-nut.
7. Align the levers so they do not touch the fork or an accessory part (such as rack or fender), and so
obstacles in the path of the bicycle cannot catch the levers.
8. Do these tests to make sure you have correctly adjusted and locked the
quick-release. If the quick-release does not pass a test, adjust the quick-
release again or take your bicycle to your shop for service. Do the tests
again before you ride.
•Make sure the resistance is correct as you move the lever to the CLOSE
position.
•Make sure the locked quick-release lever cannot be turned.
Correctly closed lever will not rotate
•Lift your bicycle and hit the top of the tire with a solid blow (Figure 9). The
wheel should not come off, be loose, or move from side to side.
Test for secure attachment
When the quick-release is correctly locked, the clamp-force is sufficient to cause metal-into-metal
engagement (embossing) of the outer surfaces of the dropout washers.

While every bike has a slightly different headlight and fender they are very similar to one another and the
basic principle remains the same as explained in the steps below.
(1) (2) (3)
1. You will have 3 bolts, the smaller ones are for the sides and the long one is for the center.
2. Rest the fender on the wheel.
3. Use the long bolt with one washer and pass it through the headlight into the fork.
(4) (5) (6)
4. Once the bolt passes through the fork attach the fender mount onto the bolt.
5. Put the second washer and the nut on to the end of the bolt and tighten just a couple of turns by hand.
6. Now attach the 2 fender legs to the bottom of the fork on either side and hand tighten a few turns.
(7) (8) (9)
7. Keep the headlight upright and tighten the bolt using a 5mm Allen wrench while holding the nut with a
10mm wrench.
8. Tighten the fender legs on either side of the fork using the 5mm Allen wrench.
9. DO NOT tighten the fender legs too much as the plastic part may crack.
Installing the Headlight with Fender

Installing the Fender and Headlight on Ultra 1000
1. Note the Fender's front and Rear orientation first.
2. Note the supplied fitments. Use 2 or 3 additional washers for the front end of the fender so that the bolt
head moves away from the head tube's surface.
(3) (4)
3. The fender and light are installed at the fork crown together. One 6mm bolt and washer
through the front, and one 6mm bolt and washer through the back.
Note: Place additional washers on the front fitment bolt as shown in the pic.
4. If you are mounting the headlight place the 6mm bolt with washer through the light mount and then
through the front fender mount and thread into the front of the fork crown. Don't forget the additional
washers on the front bolt as mentioned previously.
5. Place the 6mm bolt with washers through the rear fender mount and thread in a couple of turns into the
back of the fork crown.
6. Now attach the front bolt and the headlight along with the
washers in the sequence as shown below.
7. Once both bolts are installed tighten completely.
8. Note that the headlight mount and fender mount should steer
clear of the head tube base as shown in the picture below, if
required add more washers to increase the spacing.
Pro Tip: If the headlight mount still rubs the head tube, bend the
fender mount gently using a pair of pliers.

There is a RIGHT pedal marked R and a LEFT pedal marked L.
Use a 15mm pedal wrench to tighten the pedals. A thin open-end wrench can also be used.
1. Apply a small amount of grease to both the pedal threads before
installation.
2. The pedal marked Rhas right-hand threads.
3. Screw-in the right pedal into the right crank arm in a clockwise
manner, by hand at first.
4. Use the 15mm pedal wrench and tighten the pedal all the way in.
5. The pedal marked Lhas left-hand threads.
6. Screw-in the left pedal into the left crank arm in a
counterclockwise direction (anti-clockwise) manner, by hand at
first.
7. Use the 15mm pedal wrench and tighten the pedal all the way in.
8. Make sure the threads of each pedal are fully into the crank arm.
Ensure pedals are secure in crank arms so they will not loosen. Periodically check tight-ness.
Installing the Pedals
L
R

1. Apply a small amount of grease to the lower portion of the post.
2. Open the cam lever on seat collar.
3. Slide the post into the desired height (seat posts have a minimum
insertion level marked on it, make sure this line is completely
hidden within the frame)
4. Close the cam lever (this is tight when it has resistance at mid-
point then close all the way).
Your Battery may ship separately due to logistical and regulatory requirements.
❖To install the battery make sure the battery is correctly on the slide rail then slide it in & lock.
❖To remove the battery, insert the key into the lock on the front left side of the battery, turn the key,
slide the battery forward, then lift out.
Installing the Seat
Installing the Battery
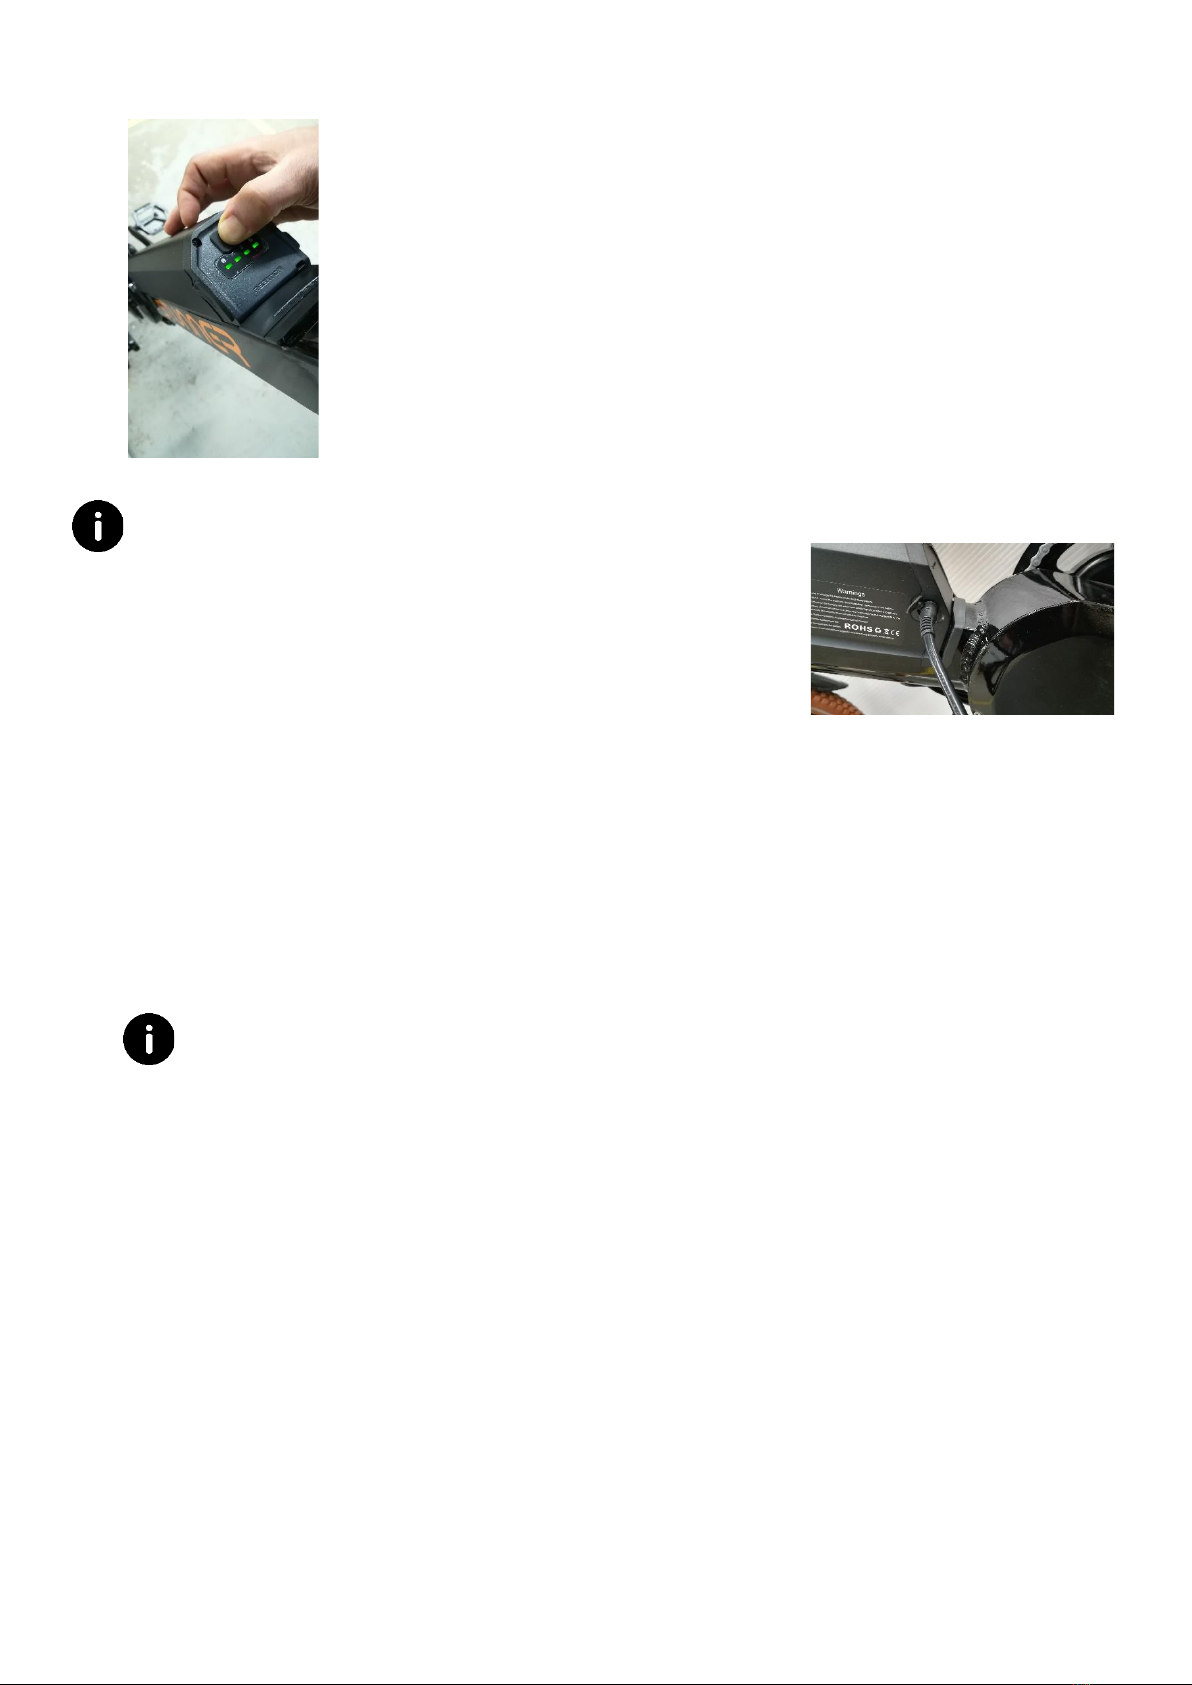
Battery Display
On the top front, there is a battery level display button. When pushed in, the
LED lights below it will glow, indicating the battery level. However, while riding
your bike you must rely on your battery level on the display which is more
accurate.
Charging your Battery
•Do not wait for the battery to fully discharge before charging.
•The charging port is in the battery, so it can be charged on or off the
bike
•Plug your charger into the wall first, lift the rubber cap and then plug in
your charger to the battery
•While charging, the charger will display a red light and green when fully charged
•Properly close the rubber cap before reusing your bike.
•If the battery is in storage you must charge every two months
•Avoid charging immediately after a demanding ride to prevent excessive heat that can increase wear on
the cells of the battery
•Don’t leave the battery on the charger for extended periods after it has charged. The charger and BMS
will protect from overcharging however the charger is not made for the trickle charging that can occur
when left connected
MAINTENANCE & STORAGE
•Always store the battery in temperatures between 5°C (41°F) and 40°C (104°F)
•The battery can be used in temperatures from -20°C (-4°F) to 45°C (113°F)
•Low temperature reduces capacity drastically ~50% range at -40°C (-40°F)
•Disconnect the battery from the bike for extended storage
•Maintain correct tire pressure for your tires and terrain, low tire pressure can reduce efficiency & range
Important: Your bike will arrive with the battery partially charged. You need to give it a full charge before
use. Just charge and go... then just top your battery up after each use (lithium batteries prefer shallow
discharge). Give your battery a complete discharge and full charge every 3 months or so to keep the cells
well balanced.

Kutty Folding/Unfolding
Follow these simple steps to fold your electric bike
(1) (2) (3)
1. Push the outside edge of the pedal towards the frame and twist until the folding section is parallel to
the frame.
2. Release the 'safety catch' mechanism on the stem by put up. Open the quick-release lever by pulling
away from the stem and lowering it.
3. Fold handlebars to the side of the bike frame as shown in the picture. Pay attention not to force cabling.
The cables should fall in front of or behind the stem when folded, not forced over the folding
mechanism.
(4) (5) (6)
4. Release the 'safety catch' mechanism located close to the bottom bracket by lifting it.
5. Pull on the quick release lever to unlock the frame hinge then push the lever back towards the frame to
fully clear the latch from the locking mechanism.
6. Lift the kickstand then rotate the front end of the bike until the front and rear wheels are next to each
other. The bike can now be supported by the metal stand situated under the bottom bracket.

Quick Tips
Don’t start your bike when the battery is on the bike and charging at the same time. This can potentially
damage the battery.
Don’t leave a fully discharged battery uncharged for more than a week this will shorten the lifespan of your
battery the longer you leave it in a fully discharged state
Don't leave your battery for more than 3 months without a top-up charge.
Don’t allow the battery to freeze outside during winters, keep them inside when not in use
Don't use your charger outdoors it is for indoor use only.
Do keep your charger dry and free from moisture
Do top up your battery whenever possible. Lithium batteries prefer shallow discharge (the opposite of older
types of batteries that have memory effects).
Do keep your battery topped up between rides to prolong the life of your battery and give you more power
too, as a full battery is better on the hills
Do disconnect your battery from the charger when it is charged. Leaving it connected permanently when
not in use will shorten cell life.
Note: A battery left for more than 3 months at a low voltage may suffer cell damage. This will not be covered
under your warranty
If charging your battery while it is still docked into the bike simply make sure the bike (including
charger) is not on or leaning against a flammable surface. Same for charging the battery off the bike,
make sure the battery and charger are placed on a fire-rated surface (concrete floor, steel bench or
shelf, etc).
Recycling E-bike Batteries
DO NOT throw your battery into a fire they can explode!
DO NOT dispose of your battery into regular garbage or regular recycling bins.
Li-ion batteries need to be recycled and for that contact your Municipal or City Council Office. Locate a
place that collects and recycles Li-ion batteries. You can also search online for the Li-ion recycling centers in
your locality. In North America you can contact www.call2recycle.org and enter your zip code or if you
prefer to locate a place by phone, dial 1-877-2-RECYCLE to find the nearest retailer that collects Li-ion
batteries

Maintenance
❖Cleaning your electric bike
Use any soft brush along with bike/ Automotive cleaner or diluted liquid soap with warm water and a
cloth to clean the frame of your bike, but care must be taken not to use pressurized water or immerse
any of the electrical components; they are rainproof but cannot be immersed in water. The motor can
be cleaned with a damp cloth, but should not be immersed in water. The battery can be cleaned with a
dry cloth.
Note: In salty conditions like the coastal areas it is essential to clean and lube your bike regularly.
❖Lubrication
•Lubricate your bike’s chain every month or every 200 miles (320 km) or more if riding in dirtier
conditions. The process is:
➢Wipe down chain and cassette with a damp cloth or degreaser
➢Add a drop of Chain specific lube to each link
➢Clean excess lube off with another cloth
•Once a month lubricate all pivot points on your derailleur and the derailleur pulleys with suitable chain
lube.
•Every three months lubricate the brake lever pivots, gears, and chain with suitable chain lube.
Dos & Don’ts
•Don't treat your e-Bike as a dirt-bike! The motor and battery are weatherproof, but not water-tight. It is
ok in rain, but not to submerge in streams, etc.
•Don't power up the throttle while the e-Bike is held stationary. The motor operation for more than a few
seconds, while the wheel is locked/stationary, can damage the motor and controller.
•Don't let others ride your e-Bike unless you have properly explained safe and appropriate use to them.
•Don't attempt to open the motor or battery should your system malfunction unless under the supervision
of the Technical Expert from our company. This will void the warranty.
•Don't use your charger outdoors. It is for indoor use only.
•Do make sure your charger has free air movement around it as it will get quite warm.
•Do treat your e-Bike like any bicycle you would want to last well keep it stored somewhere secure and
away from the elements.
•Do take extra care on the road as you will be traveling faster than you normally do on a bike and your
bike is now power assisted, so will behave differently.
•Important: Your bike will arrive with the battery partially charged. You need to give it a full charge before
use. Just charge and go... then just top your battery up after each use (lithium batteries prefer shallow
discharge). Give your battery a complete discharge and full charge every 3 months or so to keep the cells
well balanced.

Riding your E-Bike
1. PAS (Pedal Assist System):
Depending on your bike model and display setting, you would have PAS levels 0-3 or 0-5 or 0-9. This
will sense your pedaling action and activate motor power. Depending on your PAS level selection on
the display the motor output would be regulated.
2. Throttle Assist System:
The thumb throttle will allow you to ride your bike without pedaling. Please note that throttle
power uses maximum battery power and therefore your battery mileage may reduce significantly
depending on the amount of throttle power you would use.
Note: The LCD battery display bars will dip to zero or blank out under full load (on hills, etc) or certain
conditions when the charge level is 50% or less. This is normal as running voltage drops under high
load. To get an accurate battery reading, wait about 10 sec after the motor is not in use.
3. Shifting Gears: Shifting gears in an e-bike is very important particularly in mid-drive motors. Shift
your gears as you would in a car with stick shifter. So if you are starting from rest or approaching an
incline shift to lower gears. Your gear shifting would not only ease the efforts on your legs but also
improve the battery mileage significantly.
4. Please observe traffic regulations, and don't lend your bicycle to anyone unfamiliar with it. Refer
your local laws about any age restrictions on operating an E-bike
5. Even if you are in a country where wearing a cycle helmet is not mandatory, we still strongly advise
you to always wear one. If you are unfamiliar with cycling, we also advise you to attend a cycle
proficiency course before using it. Your bike is not a toy and should be considered a serious mode
of transport.
6. As with all bicycles, it is important that you stay within safe limits. If you feel you are traveling too
quickly for the road conditions you probably are, so slow down! High speed will increase forces in
the case of an accident and increase the possibility of injury.
7. Test your brakes before using the bike every time you use it and remember the bike will not stop as
quickly in wet or icy conditions as it would on a dry road.
8. Check the tires, rims, pedals, stem, cables, chain, etc for general condition regularly.
9. A rider is very difficult for motorists and pedestrians to see at dusk, at night, or at other times of
poor visibility. If you must ride under these conditions, check and be sure you comply with all local
laws about night riding; follow the rules of the road. Take the following additional precautions:
make sure that your bicycle is equipped with correctly positioned and securely mounted reflectors,
wear light-colored, reflective clothing and or accessories (any reflective device or light source that
moves will help you get the attention of approaching motorists, pedestrians, and other traffic).
Make sure your clothing or anything else you are carrying on your bicycle doesn't obstruct a
reflector or light. Ride slowly when conditions demand you to do so.
10. Check the front and rear rim's safety line. Replace the wheel when any part of the Rim Wear
Groove is not visible. It is dangerous not to do so.

Warranty information
Biktrix Enterprises offers a Limited Warranty to the original owner of its products. This
Limited Warranty covers the Warranty Period. During the Warranty Period, Biktrix
Enterprises Inc. will repair or replace, at no charge, products or parts of a product that proves
defective because of improper material or workmanship, under normal use and maintenance.
Processing warranty issues may take up to 20 business days to process. The customer is required
to email support@biktrix.com or call 1-866-biktrix (1-866-245-8749) for technical support. Any
other means of contacting us like personal voicemails of employees, personal emails, Facebook
or other social media, is not monitored regularly and not considered toward warranty.
Biktrix Enterprises will either repair the defective product at no charge, provide a new product,
or refurbish replacement parts. Some repairs will be serviced locally to the user and the customer
will be reimbursed their local bike shop fees.
Warranty Period varies per product and is initiated by the delivery of the product. This Limited
Warranty does not cover any problems caused by conditions, malfunctions or damage not
resulting from defect(s) in material or workmanship. To obtain warranty service, you must
contact support@biktrix.com to determine the problem and the most appropriate solution.
Item
Type of Warranty
Motor
1 Year
Battery
1 Year
Conversion Kits & Batteries
6 Months
Other Electric Components
1 Year
Bike Frames
Lifetime Limited
Forks Branded
Manufacturer’s Warranty
Rigid Forks/ Biktrix Forks
1 Year Limited
Suspension Parts (Bushings Pivot Bearings, Link Plates, Bolts, Etc…)
1 Year Limited
Drive System Components (Derailleur, Derailleur Hanger, Chain,
Cassette, Chain Ring)
Consumable Components
Manufacturer’s Warranty
Braking System
Brake Pads not covered under warranty.
Manufacturer’s Warranty on
Levers and Calipers only
Freehub
6 Months after that Shipping of
parts no labor for up to 1 year.
Components
Manufacturer’s Warranty
Paint and Decals excluding chipping, discoloration.
1 Year Limited
Labour (Frame Replacement)
1 Year Limited
Labour (Parts Replacement)
90 Days Limited
All plastic parts including display mounts on the bike
30 Days Limited
Warranty is void if modifications are made to the bicycle, this includes, but not limited to modifying gear ratios,
changing motor settings beyond manufacturer limits, etc.
Parts and features not mentioned in the specs/ advertisements are not covered under warranty.
This manual suits for next models
1
Table of contents


