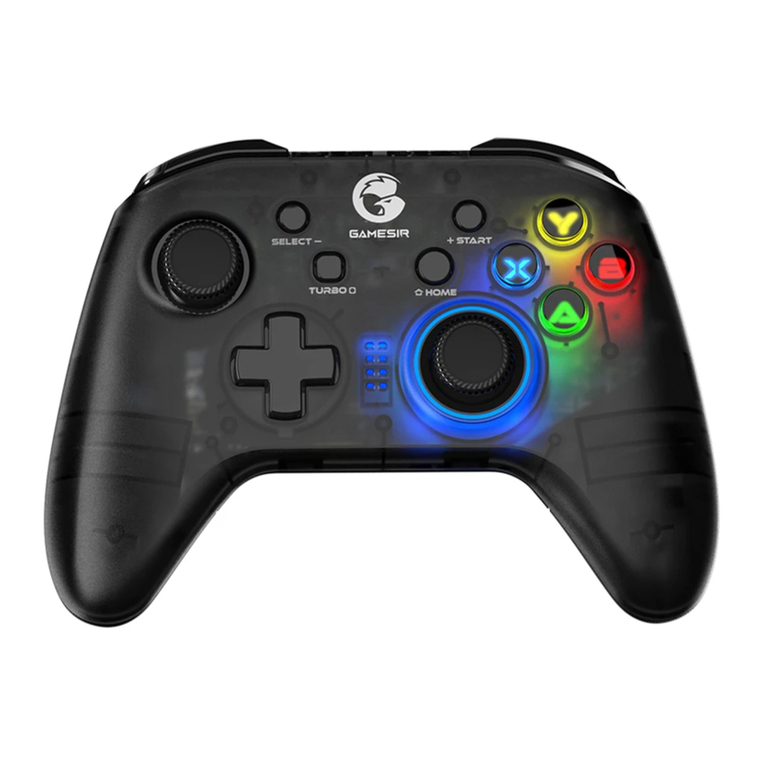
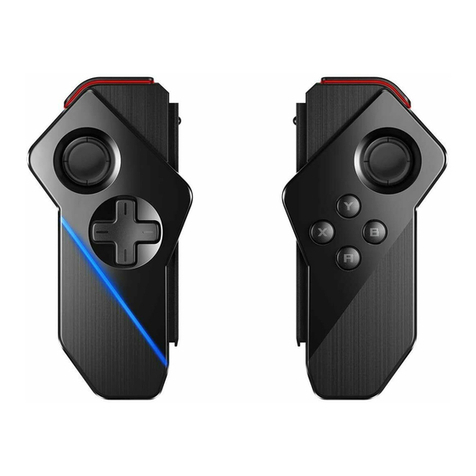
BINBOK HS03-1 User manual

WelcomeGuide
Wirelesscontroller
HS03-1
Specifications
1.TransmissionMedia:Bluetooth2.1
2.CarrierWave:2.402-2.480GHz
3.Protocol:Bluetooth2.1
4.LED:8LEDLights&8Multi-ColorLEDlights
5.Battery:OneLithiumpolymerbattery、3.7V400/mAH
6.Batterylife:2-3hoursafterfullycharged
7.operatingvoltage:3.7V-4.2V
8.chargingvoltage:5V
9.Operatingtemperature:-10℃~50℃
10.storagetemperature:-20℃~70℃
11.Dimensions(approx):7*20*41mm
12.weight(approx):149g
Connection
A.ConventionalConnection
1.Attachingthecontrollerstotheconsolewillconnectthem
automatically.
2.TheJoy-Concontrollerswillremainpairedwhenyoudetach
themfromtheconsole,andyou'llbeabletousethemwirelessly.
ButtonLayout
TurboFunction
Note:TheTbuttonontheleftcontrollercanonlytheassignthe
buttonsthatareontheleftcontroller.SamegoesfortheTbutton
ontherightcontroller.
TurboMode
A:HolddowntheTbuttonandthenpressthebuttonthatyou
wanttosetforthe1sttimetoturnonthenormalturbofunction.
(Controllerwillvibrate.)
B:HolddowntheTbuttonandthenpressthebuttonthatyou
wanttosetforthe2ndtimetoturnontheautomaticturbo
function.(Controllerwillvibrate.)
B:BluetoothReconnecting
PresstheHomebuttonortheCapturebuttontoreconnectyour
controllersbacktotheconsole,4LEDindicatorsonthesidewill
starttoflashinaregularpatternasanindicationofreconnecting.
TurnOff
HolddowntheTbuttonandthenpressthebuttonthatyou
havesetforthe3rdtimetoturnoffitsturbofunction.(Controller
willvibrate.)
*HoldtheTbuttonfor5secondstocanceltheTurbofunctionof
allbuttons.
TurboSpeedAdjustment
*Atotalof3turbospeedscanbeadjustedcyclically.
HolddowntheTbuttonandpressthe‒buttonforController(L).
(Controllerwillvibrate.)
HolddowntheTbuttonandpressthe+buttonforController(R).
(Controllerwillvibrate.)
Buttonscanbeset
Leftcontroller:L/ZLbuttonandControlPad(Up/Down/Left/
Right).
Rightcontroller:R/ZRbuttonandA/B/X/Ybutton.
VibrationLevelAdjustment
PresstheTbuttonandpushtheJoy-stickupordowntoadjust
thevibrationlevelofeachcontroller.
(Controllerwillvibratewhenadjustingbetweeneachvibration
level.)
[2] [3] [4]
[1]
[6] [7] [8]
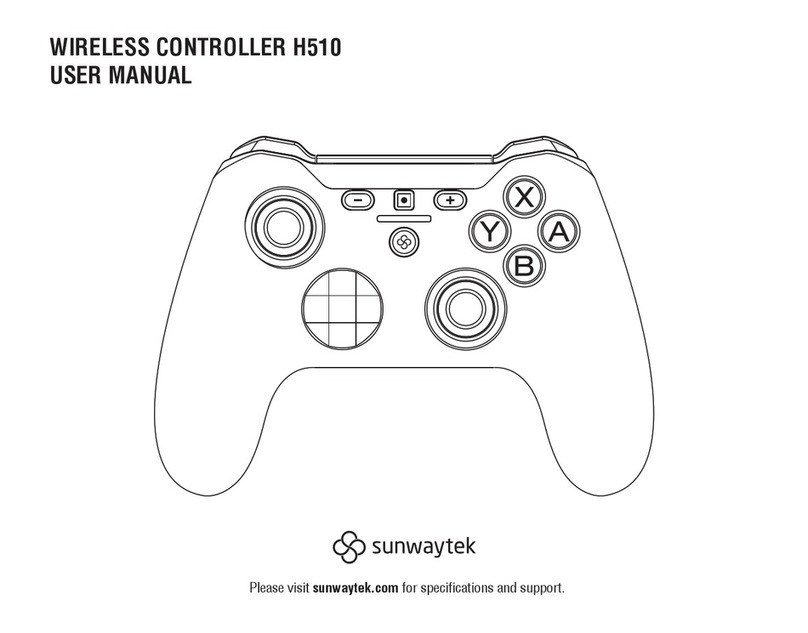
1.-button 2.Leftstick
3.Directionalpad 4.Turbobutton
5.Screenshotbutton 6.+button
7.Xbutton 8.Abutton
9.Ybutton 10.Bbutton
11.Rightstick 12.Homebutton
13.Turbobutton 14.Lbutton
15.ZLbutton 16.SLbutton
17.Pairingbutton 18.SRbutton
19.Type-Cinterface 20.ZRbutton
21.Rbutton 22.SRbutton
23.Pairingbutton 24.SLbutton
25.Type-Cinterface
1
2
*Thereare5levelsofVibration:100%,75%,50%,30%,0%.
(Defaultlevelis50%)
LEDRingSetting
A:NormalMode
HoldtheTbuttonandpressthejoystickoncetoturnthelight
intonormalmode(thelightwillkeeponthiscolor),andrepeat
thisproceduretochangecolor.(Controllerwillvibratewhenset
successfully)
1-8colors:1.Red2.Orange3.Yellow4.Green5.Cyan6.Blue
7.Purple8.Rainbow
BrightnessAdjustment
Press&holdtheTbuttonandjoysticktochangethebrightness,
thenreleasethejoysticktofixthebrightness.(Controllerwill
vibratewhensetsuccessfully)
B:BreathingLightMode
HoldtheTbuttonandpressthejoysticktwicetoturnthelight
intobreathinglightmode,thefollowingthreemodeswillbe
cycled.
(Controllerwillvibratewhensetsuccessfully)
Mode1:1-7colorautocycling.
Mode2:Rainbowlight.
Mode3:Lightoff.
GyroCalibration
1.First,pressandholdthePairingButtontoturnoffthe
controller.
2.Forcontroller(L),presstheL,UPandtheCapturebutton
togethertoenterthecalibrationmode.
Forcontroller(R),presstheR,XandtheHomebuttontogetherto
enterthecalibrationmode.
3.Whenenteringthecalibrationmode,LEDlightswillflash
alternately.Thenalignthecontrollerswiththerailsoneitherside
oftheconsole,andslidethemdownBUTDONOTslidethemto
thebottomoftherail.(Ifyouhearaclickyouneedtopressthe
releasebuttonandslidethemupalittle.)
4.Thenpressthe-buttonforcontroller(L)and+buttonforthe
control(R)tostartthecalibrating.Controllerswillbereconnected
backtotheconsolewhencalibrationisover.
2
1
ChargingInstructions
1.WhenthecontrollersareintheUSBchargingstate,LEDlightswill
flashslowly,ifconnectedtotheconsole,thelightswillstayon
whenitisfullycharged;Ifnot,thelightwillbeoff.
2.Whenthepairingindicationconflictswiththecharginglow
powerindicator,thepairingindicatesaconcern.
Warning
1.Donotexposethecontrollertohightemperature,highhumidity
ordirectsunshine.
2.Donotallowliquidorsmallparticlestoenterthecontroller.
3.Donotputanyheavyobjectonthecontroller.
4.Donotdisassemblethecontroller.
5.Donottwistorpullthecabletoostrongly.
6.Donotthrow,drop,orapplystrongshocktothecontroller.
[5]
DriverPackage
WesupportdownloadingthedriverpackagethroughaUSB
connectiontothecomputertofixsomeproblemsthatmaybe
encounteredinuse.Ifthedriverpackagedoesnotwork,please
contactusbyemail([email protected]).
Driverpackagedownloadwebsite:www.binbok.com
Note:Noneedtodownloaddriverifitcanbeusednormally,
otherwisenewproblemsmayoccurduetoversionconflicts)
UseMethod
1.Turnoffyourcontrollers.
2.PressdownandholdtheLeft(Right)stickthenconnectthemto
yourcomputerandrelease.
3.RuntheDriverpackage.
4.ClicktheUpdateFirmwareonyourcomputer.
LowVoltageAlarm
1.Ifthelithiumbatteryvoltageislowerthan3.45V±0.1V,the
currentchanneltightflashesquicklyandindicatelowvoltage.
2.Ifthelithiumbatteryvoltageislowerthan3.35V±0.1V,itwill
automaticallysleep.
9
10
11
12
5
14 15 20 21
7
6
1
2
3
4
16
17
18
19
22
23
24
25
SL SR
13
8
SL SR
3
4
ResetButtonFunction
Whentherearesomeunsolvablefaultsinthecontroller,youcan
trytopressandholdtheresetbuttononthebackofthe
controllerformorethan5seconds.Atthistime,thecontrolleris
poweredoffandreset,andyouneedtoreconnectaccordingto
themethodofconnectingthecontrollerforthefirsttime.
BinbokGame
BusinessContact:[email protected]
@BINBOKOffcial
EUR:[email protected]
OfficialHomepage:binbok.com
(Registeronthiswebtoactivateaftersales.)

This device complies with part 15of the FCC Rules. Operation is subject to the following two
conditions: (1) this device may not cause harmful interference, and (2) thisdevice must accept
any interference received, including interference that may cause undesired operation.
Any changes or modifications not expressly approved by the party responsible for compliance
could void the user's authority to operate the equipment.
NOTE: This equipment has been tested and found to comply with the limits for aClass B
digital device, pursuant to Part 15 oftheFCC Rules. These limits are designed to provide
reasonable protection against harmful interference in aresidential installation. This equipment
generates, uses and can radiate radio frequency energy and, ifnot installed and used in
accordance with the instructions, may cause harmful interference toradio communications.
However, there is no guarantee that interference will not occur inaparticular installation.
If this equipment does cause harmful interference toradio ortelevision reception,
which can be determined by turning the equipment off and on, the user is encouraged to try to
correct the interference byone ormore of the following measures:
-- Reorient orrelocate the receiving antenna.
-- Increase the separation between the equipment and receiver.
-- Connect the equipment into an outlet on acircuit different
from that towhich the receiver is connected.
-- Consult the dealer oranexperienced radio/TV technician for help.
The device has been evaluated to meet general RF exposure requirement. The device can be u
sed in portable exposure condition without restriction
Table of contents
