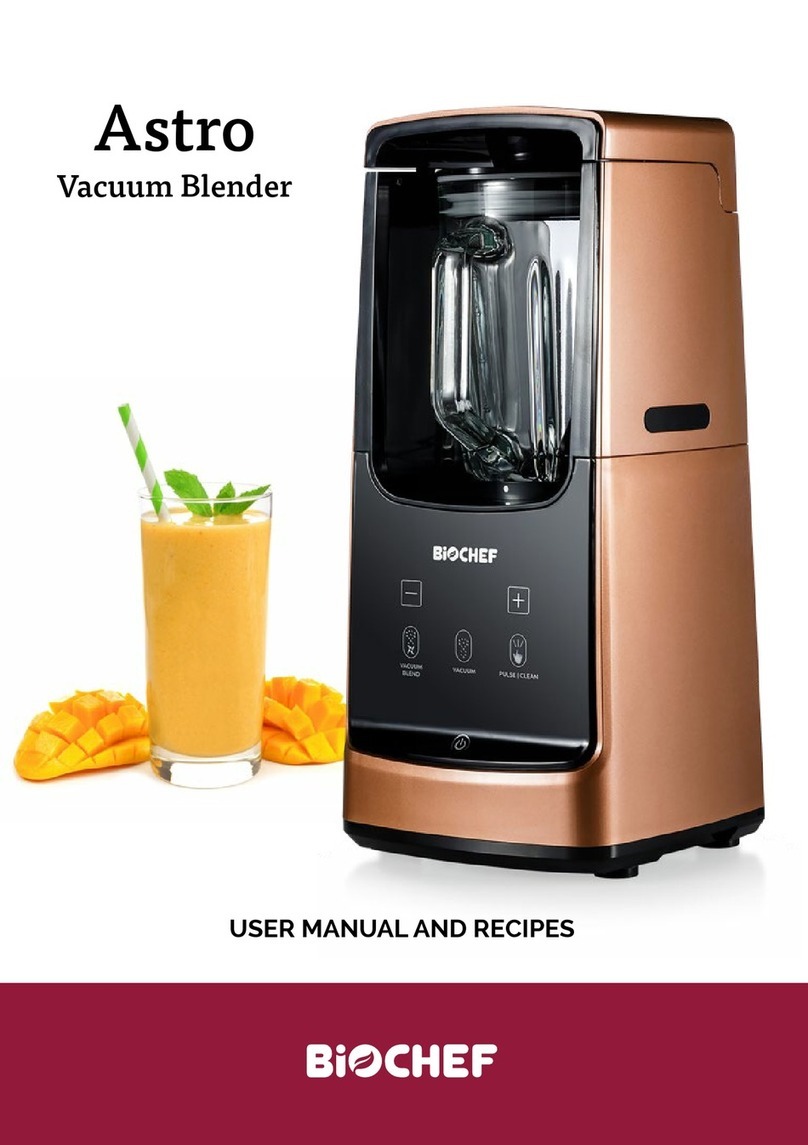
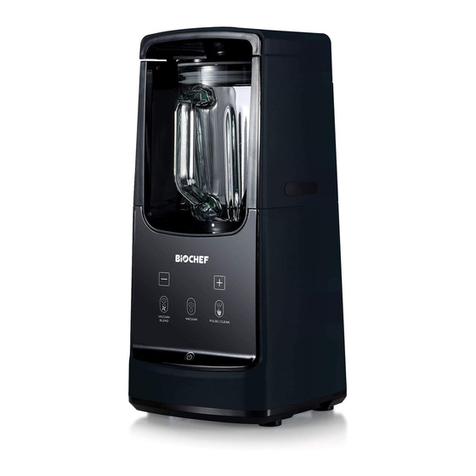
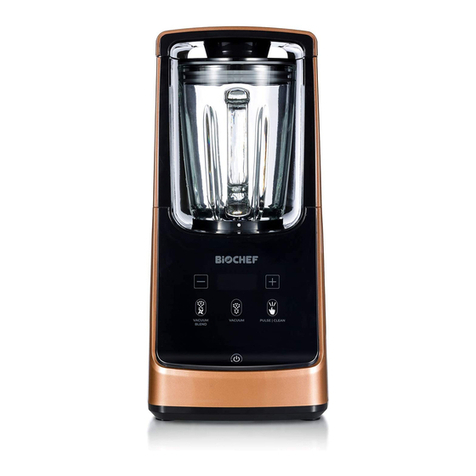
Biochef Aurora Technical specifications

Aurora
Vacuum Blender
USER MANUAL AND RECIPES
EN

EN

Aurora
Vacuum Blender EN
English
Français
Deutsh
Español
Italiano

The information in this manual is
intended to help you to get the
best results from your BioChef
Aurora Vacuum Blender.
Please read and follow these
instructions and safeguards
prior to use.
Please keep your manual handy
for future reference, warranty
information and support details.
EN

5
Contents
Safety Precautions & Instructions
Parts and Accessories
Operating Instructions
Selecting Programs
Troubleshooting
Cleaning
Vacuum Blending
Recipes
Warranty
EN

Safety Precautions &
Instructions
!
risk of electrical shock, do not put the body (motor) in water or any other
!
!Unplug from electrical outlet when not in use and before disassembly for
!
!
!
!
!
!CAUTION:
6
EN

Parts and Accessories
1. 1.7 l Borosilicate Glass Jug
2. 1.7 l Vacuum Jug
3. 1,000W High-Performance Motor
4. High-Quality Stainless Steel
Blades
5. 10 Preset Programs
6. Measuring Cup, Tamper and
cleaning brush
7. Non-Slip Feet
7
EN
7
6
5
4
3
2
1
6

Operating Instructions
• Please refer to the information and instructions
• Use the glass jug for hot and cold food and
drinks and the vacuum jug exclusively for cold
food and drinks as well as for vacuum blending.
• Please refer to the maximum filling limit of
the individual programs and proportions
• Add the ingredients to the jug and place the
blender jug onto the base so that the jug handle
is to the right of the blender motor (as shown
here).
• Close the jug lid so that the lid tab lines up with
the handle and the lid is firmly in place before
turning on the blender.
• Select your program and start blending.
Operating Instructions
blender jug onto the base so that the jug handle
Function Glass jug Vacuum Jug
Soy Milk ✓✗
Soup ✓✗
Grain ✓✗
Congee ✓✗
Chunky Soup ✓✗
Juice ✓ ✓
Smoothie ✓ ✓
Shake ✓ ✓
Nut Milk ✓ ✓
Grind ✓ ✓
Pulse/Clean ✓ ✓
Vacuum Blend ✗✓
Vacuum ✗✓
8
EN

Selecting Programs
Preparing Hot and Cold Food and Drinks
Place the glass jug with lid onto the base and insert the power cord into the
power outlet.
Caution: If the lid is not correctly secured on the glass jug, you will hear a
correctly on top of the jug to continue.
On the left side are all programs with heat function that will light up in white if
the control knob is turned counterclockwise. Your BioChef Aurora is equipped
with a heating element in the base of the jug which will heat your ingredients
starting the blending process.
Preparing Cold Food & Drinks
In order to prepare cold food and drinks or to activate the grinding function,
please rotate the control knob clockwise and the symbols on the right side
will illuminate in blue.
starting the blending process.
MODE: VACUUM BLEND (VACUUM + BLENDING)
ingredients as well as the required amount of liquid to the jug and ensure
that both lids are firmly in place and tightly sealed.
You will hear a beeping sound and the display will illuminate.
to blending automatically. Once the program has finished, you will hear a
9
EN

10
EN
can then be easily opened for you to enjoy the finished product.
the jug and the jug onto the base. Insert the plug back into the outlet and
refrigerator to keep your juice, shake or smoothie fresh.
Program Description Heat Blend Time* Food-Water-
Ratio** Function Guide
Soy Milk Make soy milk
by using various
types of soy bean
and additional
ingredients to
customise your
perfect soy milk.
✓ ✓ Pre-heat
approx.
9-10min
Program
21min
Use 1 cup of dried
soy beans with
1200ml of water
Heats up slowly
to 95°C. When
temperature
reached blends in
short bursts of 2
sec every 30 sec.
When finished,
the timer starts at
21min. Blends in
short 2 sec burst
every 45 sec.
Soup To make smooth
and creamy soup
such as pumpkin
soup, borscht
and fish soup.
✓ ✓ Pre-heat
approx.
9-10min
20min
We recommend
a food to water
ratio that doesn´t
exceed 1:2
Heats up quickly
to 100°C. Starts
blending at
11.30min for 10-
12 sec at a time,
every 15-20 sec.
Grain To make grain
milk, such as rice
milk, green soy
milk, wheat milk,
etc.
✓ ✓ Pre-heat
approx.
9-10min
Program:
18min
We recommended
a food to water
ratio of 1:10. The
total amount of
water should not
exceed 1,200ml.
As it heats up to
a temperature of
100°C it blends
every 1 min for
1 sec. When
temperature
is reached the
program timer
starts.
Congee To make Congee
(Rice Porridge)
or gruel, such as
millet gruel.
✓ ✓ Pre-heat
approx.
9-10min
Program:
17min
Food weight should
be no more than
100-150g. Food
and water volume
should not exceed
1200ml.
Heats up quickly to
100°C and blends
in 2 sec bursts
every 1min. When
temperature is
reached, bursts
happen every 30
sec

11
EN
Program Description Heat Blend Time* Food-Water-
Ratio** Function Guide
Chunky Soup To make chunky
soups like
Borscht, chunky
vegetable or beef
broth soup.
✓✗Pre-heat
approx.
9-10min
Program:
25min
We recommend
a food and water
ratio of 1:2. If
adding Protein,
please no more
than 300g. Food
and water volume
should not exceed
1,200ml.
Heats up to
100°C and boils
ingredients for
25min. If a lower
cooking time
is desired, stop
program with
“Start/Stop”
button.
Juice To make all kinds
of fresh fruit and
vegetable juice
✗✓2:30min Total volume of
ingredients and
water should not
exceed 1,600ml.
Blends on high
speed for the
duration of the
program.
Smoothie To make all
kinds of fruit
and vegetable
smoothie
✗✓2:30min Refer to the
individual recipe
for guidance. Total
volume should not
exceed 700ml.
Blends on high
speed in 10 sec
bursts for the
duration of the
program.
Shake To make all kinds
of Milkshake:
Strawberry,
Banana Mango
kefir etc.
✗✓2:10min Keep total
volume below the
maximum level
mark.
Blends on high
speed in 4 sec
bursts for the
duration of the
program.
Nut Milk To make nut
milks such as
almond, cashew
or macadamia
milk.
✗✓2:30min Keep total
volume below the
maximum level
mark.
Blends on high
speed in 12 sec
bursts for the
duration of the
program.
Grind To grind
ingredients to
powder such as
coffee beans,
pepper, flour.
✗✓2:30min We recommend
using 500g worth
of ingredients at a
time. If ingredients
are not fully
grinded yet use the
stirrer to assist.
Blends on high
speed in 20 sec
bursts for the
duration of the
program.
Pulse/Clean For quick
cleaning of the
jar and the initial
grinding of hard
ingredients, like
ice cubes.
✗✓As required For cleaning, fill the
jar with 1,000ml of
water, press and
hold the button for
10 seconds at a
time. Repeat twice.

Program Description Heat Blend Time* Food-Water-
Ratio** Function Guide
Vacuum Blend For use with
vacuum jug only.
To make fruit/
vegetables juices
and milkshakes
without oxygen
✗✓Approx.
2:30min
Total amount
of water and
ingredients,
should not exceed
1,250ml.
Vacuum the air out
of the jug for 1min,
then blend.
Vacuum For use with
vacuum jug only.
To preserve food.
✗ ✗ Approx. 1
min
Total amount
of water and
ingredients,
should not exceed
1,250ml.
Start/Stop Used to start or stop the appliance from operating or cancel the selected program.
*Please follow general cooking time recommendations of individual ingredients and/or recipes and stop the
program by pressing “Start/Stop” if necessary.
**ATTENTION:
For hot program settings:
soup, plant-based milk alternatives, congee and chunky soups. If the wrong
program is selected it may result in over or undercooked and can even
overflow and burn.
to exit and select the correct program. If the water temperature has reached
new program.
in the recipe to avoid them sticking to the bottom of the blender jug and
milk or cold soups directly as this will cause it to overcook and burn at the
bottom.
machine is operating to prevent the seasoning from sticking to the base.
machine is in progress.
For cold program settings:
results.
12
EN

13
EN
into the jug.
connected to a power source to avoid any injury or damage to the product.
How to clean a burned base in the glass jug:
it to come to a boil.
drain the vinegar down the sink.
square to reach the base of the jug and use the scourer to clean the marks.
Modus: VACUUM
and the necessary amount of liquid to the jug and ensure that both lids are
firmly in place and tightly sealed.
You will hear a beeping sound and the display will illuminate.
the power plug from the power outlet.
can then be easily opened for you to enjoy the finished product.
serve the finished product.
Mode: PULSE/CLEAN
Use the glass jug as well as the vacuum jug for this function. Fill the blending
consistency. The pulse mode always operates at maximum speed.

Troubleshooting
Problem Solution
1.
secured in the power socket.
2.
doesn’t start or the program
can’t be selected.
Please make sure that the right jug is used for the
3. Alarm sounds during
operation
3.1 Please clean the inside of the jug and remove
any burnt remains stuck on the base of the jug
with water and white vinegar.
3.2 Please make sure there is enough liquid in the
blender according to the specific program (see
4. Ingredients are not all
crushed
4.1 Please add more water to the jug and use the
or start program again (only for cold food
programs).
4.2 Check your local voltage is high enough for the
blender to use its full potential.
5. Food stains on the heating
plate of the glass jug
Clean the inside and base of the jar properly
before using. Use a mixture of vinegar and water to
remove hard stains. Please refer to recommended
food to water ratios in chart 2 and select the correct
program for the recipe before using the blender.
6. Buttons are not responding Please pull the plug of the blender and restart the
machine after 3 minutes.
7. Please place the lid on the jar securely and tight. If
the problem persists, refer to solution 6.
8. Please clean the inside of the jug and remove any
burnt remains stuck on the base of the jug with
water and white vinegar.
Please refer to recommended food to water ratios
in chart 2 and select the correct program for the
recipe before using the blender.
14
EN

15
EN
Cleaning
depending on the ingredients you have used.
• For thick or oily ingredients, add warm water to the jug with a few drops of
detergent. Place jug into main unit. Press ON | OFF to activate the blender.
and rinse with clean water. Wipe the main unit with a wet or dry cloth.
up the residual water.
•Please dry inner base of the jug with a kitchen towel and place jug in
• To remove burn marks from the base of the glass jug, add a 1:1 mixture
function for 1 minute. Subsequently cut a kitchen sponge into a small
rectangle and use the rough side to remove the marks.

Vacuum Blending
Many blenders run at a very high rate of speed and therefore suck in a lot of
oxygen.
Oxygen reacts with other substances and in our case, oxygen reacts with the
enzymes in fruit and vegetables. This process is also referred to as oxidation
and is the reason why apple slices, for instance, turn brown when exposed to
fresh air for a short period of time.
Oxidation not only has a negative impact on the colour but also on taste and
nutrient contents.
vacuum resulting in the volume of the blended food to expand as well, thus
making it easier for the blades to work properly and improving the results.
In addition, the vacuum in the blender jug guarantees an even blend as
there is no air resistance. In contrast to a standard blender, the individual
components do not separate from each other even hours later.
41
Vakuum-Mixen
Viele Mixer arbeiten mit einer sehr hohen Drehzahl und wirbeln somit viel
Sauersto ein.
Sauersto reagiert mit anderen Stoen. In unserem Fall reagiert Sauersto mit
den Enzymen die in Obst und Gemüsen enthalten sind. Dieser Vorgang wird
auch Oxidation genannt und ist der Grund weshalb zum Beispiel Apfelschnitze
nach kurzer Zeit an der frischen Luft braun werden.
Oxidation wirkt sich nicht nur negativ auf die Farbe sondern auch auf den
Geschmack und den Nährstogehalt aus.
Die Panzenfasern des Obst und Gemüses im Mixbehältern dehnen sich im
Vakuum aus. Die Oberäche des Mixguts vergrößert sich und erleichtert den
Messern die Arbeit was wiederum bessere Mixergebnisse ermöglicht.
Das Vakuum im Mixbehälter sorgt zusätzlich für eine gleichmäßige Mischung,
da es keinen Luftwiderstand gibt. Die einzelnen Inhaltsstoe setzen sich selbst
Stunden später im Gegensatz zu einem normalen Mixer nicht voneinander ab.
9 unschlagbare Vorteile auf einen Blick:
1. Maximale Reduzierung von Oxidation durch Sauerstoentzug
2. Optimaler Schutz sauerstoempindlicher Enzyme
3. Feine, cremige und homogene Textur
4. Vitaminschonender MIxvorgang
5. Lebendige Farben
6. Intensiver Geschmack
7. Glatte Konsistenz durch weniger Luftblasen
8. Unübertroene Frische
9. Längere Haltbarkeit
DE
43
16
EN
BioChef Aurora Vacuum Blender!
https://www.biochefkitchen.com/recipes/aurora-recipes

43
Rezepte
Finden Sie unsere gesamte Rezeptereihe online unter
www.biochef.kitchen/recipes
17
EN
BioChef Aurora Vacuum Blender!
https://www.biochefkitchen.com/recipes/aurora-recipes
Recipes

Healthy Snickers
Breakfast Protein
Smoothie
Ingredients
•½ frozen banana
•¼ cup fine oats
flavour)
powder
•½ tsp. vanilla extract
•½–¾ cup almond milk (or
alternative milk, as desired)
•ice cubes (for a thicker shake)
Preparation
jug and close the lid. Place the
jug onto the base and insert the
power plug into the power outlet.
immediately after.
release the pressure on the lid
valve before taking off the lid.
dark chocolate and serve the
Snickers Shake. Enjoy!
18
EN

Vegan Green
Smoothie Bowl
•ice cubes for thicker consistency
Preparation
pit and scoop out the flesh of the
avocado.
clean and wash the spinach.
Place the avocado, the banana,
the spinach, the almond milk, the
ice cubes and some lime juice to
the vacuum jug and close the lid.
and blend the contents to creamy
consistency. Should more liquid
be needed, stop the program
and add more almond milk.
extra lime juice as desired.
cream into small bowls. Wash
blueberries and pat them dry.
Peel the remaining banana and
spelt flakes, granola, chia seeds
and blueberries and serve the
finished bowl immediately.
Bon Appetit
19
EN

Creamy Pumpkin
Soup
Ingredients
Hokkaido pumpkin or crookneck
squash)
crème fraîche
•salt & pepper
•nutmeg
•chili peppers
Preparation
the leek, the carrot and the chili
jug and add the broth. Place the
lid on the jug and the jug onto
program.
salt, pepper and nutmeg and
button and briefly blend.
in a dab of cooking cream or
crème fraîche. Sprinkle chopped
herbs on top as desired.
Bon Appetit!
20
EN
Table of contents
Languages:
Other Biochef Blender manuals

Biochef
Biochef AirFree Technical specifications

Biochef
Biochef Living Food Technical specifications

Biochef
Biochef Galaxy User manual

Biochef
Biochef Astro Vacuum Blender Quick guide

Biochef
Biochef Living Food Blender User manual

Biochef
Biochef Astro Technical specifications

Biochef
Biochef Atlas Technical specifications

Biochef
Biochef BCB-1000 User manual

Biochef
Biochef Nova Technical specifications

Biochef
Biochef Astro Vacuum Quick guide