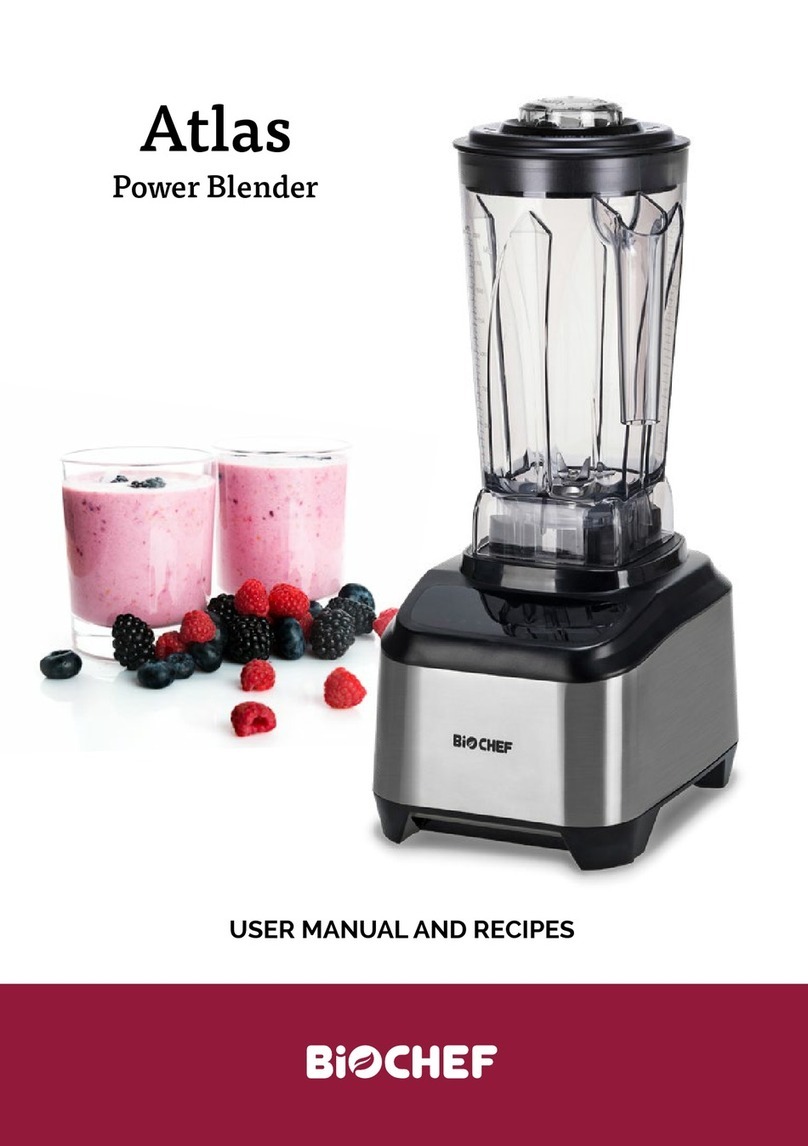
Biochef Galaxy User manual

USER MANUAL AND RECIPES
Galaxy
Blender

The information in this manual is intended
to help you to get the best results from
your BioChef Galaxy Blender. Please
read and follow these instructions and
safeguards prior to use.
Please keep your manual handy for future
reference, warranty information and
support details
ENGLISH 3
EN
FRANÇAIS 15
FR
DEUTSCH 33
DE
ESPAÑOL 49
ES

3
Contents
Safety Precautions 4
Product Features and Parts 5
Operating Instructions 6
Troubleshooting 7
Cleaning 8
Recipes 9
Warranty 14
.

4
Safety Precautions
! Read all instructions.
! To protect against risk of electrical shock, do not put the body (motor) in
water or any other liquid .
! Close supervision is necessary when any appliance is used by children.
! Maximum operating time is 2 mins. Please rest for another two minutes
before blending again.
! Unplug from electrical outlet when not in use and before disassembly
for cleaning.
! Do not use if cord is damaged. Do not replace cord yourself.
! Avoid contact with moving parts.
! Do not let cord hang over edge of counter.
! Keep hands and utensils out of the jug container. A rubber scraper or
spatula may be used but only when the blender is not running.
! Do not ll over maximum line.
! This product is intended for domestic use only.
! Always operate with the lid rmly in place.
! Blades are sharp. Use caution when handling the blade. Make sure the
blade base is securely screwed onto the cup.
! Do not place any part of the Galaxy Blender in the microwave or in boiling
water.
! Do not remove the blending jug until the blades have completely
stopped.
DISPOSAL AND ENVIRONMENTAL RESPONSIBILITY
The various parts of the packaging and the appliance must not be disposed in
the environment, but disposed of in compliance with local regulations.

5
Product Features and Parts
1 Jug lid and lid plug with measure
2 1.75L glass jug
3 Blade holder / blades
4 Gasket
5 Jug base
6 Control panel
7. Blender motor base
8 900ml travel cup
9 Tamper
1
2
3
5
6
7
8
9
4

6
Operating Instructions
1. Speed adjustment dial – “ON” means standby mode, you can use the
program function and pulse function; “MIN” to “MAX” is stepless speed
control.
2. Pulse function switch – rotate the dial to “ON”, by pressing the button the
blender will pulse at maximum speed.
3. Auto Clean function, ll the jug with a maximum of 1.2 litre of tap water
and add a few drops of a dishwasher liquid. Turn the dial to the ON position.
Now press the auto clean button and the blender will start an automatic
program. The program will automatically stop after about 45 seconds. You
can stop the program at any time by pressing the auto clean button again.
Afterwards clean the entire jug with tap water and let it completely dry.
Always place the jar upright to dry, and never upside down. This will protect
the blender jar bearings.
• The max. capacity of the jug is 1.75L, do not allow exceed the max. level mark.
• This blender should not be operated when empty. We suggest 2 parts solid
to 3 parts liquid with an operating time of no longer than 2 min.
P
u
l
s
e
/
A
u
t
o
C
l
e
a
n
* Galaxy Pro model only

7
Troubleshooting
When the jug
is on the base
and the power
button does not
light up when
switched to ON
1. Not plugged into electricity. Replug cord into
power outlet.
2. Electricity not turned on. Check switch is turned
to ON position.
Ingredients are
dicult to blend
Too many solid ingredients. Add more liquid
Motor stops
during
operation
1. If the blending jug is not in position or you have
removed the jug during operation, the product
will not work. Replace the blending jug in position,
rotate the dial to “ON”, and start again.
2. If blending very tough food or very large pieces,
the blade may get blocked, the current limiter
will then stop the blender. If the current limiter
operates, please switch o the product and
remove the blockage, and then start again.
3. If the product is overloaded and working for long
periods, the thermal limiter will stop the product
to protect the motor from overheating. If thermal
limiter operates wait for 30 min to let the motor
cool down, and then use the product again. If
LED light is still ashing, but the blender is still not
work, wait another 10–20 minutes.

8
View our complete recipe collection online
www.biochefkitchen.com/recipes
Cleaning
After you nish your blending session, you can clean the jug in various ways
depending on the ingredients you have used.
You can rinse the jug and lid directly under the tap and use a clean cloth to
wipe up the residual water.
Always place jug in upright position when leaving to dry. Try not to have liquid
contacting the underside of the drive shaft.
When cleaning the motor base only use a dry cloth, never immerse the motor
base into water.
Thick or oily residue
• Pour warm water with a few drops of dish washing liquid and select the
pulse button for 30 seconds. Repeat until most of the residue has been
removed from around the blade assembly and jug sides.
• Rinse the jug and lid under the tap directly and wipe up the residual water
with a dry cloth.
• Wipe the base with a clean and soft cloth. Please make sure the blender is
unplugged before cleaning!

9
Recipes
View our complete recipe collection online
www.biochefkitchen.com/recipes

10
Banana Protein
Smoothie
• 4 bananas (frozen for thicker/
creamier consistency)
• 1 serving of protein of your choice
(whey, hemp, rice, pea etc)
• 2 pitted dates
• 1 tsp. chia
• 1 tsp.ax seeds
• 2 cups of nut milk
Place all ingredients in the jug and
blend using pulse mode until desired
consistency.
Green Chia
Smoothie
• 1 cup of greens (spinach, kale,
lettuce)
• 2 bananas (frozen for thicker/
creamier consistency)
• ½ cup blueberries (frozen or fresh)
• 2 dates
• 1 tsp. chia
• 1 tsp.spirulina power
• 2 cups of nut milk
Place all ingredients in the jug and
blend using pulse mode until desired
consistency.
Pink Flower
Smoothie
• 5 ripe frozen bananas
• 1 cup frozen raspberries
• 1 tsp. rosewater
• 1 cup almond milk
• 1 tsp. chia
• Berries and edible owers for
garnish
Place all ingredients in the jug and
blend using pulse mode until desired
consistency..
Vanilla Green
Smoothie
• 1 handful of spinach or your choice
of greens
• 1 handful of peppermint
• 2 ripe frozen bananas
• 1 cup coconut milk
• 1 vanilla bean or essence
• Squeeze of lemon
Place all ingredients in the jug and
blend using pulse mode until desired
consistency.

11
Raspberry &
Strawberry
Smoothie Bowl
• ½ cup of frozen raspberries
• ½ cup of frozen strawberries
• 2 frozen bananas
• 1 tbsp. honey or agave
• 2 cups of nut milk
Place all ingredients in the jug and
blend using pulse mode until desired
consistency.
Chocolate
Peanut
Smoothie Bowl
• 2 bananas
• 4 dates
• 1 tbsp. of peanut butter
• 2 tbsp. of cocoa powder
Place all ingredients in the jug and
blend using pulse mode until desired
consistency.
Açai Bowl
• 1 tbsp. acai powder
• 1 frozen banana
• ½ cup frozen raspberries
• ½ cup frozen blueberries
• ½ cup coconut water
• toppings of your choice
Place all ingredients in the jug and
blend using pulse mode until desired
consistency.
Pour into a bowl and decorate with
toppings.
Tropical
Smoothie
• 1 cup ripe mango
• 1 small orange
• 1 banana sliced
• ½ cup yogurt or milk
• 1 tsp. honey
• 5 ice-cubes (optional)
Place all ingredients in the jug and
blend using pulse mode until desired
consistency.

12
Piña Colada
Iceblocks
• ½ cup pineapple
• ½ cup rockmelon
• ½ banana
• ¾ cup reduced-fat coconut milk
• ¼ cup water
• ¼ tsp. vanilla extract
Place all ingredients in the jug and
blend using pulse mode until desired
consistency. Pour into iceblock
molds and freeze.
Gluten, Dairy
& Sugar Free
Pancakes
• 2 ripe bananas
• 2 eggs
• 1 cup oat our (grounded oats)
• 1 tbsp. baking powder
• 1 tbsp. vanilla essence
• 1 tbsp. maple syrup or honey
• 1 splash of oatmilk, almond milk,
coconut milk or soy milk
Place all ingredients in the jug and
blend using pulse mode until desired
consistency.
Cook pancakes in frying pan and add
your desired toppings.
Ava´s Favourite
Babyfood
• ½ clove garlic
• ½ tsp turmeric
• small piece of ginger
• ½ cup potato
• ½ cup sweet potato
• 1 tbsp. pesto
• dash coconut water / water
Parboil potato and sweet potato.
Place all ingredients in the jug and
blend at high speed for 60 seconds.
Repeat until desired consistency.
Raw Tomato
Soup
• 1 cup tomatoes
• 1 clove garlic
• 1 cup chicken / vege stock / water
• ¼ cup cashews or avocado
(optional)
• salt & pepper to taste
• chilli if desired
• fresh herbs to serve
Place all ingredients in the jug and
blend using pulse mode until desired
consistency. Repeat
until desired consistency.
Remove from jug and heat over
stove if desired.

13
Cashew Nut
Milk
• 2 cups ltered water
• 1 cup raw cashews (soak 8 hrs)
• 1 tsp. agave nectar / honey
• 1 tsp. vanilla bean
• 1 tsp. ground cinnamon
Soak cashews for 8 hours, drain
and rinse well. Blend at high speed
for 90” and repeat until desired
consistency. Adjust the consistency
of the milk by adding or removing
water.
Mint Chocolate
Ice Cream
• 3 frozen bananas
• 3 to 5 drops of mint extract
• ½ cup coconut cream or raw
cashews
• 2-3 tbsp. chocolate chips
• pinch of salt
• optional pinch spirulina
Place all ingredients in the jug and
blend at high speed for 60”. Repeat
until desired consistency.
Vegan
Pineapple
Coconut
Ice Cream
• 1 cup full fat coconut milk
• 1 tbsp. coconut oil (melted)
• ½ cup chopped, pitted dates
• 4 cups of frozen pineapple
Place all ingredients in jug and blend
at high speed for 90”. Repeat until
desired consistency.

14
BIOCHEF GALAXY BLENDER WARRANTY
WARRANTY PERIOD: 10YR MOTOR / 7 YR PARTS
VITALITY 4 LIFE IS THE GLOBAL DISTRIBUTOR AND WARRANTY PROVIDER OF BIOCHEF. WARRANTY REGISTRATION
AND CLAIMS ARE HANDLED BY YOUR LOCAL VITALITY 4 LIFE SUPPORT CENTRE, DETAILS ON INSIDE BACK COVER.
PLEASE REGISTER YOUR WARRANTY ONLINE AT WWW.BIOCHEFKITCHEN.COM/REGISTER-YOUR-PRODUCT
WITHIN 30 DAYS OF PURCHASE.
LODGING A WARRANTY CLAIM
Should you experience any issues with your product, please
follow these steps to lodge a warranty claim:
1. Contact your local Vitality 4 Life Service Centre with the
following details:
– Your warranty details including name, email and phone
number
– Product name and model number
– Product serial number, found on the rating label of the
product
– Explanation of how the damage occurred
– Photos of the damage or issue is highly beneficial to
expediting your claim
2. Vitality 4 Life will assess your claim and respond within
24-48 hours.
3. In the event the product is required to be sent to the
Service Centre, the customer is liable for all packing, freight
and insurance costs for transit of the product to Vitality
4 Life. Subject to the applicable consumer laws in your
jurisdiction.
4. If the product, or one of its parts, qualifies for replacement
or service within the 30-Day period after date of purchase,
Vitality 4 Life will arrange the shipping at no cost to you.
5. Any product sent to a Vitality 4 Life Service Centre must
include a Return Authorization Form. Failure to include this
form may result in the product being rejected from our
warehouse or a delayed service time.
6. Vitality 4 Life will contact you with a quote prior to
undertaking any service work outside of the warranty
coverage.
7. Typical turn-around times to address warranty claims can
be between 10-14 business days, plus shipping, depending
on location and type of damage or warranty claim.
TERMS OF PRODUCT WARRANTY COVERAGE
Vitality 4 Life provides the Product Warranty coverage
as further described below and limited to the terms and
conditions hereof:
1. If the Product exhibits a defect while in normal domestic
use, within the warranty period; we will, at our option,
either repair or replace the Product or defective part free
of charge. The product must be delivered by insured mail,
in proper packaging to your Service Centre as indicated
on the back of the manual as a condition to any warranty
service obligation.
2. In the event that the warranty period for a product has
expired, or if a Product does not qualify for warranty
service, repair or replacement, consumers may still buy
replacement parts or have products repaired by one of
Vitality 4 Life’s Service Centres. Please contact Vitality 4
Life for further information.
3. Do not send the product back to the Service Centre without
a Return Authorization Form.
4. In no event shall our liability exceed the retail value of the
product. We make no warranty with respect to parts, from a
source other than Vitality 4 Life.
5. In the event that warranty parts or products are provided,
the customer must cover the related shipping costs to
receive goods.
6. All exchanged or substitute parts and products replaced
under warranty service will become the property of Vitality
4 Life. Repaired or replaced products or parts thereof will
be warranted by Vitality 4 Life for the balance of the original
warranty period.
7. (Australia only) Our goods come with guarantees that
cannot be excluded under the Australian Consumer
Law. You are entitled to a replacement or refund for a
major failure and compensation for any other reasonably
foreseeable loss or damage. You are also entitled to have
the goods repaired or replaced if the goods fail to be of
acceptable quality and the failure does not amount to a
major failure.
WARRANTY DOES NOT COVER
1. Damage, accidental or otherwise, to the Product, not
caused by direct defect in factory workmanship or
materials.
2. Damage due to abuse, mishandling, alteration, misuse,
commercial service, tampering, accident, failure to follow
care, operating and handling provisions indicated in the
instructions.
3. Damage caused by parts or service not authorized or
performed by Vitality 4 Life.
4. ‘Normal’ wear and tear that naturally and inevitably occurs
as a result of normal use or aging.
5. Some states do not allow the exclusion or limitation of
incidental or consequential damages. Therefore, the above
limitations may not apply to you in the case of damage
in shipment. If the Product was damaged in shipment:
Immediately report this type of damage to the parcel
carrier and have them file an inspection report to contact
the distributor from whom you purchased the Product for
further instructions.
6. You have rights and benefits under the consumer laws
in your jurisdiction. Without detracting from these rights
or benefits, Vitality 4 Life excludes all liability in respect
of this product for any other loss which is not reasonably
foreseeable from a failure of this product, which may
include liability for negligence, loss of expenditure
associated with the product and loss of enjoyment.

15
MANUEL D’UTILISATION ET RECETTES
Blender
Galaxy

Les informations contenues
dans ce manuel sont destinées à
vous aider à obtenir les meilleurs
résultats avec votre blender
BioChef Galaxy. Veuillez lire
et suivre ces instructions et
précautions avant utilisation.
Veuillez garder votre manuel à
portée de main pour référence
future, informations de garantie et
contacts du support client.

17
Contenu
Mesures de Sécurité et Précautions D’emploi 18
Caractéristiques du produit et pièces 19
Instructions d’utilisation 20
Problèmes de Fonctionnement 21
Entretien 22
Recettes 23
Garantie 28
.

18
Mesures de sécurité et
précautions d’emploi
! Lisez toutes les instructions du manuel.
! An d’éviter et de vous protéger contre un risque de choc électrique, ne
jamais immerger la base du moteur dans l’eau ou autres liquides.
! Une supervision étroite est nécessaire si l’appareil est utilisé par des
enfants.
! La durée de fonctionnement maximale est de 2 minutes. Merci de laisser
reposer pendant 2 minutes avant de mixer à nouveau.
! Débranchez la prise quand vous n’utilisez pas l’appareil et avant de le
désassembler pour le nettoyage.
! N’utilisez pas l’appareil si le câble ou la prise est endommagée.
N’essayez pas de le réparer par vous-même.
! Evitez le contact avec les pièces amovibles.
! Ne laissez pas le cordon électrique pendre sur le rebord d’une table ou
d’un plan de travail.
! Ne mettez pas vos mains ou d’ustensiles dans le bol du blender. Un objet
en caoutchouc ou une spatule peuvent être utilisés mais seulement
lorsque le blender n’est pas en fonctionnement.
! Ne remplissez pas la ligne maximale.
! Ce produit est dédié à un usage domestique uniquement.
! Mettez toujours le blender en fonctionnement avec le couvercle bien en
place.
! Les lames sont aiguisées. Soyez vigilant lorsque vous manipulez celles-ci.
Assurez-vous que le support lames est vissé au bol bien fermement.
! Ne placez aucune pièce du blender Galaxy dans le micro-ondes ou dans
de l’eau bouillante.
! N’enlevez pas le bol du blender avant que les lames soient complètement
arrêtées.
TRAITEMENT DES DÉCHETS ET RESPONSABILITÉ ENVIRONNEMENTALE
Les diérentes pièces du colis et du produit ne doivent pas être abandonnées
dans la nature, mais jetées dans un local approprié conformément aux
réglementations locales.

19
Caractéristiques du produit
et pièces
1 Couvercle du bol et bouchon de
couvercle avec mesure
2 Bol en verre de 1.75L
3 Support lames et lames
4 Joint
5 Base du bol
6 Panneau de contrôle
7. Bloc moteur du blender
8 Bol de transport de 900 ml
9 Poussoir
1
2
3
5
6
7
8
9
4

20
Mode d’emploi
1. Cadran de réglage de vitesse - “ON” signie que le blender est en mode
Veille. Vous pouvez actionner la fonction programme et la fonction
impulsion. “MIN” à “MAX” correspond au contrôle de vitesse par étape.
2. Fonction d’impulsion - Tournez le cadran sur “ON”. En pressant le bouton
central, le blender va fonctionner à vitesse maximale..
3. Mode auto-nettoyage - Remplissez le bol avec maximum 1,2 L d’eau
du robinet et ajoutez quelques gouttes de liquide vaisselle. Tournez le
cadran sur la position ON. Maintenant pressez le bouton d’auto-nettoyage
et le blender va commencer automatiquement le programme pour 45
secondes. Vous pouvez arrêter le programme à n’importe quel moment en
pressant de nouveau le bouton d’auto-nettoyage. Après cela, rincez le bol
complet avec de l’eau du robinet et laissez-le sécher. Placez toujours le
bol à l’endroit, et jamais à l’envers. Cela protégera les roulements du bol du
blender.
• La capacité maximale du bol est de 1.75 L. Ne dépassez jamais l’encoche
indiquant le niveau maximal.
• Ce blender ne doit pas fonctionner à vide. Nous vous recommandons 2 parts
de solide pour 3 parts de liquide avec un fonctionnement maximal de 2 min.
P
u
l
s
e
/
A
u
t
o
C
l
e
a
n
This manual suits for next models
1
Table of contents
Languages:
Other Biochef Blender manuals
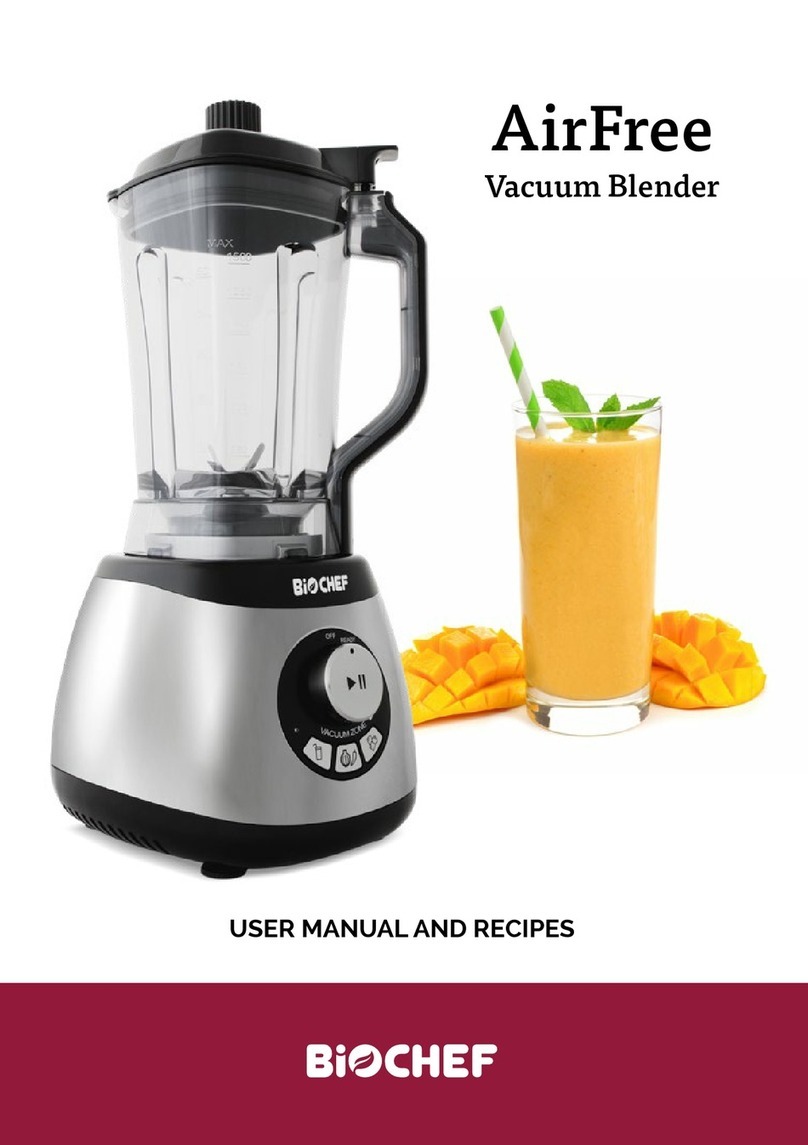
Biochef
Biochef AirFree Technical specifications

Biochef
Biochef Living Food Technical specifications
Biochef
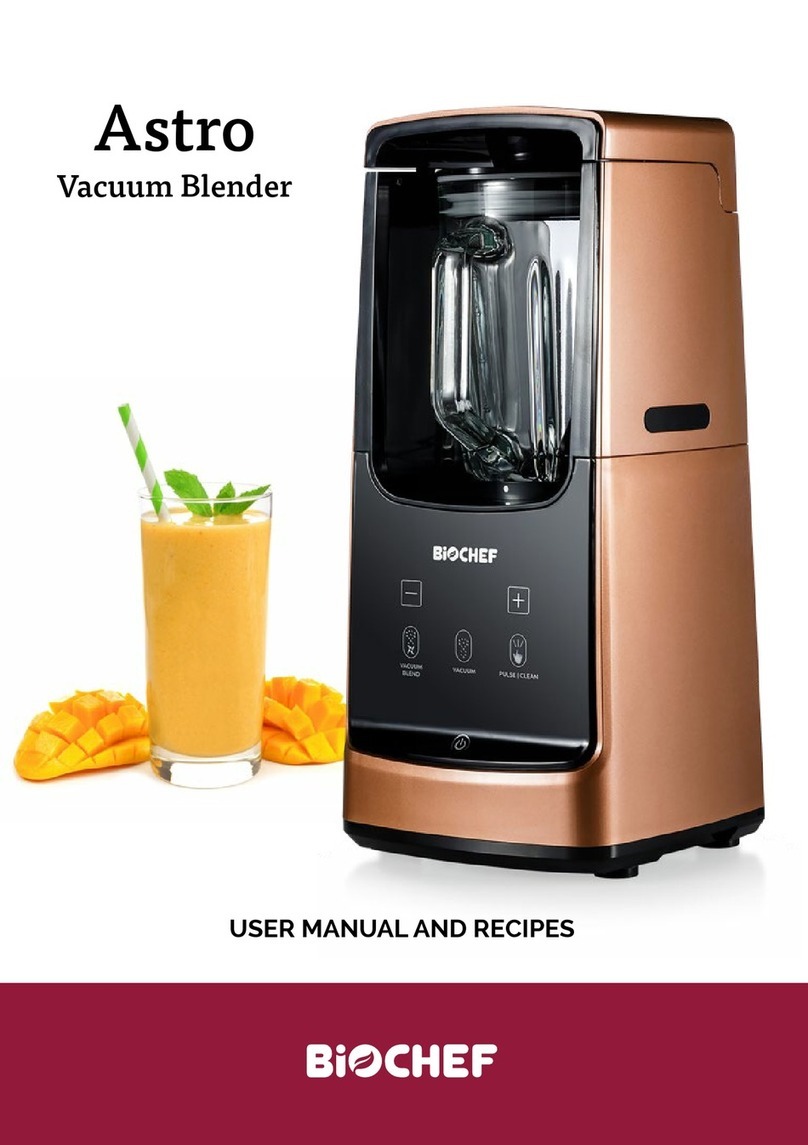
Biochef Astro Technical specifications
Biochef
Biochef High Performance Technical specifications
Biochef
Biochef BCB-1000 User manual
Biochef
Biochef Aurora Technical specifications
Biochef
Biochef Astro Vacuum Quick guide
Biochef
Biochef Astro Vacuum Blender Quick guide

Biochef
Biochef Living Food Blender User manual
Biochef
Biochef Nova Technical specifications
