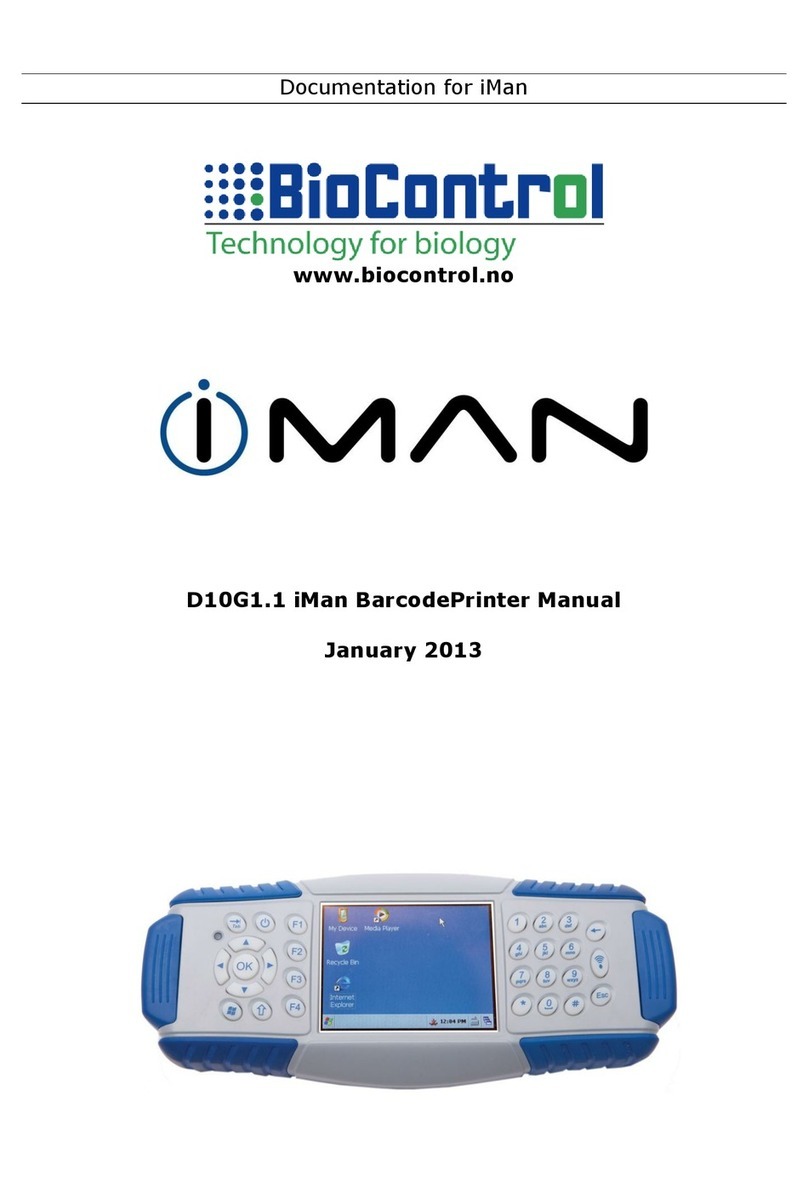
Biocontrol D10G1.1 iMan User manual

Documentation for iMan
www.biocontrol.no
D10G1.1 iMan Terminal Manual
January 2013

Jan-2013 Page 2 of 11 D10G1.1 iMan Terminal Manual
This documentation applies to the product iMan manufactured by
BioControl, Norway.
Documentation version 1.1 completely replaces previous versions.
Modifications since last documentation version:
- none –version 1.0
-version 1.0 - version 1.1
a) small additions
-b) changed name from COM_Messenger to Terminal
Note:
All information in this document describes product and details ‘as is’.
BioControl can not be held liable for (consequences of) incorrect or
missing information in this document.
Check our website for latest version of this document and information on
this product.

Jan-2013 Page 3 of 11 D10G1.1 iMan Terminal Manual

Jan-2013 Page 4 of 11 D10G1.1 iMan Terminal Manual
1. Configuring and connecting serial port
1) Open Terminal application using the link on the iMan Menu:
2) When application starts, Settings tab will show various configuration
options:
Here you can choose the serial port settings through which you will
start transmission.

Jan-2013 Page 5 of 11 D10G1.1 iMan Terminal Manual
3) To open serial port and start transmission switch to Console tab by
simply clicking on it. You should see text ”<< Transmission start >>”
which indicates that connection is successful:
Note: If text didn’t appeared, try sending some data first.
2. Sending text messages
By default Terminal will start in ASCII mode that enables you to easily
transfer simple text data. To send a message just type it in white box at
the bottom of window. When you click on box, virtual keyboard should
appear:
After typing text, press [Enter] key or click Send button to send it via
serial port.

Jan-2013 Page 6 of 11 D10G1.1 iMan Terminal Manual
Notice single arrow >character before text you typed –it indicates that
message was sent by you.
3. Sending binary messages
COM Messanger can send raw, binary messages. Those messages are
represented as a text consisting of hexadecimal digits: 0-9 and a-f.
To enter binary mode –first you need to expand combo box around lower
left corner of Console tab and select ’BINARY’ option:
When you click on selected (BINARY) mode, Binary command input
window will appear:

Jan-2013 Page 7 of 11 D10G1.1 iMan Terminal Manual
Binary command input window has several buttons with hexadecimal
digits on it to facilitate typing them in command edit box.
There are also two input mode switch buttons: ASCII and Binary. In
Binary input mode you can input only hexadecimal digits (remember to
put them in pairs to form a valid byte). On the other hand ASCII input
mode works almost the same as ASCII mode in main application window –
you can type any text but also by use of escaping sequence any raw bytes
you like. The following two images show data of the same command in
different representation:

Jan-2013 Page 8 of 11 D10G1.1 iMan Terminal Manual
To enter raw character in ASCII input mode, precede its hexadecimal
representation with a dollar character –$:
Note: If you want to insert single dollar character –precede it with a
dollar character: ‘$$’.
There is also Import cmd button that enables you to insert data of
another command into command edit box (to modify it), and Clear button
that removes all characters already typed in edit box.
When you end typing command, click OK button to close dialog and send
it after.
4. Sending commands
Terminal ships with several predefined commands that are stored in
commands.csv file in application directory (which usually is:
\Program Files\COM_Messenger\). To access Command selection window,
you need to switch to ’COMMAND’mode. To do so, click on combo box
around lower left corner of Console tab and select ’COMMAND’ option;
window will appear:

Jan-2013 Page 9 of 11 D10G1.1 iMan Terminal Manual
Command selection window contains two lists. The left one is category
list, and the right one contains commands in selected category. So to
select command, for example ”Warm start” you need to select ”PMTK”
category first. At the top of the window, there is a grayed out field –
preview window, where command’s data representation is displayed. On
the left of the preview window there is a type of representation which can
be ASCII or BIN (from BINary, just like in Binary command input
window).
To send selected command click on OK button (that will close window and
naviagate you to Console tab) and then, on Send button:
5. Adding new commands
Terminal’s predefined commands are stored in the commands.csv file in
the application directory (usually: \Program Files\COM_Messenger\) and
they can be modified by user directly in Terminal application.
To add or remove commands, you need to navigate to Command selection
window –see paragraph 4. Sending commands. When you are there, you
will see two buttons: New and Delete in bottom-right corner of the
window.
To add new command: click on New button and Binary command input
window will appear. There you can input command representation just like
in 3. Sending binary messages paragraph. After forming new command
click on OK button and Command edit window will appear:

Jan-2013 Page 10 of 11 D10G1.1 iMan Terminal Manual
In this window you can type name of the newly created command and
select apropriate category for it.
Note: Command name is optional –if you leave Name field empty,
command representation will be used in place of name.
Note: You can select exising category or type new category name in
Category field.
After clicking on OK button in Command edit window you should see your
new command in apropriate category:
To remove command: select its category, then command to remove and
click on Delete button.
Note: After adding or removing command, changes are automatically
written to commands.csv file.

Jan-2013 Page 11 of 11 D10G1.1 iMan Terminal Manual
6. Custom command buttons
You could notice that there are five Custom commands buttons on the
right of Console tab. They are numbered from C1 to C5 and provide you
with fast access to mostly used commands. Custom command buttons
by default aren’t assigned to any specified command.
To assign command to a button by first time, simply click on one of the
buttons and Command selection window will appear where you can choose
command to associate button with. After clicking on OK button (in
Command selection window) you can now use Custom command button
to quickly send command associated with it.
To change command associated with button, hold [Ctrl] key on keyboard
and then click on the command button which you want to modify –this
will cause Command selection window to appear.
Other manuals for D10G1.1 iMan
2
Table of contents
Other Biocontrol Touch Terminal manuals
