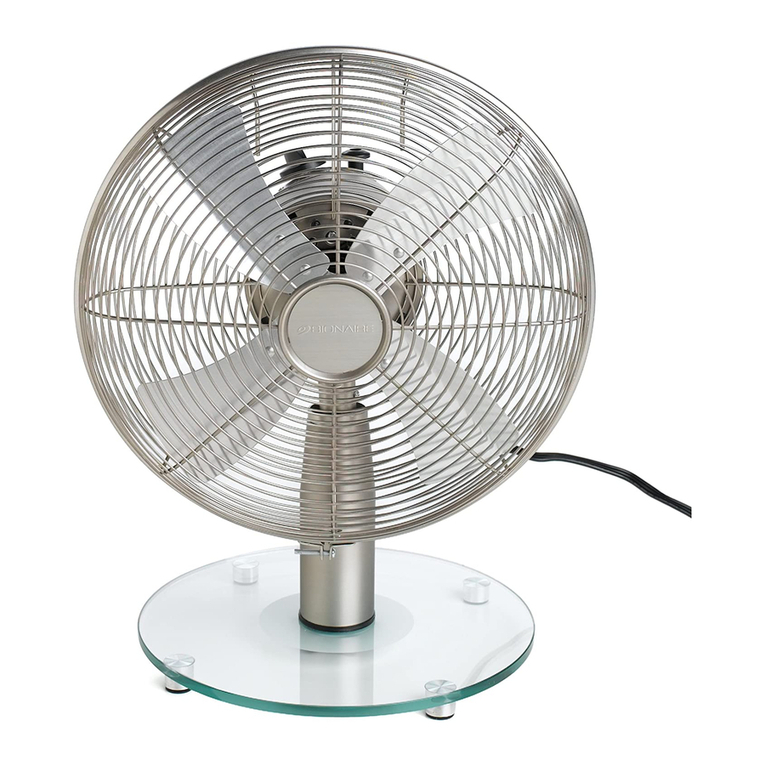
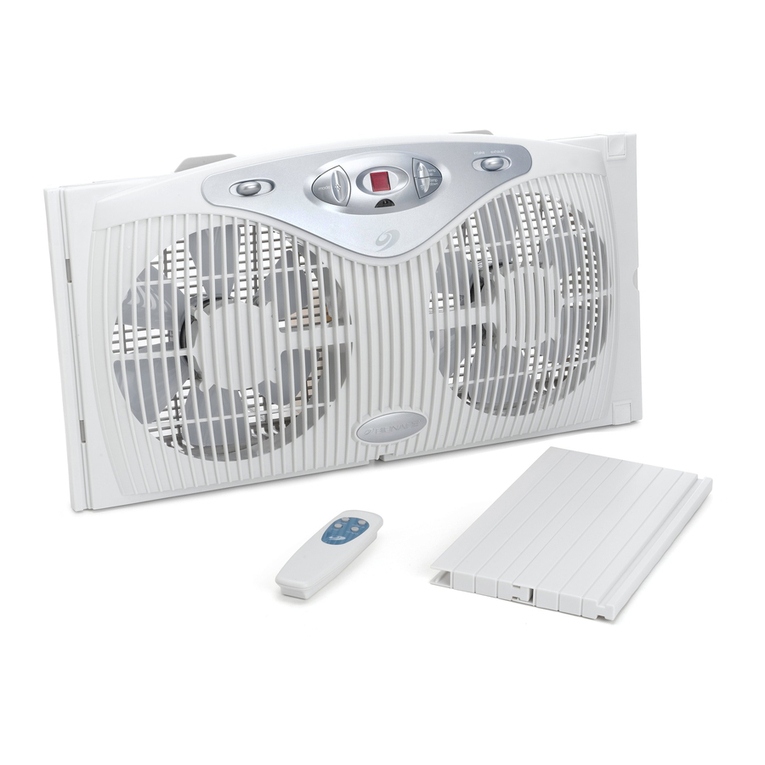
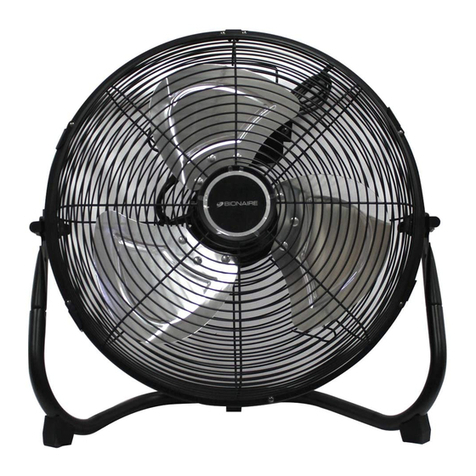
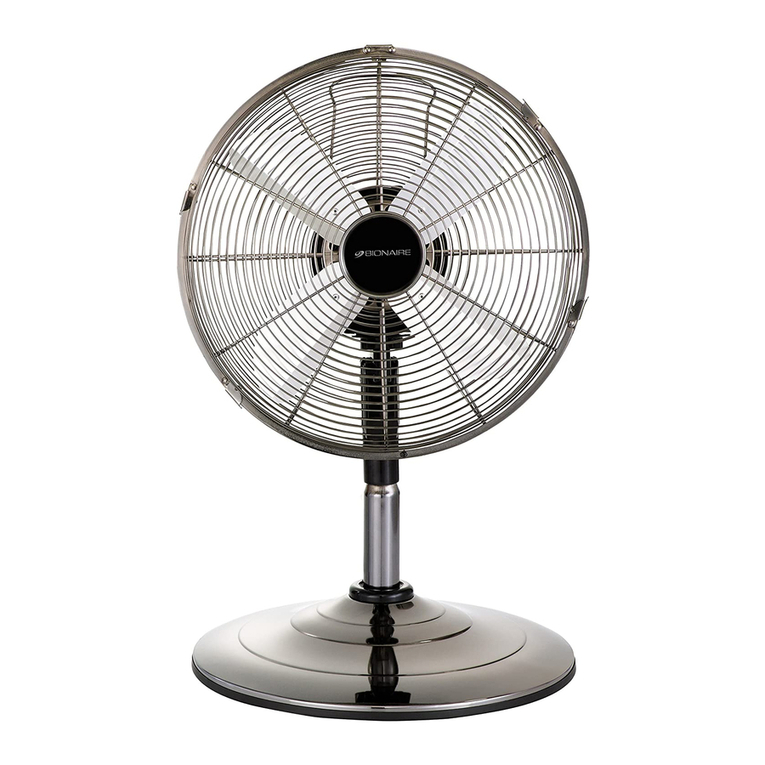
Bionaire BTF1613MW User manual

MODEL/MODELO: BTF1613MW
16” TABLE FAN
VENTILADOR DE
MESA DE 40,6 cm
INSTRUCTION MANUAL
MANUAL DE INSTRUCCIONES
BTF1613MW-LA_14ESM1.indd 1 6/9/14 5:15 PM

When using electrical appliances, basic safety precautions should always be followed to
reduce the risk of re, electric shock, and injury to persons. These precautions include:
• Read all instructions before using this appliance.
• Use fan only for purposes described in the instruction manual.
• To protect against electrical shock do not immerse unit, plug or cord in water or spray
with liquids. Plug the appliance directly into electrical outlet.
• Unplug from outlet when not in use, when moving fan from one location to another,
before putting on or taking off parts and before cleaning.
• Avoid contact with moving parts.
• Do not operate in the presence of explosive and/or ammable fumes.
• To avoid re hazard, NEVER place the cord under rugs or any parts near an open
ame, cooking or other heating appliance.
• Do not operate any appliance with a damaged cord or plug after the appliance
malfunctions, or has been dropped/damaged in any manner. Take it to an Authorized
Service Center for its examination and/or repair.
• The use of attachments not recommended or sold by the appliance manufacturer may
cause hazards.
• Do not use outdoors. Do not let the cord hang over the edge of a table, counter or
come in contact with hot surfaces or leave exposed to high trafc areas.
• To disconnect, grip plug and pull from wall outlet. Never yank on cord.
• Always use on a dry, level surface.
• Do not operate fan until fully assembled with all parts properly in place.
• This product is intended for household use ONLY and not for commercial or industrial
applications.
• This appliance is not intended for use by persons (including children) with reduced
physical, sensory or mental capabilities, or lack of experience and knowledge, unless
they have been given supervision or instruction concerning use of the appliance by a
person responsible for their safety. Children should be supervised to ensure that they
do not play with the appliance.
• Close supervision is necessary when any appliance is used by or near children, or
incapacitated individuals.
SAVE THESE INSTRUCTIONS
IMPORTANT SAFEGUARDS
1
BTF1613MW-LA_14ESM1.indd 2 6/9/14 5:15 PM

DESCRIPTION OF THE APPLIANCE
2
A
B
D
C
E
F
H
I
J
G
A. Front Grill
B. Fan Blade Lock Nut
C. Fan Blade
D. Rear Grill Nut
E. Rear Grill
F. Motor Shaft
G. Motor Housing
H. Power/Speed Knob
I. Oscillation Button
J. Base
BTF1613MW-LA_14ESM1.indd 3 6/9/14 5:15 PM

BEFORE USING FOR THE FIRST TIME
Read and follow all the instructions for this section on use and care and nd a place to
keep this instruction manual ready for future reference.
For your convenience, record the complete model number (located at the bottom of the
motor) and the date you received the product, together with your purchase receipt and
attach to the warranty and service information. Retain in the event that the warranty
service is required.
NOTE: The use of attachments not recommended or sold by Sunbeam Products, Inc.
may cause re, electrical shock, injury or damage to the product.
ASSEMBLY INSTRUCTIONS
FAN HEAD ASSEMBLY
You are now ready to assemble the fan head.
1. Remove plastic sleeve on motor shaft, if included. Position the rear grill over the
motor shaft, making certain the 2 notches at the top and 1 notch at the bottom of the
rear grill t over the protruding notches on the motor housing. Make sure the rear grill
ts securely against the motor housing.
2. Fasten the rear grill in place using the rear grill nut. Turn the nut clockwise and tighten
rmly.
3. Slide the fan blade, with the hollowed interior of the fan blade facing toward the rear
grill, rmly onto the motor shaft. Make sure that the fan blade rests on the pin on the
motor shaft.
NOTE: The shaft screw portion should protrude from the front of the blade.
4. Secure the fan blade onto the motor shaft by turning the blade cap counter-clockwise
(make sure the blade is rmly in position).
5. Center the front grill, ensuring the Bionaire® logo is horizontal and parallel to the oor,
and press onto rear grill after aligning snaps.
FINAL ASSEMBLY
Insert the fan head assembly into the base until locked into place. The placement is
done by a secure press t that tightens the assembly in place so the fan head should be
slightly pressed down. Place the square cutout in the fan head assembly over the two
tabs in the base.
OPERATING INSTRUCTIONS
1. Set fan on a dry, level surface.
2. Plug power cord into the appropriate outlet.
INSTRUCTIONS FOR USE
3
BTF1613MW-LA_14ESM1.indd 4 6/9/14 5:15 PM

3. Turn the knob at the top of the motor housing to select the desired fan speed or turn it
off: “0” for Off, “1” for Low Speed, “2” for Medium Speed, and “3” for High Speed.
4. To oscillate the fan head, push the oscillation button “ ” at the top of the motor
housing down. To stop the oscillation, pull the oscillation button “ ” up.
ADJUSTMENT INSTRUCTIONS
TILT ADJUSTMENT
To change the tilting angle of the fan head, move the fan head manually to the desired
angle.
MAINTENANCE AND CLEANING
4
CLEANING AND MAINTENANCE
Follow these instructions to correctly and safely care for your fan.
• Always unplug the fan before cleaning or disassembling.
• Be sure to clean your fan with a soft cloth moistened with a mild soap solution.
• Do not allow water to drip on or enter into the fan housing.
• Do not use gasoline, thinner, or benzene as a cleaner.
• Lightly run a vacuum cleaner nozzle over the fan grill to remove any dust or dirt that
may have accumulated.
FAN BLADE CLEANING INSTRUCTIONS
This fan is equipped with a removable grill that allows the consumer to remove the grill
and its components without the need of any tools.
Make sure the fan is unplugged before disassembling and cleaning the fan blade.
Carefully remove the front grill. Wipe the blade with a soft cloth moistened with a mild
soap solution. DO NOT allow any liquid to drip into or enter the motor housing. Snap the
front grill onto the fan. Make sure all parts are secured prior to operating the fan.
FAN STORAGE
When storing your fan please use the original box. It is important to keep it in a safe, dry
location.
• Store your fan in the original box or an appropriately sized box.
• Protect the fan head from dust.
• Store your fan in a dry location.
BTF1613MW-LA_14ESM1.indd 5 6/9/14 5:15 PM

Para disminuir el riesgo de incendio, descarga eléctrica y lesiones personales, se deben
seguir siempre las precauciones básicas de seguridad al utilizar artefactos eléctricos.
Dichas precauciones comprenden:
• Leer todas las instrucciones antes de utilizar este artefacto eléctrico.
• Utilice el ventilador sólo para los nes que se describen en el manual de instrucciones.
• Para protegerse contra descargas eléctricas, no sumerja la unidad, el enchufe ni el
cable en agua, ni en ningún otro líquido. Enchufe el electrodoméstico directamente
en un tomacorriente.
• Desconéctelo del tomacorriente cuando no esté en funcionamiento, cuando vaya a
trasladar el ventilador de un lugar a otro, antes de colocar o quitarle piezas y antes de
limpiarlo.
• Evite el contacto con piezas en movimiento.
• No haga funcionar en presencia de gases explosivos o inamables.
• Para evitar riesgos de incendios, NUNCA coloque el cable por debajo de alfombras,
ni coloque ninguna de sus piezas cerca de llamas vivas, artefactos de cocina, ni de
ningún otro electrodoméstico que despida calor.
• No utilice un electrodoméstico que tenga un cable o un enchufe dañado, o después
de que el artefacto haya presentado fallas, se haya caído o haya sufrido cualquier otro
daño. Llévelo a un Centro de Servicio Autorizado para su inspección o reparación.
• El uso de aditamentos no recomendados o vendidos por el fabricante del artefacto
eléctrico puede ocasionar peligros o lesiones.
• No utilice al aire libre. No permita que el cable cuelgue del borde de una mesa o
mesada, ni que entre en contacto con supercies calientes o quede expuesto en
áreas muy concurridas.
• Para desconectar, sujete el enchufe y sáquelo del tomacorriente. Nunca lo hale por el cable.
• Coloque siempre sobre una supercie seca y nivelada.
• No haga funcionar el ventilador hasta que esté completamente ensamblado y con
todas las piezas colocadas en su lugar correspondiente.
• Este producto está destinado ÚNICAMENTE para uso doméstico, no para
aplicaciones comerciales o industriales.
• Este artefacto eléctrico no está destinado para ser usado por personas (incluyendo
niños) cuyas capacidades físicas, sensoriales o mentales estén disminuidas, o
carezcan de experiencia y conocimiento, a menos que una persona responsable por
su seguridad les haya supervisado o instruido en el uso de este electrodoméstico.
Los niños deberán estar bajo supervisión para cerciorarse de que no jueguen con el
artefacto eléctrico.
• Se requiere estricta supervisión cuando las personas discapacitadas o los niños
utilicen cualquier electrodoméstico o estén cerca de él.
CONSERVE ESTAS INSTRUCCIONES
PRECAUCIONES IMPORTANTES
5
BTF1613MW-LA_14ESM1.indd 6 6/9/14 5:15 PM

DESCRIPCION DEL ARTEFACTO
6
A. Rejilla Frontal
B. Tuerca de Fijación de Las Aspas del Ventilador
C. Aspas del Ventilador
D. Tuerca de la rejilla posterior
E. Rejilla Posterior
F. Eje del Motor
G. Carcasa del Motor
H. Perilla de encendido y velocidad
I. Botón de oscilación
J. Base
A
B
D
C
E
F
H
I
J
G
BTF1613MW-LA_14ESM1.indd 7 6/9/14 5:15 PM

ANTES DE UTILIZAR SU VENTILADOR DE PEDESTAL POR PRIMERA VEZ
Lea y siga todas las instrucciones de operación y seleccione un lugar para conservar
este manual de instrucciones listo para referencia futura.
Para su conveniencia, escriba el número de modelo completo (ubicado en la parte
trasera del motor) y la fecha en que usted recibió el producto, junto con el recibo de
compra y préndalo en la información de servicio y garantía. Guárdelo en caso de que
sea necesario obtener servicio bajo garantía.
NOTA: El uso de dispositivos no recomendados o vendidos por Sunbeam Products, Inc.
podrían causar un incendio, descarga eléctrica, heridas o daños al producto.
INSTRUCCIONES PARA ENSAMBLAR
ENSAMBLADO DEL CABEZAL DEL VENTILADOR
Ahora ya está listo para armar el cabezal del ventilador.
1. Retire el manguito plástico del eje del motor, si se incluye. Coloque la rejilla posterior
sobre el eje del motor y asegúrese de que las 2 ranuras en la parte superior
y la ranura 1 de la parte inferior de la rejilla posterior se ajusten a las ranuras
sobresalientes de la carcasa del motor. Asegúrese de que la rejilla posterior se ajuste
rmemente contra la carcasa del motor.
2. Fije la rejilla posterior en su lugar con la tuerca. Gire la tuerca en el sentido de las
agujas del reloj y apriételo rmemente.
3. Deslice las aspas del ventilador rmemente en el eje del motor, con el interior hueco
de las aspas orientado hacia la rejilla posterior. Asegúrese de que las aspas del
ventilador se apoyen en el vástago del eje del motor.
NOTA: El área con rosca del eje debe sobresalir de la parte delantera de las aspas.
4. Para jar las aspas del ventilador en el eje del motor, gire la tapa de las aspas en el
sentido contrario a las agujas del reloj (asegúrese de que las aspas estén rmes en
su posición).
5. Centre la rejilla delantera, asegurándose de que el logotipo de Bionaire® esté
horizontal y paralelo al piso y presione hacia la rejilla posterior después de alinear los
cierres de resorte.
ENSAMBLADO FINAL
La colocación se realiza mediante un ajuste a presión seguro que aprieta el conjunto en
su lugar, por lo que el cabezal del ventilador se debe presionar levemente hacia abajo.
Coloque el corte cuadrado en el conjunto del cabezal del ventilador sobre las dos aletas
en la base.
INSTRUCCIONES PARA EL FUNCIONAMIENTO
1. Coloque el ventilador en una supercie seca y nivelada.
2. Conecte el cable de alimentación en el tomacorriente adecuado.
INSTRUCCIONES DE OPERACION
7
BTF1613MW-LA_14ESM1.indd 8 6/9/14 5:15 PM

INSTRUCCIONES PARA LIMPIEZA Y MANTENIMIENTO
Siga estas instrucciones para cuidar de su ventilador de manera adecuada y segura.
• Desconecte siempre el ventilador antes de limpiarlo o desarmarlo.
• Asegúrese de limpiar el ventilador con un paño suave humedecido con una solución
de jabón no muy fuerte.
• No permita que gotee agua sobre la carcasa del motor del ventilador ni que penetre
en de ésta.
• No utilice gasolina, disolventes o benceno como limpiadores.
• Pase la boquilla de una aspiradora ligeramente sobre la rejilla del ventilador para
eliminar el polvo o el sucio que se haya acumulado.
INSTRUCCIONES PARA LA LIMPIEZA DE LAS ASPAS DEL
VENTILADOR
Este ventilador está equipado con una rejilla desmontable que permite que el cliente retire la
rejilla y los componentes sin necesidad de usar herramientas.
Asegúrese de que el ventilador esté desconectado antes de desmontar y limpiar las aspas
del ventilador. Con cuidado, retire la rejilla delantera. Limpie las aspas con un paño suave
humedecido en una solución de jabón no muy fuerte. NO permita que ningún líquido gotee o
penetre en la carcasa del motor. Calce la rejilla frontal a presión sobre el ventilador. Cerciórese
de que todas las piezas estén jas antes de poner a funcionar el ventilador.
ALMACENAMIENTO DEL VENTILADOR
Utilice la caja original para almacenar el ventilador. Es importante mantenerla en un lugar
seguro y seco.
• Guarde el ventilador en su caja original o en una caja del tamaño adecuado.
• Proteja el cabezal del ventilador contra el polvo.
• Guarde el ventilador en un lugar seco.
3. Gire la perilla en la parte superior de la carcasa del motor para seleccionar la
velocidad deseada o para apagar el ventilador: “0” para apagado, “1” para velocidad
baja, “2” para velocidad media y “3” para velocidad alta.
4. Para que el cabezal del ventilador oscile, presione hacia abajo el botón de oscilación
“ ” en la parte superior de la carcasa del motor. Para detener la oscilación, tire del
botón “ ” hacia arriba.
INSTRUCCIONES PARA AJUSTAR
AJUSTE DE LA INCLINACIÓN
Para cambiar el ángulo de inclinación del cabezal del ventilador, muévalo manualmente
al ángulo deseado.
MANTENIMIENTO Y LIMPIEZA
8
BTF1613MW-LA_14ESM1.indd 9 6/9/14 5:15 PM
PARA MÉXICO SÓLAMENTE - FOR MEXICO ONLY
VENTILADOR DE MESA DE 40,6 cm BIONAIRE®
MODELOS: BTF1613MW, BTF1613MW-LA013
IMPORTADOR: SUNBEAM MEXICANA, S.A. DE C.V.
AV. JUÁREZ No. 40-201,
EX–HACIENDA DE SANTA MÓNICA,
TLALNEPANTLA, ESTADO DE MÉXICO,
C.P. 54050, R.F.C. SME570928G90, TEL. 53660800
PAÍS DE ORIGEN: CHINA
PAÍS DE PROCEDENCIA: E.U.A., China
LEA EL INSTRUCTIVO ANTES DE USAR EL APARATO
CARACTERÍSTICAS ELÉCTRICAS
60 Hz 120 V~ 60 W
CONTENIDO: 1 PIEZA
©2014 Sunbeam Products, Inc. All rights reserved. Distributed by Sunbeam Latin America, LLC, 5200 Blue
Lagoon Drive, Suite 860, Miami, FL 33126.
©2014 Sunbeam Products, Inc. Todos los derechos reservados. Distribuido por Sunbeam Latin America, LLC,
5200 Blue Lagoon Drive, Suite 860, Miami, FL 33126.
Printed in China www.bionaire.com Impreso en China
P.N. 164117 Rev B BTF1613MW-LA_14ESM1 GCDS-OST34936-ZZ
BTF1613MW-LA_14ESM1.indd 10 6/9/14 5:15 PM
Table of contents
Languages:
Other Bionaire Fan manuals

Bionaire
Bionaire BWF0522EBU User manual

Bionaire
Bionaire BTF4011AR Manual

Bionaire
Bionaire BPF650 User manual

Bionaire
Bionaire BW2300 Manual

Bionaire
Bionaire BMSF1622S User manual

Bionaire
Bionaire BAOF30G User manual

Bionaire
Bionaire BT014 Manual

Bionaire
Bionaire BANF76G User manual

Bionaire
Bionaire BMT01 - 2 User manual

Bionaire
Bionaire BSF1612M User manual

Bionaire
Bionaire BW2100 Manual

Bionaire
Bionaire BASF40 User manual

Bionaire
Bionaire BSF16 Manual

Bionaire
Bionaire BT18 User manual

Bionaire
Bionaire BT17C Manual

Bionaire
Bionaire BASF40B User manual

Bionaire
Bionaire BSF1411AR User manual

Bionaire
Bionaire BT16RBS-IN User manual

Bionaire
Bionaire BUF1410C User manual

Bionaire
Bionaire BTF3610 Series Manual