manuals.online logo
Brands
  1. Home
  2. •
  3. Brands
  4. •
  5. Biosan
  6. •
  7. Measuring Instrument
  8. •
  9. Biosan DEN-600m User manual

Biosan DEN-600m User manual

The following spare parts are available for Photometer DEN 600 - m:
Service Manual for
Photometer DEN-600m
Periodical maintenance
Photometer DEN-600 and m does not require periodical technical maintenance, except cleaning
periodical battery charging.
Cleaning. Standard ethanol (75%) or any other cleaning liquids can be used for cleaning and
disinfecting of the device, if it does not contain any strong organic solvents (such as acetone,
toluene or benzene).
DEN-600m - V.2AW Service Manual Version 1 - March 2022 Page 1
No. Spare part Marking Article
1 LCD and Button Board DISP_G BS-050109-S02
2 Control Board DEN_600_3 BS-050109-S01
3 Battery LP405063, 3.7V, 1400mAh BS-050109-S05
4 Casing (bio) DEN-600 BS-050109-S07
5 Sensor Board SEN_L BS-050109-S04
6 LED assembly 600 nm BS-050109-S03
7 Power socket BS-050109-S06
I. Parameter setup
Press the Reset key 10 consecutive times to enter the parameter setup mode. Display shows
version and firmware setting date. Press the Reset key again to exit the mode. Press Mode to
cycle through parameters.
Setting display colour and brightness. It is possible to adjust brightness and colour tone of
the display by increasing the percentage of the red, green and blue hue. Press Measure to
increase hue by 4% and Baseline to decrease by 4%. Press Mode to proceed to the next hue.
Note. If any hue was modified, the settings menu will cycle again through red, green
and blue hues one additional time before proceeding to Testing light and LED current.
Note. Particularly bright display may potentially affect the measurement.
Setting test light and LED current. Display shows the Test Light indication. Make sure that the
socket is empty and press Measure:
The appearing Min parameter corresponds to the amount of light received on minimal LED
power. The value should be 0 or 1, otherwise, there is too much ambient light in the room.
Move the unit according to user manual.
The Max parameter should be between 64000 and 65535
If the Max parameter is below or above (i.e. displays an error when measured), change the
current supplied to the LED. Press Mode to advance from Test Light. Display shows LED
current and battery status. Press Measure to increase current and Baseline to decrease it.
Note. If the current was modified, the settings menu will cycle again to the Test Light.
Press Measure once to check the results of modification of the current and then press it
again to advance to Calibration.
Setting idle time. It is possible to change the time, after which the unit on battery power turns
itself off to conserve power. Press Measure to increase the time by 1 minute and Baseline to
decrease it by 1 minute.
DEN-600m - V.2AW Service Manual Version 1 - March 2022 Page 2
II. Spare part replacement
Disassembling:
1. Disconnect the unit from power supply.
2. Turn the unit upside down and unscrew the six screws
from the underside (fig.2/1).
3. Remove the casing and place it besides
the main part (fig.3).
4. Disconnect the LCD cable to completely release the casing.
1. To replace the LCD and Button Board:
– unscrew the six screws (fig.3/1) on the LCD and Button Board;
– remove the LCD and Button Board and replace it;
– re-assemble the unit.
2. To replace the Control Board:
– disconnect all wire terminals from the Control Board;
– unscrew the four screws (fig.3/2) and remove measurement block;
– unscrew the four screws (fig.3/3) and release the Control Board;
– replace the Control Board;
– re-assemble the unit.
3. To replace the Battery:
– disconnect Battery wire terminal (fig.4/1) from the Control Board;
– pull the Battery (fig.4/2) out through frontal opening
– replace the Battery;
– re-assemble the unit.
4. To replace the Casing:
– remove LCD and Button Board
(see LCD and Button Board replacement);
– remove the cover piece (fig.1/1);
– replace the Casing;
– re-assemble the unit.
5. To replace the Sensor Board:
– disconnect the wire terminal (fig.4/3) from the Sensor Board;
– unscrew the four screws (fig.4/4) and remove the Sensor
Board;
– replace the Sensor Board;
– re-assemble the unit.
DEN-600m - V.2AW Service Manual Version 1 - March 2022 Page 3
fig.3M
Opened casing
fig.2M
Underside
1
fig.1M
DEN-600m
1
1
3
2
6. To replace the LED assembly:
– disconnect the wire terminal (fig.5/1);
– loosen the nut (fig.5/2);
– unscrew the LED assembly (fig.5/3);
– replace the LED assembly;
– re-assemble the unit.
7. To replace the Power Socket:
– remove the Control Board (see Control Board replacement);
– desolder Power Socket pins (fig.5/4) and remove it;
– replace the Power Socket;
– re-assamble the unit.
DEN-600m - V.2AW Service Manual Version 1 - March 2022 Page 4
fig.4M
Front view
fig.5M
Back view
1
2
3 4
1234
DEN-600m - V.2AW Service Manual Version 1 - March 2022 Page 5
Control Board
LCD and
Button Board
LED
Battery
Sensor
Board

Other Biosan Measuring Instrument manuals

Biosan HiPo MPP-96 User manual

Biosan

Biosan HiPo MPP-96 User manual

Biosan DEN-1B User manual

Biosan

Biosan DEN-1B User manual

Biosan DEN-1 User manual

Biosan

Biosan DEN-1 User manual

Popular Measuring Instrument manuals by other brands

WOLFF GM-200 Translation of the original instructions

WOLFF

WOLFF GM-200 Translation of the original instructions

REED ST-9809 instruction manual

REED

REED ST-9809 instruction manual

Topcon ES-52 instruction manual

Topcon

Topcon ES-52 instruction manual

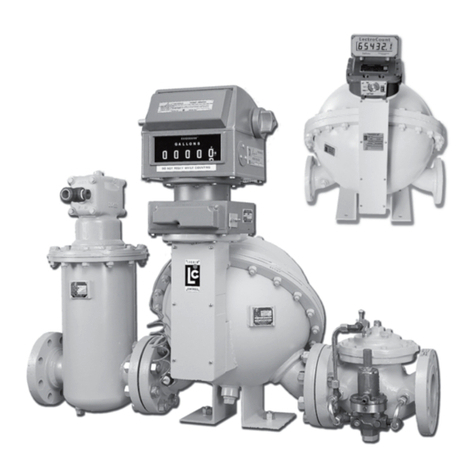
Liquid Controls MS Series Installation & parts manual

Liquid Controls

Liquid Controls MS Series Installation & parts manual

Panasonic KW4S Specifications

Panasonic

Panasonic KW4S Specifications

NVIS Nvis901 user guide

NVIS

NVIS Nvis901 user guide

Emerson Rosemount 3051SAL Reference manual

Emerson

Emerson Rosemount 3051SAL Reference manual

Keysight PNA-X N5241B Upgrade kit

Keysight

Keysight PNA-X N5241B Upgrade kit

Dwyer Instruments 471B Specification and operating instructions

Dwyer Instruments

Dwyer Instruments 471B Specification and operating instructions

Emerson Rosemount 3051 quick start guide

Emerson

Emerson Rosemount 3051 quick start guide

Hanna Instruments PICCOLO quick start guide

Hanna Instruments

Hanna Instruments PICCOLO quick start guide

dynasonics Badger Meter IS-6000 Doppler user manual

dynasonics

dynasonics Badger Meter IS-6000 Doppler user manual

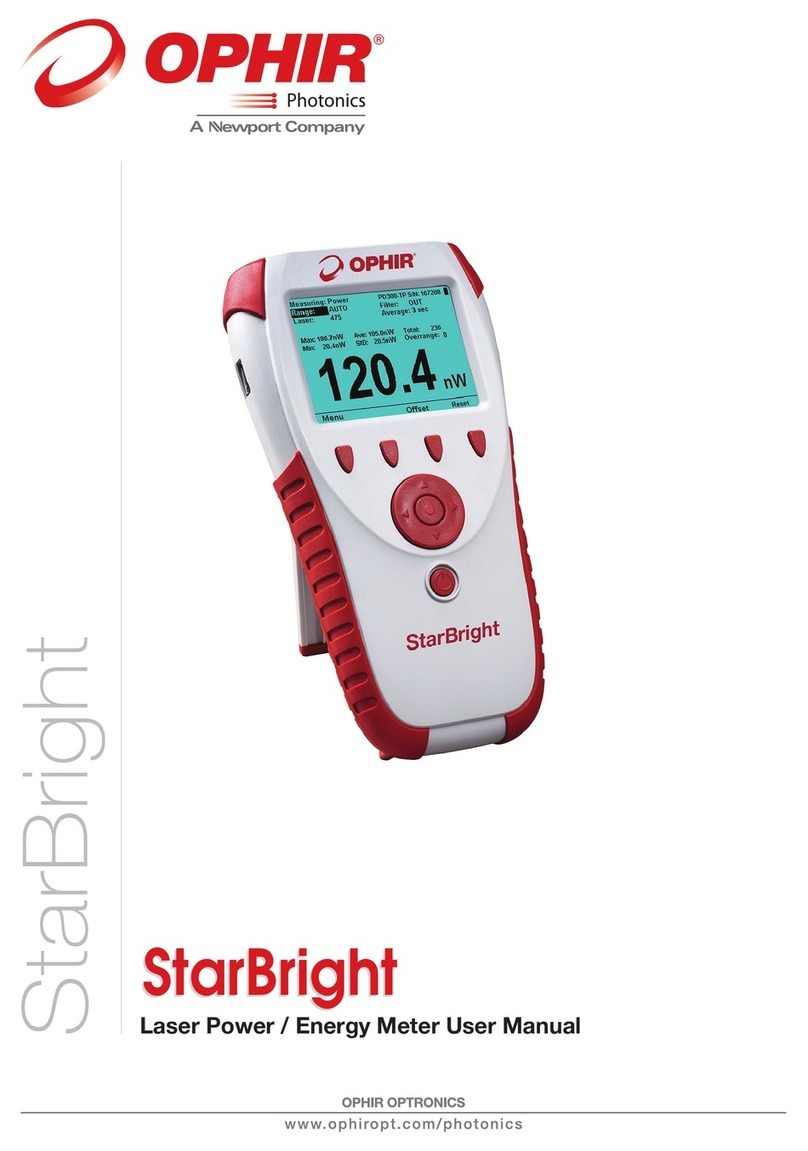
OPHIR StarBright user manual

OPHIR

OPHIR StarBright user manual

Renova USX500-01 Assembly manual and operating instructions

Renova

Renova USX500-01 Assembly manual and operating instructions

Megger LCR131 user manual

Megger

Megger LCR131 user manual

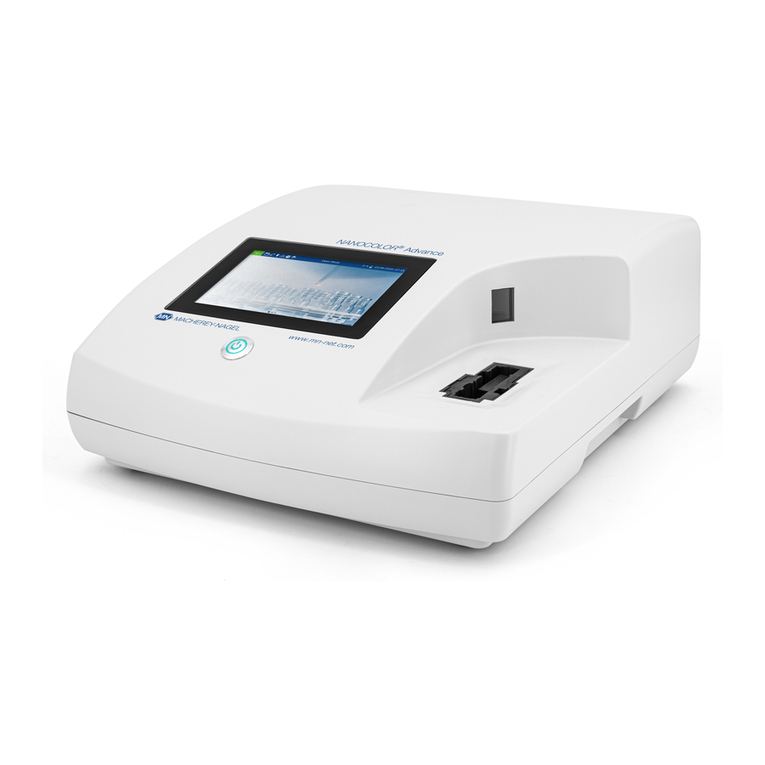
Macherey-Nagel NANOCOLOR Advance quick start guide

Macherey-Nagel

Macherey-Nagel NANOCOLOR Advance quick start guide

CEM 9702 Operating	 instruction

CEM

CEM 9702 Operating instruction

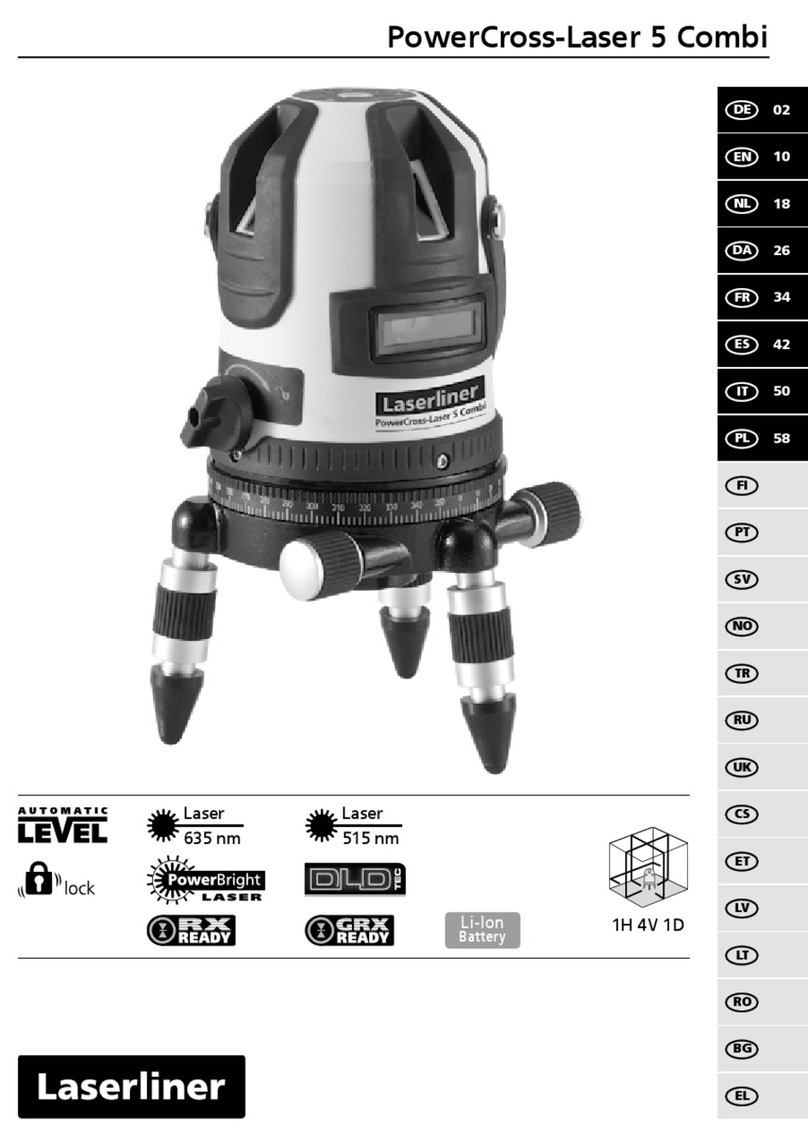
LaserLiner PowerCross-Laser 5 Combi operating instructions

LaserLiner

LaserLiner PowerCross-Laser 5 Combi operating instructions

manuals.online logo
manuals.online logoBrands
  • About & Mission
  • Contact us
  • Privacy Policy
  • Terms and Conditions

Copyright 2025 Manuals.Online. All Rights Reserved.