6
Assembly
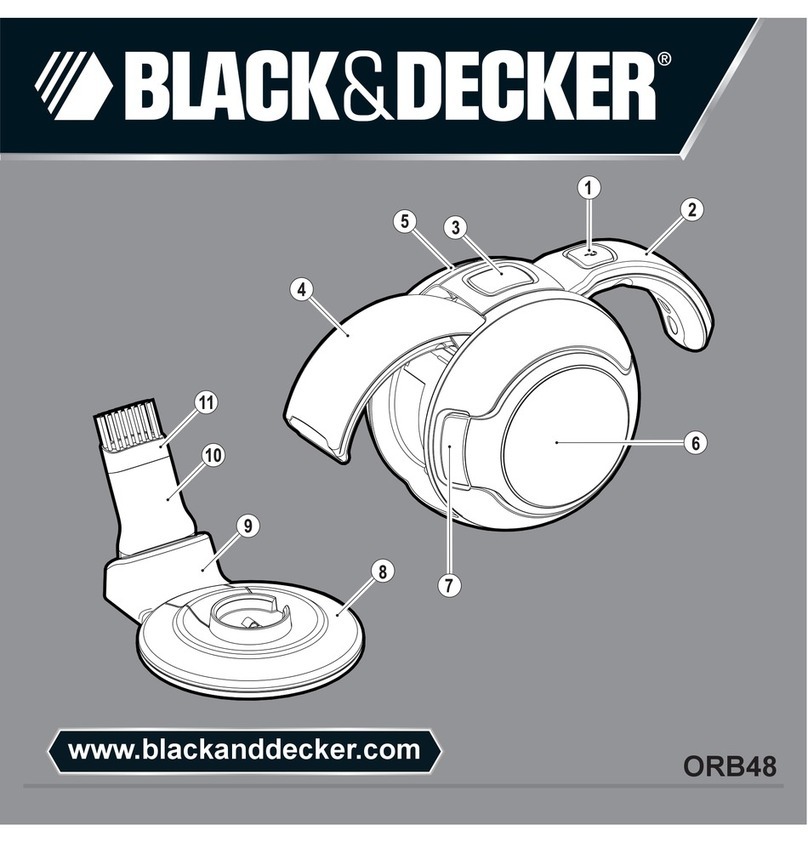
Adjusting the dust collector (fig. B & C)
XThe dust collector (9) is stored under the appliance. To
adjust for use, lift the appliance from the charging base.
XPress the collector lock button (3) and rotate the dust
collector to the required position.
XRelease the collector lock button to lock the dust collector
in position.
XThe dust collector can be extended by pulling the dust
collector extension (8) until it locks into position.
XThe extension can be retracted by pressing the button (13)
and pushing the extension back into the dust collector.
XThe dust collector should be returned to the storage
position under the appliance after use and while charging
the appliance.
Fitting the accessories (fig. D)
These models are supplied with some or all of the following
accessories:
XA crevice tool (10) for confined spaces.
XA brush tool (11) for furniture and stairs.
To fit an accessory, proceed as follows:
XTake the accessories from the appliance.
XInsert the appropriate accessory into the front of the
appliance.
Use
XBefore first use, the battery must be charged for at least 16
hours.
XPlace the appliance on the charging base whenever it is not
in use.
Charging the battery (fig. E)
XMake sure that the appliance is switched off. The battery
will not be charged with the on/off switch in the on
position.
XPlace the appliance on the charging base (7) as shown.
XPlug in the charger. Switch on at the mains.
The charging indicator (6) will be lit.
XLeave the appliance to charge for at least 16 hours.
While charging, the charger may become warm. This is
normal and does not indicate a problem. The appliance can
be left connected to the charger indefinitely. The charging
indicator (6) will be lit as long as the appliance is connected
to the plugged-in charger.
Warning! Do not charge the battery at ambient temperatures
below 4 °C or above 40 °C.
Switching on and off (fig. F)
XTo switch the appliance on, slide the on/off switch (4)
forward to position 1.
XFor full power, slide the on/off switch (4) forward to
position 2.
XTo switch the appliance off, slide the on/off switch (4) back
to position 0.
Optimising the suction force (fig. G - I)
In order to keep the suction force optimised, the filters must
be cleared regularly during use.
XRotate the wheel (5) a few turns to shake out dust clogging
the filters (14 & 15).
Cleaning and maintenance
Warning! Regularly clean the filters (14 & 15).
Cleaning the dust container and filters (fig. H - J)
The filters are re-usable and should be cleaned regularly.
XPress the release latch (1) and open the container door (2)
(fig. H).
XEmpty the dust container.
XRemove the filters (14 & 15) by twisting them counter-
clockwise (fig. I).
XBrush any loose dust off the filters.
XWash the filters in warm, soapy water (fig. J).
XMake sure that the filters are dry.
XRefit the filters (14 & 15) on to the appliance, twisting them
clockwise until they lock into place.
XClose the container door (2). Make sure that the release
latch (1) clicks into place.
Warning! Never use the appliance without the filters.
Optimum dust collection will only be achieved with clean filters.
Replacing the filters
The filters should be replaced every 6 to 9 months and
whenever worn or damaged. Replacement filters are
available from your Black & Decker dealer (cat. no. VF50):
XRemove the old filters as described above.
XFit the new filters as described above.
Protecting the environment
Should you find one day that your appliance needs
replacement, or if it is of no further use to you,
think of the protection of the environment. Black &
Decker repair agents will accept old Black &
Decker tools and ensure that they are disposed of
in an environmentally safe way.
Separate collection of used products and
packaging allows materials to be recycled and
used again. Re-use of recycled materials helps
prevent environmental pollution and reduces the
demand for raw materials.

