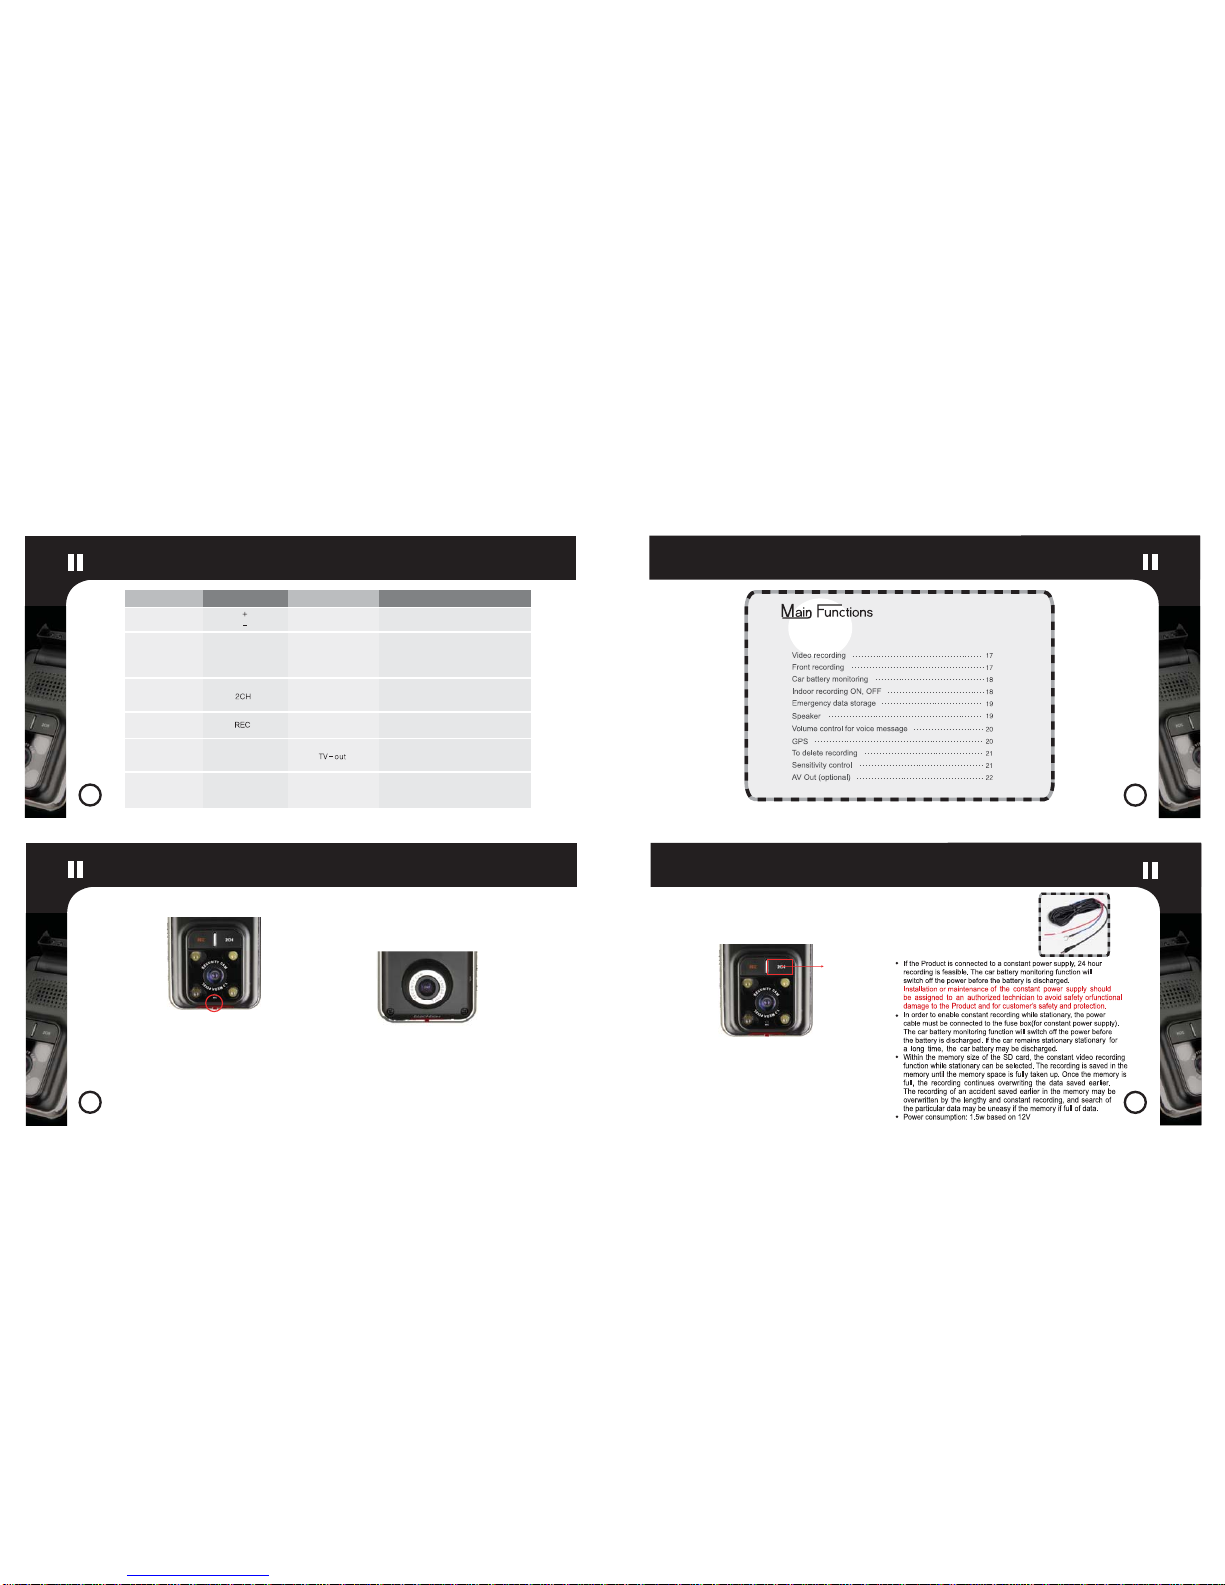
Emergency recording button Speaker Volume control for voice messages GPS Positioning System
AV Out
Emergency
recording button Speaker
Emergency Save switch
Turn the Emergency recording switch upward
to save the video recording as the ‘Event’.
Voice message:“Starting to record.”
Easy and friendly voice messages
are given at selection of functions
of the Product. Please observe the
voice messages.
Voice messages can be adjusted
to level 1 - 5.
Speaker (for voice message)
Volume control for voice messages
Volume for voice messages can be adjusted to level 1 - 5.
Volume control
button
Vehicle positioning information
The GPS module fitted to the
Product provides positioning information.
※The module uses the same frequency as
the Navigationand radio and as a result there may be interference.
Data deletion
To delete all data including normal recording(N), Button
recording(B), Event recording(E).
1. To delete by the volume switch
(This function is only available when the voice message of
‘Data will be deleted due to insufficient memory’is given.)
To operate: Press the volume switch downward.
Voice message: All data will be deleted. Please wait for a few
minutes to complete. Data deletion is complete.
2.
Use of the REC switch
(constantly selectable)
To operate:
REC Button press and hold about 3 seconds.
Voice message: All data will be deleted. Please wait for a few
minutes to complete. Data deletion is complete.
Volume UP
/ DOWN
REC Button
Volume UP
/ DOWN
Sensitivity control
(for G-sensor impact,
acceleration, braking sensor)
To operate: volume - button press and hold about 3 seconds.
Voice message: Entering to the sensitivity control mode.
The current sensitivity is‘3’. Control with the switch.
‘+’will increase the sensitivity to 4 or 5, while‘-’ decrease to 2 or 1.
Upon completion, turn the 2ch button downward to release
the sensitivity control mode.
Voice message: Exiting from the sensitivity control mode.
(available by connecting the AV cable which is sold separately)
AV cable (sold separately) Navigation cable
The current image may be viewed on your Navigation. (Navigation Output: PAL and NTSC compatible)
To operate:
2CH Button press and hold about 3 seconds.
Voice message: Entering to the installation mode. AV Out is selected. Indoor recording is selected. Recording begins.
Connect the AV cable into TV Out hole as shown above the picture.
Toggle between‘front recording’and‘indoor recording’by
2CH Button press and hold about 3 seconds.
The AV Out function is released if the power is disconnected.
Voice message: Exiting from the installation mode.
2CH recording
ON / OFF
(selection switch)
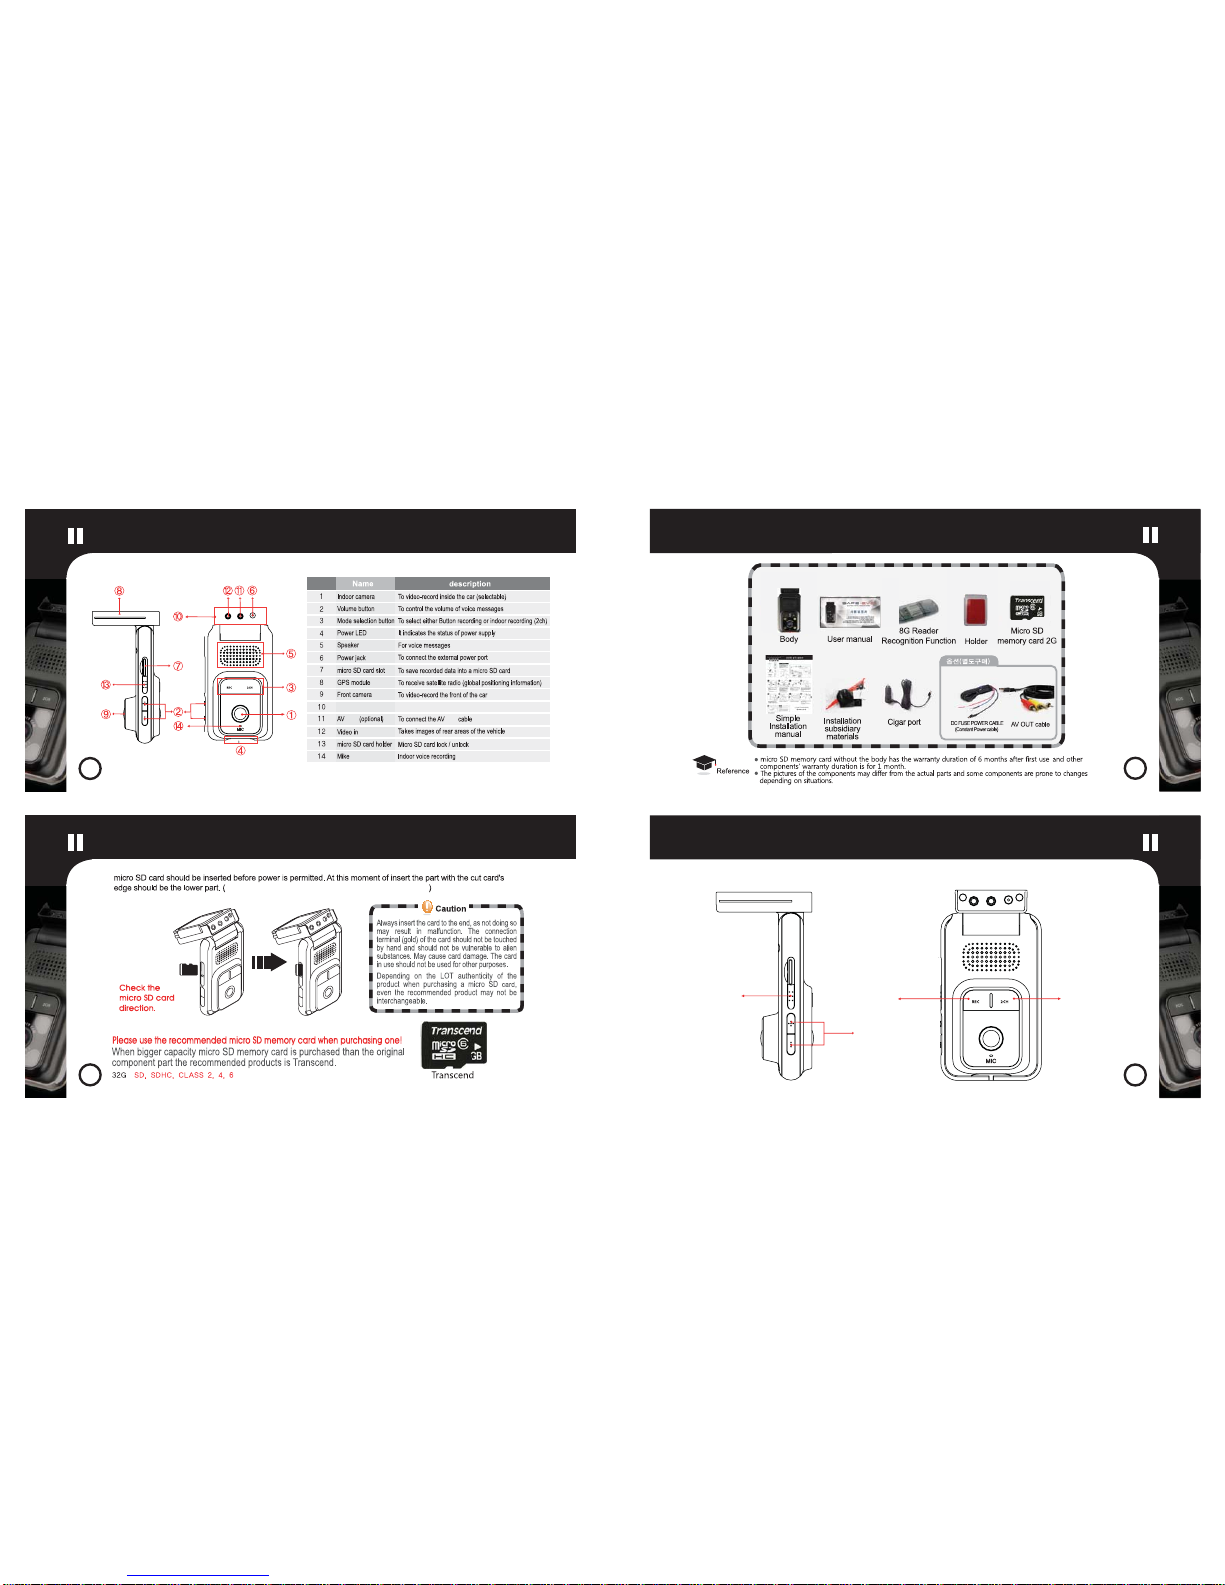
Product Description Product Description
Product Description Product Description
To delete
recording Sensitivity Control