2/ 27
Part One: Basic Operation
1. Basic installation
1.1 HDD installation
Please install the Hard disk before the first time to use this product.
Please connect power cable and data cable of HDD correctly, our product can support 2 HDD
( available to order 4 or 8 HDD) , how many HDD can support is depends on which kind of product
that buyer purchase.(Remark: the device can run normally without HDD, but can not do record and
playback)
1.2 Mouse connection
There is oneor two USBportatback panel(one of them is the same port as what on front panel)
and one USB at front panel, both can be used for mouse, flash disk, WIFI or 3Gmodule, etc.
2. Startup
Connectwith power, turn on theswitch at the back panel, theindicatoris on, then DVR was turned
on. After starting up, you can hear a beep, the default output mode is multi-window mode. Remark:
Restart the power after the abnormal power off, DVR will automatically recover the state before
power off.
3. Turn off
There are two methods to turn off the DVR which are soft switch and hard switch.
Soft switch: Entering [Mainmenu] and choosing [Logout] in the [turn off the system] option is called
soft switch. Pressing the power supply switch is called hard switch.
Note: The setting information must be saved before replacing the battery otherwise information will
lose.
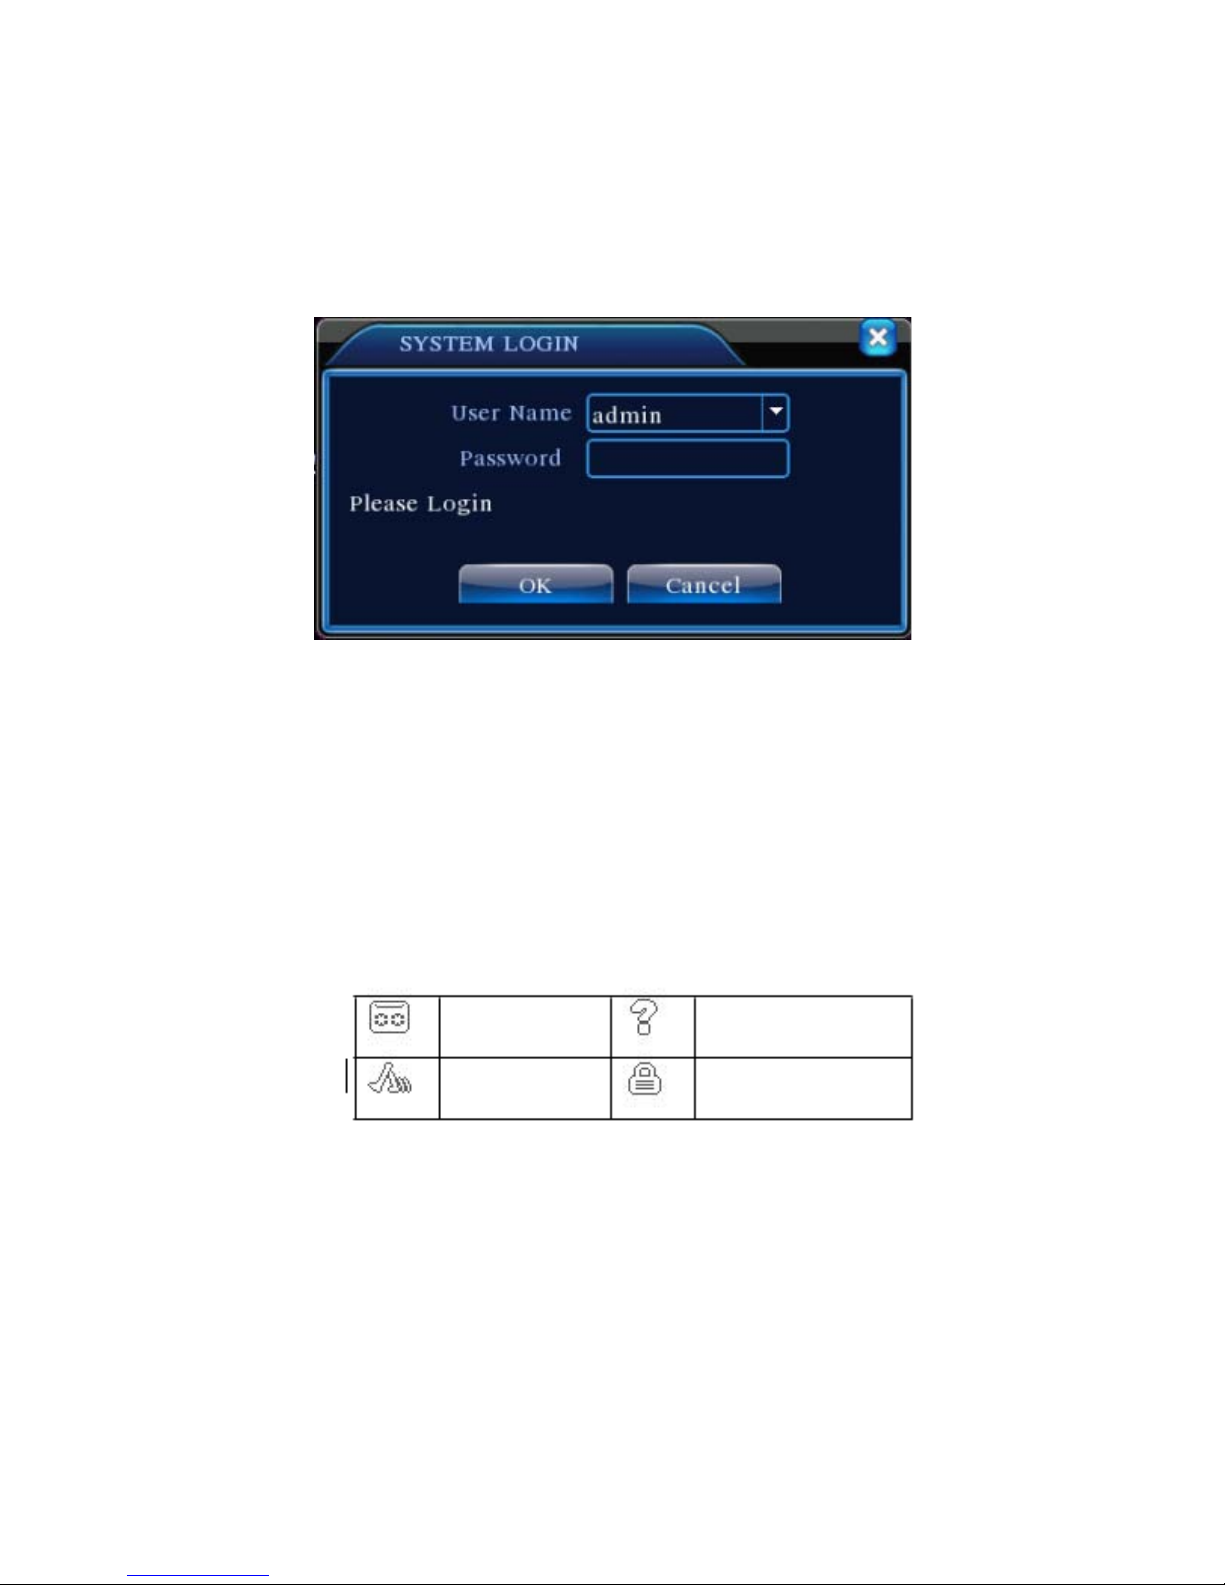
4. Login