manuals.online logo
Brands
  1. Home
  2. •
  3. Brands
  4. •
  5. BLACK NOISE
  6. •
  7. Recording Equipment
  8. •
  9. BLACK NOISE DR II - S Manual

BLACK NOISE DR II - S Manual

00
Introduction
DR II - S
Build instructions
01 Place the jack connectors
Place the jack connectors on the PCB They must be
placed in pairs head to head as shown in the picture.
01
02 Place the faceplate
Place the faceplate on the module. To
locate the top and bottom look at the
back of the PCB. The mention "DR II - S"
on the silkscreen indicates the top of the
module. Make sure the top of the
faceplate is aligned with the top of the
PCB.
DR II - S
Build instructions
Thank you for purchasing QBI module.
Dual Rectifier II - S is a small yet versatile and essential module for any Eurorack
system. It can be used as an AC to DC converter, a distorsion, a complex waveform
generator, a frequency doubler, a clock doubler or a enveloppe follower and more.
Like all our modules, Dual Rectifier II is built with high-quality components only and
designed to offer the best performance.
00
Contents of kit
1- DR II - S PCB (SMD presoldered) x1
2- DR II - S Faceplate x1
3- Jack socket 3.5 mono x8
4- Power ribbon cable x1 optional
Sourced
BLACK NOISE warrants the contents of this kit to be free of defects in materials or workmanship
and to be conform with the specifications at the time of shipment for a period of two years from
the date of purchase.
We do not warrant, and we do not repair or take in modules to troubleshoot end-user DIY build
faults or second hand DIY products.
BLACK NOISE cannot be held responsible for any damage caused by one of our DIY kits and
resulting from an end-user DIY build faults.
If you encounter problems in the assembly you can contact us at:
contact@blacknoisemodular.com
Warranty
Top
DR II - S
Build instructions
03 Screw the jacks connectors
Screw the nuts on the jack connectors to
fix the faceplate. Make sure the
connectors are properly aligned.
02
04 Solder the jacks connectors
Turn the module over and solder the legs
of the jack connectors. Before soldering
the legs of a connector make sure that it
is correctly aligned and that it is flush with
the PCB.
DR II - S
Build instructions
05 Test your module
Test the continuity of your module. Use a
multimeter set to continuity and connect
one of the probes to one of the pins in the
center of the power connector. With the
other probe touch the +/-12V pins at each
end of the connector. Your multimeter
should not ring. If it rings, there is a fault,
please contact us at
contact@blacknoisemodular.com for
debug.
03
06 Clean your module
Before connecting your module to your
rack, clean any flux residue using
isopropyl alcohol and a small soft brush.

Other BLACK NOISE Recording Equipment manuals

BLACK NOISE EG-LFO II User manual

BLACK NOISE

BLACK NOISE EG-LFO II User manual

BLACK NOISE SAM-C User manual

BLACK NOISE

BLACK NOISE SAM-C User manual

BLACK NOISE QBI Manual

BLACK NOISE

BLACK NOISE QBI Manual

BLACK NOISE SALLEN KEY User manual

BLACK NOISE

BLACK NOISE SALLEN KEY User manual

BLACK NOISE GOMA Manual

BLACK NOISE

BLACK NOISE GOMA Manual

BLACK NOISE DRII Manual

BLACK NOISE

BLACK NOISE DRII Manual
BLACK NOISE PIPE User manual

BLACK NOISE

BLACK NOISE PIPE User manual

BLACK NOISE DRII User manual

BLACK NOISE

BLACK NOISE DRII User manual

BLACK NOISE QBI User manual

BLACK NOISE

BLACK NOISE QBI User manual
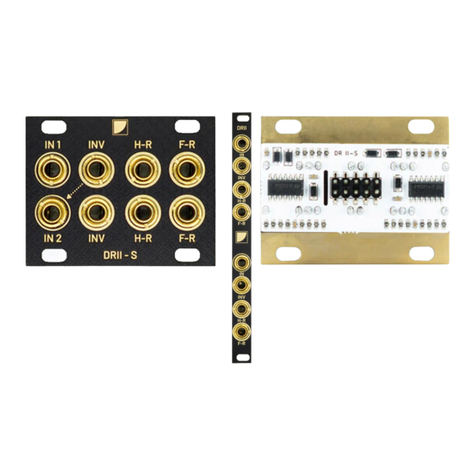
BLACK NOISE Dual Rectifier II - S User manual

BLACK NOISE

BLACK NOISE Dual Rectifier II - S User manual

BLACK NOISE DUAL MULTI Manual

BLACK NOISE

BLACK NOISE DUAL MULTI Manual

BLACK NOISE SAM-C Manual

BLACK NOISE

BLACK NOISE SAM-C Manual

BLACK NOISE COSMOS Manual

BLACK NOISE

BLACK NOISE COSMOS Manual

BLACK NOISE SALLEN KEY Manual

BLACK NOISE

BLACK NOISE SALLEN KEY Manual

BLACK NOISE GOMA User manual

BLACK NOISE

BLACK NOISE GOMA User manual

BLACK NOISE MIXER4 User manual

BLACK NOISE

BLACK NOISE MIXER4 User manual

Popular Recording Equipment manuals by other brands

ALRIGHT DEVICES Chronoblob2 user manual

ALRIGHT DEVICES

ALRIGHT DEVICES Chronoblob2 user manual

Frequency Central High Towers Building manual
Frequency Central

Frequency Central High Towers Building manual

LOUD Technologies XR624 quick start guide

LOUD Technologies

LOUD Technologies XR624 quick start guide

Ambient LockitSlate Take 2 manual

Ambient

Ambient LockitSlate Take 2 manual
Chamberlain COMMERCIAL PROTECTOR SYSTEM CPS-EI manual

Chamberlain

Chamberlain COMMERCIAL PROTECTOR SYSTEM CPS-EI manual

Rupert Neve Designs Portico 500 Series manual

Rupert Neve Designs

Rupert Neve Designs Portico 500 Series manual

Pyle PSIB27X2 manual

Pyle

Pyle PSIB27X2 manual

Tascam CD-RW901 Technical documentation

Tascam

Tascam CD-RW901 Technical documentation

Doug Fleenor Design PRE10ETHER-A owner's manual

Doug Fleenor Design

Doug Fleenor Design PRE10ETHER-A owner's manual

Nav TV ALLGIG-XG installation manual

Nav TV

Nav TV ALLGIG-XG installation manual

Philips CDR-775 Service manual

Philips

Philips CDR-775 Service manual

DINUY KNX EM KNT 001 Installation and commissioning

DINUY

DINUY KNX EM KNT 001 Installation and commissioning

TC-Helicon Voicelive 2 user manual

TC-Helicon

TC-Helicon Voicelive 2 user manual
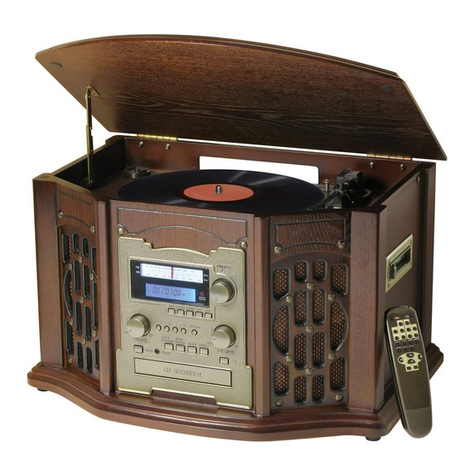
Innovative Technology ITRR-501 instructions

Innovative Technology

Innovative Technology ITRR-501 instructions

Roland R-880 operating manual

Roland

Roland R-880 operating manual

Gemtech TM-PATROLMAN Operation and maintenance
Gemtech

Gemtech TM-PATROLMAN Operation and maintenance

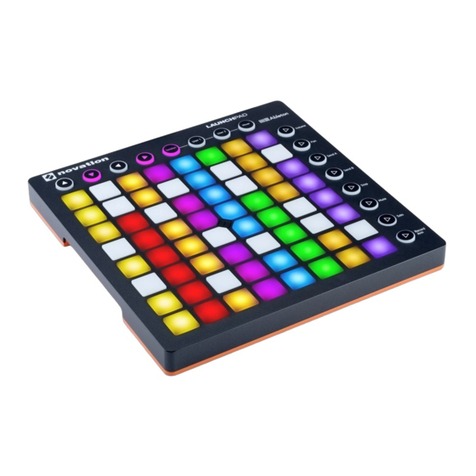
KB Devices SONG:MODE Launchpad MKII Edition user manual
KB Devices

KB Devices SONG:MODE Launchpad MKII Edition user manual

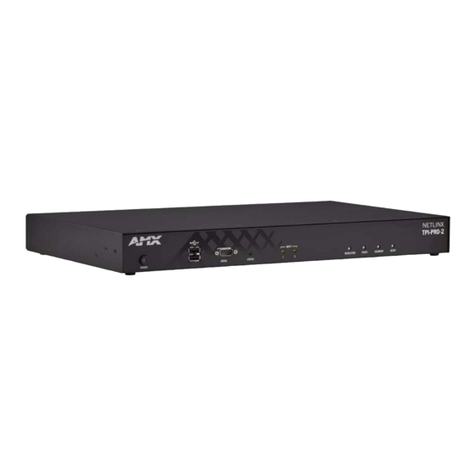
AMX TPI-PRO-2 Operation/reference guide

AMX

AMX TPI-PRO-2 Operation/reference guide

manuals.online logo
manuals.online logoBrands
  • About & Mission
  • Contact us
  • Privacy Policy
  • Terms and Conditions

Copyright 2025 Manuals.Online. All Rights Reserved.