manuals.online logo
Brands
  1. Home
  2. •
  3. Brands
  4. •
  5. Black Stone
  6. •
  7. Griddle
  8. •
  9. Black Stone 2020 User manual

Black Stone 2020 User manual

Other Black Stone Griddle manuals

Black Stone 2151 User manual

Black Stone

Black Stone 2151 User manual

Black Stone AIRFRYER COMBO User manual

Black Stone

Black Stone AIRFRYER COMBO User manual

Black Stone E Series User manual

Black Stone

Black Stone E Series User manual

Black Stone 1889 User manual

Black Stone

Black Stone 1889 User manual

Black Stone 1836 User manual

Black Stone

Black Stone 1836 User manual

Black Stone 2086 User manual

Black Stone

Black Stone 2086 User manual

Black Stone 2061 User manual

Black Stone

Black Stone 2061 User manual

Black Stone 2154 User manual

Black Stone

Black Stone 2154 User manual

Black Stone 1832 User manual

Black Stone

Black Stone 1832 User manual

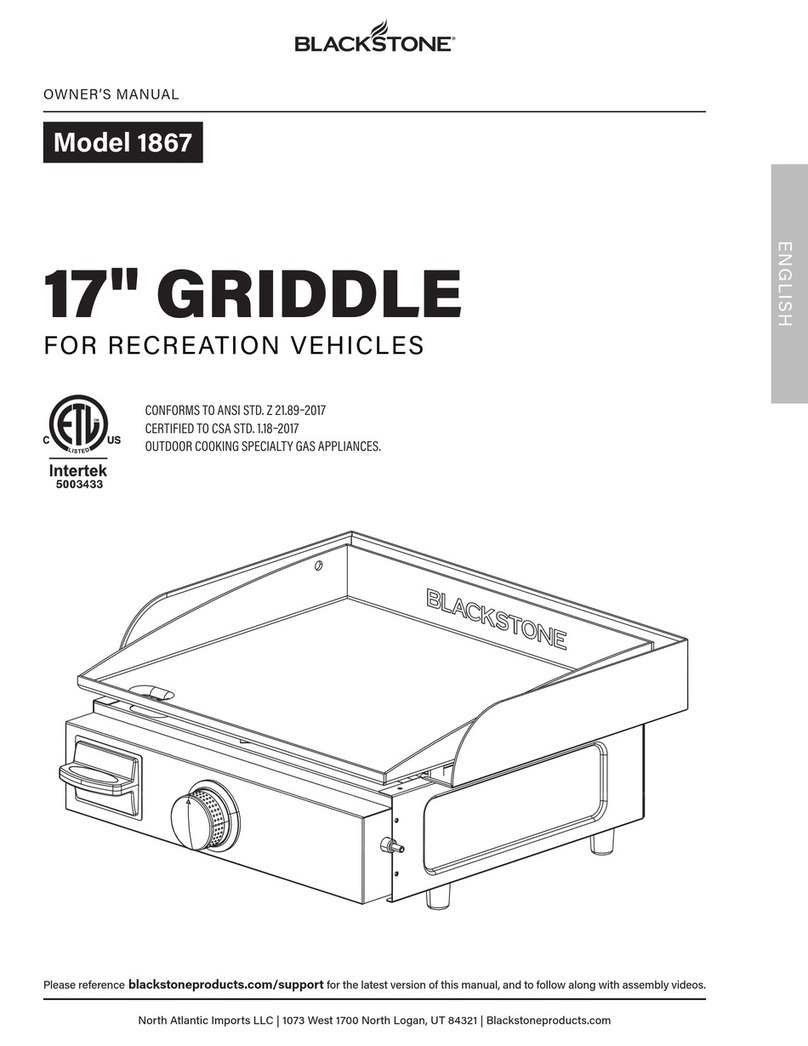
Black Stone 1867 User manual

Black Stone

Black Stone 1867 User manual

Black Stone 1841 User manual

Black Stone

Black Stone 1841 User manual

Black Stone GRIDDLE 1554 User manual

Black Stone

Black Stone GRIDDLE 1554 User manual

Black Stone 1827 User manual

Black Stone

Black Stone 1827 User manual

Black Stone On The Go 1968 User manual

Black Stone

Black Stone On The Go 1968 User manual

Black Stone OMNIVORE 2287 User manual

Black Stone

Black Stone OMNIVORE 2287 User manual

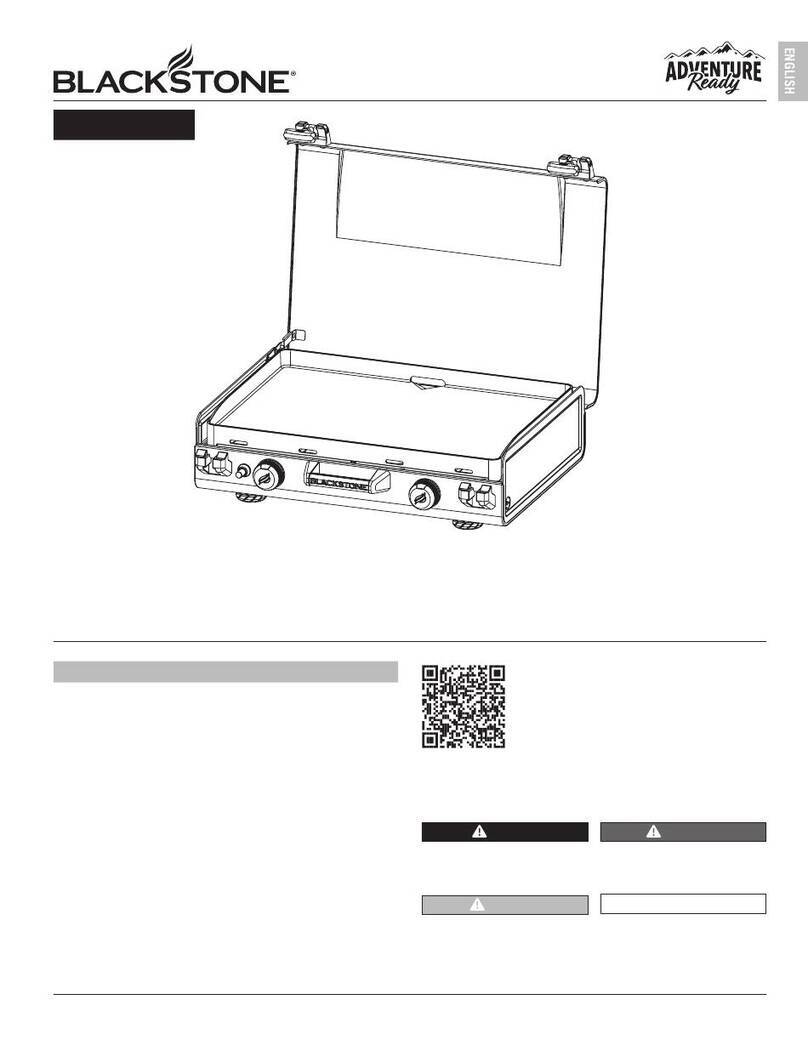
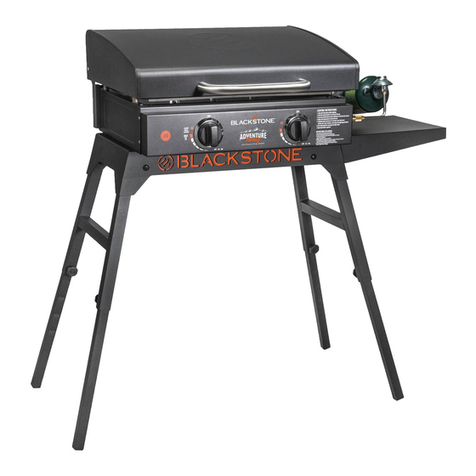
Black Stone ADVENTURE Ready 1859 User manual

Black Stone

Black Stone ADVENTURE Ready 1859 User manual

Black Stone 1856 User manual

Black Stone

Black Stone 1856 User manual

Black Stone 1863 User manual

Black Stone

Black Stone 1863 User manual

Black Stone 1605 User manual

Black Stone

Black Stone 1605 User manual

Black Stone PATIO 1923 User manual

Black Stone

Black Stone PATIO 1923 User manual

Black Stone ADVENTURE READY 2166 User manual

Black Stone

Black Stone ADVENTURE READY 2166 User manual

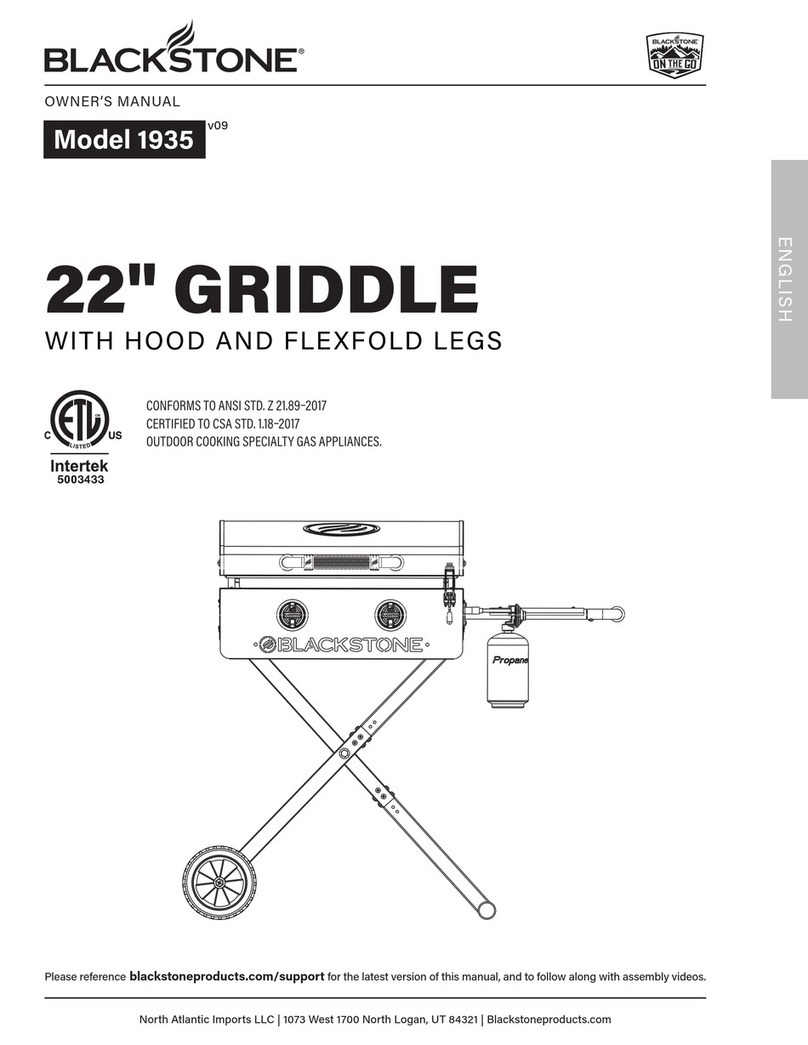
Black Stone 1935 User manual

Black Stone

Black Stone 1935 User manual

Black Stone GRIDDLE 1554 User manual

Black Stone

Black Stone GRIDDLE 1554 User manual

Black Stone 2151EU User manual

Black Stone

Black Stone 2151EU User manual

Popular Griddle manuals by other brands

Magikitch'n MKG24 Installation & operation manual

Magikitch'n

Magikitch'n MKG24 Installation & operation manual

Proctor-Silex 25340 manual

Proctor-Silex

Proctor-Silex 25340 manual

New House Kitchen NH33-C user guide

New House Kitchen

New House Kitchen NH33-C user guide

Magikitch'n 24 Installation and operation instructions

Magikitch'n

Magikitch'n 24 Installation and operation instructions

Anvil FTA7116 Specifications

Anvil

Anvil FTA7116 Specifications

Pit Boss PB2BGT1 Instruction guide

Pit Boss

Pit Boss PB2BGT1 Instruction guide

Dyna-Glo DGL260SNP manual

Dyna-Glo

Dyna-Glo DGL260SNP manual

Char-Broil 19952085 Product guide

Char-Broil

Char-Broil 19952085 Product guide

APW Wyott HMG-2424 Installation and operating instructions

APW Wyott

APW Wyott HMG-2424 Installation and operating instructions

Pit Boss Ultimate Griddle PB2BGD2 Assembly guide

Pit Boss

Pit Boss Ultimate Griddle PB2BGD2 Assembly guide

Airxcel Suburban Elite SOP-1005A Operation guide

Airxcel

Airxcel Suburban Elite SOP-1005A Operation guide

Hobart GGO36S instruction manual

Hobart

Hobart GGO36S instruction manual

Delta Heat DHTG32 Installation, use & care manual

Delta Heat

Delta Heat DHTG32 Installation, use & care manual

Broil King USG-10 use and care manual

Broil King

Broil King USG-10 use and care manual

AccuTemp Accu-Steam GG24A Installation & operator's manual

AccuTemp

AccuTemp Accu-Steam GG24A Installation & operator's manual

croydon GR2G instruction manual

croydon

croydon GR2G instruction manual

Barbecook THERMICORE user guide

Barbecook

Barbecook THERMICORE user guide

Proctor-Silex 38513 use & care

Proctor-Silex

Proctor-Silex 38513 use & care

manuals.online logo
manuals.online logoBrands
  • About & Mission
  • Contact us
  • Privacy Policy
  • Terms and Conditions

Copyright 2025 Manuals.Online. All Rights Reserved.

BLACKSTONEPRODUCTS.COM/SUPPORT
ENGLISH
SAFETY ALERT KEY
DANGER
Indicates a hazardous situation
that, if not avoided, will result in
death or serious injury.
CAUTION
Indicates a hazardous situation
that, if not avoided, could result
in minor or moderate injury.
WARNING
Indicates a hazardous situation
that, if not avoided, could result
in death or serious injury.
NOTICE
Indicates information considered
important, but not hazard-
related (e.g. messages related to
property damage).
OWNER’S MANUAL
IMPORTANT:
This instruction manual contains important
information necessary for the proper assembly and safe
use of the appliance.
Read and follow all warnings and instructions before
assembling and using the appliance.
Follow all warnings and instructions when using
the appliance.
Keep this manual for future reference.
Installer/Assembler: Leave these instructions with the consumer.
For the latest version of this manual,
scan this code or visit
BlackstoneProducts.com/support
| CONTACT CUSTOMER SUPPORT BEFORE RETURNING APPLIANCE TO RETAILER.
MODEL:  v07
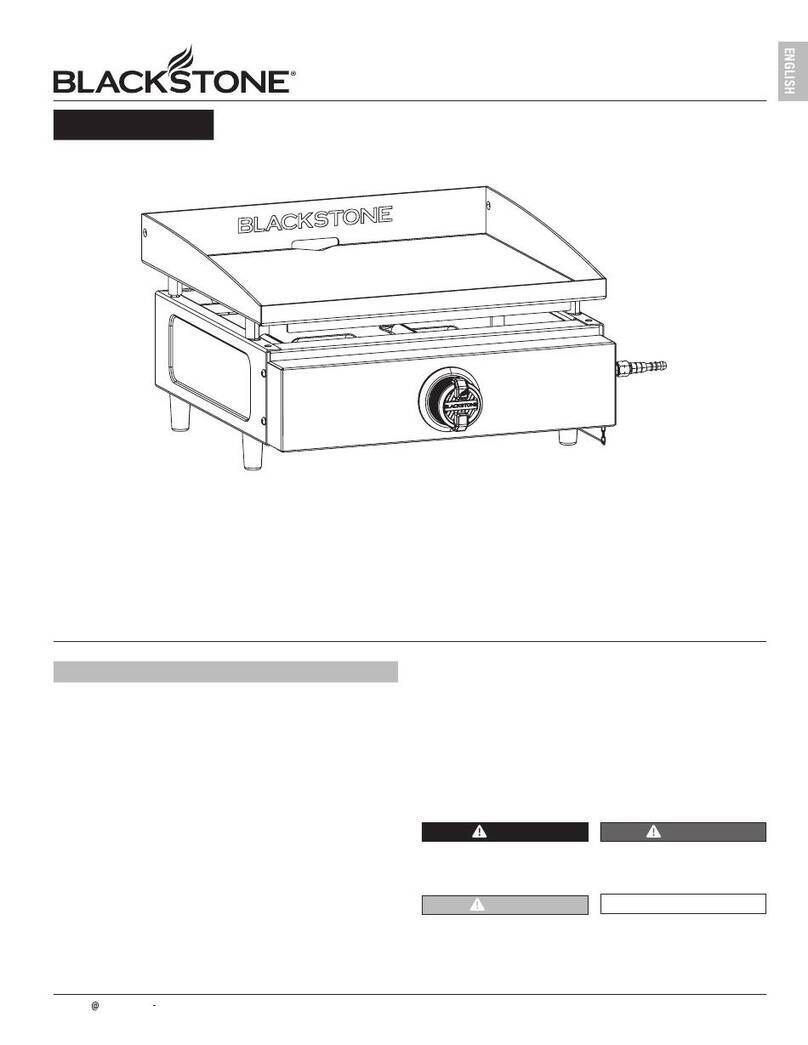
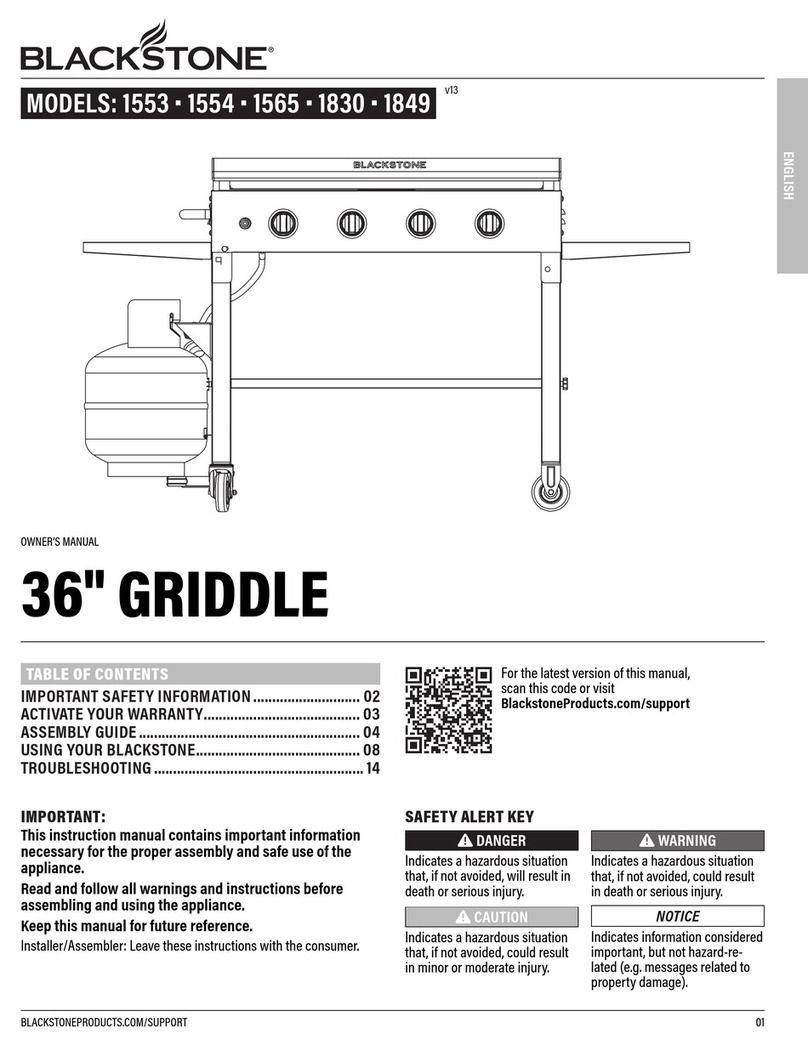
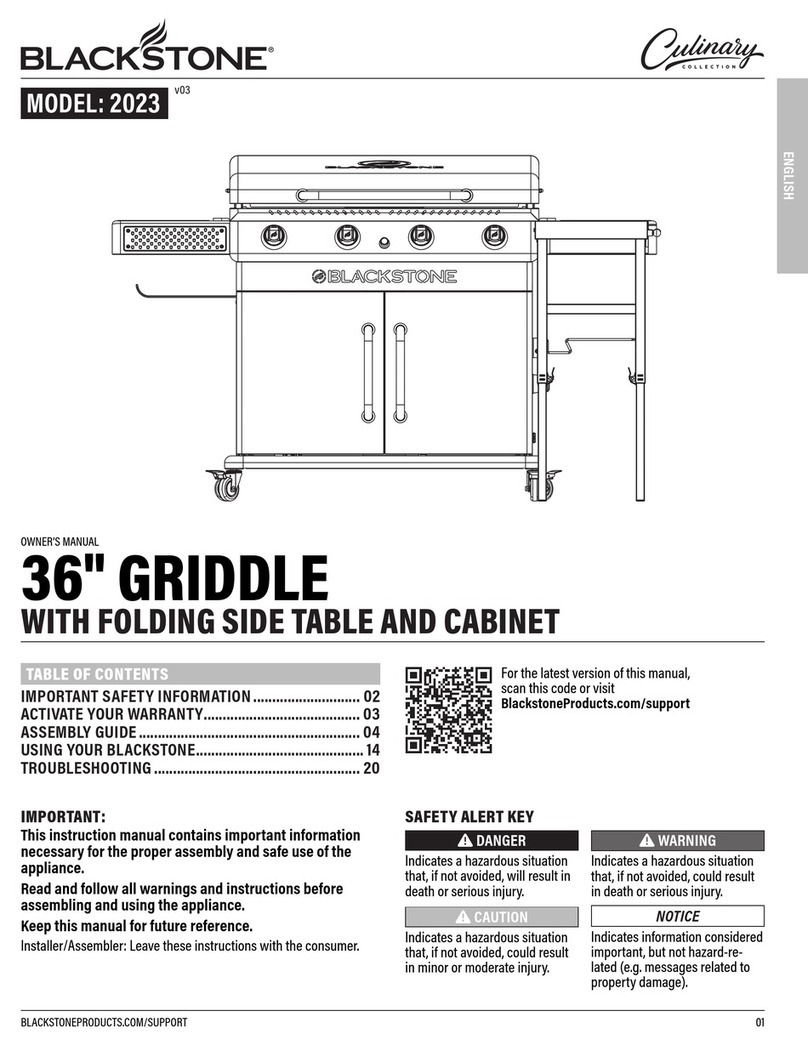
22" GRIDDLE
WITH HOOD & FLEXFOLD LEGS
TABLE OF CONTENTS
IMPORTANT SAFETY INFORMATION . . . . . . . . . . . . . . . . . . . . . . .
WARRANTY. . . . . . . . . . . . . . . . . . . . . . . . . . . . . . . . . . . . . . . . . . . . . . . . . . . . . . . 
ASSEMBLY GUIDE . . . . . . . . . . . . . . . . . . . . . . . . . . . . . . . . . . . . . . . . . . . . . . 
USING YOUR BLACKSTONE . . . . . . . . . . . . . . . . . . . . . . . . . . . . . . . . . . . 
TROUBLESHOOTING . . . . . . . . . . . . . . . . . . . . . . . . . . . . . . . . . . . . . . . . . . . . 

ENGLISH
BLACKSTONEPRODUCTS.COM/SUPPORT
OWNER’S MANUAL | IMPORTANT SAFETY INFORMATION
GAS APPLIANCE SAFETY
• The use of alcohol, prescription, or non-prescription drugs may
impair the consumer’s ability to properly assemble or safely
operate the appliance.
• Keep children and pets away from the appliance at all times.
• Have a type BC or ABC fire extinguisher readily available.
DO NOT USE FOR PURPOSES OTHER THAN INTENDED.
• For outdoor domestic use only, not for commercial use.
• DO NOT use this appliance as a heater.
WARNING
Improper installation, use, adjustment, alteration, service,
modification, or maintenance can cause injury or property
damage. Refer to this manual.
INSTALLATION MUST CONFORM WITH LOCAL CODES.
In the absence of local codes, installation must conform with
either ANSI Z223.1/NFPA 54, CSA B149.1, or CSA B149.2.
WARNING
•DO NOT store or use gasoline or other flammable liquids
or vapors in the vicinity of this or any other appliance.
•An LPG cylinder not connected for use shall not be
stored in the vicinity of this or any other appliance.
DANGER
If you smell gas:
•Shut o gas to the appliance.
•Extinguish any open flame.
•Open hood (if applicable).
•If odor continues, keep away from the appliance
and immediately call your gas supplier or your fire
department.
Failure to follow these instructions could result in fire or
property damage, personal injury or death.
DANGER
•NEVER operate this appliance unattended.
•If a fire should occur, keep away from the appliance and
immediately call your fire department. DO NOT attempt
to extinguish an oil or a grease fire with water.
Failure to follow these instructions could result in fire or
property damage, personal injury or death.
MODEL: 
IMPORTANT SAFETY INFORMATION

BLACKSTONEPRODUCTS.COM/SUPPORT
ENGLISH
| OWNER’S MANUALWARRANTY
Register your appliance at
BlackstoneProducts.com/register
The North Atlantic Imports LLC 1-Year Warranty covers replacement
parts up to one year after the date of purchase.
TO ENABLE THIS WARRANTY, YOU WILL NEED TO PROVIDE:
☞
☞ Your appliance’s Serial Number
The Serial Number can be found on your appliance’s
Manufacturer Label.
(The Manufacturer Label is a large silver sticker found on the body of your
appliance.)
appliance.)
WARRANTY OVERVIEW

North Atlantic Imports, the manufacturer, will warranty for one year
from purchase all parts, workmanship, and finishes. It will be the
manufacturer’s option as to whether to repair or replace any of the
above items. All warranties are limited to the original purchaser
only. This warranty does not cover any liability on the part of North
Atlantic Imports, its agents or employees, for any indirect or conse-
quential damages for breach of warranty. The purchaser must follow
the manufacturer’s usage instructions.
Under no circumstances is the manufacturer responsible for
damages from the failure to operate the cooking station properly. It is
the responsibility of the purchaser to establish the warranty period
by verifying the original purchase date with original sales receipt.
DETAILED EXPLANATION OF THE WARRANTY

North Atlantic Imports LLC warrants to the owner that the product
covered by this agreement is free from defects in material and work-
manship under normal use and service for which it was intended if,
but only if, it has been operated in accordance with North Atlantic
Imports LLC instructions exclusively for domestic use, and not for
private or public club, institutional or commercial purposes.
North Atlantic Imports LLC’s obligation under this warranty is limited
to replacing or repairing, free of charge, any part or parts that
may prove, to the satisfaction of North Atlantic Imports LLC, to be
defective under normal home use and service within the following
stated periods of time from the date of purchase; for one year from
purchase, all parts, finish, and workmanship. Should any failure
to conform to this warranty become apparent during applicable
warranty periods stated above, the original purchaser must notify
North Atlantic Imports LLC of breach of warranty within the appli-
cable warranty period.
North Atlantic Imports LLC shall upon notice and compliance by the
original purchaser with such instructions, correct such nonconfor-
mity by repair or replacement of the defective part or parts.
Correction in the manner provided above shall constitute a fulfill-
ment of all obligations of North Atlantic Imports LLC with respect to
the quality of the product.
North Atlantic Imports LLC does not warrant this equipment to meet
the requirement of any safety code of any state, municipality or other
jurisdiction, and the original purchaser assumes all risk and liability
whatsoever resulting from the use thereof, whether used in accor-
dance with North Atlantic Imports LLC instructions or otherwise.
This warranty does not cover and is intended to exclude any liability
on the part of North Atlantic its agents, servants or employees
whether under this warranty or implied by law for any indirect or
consequential damages for breach on any warranty. The purchaser
must establish all applicable warranty periods pursuant to this
warranty by verifying the original purchase date by producing the
dated sales receipt. This warranty shall not apply to this product or
any other part thereof which has been subject to accident, negli-
gence, alteration, abuse, or misuse or which has been repaired or
altered without North Atlantic written consent, outside of North
Atlantic Imports LLC factory. The full manufacturer warranty is
not valid for griddles purchased from unlicensed, third-party
resellers, purchased at a discount due to missing or damaged
parts, or purchased as a floor model; at the discretion of North
Atlantic Imports.
North Atlantic Imports LLC makes no warranty whatsoever in respect
to accessories or parts not supplied with it. This warranty shall
apply only within the boundaries of the United States of America and
Canada. This warranty gives the original purchaser specific rights,
and the original purchaser may also have other rights, which vary
from state to state.
������������������������������������������
��������������������������
���������������������������������
����������������������������������������
��������������������������������������
����������������������������������
���������������������������������������
���������������������������
������������������������������������
��������������������������������������
����������������������������������������
����������������������������������������
��������������������������
������������������������������������������
�����������������������������
����������������������������������
�����������������������������������������
����������������������������������������
������������������������������������������
����������������������������
����������������������������
����������������������������������������������������
�������������������������������������������������
��������������������������������
���������������������������������������
���������������������������������������������������
����������������������������������������������������
������������������������������������������������������
��������������������������������
��������������������������������������������
��������������������������������������������������
�������������������������������������������������
������������������������������������������������������
��������
����������������������������������������������������
����������������
����������������
����������������
����������������
�����������������������������������
����������������
������������������������
��������������������������������
��������������������������������
������������
������������������������������������������
��������������������������
���������������������������������
����������������������������������������
��������������������������������������
����������������������������������
���������������������������������������
���������������������������
������������������������������������
��������������������������������������
����������������������������������������
����������������������������������������
��������������������������
������������������������������������������
�����������������������������
����������������������������������
�����������������������������������������
����������������������������������������
������������������������������������������
����������������������������
����������������������������
����������������������������������������������������
�������������������������������������������������
��������������������������������
���������������������������������������
���������������������������������������������������
����������������������������������������������������
������������������������������������������������������
��������������������������������
��������������������������������������������
��������������������������������������������������
�������������������������������������������������
������������������������������������������������������
��������
����������������������������������������������������
��������
��������
��������
��������
��������
����������������
����������������
����������������
����������������
�����������������������������������
����������������
������������������������
��������������������������������
��������������������������������
������������
☞
FREE
MOBILEFRIENDLY
COOKBOOK
when you register

MODEL: 
WARRANTY

ENGLISH
BLACKSTONEPRODUCTS.COM/SUPPORT
OWNER’S MANUAL | ASSEMBLY GUIDE MODEL: 
ASSEMBLY GUIDE
EXPLODED VIEW
PARTS LIST
PARTS
QTY

1.1a
Control panel

1.1b
Control knob bezels

1.1c Control knobs 
1.1d Orange background
panel 
1.1e Buckle assembly 
1.2a Left side panel 
1.2b Right side panel 
PARTS
QTY

1.3a
Rear panel

1.3b
Grease cup inset
panel

1.4a Bottom panel 
1.4b Hat channel 
1.5a Front bale panel 
1.5b Rear bale panel 
PARTS
QTY
1.6a
Griddle body rein-
forcement panel

1.6b
Latch assembly

1.6c Pivoting leg
assembly 
1.6d Wheeled leg
assembly 
1.7 Ignition needles 
PARTS
QTY
1.8
H burners

1.9
Gas rail

2.1 Griddle top 
2.2 Hood 
3.1 Lower leg caps 
4.1 Upper leg caps 
6.1 Side shelf frame 
5 3
1.1a
1.6a
1.2b
1.9
1.1d
1.6d
1.4a
3.1
1.1b
4
2.2
1.3a
1.1e
1.7
4.1
1.1c
1.3b
2.1
1.2a
1.8
1.5b
1.6c
7
1.6b
10
8
1.5a
1.4b
9
6
13
6.1

BLACKSTONEPRODUCTS.COM/SUPPORT
ENGLISH
| OWNER’S MANUALASSEMBLY GUIDEMODEL: 
1 Body (1 piece) 2 Griddle top & Hood (1 piece) 3 Lower leg
assembly (1 piece)
4 Upper legs
(2 pieces)
5 Left side handle
(1 piece)
6 Right side shelf
(1 piece)
7 Grease cup
(1 piece)
8 Hood handle
(1 piece)
9 Regulator
(1 piece)
10 Wheels
(2 pieces)
11 Bulk tank
adapter hose (1 piece)
12 LPG cylinder
retaining wire
(1 piece)
13 LPG support
(1 piece)
14 Hardware pack (1 piece)
a.M6x12 bolts (17 pieces) (17 pieces)
b.M10x17 step bolts (2 pieces)
Bolt sleeves (2 pieces)
c.M6x12 hexagon bolts (4 pieces)
[a.]
[b.]
[a.]
[c.]

ENGLISH
BLACKSTONEPRODUCTS.COM/SUPPORT
OWNER’S MANUAL | ASSEMBLY GUIDE
ASSEMBLY INSTRUCTIONS
Find a large, clean area to assemble your appliance.
Remove all packing material before assembling.
CAUTION
Sharp edges. Wear gloves while assembling.
NOT INCLUDED (OPTIONAL):
Two (2) D batteries
ELECTRIC REQUIREMENTS:
120V 60Hz
TOOLS NEEDED:
#3 Phillips head screwdriver &
Adjustable wrench
TOOL NEEDED:
#3 Phillips head screwdriver
TOOL NEEDED:
Adjustable wrench
TOOL NEEDED:
5mm Allen wrench
NOT INCLUDED:
LPG cylinder
Size: 18 x 12 in (45 x 30 cm), 20 lb (9 kg)Size: 18 x 12 in (45 x 30 cm), 20 lb (9 kg)
LPG cylinder must include collar toLPG cylinder must include collar to
protect LPG cylinder valve.protect LPG cylinder valve.
NOT INCLUDED:
17" griddle base
NOT INCLUDED:
22" griddle base
NOT INCLUDED:
AA battery
NOT INCLUDED:
LPG cylinder
Size: 4 x 8 in (10 x 20 cm), 1 lb (453 g)
NOT INCLUDED:
One (1) AA battery (for ignition)
Optional four (4) AA batteries
(for the motor)
TOOLS NEEDED:
#3 Phillips head screwdriver &
Adjustable wrench
TOOL NEEDED:
#3 Phillips head screwdriver
TOOL NEEDED:
Adjustable wrench
TOOL NEEDED:
5mm Allen wrench
NOT INCLUDED:
LPG cylinder
Size: 18 x 12 in (45 x 30 cm), 20 lb (9 kg)Size: 18 x 12 in (45 x 30 cm), 20 lb (9 kg)
LPG cylinder must include collar to
protect LPG cylinder valve.
NOT INCLUDED:
17" griddle base
NOT INCLUDED:
22" griddle base
NOT INCLUDED:
AA battery
NOT INCLUDED:
LPG cylinder
Size: 4 x 8 in (10 x 20 cm), 1 lb (453 g)Size: 4 x 8 in (10 x 20 cm), 1 lb (453 g)
NOT INCLUDED:
One (1) AA battery (for ignition)
Optional four (4) AA batteries
(for the motor)
TOOLS NEEDED:
#3 Phillips head screwdriver &
Adjustable wrench
TOOL NEEDED:
#3 Phillips head screwdriver
TOOL NEEDED:
Adjustable wrench
TOOL NEEDED:
5mm Allen wrench
NOT INCLUDED:
LPG cylinder
Size: 18 x 12 in (45 x 30 cm), 20 lb (9 kg)Size: 18 x 12 in (45 x 30 cm), 20 lb (9 kg)
LPG cylinder must include collar toLPG cylinder must include collar to
protect LPG cylinder valve.protect LPG cylinder valve.
NOT INCLUDED:
17" griddle base
NOT INCLUDED:
22" griddle base
NOT INCLUDED:
AA battery
NOT INCLUDED:
LPG cylinder
Size: 4 x 8 in (10 x 20 cm), 1 lb (453 g)Size: 4 x 8 in (10 x 20 cm), 1 lb (453 g)
NOT INCLUDED:
One (1) AA battery (for ignition)
Optional four (4) AA batteries
(for the motor)
MODEL: 
STEP 01 Remove the griddle body from the packaging and place
it upside down on a flat, smooth surface. Pull the locking pin to
unlock the legs.
STEP 02 Raise the legs. Use twelve (12) M6x12 bolts to install the
upper legs onto the wheeled leg assembly.

BLACKSTONEPRODUCTS.COM/SUPPORT
ENGLISH
| OWNER’S MANUALASSEMBLY GUIDEMODEL: 
STEP 03 Set the upper legs in the C clamps. Use twelve (12) M6x12
bolts to install the lower leg assembly onto the pivoting leg
assembly.
STEP 04 Use two (2) M10x17 step bolts and bolt sleeves to install the
two (2) wheels to the wheeled leg assembly crossbar.
STEP 05 Use four (4) M6x12 bolts to install the right side shelf to the
right side of the griddle body.
STEP 06 Fold the legs. With the help of another person, turn the
griddle over so that it rests on its feet.
Ensure that that the leg locking pin is open.
holes face outholes face out
ChamferChamfer
(tapered end)(tapered end)
faces thefaces the
crossbarcrossbar

ENGLISH
BLACKSTONEPRODUCTS.COM/SUPPORT
OWNER’S MANUAL | ASSEMBLY GUIDE
Make sure the front pins are
seated in the holes, then push
the griddle top back.
❶❶Place the two front pins into
the front locking holes and push
the griddle top back.
❷❷Then, set the two rear pins
into the rear holes.
❶
❶Place the two front pins into
the front locking holes and push
the griddle top back.
❷
❷Then, set the two rear pins
into the rear holes.
Make sure the front pins are
seated in the holes, then push
the griddle top back.
Make sure the front pins are fully
seated in the holes, then push
the griddle top forward to lock
the griddle in place.
Make sure the front pins are fully
seated in the holes, then push
the griddle top forward to lock
the griddle in place.
MODEL: 
STEP 07 Lift the side shelf handle and, while putting weight on the
fixed leg assembly crossbar, pull the griddle up and toward you until
the top of the wheeled leg assembly aligns with the C clamps.
STEP 08 Hang the grease cup on the back of the griddle body.
STEP 10 Use two (2) M6x12 bolts to secure the back of the griddle top
and hood to the back of the griddle body.
STEP 09 Place the griddle top and hood onto the griddle body by
aligning the four pins to the holes of the body.
lift and
lift and
pull
pull
place foot
place foot
here
here
❶
❶
❷
❷

BLACKSTONEPRODUCTS.COM/SUPPORT
ENGLISH
| OWNER’S MANUALASSEMBLY GUIDE
CAUTION
NEVER leave oil exposed in the rain. This can lead to severe
burns. Cover the burner when not in use or if it begins to rain.
NOTICE
•Maximum weight on the side shelf is 10 lbs (4.5 kg).
•The side shelf may get hot while appliance is in use.
CAUTION
Grease build-up on the Flame Tamper can catch fire when
heated.
To prevent damage to the unit and/or injury, clean the top of
the Flame Tamper after each use.
NOTICE
DO NOT sit or stand on the table.
NOTICE
•Maximum weight on the tabletop is 100 lbs (45 kg).
•Maximum weight on the inner shelf is 50 lbs (22.5 kg).
•Maximum weight on the side shelf is 10 lbs (4.5 kg).
CAUTION
Handle will get hot while appliance is in use.
DO NOT touch the handle while appliance is hot.
CAUTION
Heavy pieces. Two people should assemble this appliance.
CAUTION
Hot appliance. The cover MUST be open when the burner is in
operation.
NOTICE
Place appliance on a heat-resistant and flame-resistant
surface while in use.
NOTICE
DO NOT leave the hood closed for more than 10 minutes while
cooking.
NOTICE
•DO NOT mix old and new batteries.
•DO NOT mix alkaline, standard (carbon-zinc) or rechargeable
(ni-cad, ni-mh, etc.) batteries.
NOTICE
DO NOT place items on stabilizing shelf during use.
MODEL: 
STEP 11 Use two (2) M6x16 screws (found within the hood handle) to
install the hood handle to the hood.
STEP 12 Use four (4) M6x12 hexagon bolts to attach the left side
handle to the left side of the griddle body.
STEP 13 Use the two upper screws of the pivoting leg assembly to
attach the LPG retaining wire to the legs.
Use four (4) M6x12 screws to attach the LPG support to the pivoting
leg assembly.
STEP 14 Proceed to USING YOUR BLACKSTONE.
Be sure to latch the hood closed
before transporting.

ENGLISH
BLACKSTONEPRODUCTS.COM/SUPPORT
OWNER’S MANUAL | USING YOUR BLACKSTONE
SETTING UP YOUR OUTDOOR SPACE
THIS APPLIANCE MUST ONLY BE USED OUTDOORS.
• DO NOT use this appliance inside buildings, garages, or any other
enclosed area.
• DO NOT install this appliance in or on a boat.
• DO NOT install this appliance in or on a recreational vehicle.
c.Within a partial enclosure that
includes an overhead cover
and three sidewalls, as long as
30% or more of the horizontal
periphery of the enclosure is
permanently open.
b.Within a partial enclosure that
includes an overhead cover
and no more than two side-
walls. The sidewalls may be
parallel, as in a breezeway, or
at right angles to each other.
a.With walls on three sides, but
with no overhead cover.
SHELTERED OUTDOOR AREAS:
All openings must be permanently open; sliding doors, garage doors,
windows or screened openings are not considered as permanent
openings.
An appliance is considered to be outdoors if installed with shelter no
more inclusive than:
MAINTAIN PROPER CLEARANCES FROM COMBUSTIBLE MATERIAL.
• DO NOT use this appliance on or under any apartment or condo-
minium balcony or deck.
• DO NOT obstruct the flow of combustion and ventilation air.
• DO NOT operate this appliance any closer than 36 in (1 m) from the
sides and back of the appliance to combustible construction.
A = 36 in (1 m)
A = 36 in (1 m)
• DO NOT use this appliance under overhead combustible
construction.
BEFORE COOKING
CHECK BURNERS
Prior to connection and use, ensure that there is no debris caught in,
or damage to, the head of the gas cylinder, regulator, hose, burner
and burner ports.
Spiders and insects can nest within and clog the burner/venturi tube
at the orifice.
 WARNING
A clogged burner can
lead to a fire beneath the
appliance.
Burner should be removed
and cleaned whenever
blockages are found.
THE MINIMUM AMBIENT OPERATING TEMPERATURE IS 0°F (-18°C).
DANGER
Flammable items can combust if placed near the appliance.
Keep the appliance area clear and free from combustible
materials, aerosol containers, gasoline and other flammable
vapors and liquids.
CAUTION
If the appliance is fitted with a paper towel holder, the arm
must be in the open position while the appliance is in use.
IF GREASE OR OTHER HOT MATERIAL DRIPS ONTO VALVE, HOSE OR
REGULATOR:
STEP 01 Turn o gas supply immediately.
STEP 02 Determine the cause and correct it.
STEP 03 Clean and inspect valve, hose and regulator.
STEP 04 Perform a leak test. (Please reference the Leak Test
Instructions)
Ensure that the gas
rail fuel nozzle orifice is
correctly engaged within the
burner opening.
A
A
A
A
A
A
A
A
A
A
Both ends open
Both ends open
30%
30%
30%
30%
Venturi
Venturi
Air intake
Air intake
Blocked burner
Blocked burner
Fuel nozzle
Fuel nozzle
Burner opening
Burner opening
MODEL: 
USING YOUR BLACKSTONE
