Adjusting the type & range of the
crossover
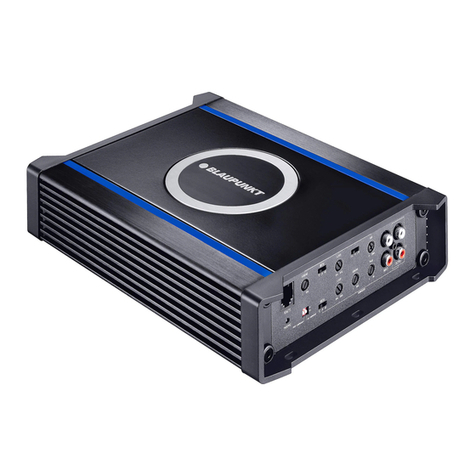
Va1004 is equipped with a Hi-pass crossover & the
selector to activate & select a desired crossover
frequency point which is located on the bottom panel of
the amplier.
Example:
At a setting of 120 Hz, the amplier has a frequency
range of 120 Hz to 20k Hz.
2/4 Channel input selector
VA1004 is equipped with a 2/4 channel input selector. In
2 channel input mode, signal is output from all 4
channels, if the selector is set at 2 channels input mode.
Power-on indicator (PWR / PRO)
Blue LED: Output stage on, regular operating status.
Red LED: Output stage is electronically switched off due
to an error.
Recycling and disposal
Please use the return and collection systems avail-able
to dispose of the product.
Subject to changes
The adjustment range is from 0.2 V to 10 V.
If a car audio system of a third party manufacturer is
connected, the input sensitivity must be adjusted
corresponding to the manufacturer data.
A few important explanations in this context:
By turning the control clockwise, the input sensitivity of
the amplier and, therefore, also the volume increases.
However, this is not a volume control; no further
amplier output can be achieved in the full position,
even though it may sound like that at the beginning. The
system merely increases the volume faster if the volume
control of the car sound system is turned up.
Loudspeaker connections
As with every audio component, the correct polarity of
ampliers & loudspeakers is of great importance for a
good bass response. For this reason, ensure that the
positive (+) terminal of the amplier is connected with
the positive terminal (+) of the loudspeaker; the same
applies to the negative (-) terminal. In addition, the left
amplier channel must be connected with the left
loudspeaker and the right amplier channel with the
right loudspeaker.
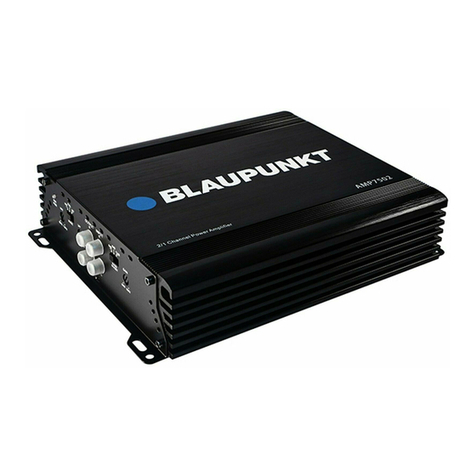
This amplier is designed to power either 4 or 2 speakers.
In 2 speaker mode (bridged) the minimum impedance
of each speaker is to be 4 ohms. The amplier is 2 ohm
stable only when 4 speakers are connected.
Note:
Caution: In a bridge circuit, the amplier load must be 4
ohm or higher. A lower load leads to an overheating or
shutdown of the amplier and can cause permanent
damage.
12 V / DC offset selector:
In case the VA1004 is wired to an OE radio where no
remote trigger is available to turn on the amplier the
DC offset option is to be activated.
Remote connection of the amplier with switchable +12
V voltage source.
This allows the amplier to be switched on and off using
the on/off-switch of the radio device.
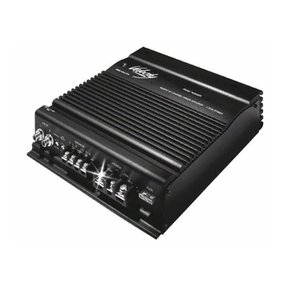
VA 1004
Use loudspeakers with 2-4Ω impedance (see below
details or installation drawing). Observe the maximum
power handling capacity (music output). Do not
connect loudspeakers to ground, use only the
referenced terminals.
Application options & loudspeaker
connection
Technical concept: Class D
Number of channels: 4/2
Max. total power: 720 watts
RMS power 4 ohms: 4 x 60 watts / 2 x 180 watts
RMS power 2 ohms: 4 x 90 watts
Max. power 4 ohms: 4 x 180w, 2 x 360w
Frequency range: 10 – 30,000 Hz (-3 dB)
Stability (Stereo): 2 ohms
Signal / noise ratio: > 95dB/A @ RMS power (4W)
Gain adjust: 0.2 - 10V
High pass filter: 60 / 80 / 120 Hz @ 24dB
Auto turn on: Yes
Input Level Selector: Yes (high / low)
Dimensions W x H x L: 3.4” x 1.9” x 8.3”
Audio inputs (see Page 4)
VA1004 is equipped to handle Low-level (RCA) & Hi-level
(Speaker level) Audio inputs.
Positive / Negative connection
2
ŸWe recommend a minimum cross section of 6 mrn .
ŸRoute commercially available plus cables to the
battery and connect via fuse holder.
ŸUse cable glands for holes with sharp edges.
ŸSecurely fasten commercially available negative
cables to a noise-free earth point (chassis screw,
chassis metal) (not to the negative terminal of the
battery).
ŸScrape the contact surfaces of the ground point until
they are bright and apply some graphite grease.
Integrated fuses (Fuse)
The fuses integrated in the amplier (Fuse) protect the
power amplier and the entire electrical system in case
of an error. If a replacement fuse is used, never bridge
fuses or replace them with a type with higher current.
Level control
The Level control is used to adjust the input sensitivity of
the power amplier to the output voltage of your car
sound system preamplier output.
Warranty
We provide a manufacturer's warranty for products
bought within the India. For devices purchased outside
India, the warranty terms issued by our respective
responsible domestic agencies are valid. The warranty
terms can be looked up at www.blaupunkt.com.
Recommendation
The performance of an amplier can only be as good as
its installation. Correct installation increases the overall
performance of your car sound system. The amplier
should be installed by a trained person. If you would to
install it yourself, please read these installation
instructions very carefully and allow yourself sufficient
time for the installation.
In conclusion, allow us a few words about the topic of
health protection.
During the playback of music in your vehicle, please
consider that continuous sound-pressure levels above
100 dB can lead to permanent damage to the human ear
and possibly even to loss of hearing. Using today's high-
performance systems and loudspeaker congurations
allows for reaching sound-pressure levels above 130 dB.
Safety notes
Please observe the following safety notes during the
installation and connection.
ŸDisconnect the negative terminal of the battery!
Observe the safety notes of the vehicle manufacturer.
ŸWhen you drill holes, ensure that you do not damage
any vehicle components.
ŸThe cross section of the positive and negative cable
2
may not be less than 6 mm .
ŸUse cable glands for holes with sharp edges.
ŸIncorrect installation can result in malfunctions of the
electronic vehicle systems or your car sound system.
Installation and connection instructions
With respect to accident safety, the VA1004 must be
secured in a professional way.
When selecting the installation location, select a dry
location that offers sufficient air circulation for cooling
the amplier.
The VA1004 must not be installed on rear shelves, rear
seats or other locations that are open to the cabin.
The installation location must be suitable to accept the
accompanying screws and provide a rm support.
The amplier power cable must be equipped with a fuse
no more than 30 cm from the battery to protect the
vehicle battery in case of a short circuit between power
amplier and battery. The fuse of the amplier protects
only the amplier, not the vehicle battery.
VA 1004
02

