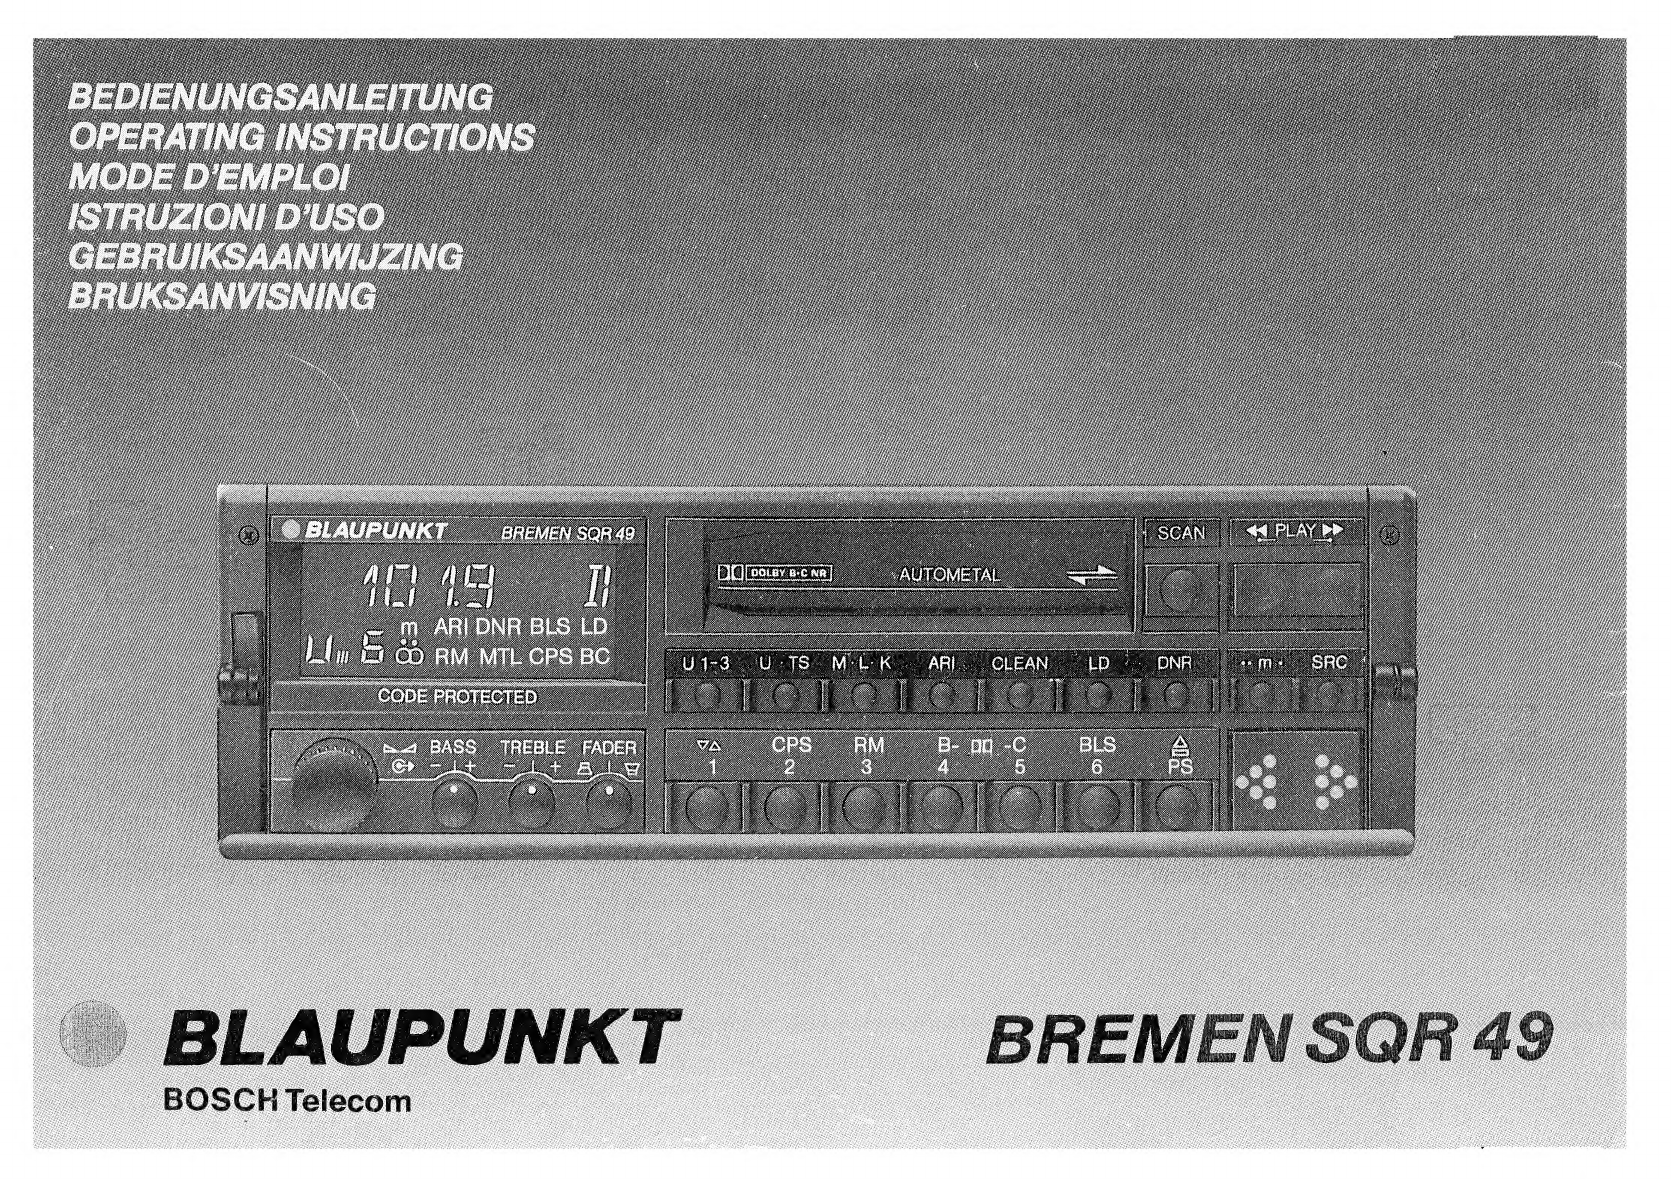
Blaupunkt BREMEN SQR 49 User manual
Other Blaupunkt Car Receiver manuals

Blaupunkt
Blaupunkt Bremen RCM 43 User manual

Blaupunkt
Blaupunkt Heavy Duty 324 DAB Series User manual

Blaupunkt
Blaupunkt RCM 104 User manual

Blaupunkt
Blaupunkt PALM BEACH Palm Beach C51 User manual

Blaupunkt
Blaupunkt TravelPilot E1 User manual

Blaupunkt
Blaupunkt RPC 4000 User manual

Blaupunkt
Blaupunkt Phoenix CM 127 User manual

Blaupunkt
Blaupunkt New Orleans MP58 Specification sheet

Blaupunkt
Blaupunkt IVDP-01 User manual

Blaupunkt
Blaupunkt atlanta rd 105 User manual

Blaupunkt
Blaupunkt TOKYO 110 User manual

Blaupunkt
Blaupunkt London RDM 42 User manual

Blaupunkt
Blaupunkt SEATTLE MP57 7 647 453 310 User manual

Blaupunkt
Blaupunkt MUNCHEN CD 53 User manual

Blaupunkt
Blaupunkt Key West MP36 Specification sheet

Blaupunkt
Blaupunkt ISTANBUL C73 User manual

Blaupunkt
Blaupunkt ACAPULCO RDM 168 User manual

Blaupunkt
Blaupunkt RPC430 User manual

Blaupunkt
Blaupunkt TravelPilot E1/E2 User manual

Blaupunkt
Blaupunkt Lexington CM84 User manual