Hymon Fotowoltaika Sp z o.o.
ul. Dojazd 16A 33-100 Tarnów
Wyłączny dystrybutor nowoczesnych systemów
www.hymon.pl
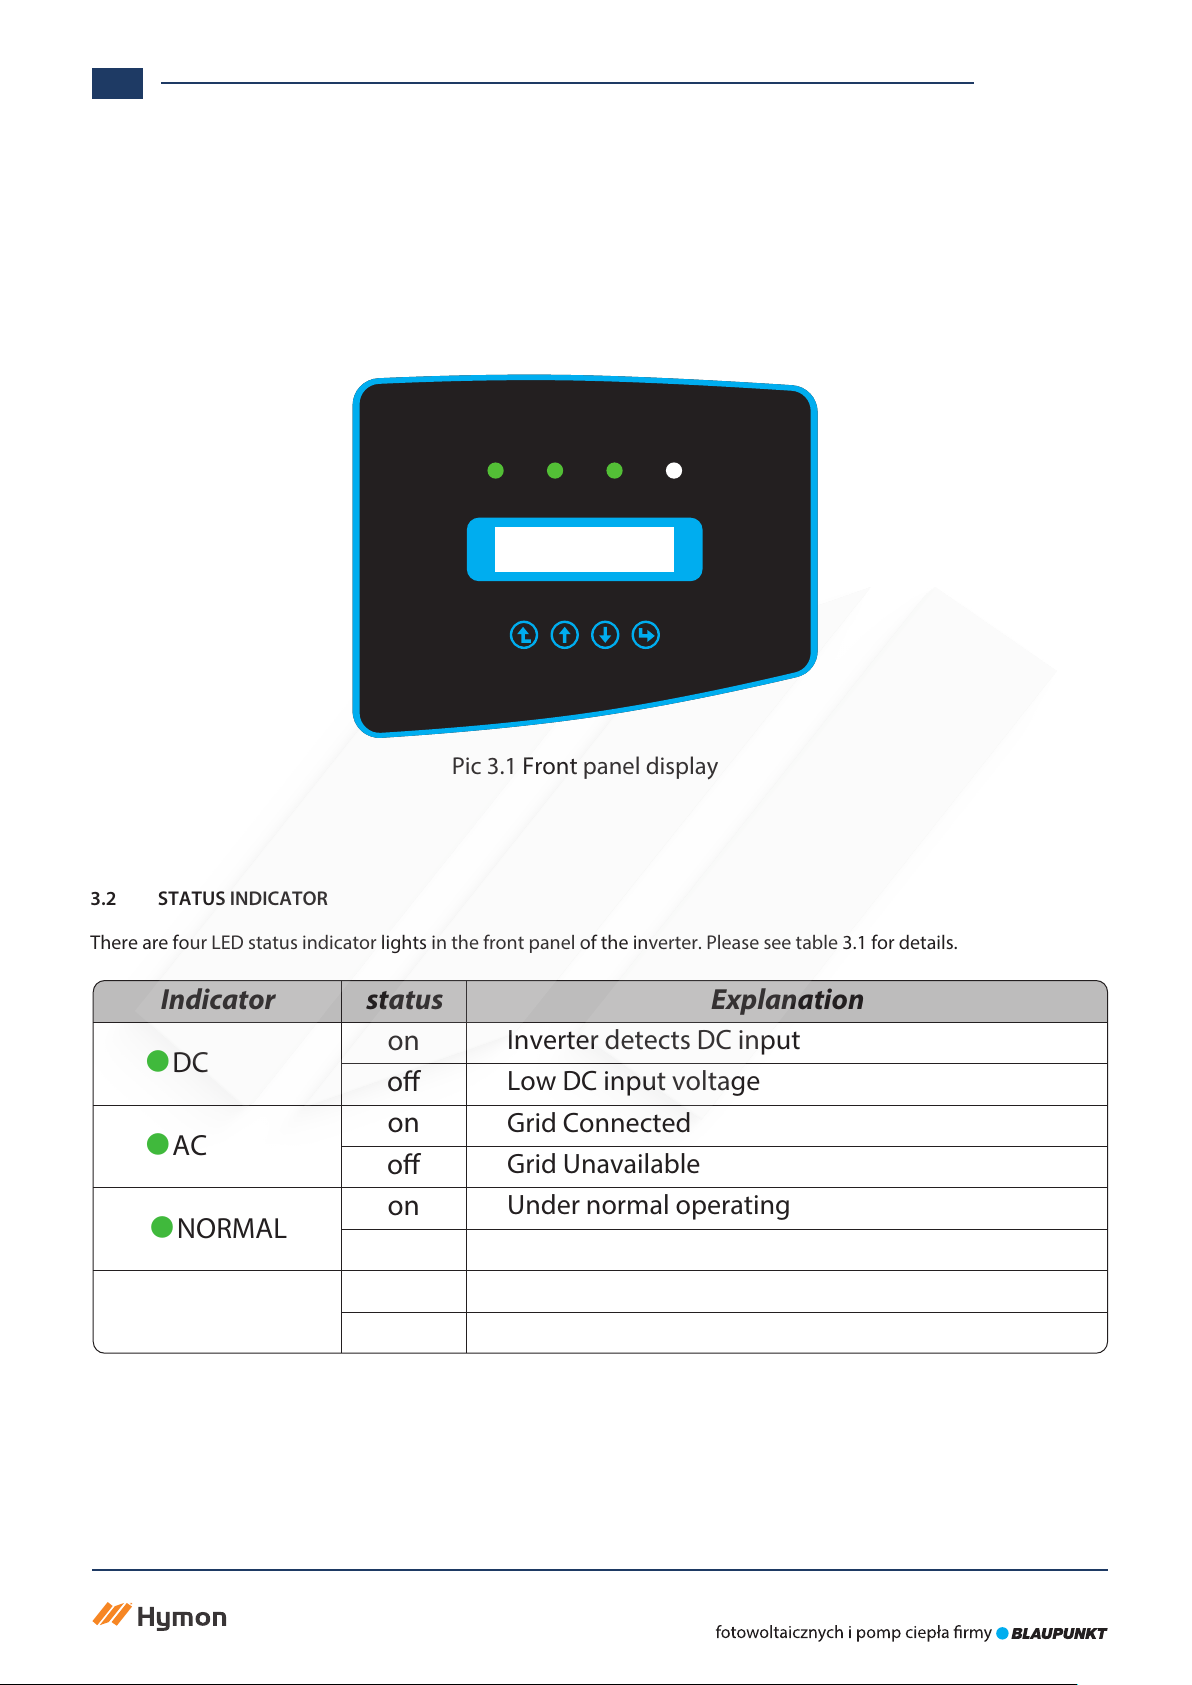
5
2. SAFETY WARNINGS AND INSTRUCTIONS
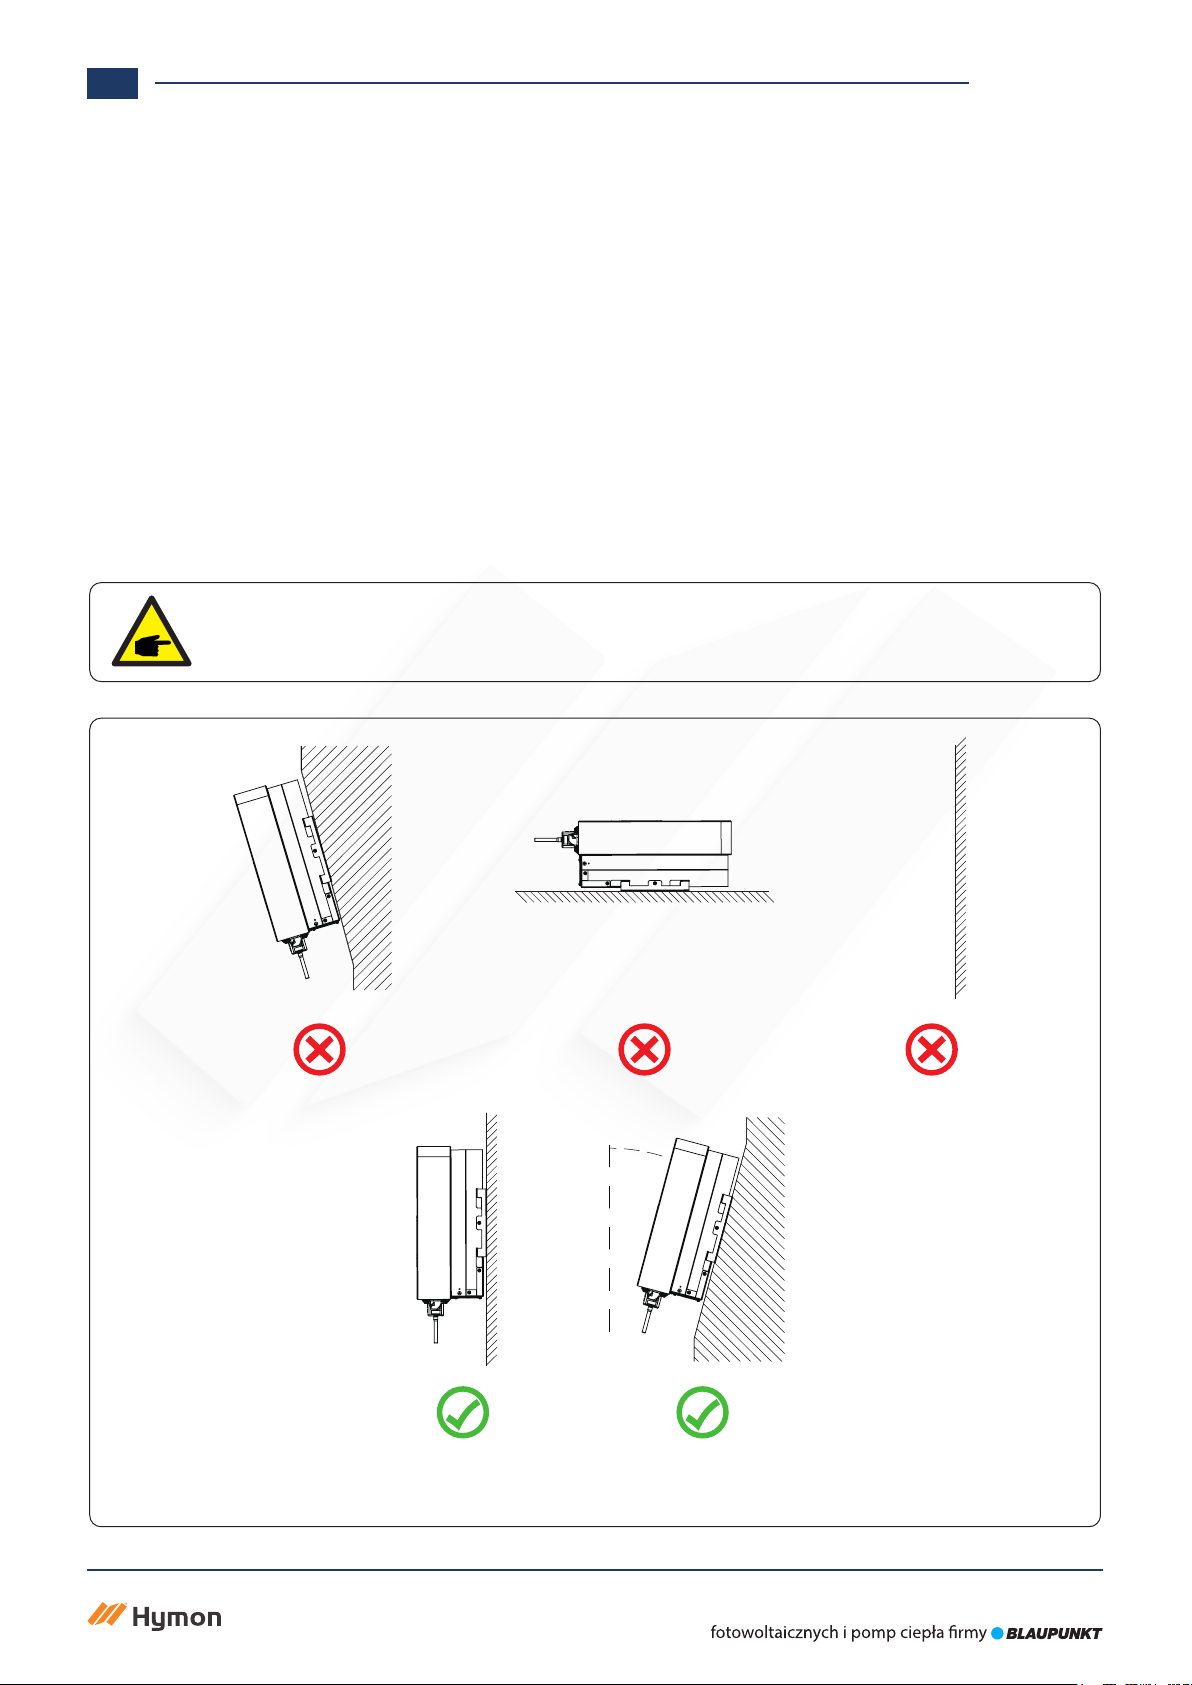
2.1 SAFETY SIGNS
2.2 SAFETY INSTRUCTIONS
Improper use may result in potential electric shock hazards or burns. This manual contains important instructions that
should be followed during installation and maintenance. Please read these instructions carefully before use and keep them
for future reference.
Safety symbols used in this manual, which highlight potential safety risks and important safety information,are listed
as follows:
Shock Hazard:
Caution, risk of electric shock symbol indicates important safety instructions,
which if not correctly followed, could result in electric shock.
High Temperature Hazard:
Caution, hot surface symbol indicates safety instructions, which if not correctly
followed, could result in burns.
Safety Hint:
Note symbol indicates important safety instructions, which if not correctly
followed, could result in some damage or the destruction of the inverter.
Warning:
Warning symbol indicates important safety instructions, which if not correctly
followed, could result in serious injury or death.
Shock Hazard:
Prohibit disassembling inverter case, there existing shock hazard, which may
cause serious injury or death, please ask qualied person to repair.
Warning:
Electrical installation of the inverter must conform to the safety operation rules
of the country or local area.
Warning:
Inverter adopts non-isolated topology structure, hence must insure DC input and
AC output are electrical isolated before operating the inverter.
Strictly prohibit grounding the positive and negative poles of the PV string.
Otherwise it will damage the inverter.
Shock Hazard:
When PV module is exposed to sunlight, the output will generate DC voltage.
Prohibit touching to avoid shock hazard.
Shock Hazard:
While disconnect the input and output of the inverter for maintenance, please
waits for at least 5 mins until the inverter discharge the remnant electricity.
High Temperature Hazard:
Local temperature of inverter may exceed 80℃while under operating.
Please do not touch the inverter case.