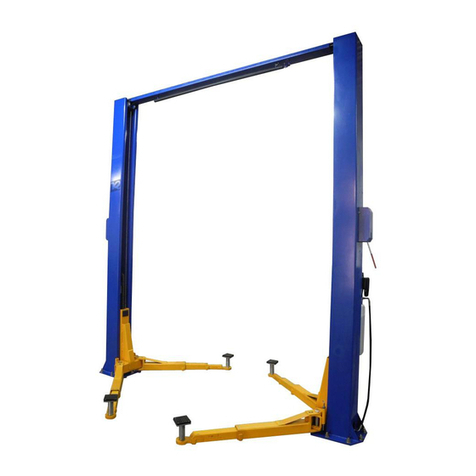
BlitzRotary Master Gear 1 User manual

Operating Instructions
Aggregate lift table Master Gear 1,2
Type
VAS 6131A
Serial number Date

Operating Instructions
ii
Contents
03.2006
1SAFETY ...............................................................................................................1
1.1 SAFETY HINTS IN THESE INSTRUCTION ..................................................................1
1.2 DANGERS OF THIS MACHINE..................................................................................1
1.3 REGULATORY APPLICATION..................................................................................2
1.4 DANGER THROUGH ACCESSORIES.........................................................................2
1.5 EMISSIONS..........................................................................................................2
1.6 SOURCE OF DANGER...........................................................................................3
1.7 QUALIFIED OPERATORS .......................................................................................4
1.8 PERSONAL SAFETY EQUIPMENT............................................................................4
1.9 SAFETY MEASURES IN THE WORK PLACE..............................................................4
1.10 CONDUCT IN AN EMERGENCY...............................................................................4
1.11 PICTURE SYMBOLS..............................................................................................5
2SAFETY FACILITIES. ..........................................................................................6
2.1 CIRCUIT-BREAK GUARD........................................................................................6
3TAKING INTO USE..............................................................................................7
3.1 SETTING UP / ASSEMBLY / CONNECTING UP. .........................................................7
3.2 TAKING INTO USE.................................................................................................7
4OPERATION ........................................................................................................8
5TAKING OUT OF USE. ........................................................................................9
6INSPECTION. ....................................................................................................10
6.1 INSPECTION BEFORE THE FIRST USE....................................................................10
6.2 REGULAR TESTING.............................................................................................10
6.3 CHECK LIST......................................................................................................11

Operating Instructions
iii
7INSPECTION / SERVICE...................................................................................12
7.2 CLEANING.........................................................................................................13
7.3 MECHANICAL.....................................................................................................13
7.4 MAINTENANCE OF THE HYDRAULICS ....................................................................14
7.5 OIL CHANGE INTERVALS ....................................................................................14
7.6 CHECKING THE OIL LEVEL...................................................................................15
7.7 OIL CHANGE .....................................................................................................15
7.8 BLEEDING THE HYDRAULIC SYSTEM.....................................................................15
7.9 CONTROL OF THE HYDRAULIC HOSES...................................................................16
8FAULT FINDING ................................................................................................17
8.1 ELECTRIC MOTOR DOES NOT RUN........................................................................17
8.2 LIFTING MACHINE DOES NOT LIFT.........................................................................17
8.3 OIL LOSS ..........................................................................................................17
8.4 LIFTING MACHINE DOES NOT REACH MAXIMUM HEIGHT...........................................18
8.5 LIFTING MACHINE WILL NOT (COMPLETELY) LOWER...............................................18
8.6 LIFTING MACHINE SINKS STRONGLY BY PLACEMENT OF LOAD .................................18
9GENERAL ..........................................................................................................19
9.1 TRANSPORT DAMAGE ........................................................................................19
9.2 WARRANTY.......................................................................................................19
9.3 ORDERING OF SPARE PARTS...............................................................................19
10 APPENDIX .........................................................................................................20
DIMENSION SHEET
SPARE PART LIST
HYDRAULIC SCHEMA
ELECTRIC SCHEMA
EC DECLARATION OF CONFORMITY

Operating Instructions
1
1 Safety
1.1 Safety Hints in these Instruction
Draws attention to the fact that
disregard for these instructions could
lead to serious or even deadly
consequences.
Draws attention to the fact that disregard
of these instructions could under certain
circumstances lead to injuries.
Indicates that disregard of these instructions could
lead to the damage of the machine or goods on the
machine.
Work that is indicated by this symbol must be
carried out by a competent tradesman (electrician or
industry fitter).
1.2 Dangers of this machine
This machine is equipped with safety devices and is
put through safety and quality control tests but there
is a threat of danger by incorrect operation and
misuse
- for the operator or other people in the vicinity
- for the machine and goods
The danger zone is contained within the outer limits
of the machine.
All personnel concerned with the
- Installation
- Setting Up
- Operation
- Maintenance
- Repair
of the machine must have read and fully understood
the operating instructions.
Danger
Caution

Operating Instructions
2
1.3 Regulatory Application
Applications
Lifting of weights until maximum load.
Working on the raised platform
Transporting of loads in the
lowered position.
Prohibited
Lifting and transportation of personnel
Setting up and operation of machines in the open.
Alterations and rebuilds of the machine.
Positioning of the load
Load should not overhang the platform
Unintentional shifting of the load should be prevented
1.4 Danger through accessories
When the following -
- Rollers
- Conveyer Belts
- other transport facilities
are used the safety devices on the machine must not be
made in operational through their use.
Using accessories increases the extent of the danger area.
The danger zone is enlarged through the use of
accessories
1.5 Emissions
See dimension sheet in appendix.

Operating Instructions
3
1.6 Source of Danger
Mechanic Where? Scissors arms
Scissors arms / underframe
What? Crush and shear points
Danger! Loss of limbs /life
Hydraulic Where? Hydraulic components e.g. hoses
What? Because of damage oil could be
sprayed out under high pressure
Danger! Burns and contamination to the eyes
Current Where? Current carrying components
What? Touch
Danger! Life threatening
Work on the electrical and hydraulic components
should only be carried out by a competent tradesman!
Never
-remove
- alter
- take out of service
the safety facilities
Always secure that the machine is out of
service when -
- Setting up
- The alteration of the employment requirements
- The alteration of the operating procedure
- Maintenance
- Servicing
-Repair
danger

Operating Instructions
4
1.7 Qualified Operators
The operator must
- be instructed in the operation of the machine
- have proved to the firm that he is capable of
operating the machine
- have clear and written instructions from the firm to
operate the machine
- have read and understood the operating instructions
- must observe the operating instructions
1.8 Personal Safety Equipment
For the operating of the machine
-
Safety shoes
For cleaning / maintenance / repair
-
Safety shoes
-
Work gloves
-
Face protection
1.9 Safety Measures in the Work Place
• Secure positioning of the machine
• Avoid crush and shear zones between the machine and
it's surroundings
• Ensure that the workplace remains clean and clear of
obstacles
• Positions for checking load-carrying equipment must be set up and arranged
in such a way that the operative can observe the load-carrying equipment and
the load at all times during all its movements and can have a view of the area
under the load-carrying equipment and the load.
1.10 Conduct In An Emergency
Release the raise / lower push-button immediately
Switch of at the mains / remove the plug
Secure against further
By raised load support the load carrying component

Operating Instructions
5
1.11 Picture Symbols
Safety and Operational hints on the Lifting Table
1 2 3 4 5 6
1Prohibited: Stepping on / Lifting of personnel!
(with the exception of lifting tables intended for this purpose on the basis of certain
preparations and safety provisions)
2 Accumulation of weight forbidden!
3 Prohibited: Staying / Grasping under an unsecured table!
4Load must be evenly distributed (surface load)!
5 Lower the table onto the inspection support when carrying
out repair and maintenance work alone!
6 The maximum permissible load for your equipment.

Operating Instructions
6
2 Safety Facilities.
2.1 Circuit-break guard
If a tube or circuit breaks, this prevents the uncontrolled lowering of the plate.
NB:Depending on the response of the circuit-break guard, which prevents the
maximum permissible speed being exceeded, the reason for the break has to be
determined, before the lifting table is used again.
• Remove the load from the table
• Make sure the equipment does not lower itself inadvertently
• Check that all hydraulic pipes are airtight
• Check that all hydraulic connections and valves are airtight
• Change the defective parts
Only when you are sure that all defective parts have been changed and correctly
assembled, can the machine be started up again.

Operating Instructions
7
3 Taking into use.
For technical details see dimension sheet in appendix
3.1 Setting up / Assembly / Connecting Up.
The drawbar must be assembled before start-up.
• Position the lift-truck on a firm, level surface.
• Always follow the instructions, when assembling the equipment.
• Danger of stumbling because of cable.
• Damage to cable, e.g. because of falling
objects (tools etc.)
• It is forbidden to wind the cables around
mechanical components
• Have you read the operating instructions and above
all the safety points and above all understood them?
Then you can take the machine into use
3.2 Taking into use.
• Produce the electrical connection (put the plug in)
• Check the motor rotation (by three phase 400V)
- Control by use of the red arrow on the motor casing
- when incorrect alter by changing the phases in the
plug (electrician only)
• Now you can take the machine into use.
An adequate and safe connection of the earth cable to the
workpiece must be guaranteed when using a lifting table as a
welding station.
Danger Every feed wire must
be secured by 16 A.

Operating Instructions
8
4 Operation
• No personnel should be within the danger
zone when raising or lowering the table
• Observe the picture symbols on the
lifting machine
Short, jerky raising and lowering is forbidden .
The machine then begins to oscillate and damage
to the machine could be a result .
• Operate the machine with the remote cable push
button control (dead mans operation)
• Observe the lettering (picture symbols)
<Raise>
<Lower>
<Fast>. Keep the key depressed and press <Raise> or
<Lower> at the same time.
<Tilt to rear >
<Tilt to front >
<Tilt to left>
<Tilt to right>
Danger

Operating Instructions
9
5 Taking out of use.
machine
with
for: maintenance
-cleaning
-inspection
-repair
for: end of work
400 V - remove load lower machine
remove mains plug and or mains switch "off"

Operating Instructions
10
6 Inspection.
6.1 Inspection before the first use
The machine is tested by the manufacturer before
delivery
Machines that are delivered not ready for use should
be inspected by a qualified person in the following
aspects ;
- correct construction
- correctness for use
6.2 Regular testing
Regular testing of machines at intervals of at the
longest one year should be carried out by a qualified
person.
• use the check list on the following page
• make a photo copy of the list
• note top right on the check list
- Lfd N° (check list number)
- machine type
- serial number
• cross each point when it is in order
• put the machine back into use only when each point
has been crossed
• when completed put the check list into the appendix
of these operating instructions

Operating Instructions
11
6.3 Check List
Lfd.-Nr°: .......................
Machine Type: ........................
Serial-N.°: ........................
Mechanical
O Cylinder pins secure
O All lever pins secure
O Machine clean
O Stickers intact and readable
O Welded construction undamaged
O Machine holds the load in the maximum raised position
for at least 10 minutes
O All bolted connections tight
Hydraulic
O No leaks in the hydraulic system
O Oil level correct
O No damage to the hoses (see 7.5)
O Lowering speed correctly adjusted
Electric
O Cable connections tight
O Cables secured
O No damage to cables
O All functions inspected without query
Inspection date, Inspector (signature)

Operating Instructions
12
Danger
Danger
7 Inspection / Service
Should maintenance work be necessary within the scissor lift,
then it is to be carried out with the lifting truck lowered and the
platform removed.
An alternative method should be used to raise the scissor lift (hydraulic jack or crane),
should the platform not be removable and the scissor lift is not able to be raised using
it’s own drive unit. The platform should be raised from the fixed pivot end.
Work should only be carried out within the raised scissor lift when it is unloaded
and held apart using a suitable strut.
It should be noted that a vacuum is produced in the cylinders when the scissor
lift is raised using an external method and that they do not support the scissor
lift hydraulically (on a column of oil).
The scissor lift should be raised from the inspection strut using it’s own hydraulic
drive (or an external hydraulic drive) when service work is completed to ensure that
the cylinders support the weight of the scissor lift.
LIFE THREATENING DANGER!
The inspection strut should never be removed before the lifting
wagon has been raised using it’s own drive unit out of the
maintenance position. There is the danger of the table lowering
uncontrollably should this not be the case.

Operating Instructions
13
7.1 Maintenance Plan
What? When? Description
Cleaning When necessary 7.2
Check Bushes Every 250 hours 7.3
Check oil level
top up Yearly
7.6
Hydraulic oil
change
-------- 7.7
Inspect oil hoses Yearly 7.9
7.2 Cleaning
Secure that the machine is out of use
Clean
- your machine regularly
- especially the stickers (picture symbols) on the
machine.(when the stickers are no longer readable
please order new ones, order number see spare parts lists)
- the runners of the blocks
7.3 Mechanical
The machine is delivered with maintenance free
bushes. Therefore the bushes only have to be checked
regularly (250 working hours) for wear.
Danger

Operating Instructions
14
7.4 Maintenance of the hydraulics
Hydraulic oil can cause irritation and skin
rashes. Avoid prolonged skin contact and
wash the skin thoroughly after contact.
Wear protective clothing!
(see chapter 1.8)
Protect the environment:
The handling and disposal of mineral oils is covered
by laws. Dispose of old oil at an authorised disposal
unit. Information can be found from the responsible
authority. Be careful not to spill any hydraulic oil.
Make precautions to catch any spilt oil
(oil resistant covers, drip tray etc.)
This oil is not mixable with water.
The following or equivalent can be used
Total Biohydran TMP 46
→
in this machine
BP Biohyd SE 46
Fuchs Plantohyd 46S
Esso Hydraulicoil HE 46
Total Equivis UVS 46
Shell Naturell HF-E 46
7.5 Oil Change Intervals
The oil must be changed after the first 50 working
hours, thereafter at intervals of 500 hours or at the
latest every 2 years
Danger
This machine is filled with
bio-oil on synthetic base
The biological removable hydraulic-oil
is mixable with mineral-oil, but then it
will loosen his biological removability.

Operating Instructions
15
7.6 Checking the oil level.
• Raise the table into its uppermost position.
• The level must be in the upper third (A) of the tank.
• When necessary top-up the oil
7.7 Oil Change
• Empty the unladen machine in its lowest position.
• Place the oil reservoir under the tank’s sump plug.
• Remove the drainage plug and then the sump plug.
• Wait until all the oil has drained away.
• Replace the sump plug.
• Remove the breather bung from the tank
• Fill up with oil
• You will find the tank capacity in the technical sheet appendix.
• Replace the tank drainage plug.
• Remove air from the hydraulic system.
7.8 Bleeding the hydraulic system
• Lower the table without a load onto the
inspection strut.
• Loosen the bleed screws on the cylinder one or
two turns.
• When no bleed screws are on hand the cylinders
are so constructed as to bleed themselves.
• Operate the pump (raise) until oil is discharged
from the bleed screws without air bubbles.
• Check the oil level.
• Top up when necessary.

Operating Instructions
16
7.9 Control of the hydraulic hoses
A yearly check on the hydraulic hoses for a safe
working condition is stipulated. The check must be
carried out by a qualified tradesman.
Control the following
• Can the following damage be observed on the outer
mantel of the hose rips, kinks, cuts, unbending,
abrasions or splitting?
• Are there any deformities in the hose when under
or not under pressure?
• Are there any leaks between the hoses and the
fittings? Is the hose coming out of the fitting?
• When there is any damage the hose should be changed.
• Depending on the requirements the hoses should be
changed at the latest after six years.

Operating Instructions
17
8 Fault Finding
Work on the electrical and
hydraulic components should
only be carried out by a
competent tradesman!
Observe the safety instructions
8.1 Electric motor does not run
Cause Cure
Current supply broken Check:
• Feed line
• Fuse
• Circuit breaker
Motor is faulty Exchange hydraulic pump
8.2 Lifting machine does not lift
Cause Cure
Table is overloaded Reduce load
Motor is faulty Exchange hydraulic pump
Leaks in the hydraulic system See 8.3
Pump does not produce pressure Exchange hydraulic pump
Motor rotates in the wrong direction Check the motor rotation
(by three phase 400V)
- Control by use of the red arrow
on the motor casing
- when incorrect alter by changing the
phases in the plug (electrician only)
8.3 Oil loss
Cause Cure
Leaks in the hydraulic system • re-tighten fittings
• replace cylinder seals
• exchange cylinder
• exchange hoses
Danger
This manual suits for next models
2
Table of contents
Popular Lifting System manuals by other brands

morse
morse 82H-120 Operator's manual
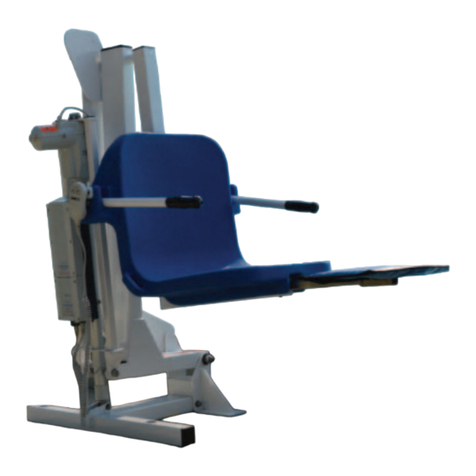
Aqua Creek Products
Aqua Creek Products Pro Pool-XR Deep Draft manual

ShoreStation
ShoreStation SSV30108EAC Service manual
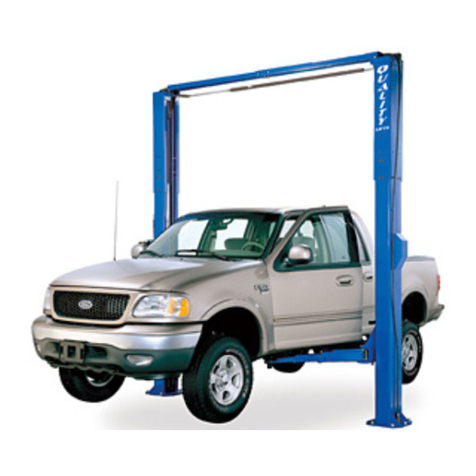
QUALITY LIFTS
QUALITY LIFTS Q10 Installation, operation & maintenance manual
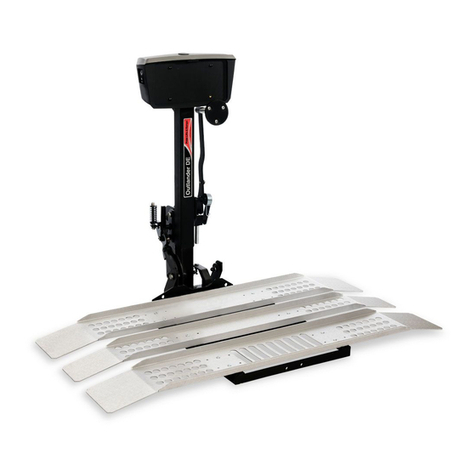
Harmar Mobility
Harmar Mobility PARAGON OUTLANDER FULL Owner's manual & warranty information

Manutan
Manutan A170349 instructions
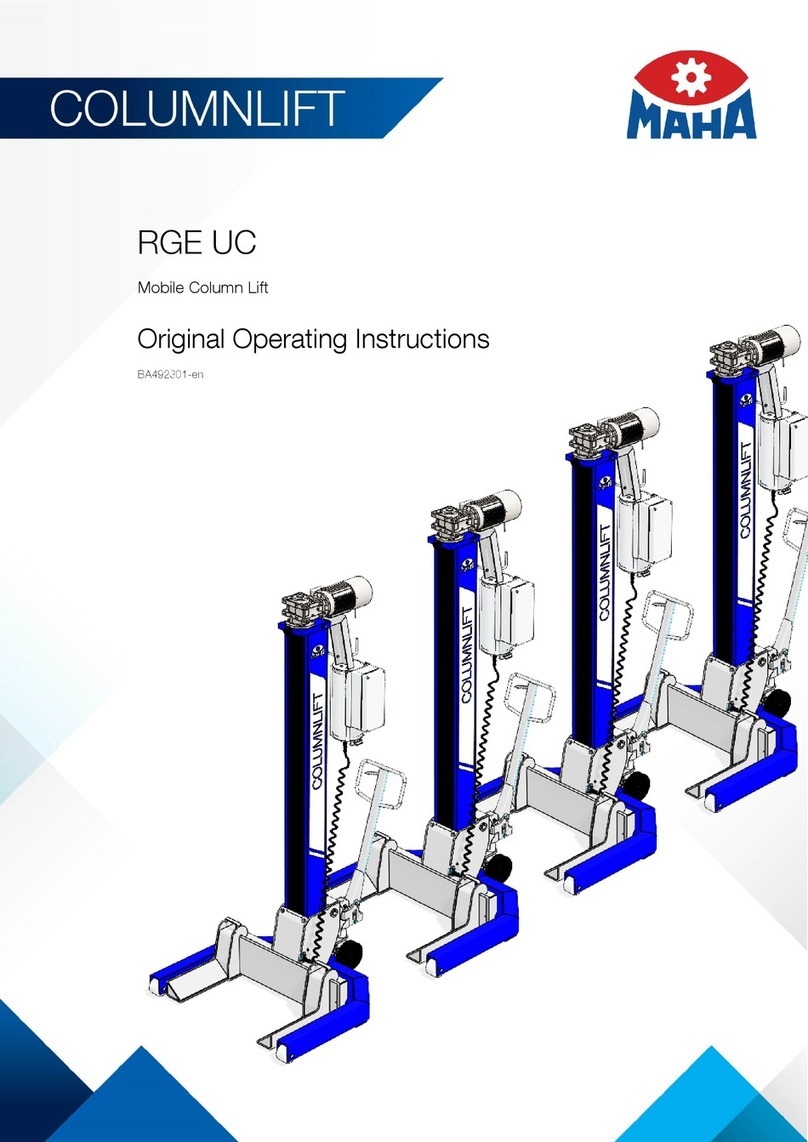
MAHA
MAHA RGE UC operating instructions
RITE-HITE
RITE-HITE LEVEL-RITE HL-800 Series owner's manual
Vestil
Vestil CART-1000-DC instruction manual
WERTHER INTERNATIONAL
WERTHER INTERNATIONAL WML400Q manual
Vestil
Vestil SST-45 Assembly, Use and Maintenance Manual
Perkins
Perkins D6500 Installation & operational manual
