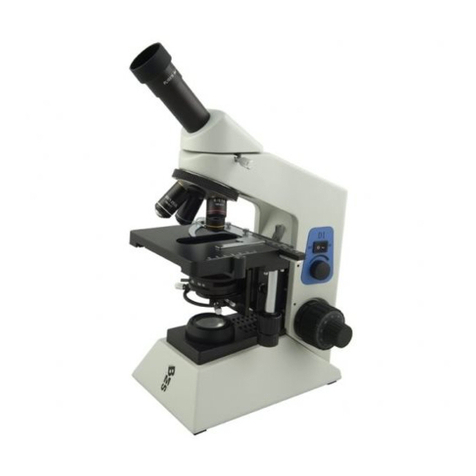
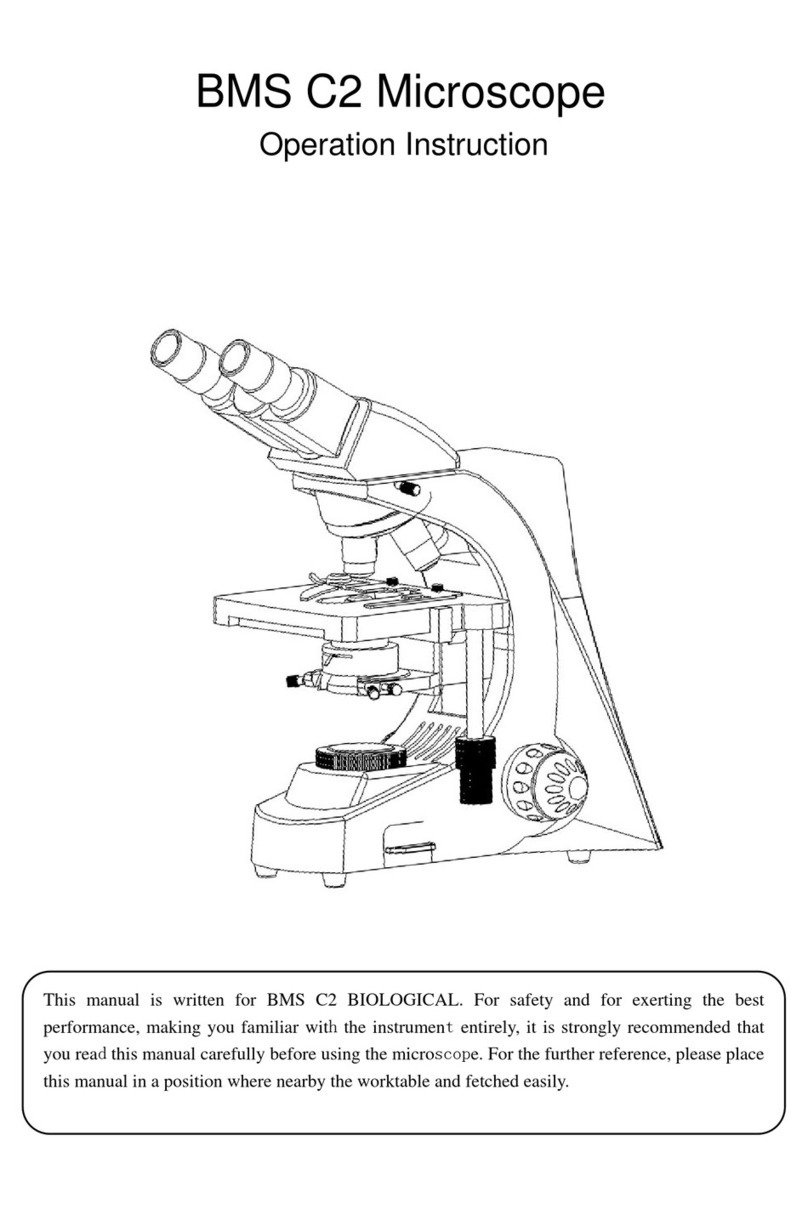
BMS EduLed Series User manual

1
Manual for BMS EduLed series, compound microscope
art. Code 738860 till 738880
The compound microscope allows you to study structures and textures of
botanical and zoological nature at cell level. (e.g. slides of roots, leaves and stems
or blood, skin and hairs).
Depending on the chosen microscope model, the total magnification lies between
40-1000 times. By using different accessories, this magnification can be
expanded. BMS EduLed series comes with the special LED-CIS illumination.
Always disconnect mains plug from power point before maintenance
Applicable for: BMS EduLed series.
In order to exert performance of this microscope and to ensure the safety,
please read the operating instruction carefully before use.
APPLICATION:

2
Model BMS EDULED series biological microscopes are specially designed for clinical
examination and teaching demonstrations in laboratories, colleges and medical fields. They
are also ideal instruments for biological, bacteriological, pathological, and pharmaceutical
research. Because of higher capability with lower price and humanized configuration design,
it also becomes the first choice of individual, schools and scientific research organization.
CONFIGURATION:
Binocular head
Nosepiece
Objective
Mechanical stage
Condenser
Coarse focusing knob
Fine focusing knob
Longitudinal adjusting
Knob of stage
Transversal adjusting
Knob of stage
Collector
The adjusting rod
of a
p
erture
Adjusting screw
Light adjusting knob
Light screen
Stand
Knurled screw
Knurled screw
Tension adjusting ring

3
Power swtich
Charger socket
Battery charger
Condenser up &
down ad
j
ustin
g
knob
Stopper

4
III SPECIFICATION
Specification
Viewing
head Compensation free monocular, binocular or trinocular head,
inclined at 30° (55mm-75mm)
Eyepiece WF10x
Nosepiece Quadruple nosepiece
Objective Semi-Plan achromatic objective:4x,10x, 40x(S), and/or 60x (S)
and/or 100x(S)Oil
Stage
Double layers mechanical stage
Stage size:140mmx132mm
Moving range:75mmx30mm
Condenser N.A.1.25 Abbe condenser with iris diaphragm & filter
Focusing Coaxial coarse & fine focusing adjustment with rack and pinion
mechanism
Fine focusing scale value 0.002mm
Light
source LED 1W, adjustable brightness. Powered by GP battery system for
+100 hours of microscope work
Collector High brightness Kohler illumination
Eyepiece: WF15x, WF20x and 1.3, 3.0, 5.0 or 9.0 mega pixels
CMOS electronic eyepiece
Dark field ring
Optional
accessory Semi-Plan achromatic objective: 20×(S), 60×(S), 100×(S) Oil
Objective
Type Magnification Numerical
aperture (N.A.) Working
distance
(mm)
Thickness of the
cover slip (mm)
4× 0.1 37.5 0.17
10× 0.25 6.54 0.17
40×(S) 0.65 0.63 0.17
Semi Plan
100×(S)Oil 1.25 0.195 0.17

5
OPERATION:
Instrument installation
1. Remove microscope with both hands hold stand and bottom from
box and Styrofoam packing, put it on a stable work table carefully.
2. Remove plastic bags and dustproof cover of each adapter.
3. Put the binocular head or the trinocular head into the adapter of
stand in place, tighten the knurled screw with finger.
4. Familiarize yourself the mechanical parts of your microscope.
Gently operate each part by hand to see how it behaves and what
result it produces.
5. Insert the plug in to the socket in back of microscope. Insert the
charger power plug to the supply socket. The battery pack will be
recharged automatically. When the charger power plug shows the
red light the battery pack is charging. When the light changes to
green the battery pack is full. Always disconned the charger power
plug after the battery pack has been charged fully. In the case the
battery pack is empty the user can charge and use the microscope
at the same time.
Note: Make sure the power voltage in accordance with the microscope’s
marking voltage.
Using the instrument
1. Turn on the power switch, adjust the brightness adjusting knob to
make the brightness 70% of the full load.
2. Place the specimen (slide) to be viewed smoothly onto the stage,
cover slip to face to the objective. Clamp specimen (slide)
carefully with the movable spring clip.
3. The magnitude of incident beam of light can be changed when
adjusting the aperture diaphragm. The highest resolution of the
objectives can reach when the fitted aperture diaphragm is
adjusted. When the objectives is changed, in order to get the best
resolution of the objective, please take off the eyepiece to observe
the size of aperture diaphragm in the eyepiece tube. It is better to
adjust aperture diaphragm till it is a little smaller than the aperture
of the objective. Note:Aperture diaphragm is not for adjusting the
brightness, the brightness is adjusted through brightness
adjusting knob.
4. Swing out the filter holder, according to user’s needs put filter in
the filter holder and then backtrack.
5. Turn the nosepiece when changing the objective 4x or 10x, and
make sure the objective is shift in the light path until hear a ”click ”.
6. When adjusting the focus,in order to prevent objective touch the
specimen, turn the coarse focusing knob until the specimen is

6
approximately 2mm from the objective. Slowly turn the coarse
focusing knob until a clear image is obtained, then use the fine
focusing knob to enhance the observation of the specimen to it’s
clearest image. If the magnification is increased, here you can
obtain clear image under other higher magnification objectives
with a little fine adjustment.
7. When using objective 100x to observe, lift the condenser to the
highest position, then drop a little cedar oil on surface of objective
100x and specimen (cover slip). If there’s air bulb in oil, it will
influence observation. Take out air bulb by swinging nosepiece
several times. The 100x oil immersion objective and specimen
should be wiped off with a piece of soft clean cloth or lens tissue to
remove the cedar oil with xylene immediately after using.
8. If you find to lift the mechanical stage too tension or loosen in use.
Turn the tension adjusting ring. Coarse focusing knob would be
tightening if it turns in the clockwise direction, on the other hand it
would be loosen.
9. You may lock up the focusing stopper in the other side of the
microscope, when you see the image of the specimen clearly.
Then the mechanical stage only to be able to rise and fall below
the focusing position. When you do not the location, you can turn
the flange of the focusing stopper and loose it.
10.Turn transversal and longitudinal direction adjustable knobs
located just below the stage, the specimen may be moved to the
center of the eyepiece’s viewing field for observation.
11.Turn coarse & fine focusing knob to focus the specimen till you
see clear image of specimen when observing the fixed eyepiece
with eye. Then rotate the diopter adjusting ring, if the image is
unclear when observing the another eyepiece with another eye,
also still you see clear image of specimen (Remember your eye’s
diopter, so that you could use next time). When using two eyes to
observe, hold the base of the prism and rotate them around the
axis until there is only one field of view.
12.Remove dustcover when useding the trinocular head, the CMOS
electronic eyepiece, Photo and CCD attachment put conveniently
into the trinocular tube. You may be ready to begin working after
shift the light path by moving the light path shifting rod into the
working position.
13.LED replacement: Loosen the knurled screw on the underside of
microscope and open the panel to expose the bulb. Remove the
old LED after it becomes cool. (The LED will become very hot
when using or after using.) Don’t touch the new LED with finger.
14.Fuse replacement: Open the fuse holder with a screwdriver in the
back of the microscope. Remove the old fuse and install a new
fuse with the same specification. Replace fuse holder in place.

7
MAINTENANCE:
1. The microscope must be placed in where is shady, dry, clean and
there is no acid, alkaline & steam. Don’t let it expose under sun light
directly.
2. Working environment: Indoor temperature :0 degree C~40 degree C.
3. Maximum relative humidity: 85%.
4. The microscope has be calibrated and inspected strictly before
leaving factory, the users must not knock down the instrument
discretionally.
5. If there’s dust on the lens, blow it by rubber ball blower, after that clean
the lens gently with a soft brush pen, carefully wipe off oil or
fingerprints on the lens surface with lens tissue or absorbent cotton
moistened with a few organic solvent (mixture of ether and alcohol
7:3).
6. Don't wipe the lens surface regularly, or else the lens will be scraped,
reduce the quality of the transmission and imaging. Please keep the
instrument clean.
7. Keep the mechanical parts clean and wipe regularly.
8. Shut off the power and pull out the plug when the microscope is not
used, adjust the brightness adjusting knob to the minimum, cover the
microscope with a dust cover.
Table of contents
Other BMS Microscope manuals
