BMS Eco Mount User manual
Customer Service - (800) 872-9562
Website - www.LocDown.com
Installation Guide
Eco Mount
Made in USA www.LocDown.com
www.Anchorpad.com 800.872.9562
Universal Tray
Micro-Adjustable Dome
Tools needed to complete install:
Phillips
Screwdriver
4- Offset Plates
Side View
4- 1/4 Spacers
4- 1/8 x 3/4 Fender Washer
8- 1/4 x 1 Fender Washer
4- 4x16mm Phillips Head Screw
4- 4x10mm Phillips Head Screw
4- 5x10mm Phillips Head Screw
4- 1/4 x 20 x 1/4 Truss
4- 3x10mm Phillips Head Screw
Important Warnings and Cautions
Failure to read, understand and follow instructions can result in serious injury, damage to equipment or
voiding equipment warranty.
Improper installation can result in serious personal injury or death. Ensure that the mounting surface can
support a weight factor of four times the combined total weight of the equipment and the mount. If not,
reinforcement of the mounting surface will be necessary before installing the mount.
It is the installer's responsibility to make sure that the mounting surface and the subsurface is free and
clear of all electrical wires, plumbing and gas pipes. Failure to provide adequate clearance of all electrical
wires and pipes can result in serious personal injury or death.
Mount and equipment exceeding a combined weight of 50 lbs can result in damage to the support
structure, the mount, the equipment and may cause personal injury.
Business Machine Security, Inc. does not warrant its mounts against damage caused by the end use of its
mounts for any purpose other than for the purpose for which it has been designed.
Business Machine Security, Inc. is not responsible for damage, or injury that may result in the use of any
unauthorized modifications or attachment.
Proper safety gear (Goggles, Glasses & Gloves) and practices should be adhered to at all times
throughout the installation process.
Do not install the mount near any heat source or air conditioning vent which may be prone to vibration.
Maximum load capacity 50 lbs.
Do not expose to extreme temperatures.
Warning -
Warning -
Warning -
Warning -
Warning -
Warning -
Warning -
Warning -
Warning -
Warning -
Parts Included
Included in package:

*Parts Description
on Back Page
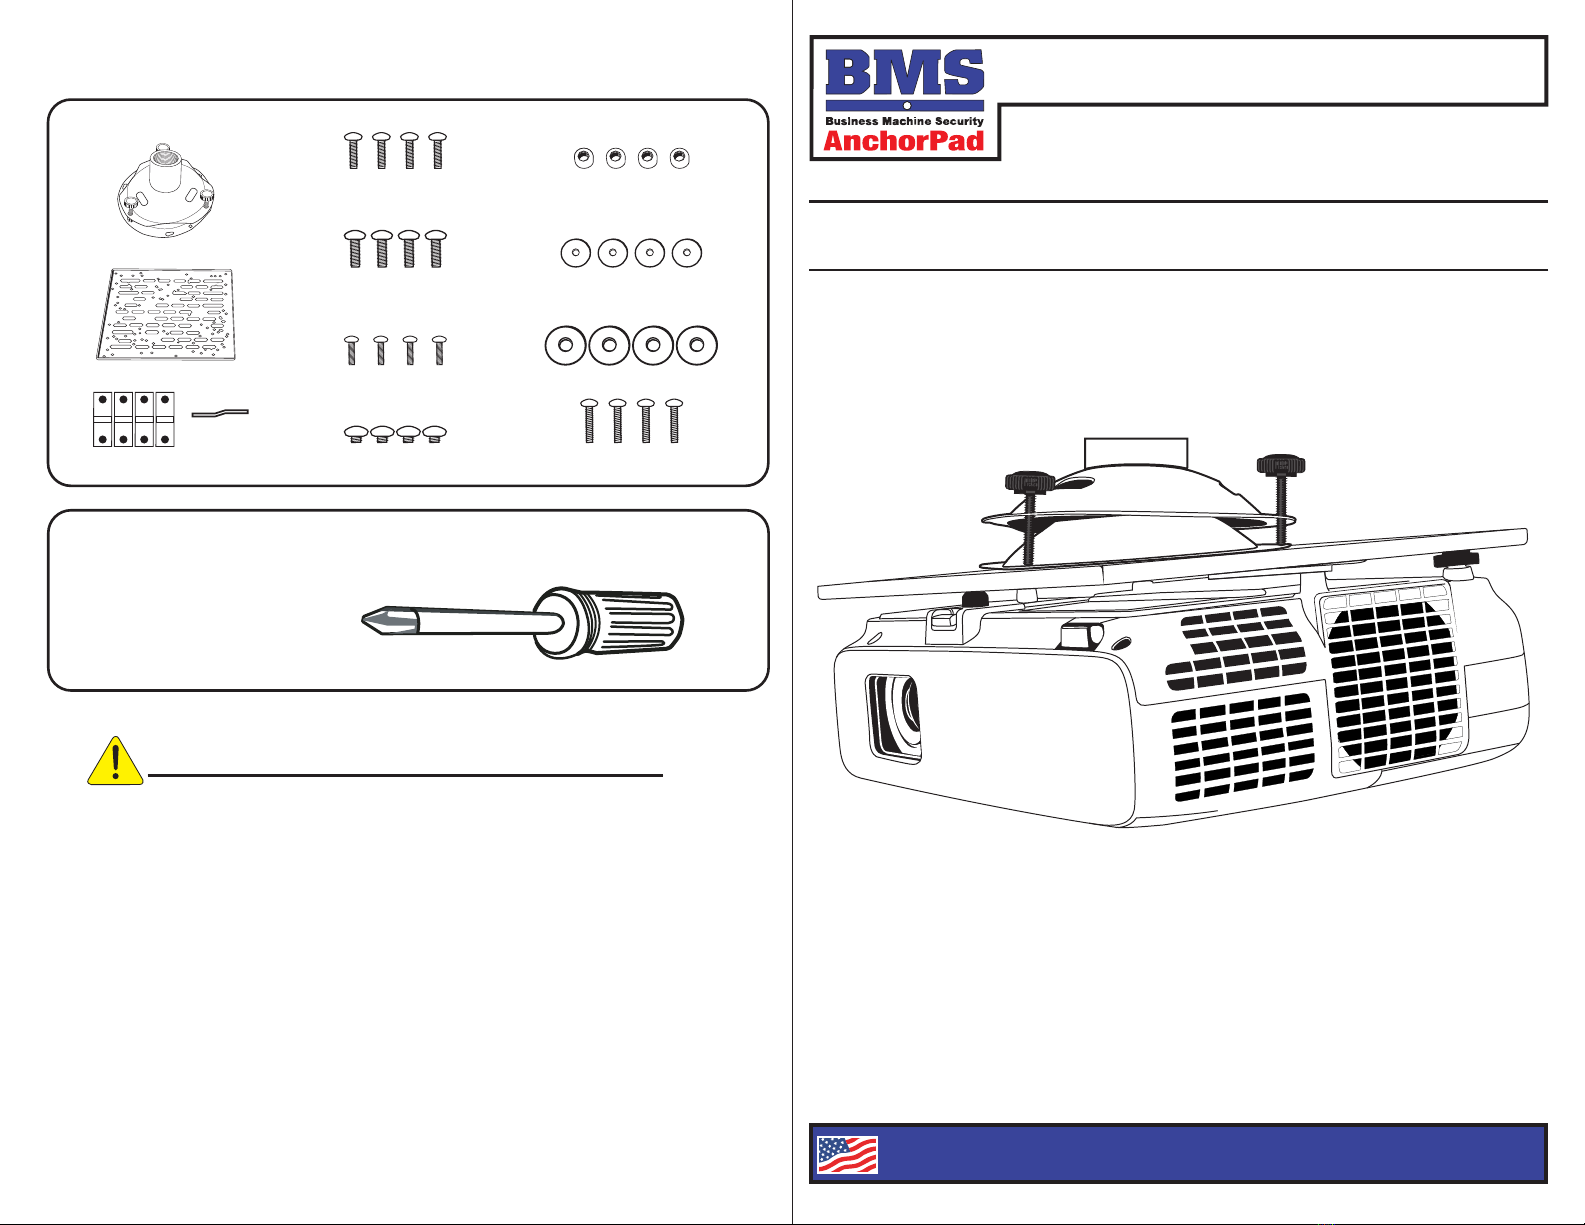
Attach Projector to Universal Tray
1
Installing Micro Adjustment Dome
2
1. Tighten all 3 Adjustment Knobs
against the Inner Dome until secure
before attaching the Dome to the
tray.
2. Screw on Micro-Adjustment
Dome Assembly to Optional
Threaded Extension Pipe.
Securing Micro Adjustment Dome to Tray
3
1. Cable management - Install cables
through pipe and Micro-adjuster
Dome (B), over the grid plate to
attach to the projector's inputs.
2. Lift the Tray (D) up (with attached
projector) while carefully aligning the
connecting Key Holes on the Dome
(B) with the Spring Bolts (C) on the
tray.
3. Push the Tray (D) and projector up so the Spring Bolts (C) insert though the
connecting holes, then rotate the Tray (D) and projector in a clockwise position until
all Bolts (C) are snug.
4. Rotate Safety Clip around to press snugly onto the bolt.
Adjusting the Dome to Align Projector
6
1. To align the projector, tighten or
loosen the 3 Adjustment Knobs by
rotating each until the image is
properly registered.
Tighten to Lock
Gently Adjust
Loosen
to Adjust
Attention
Make sure that all 3 Spring Bolts (C) have
engaged the dome before letting go of
the projector.
Cables
Inner Dome
2. Align and attach Universal Tray to
the projector mounting inserts with
the supplied Machine Screws and
Washers.
Note:
If Tray does not lay flush on the projector,
place Spacers on the mounting inserts
BEFORE attaching Tray.
1. Place the projector upside down
on a soft cloth and remove or lower
the feet as much as possible.
B
Cables
D
C


