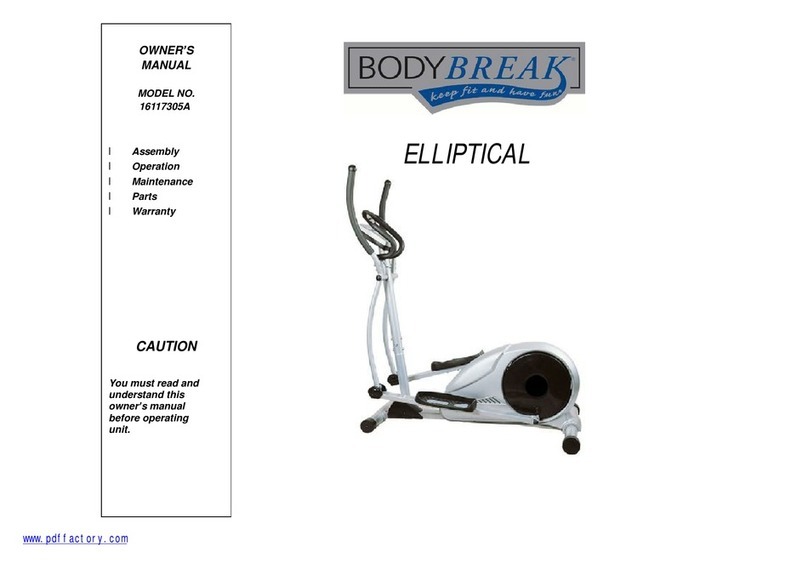
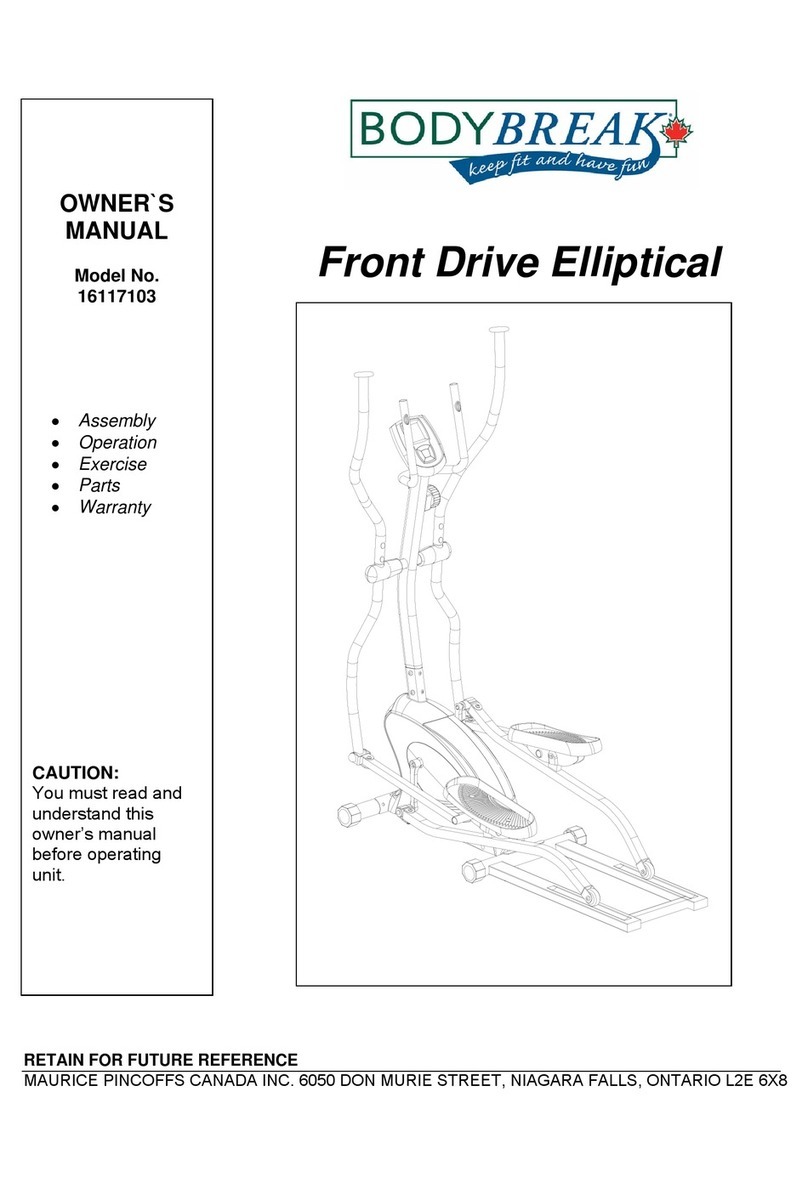
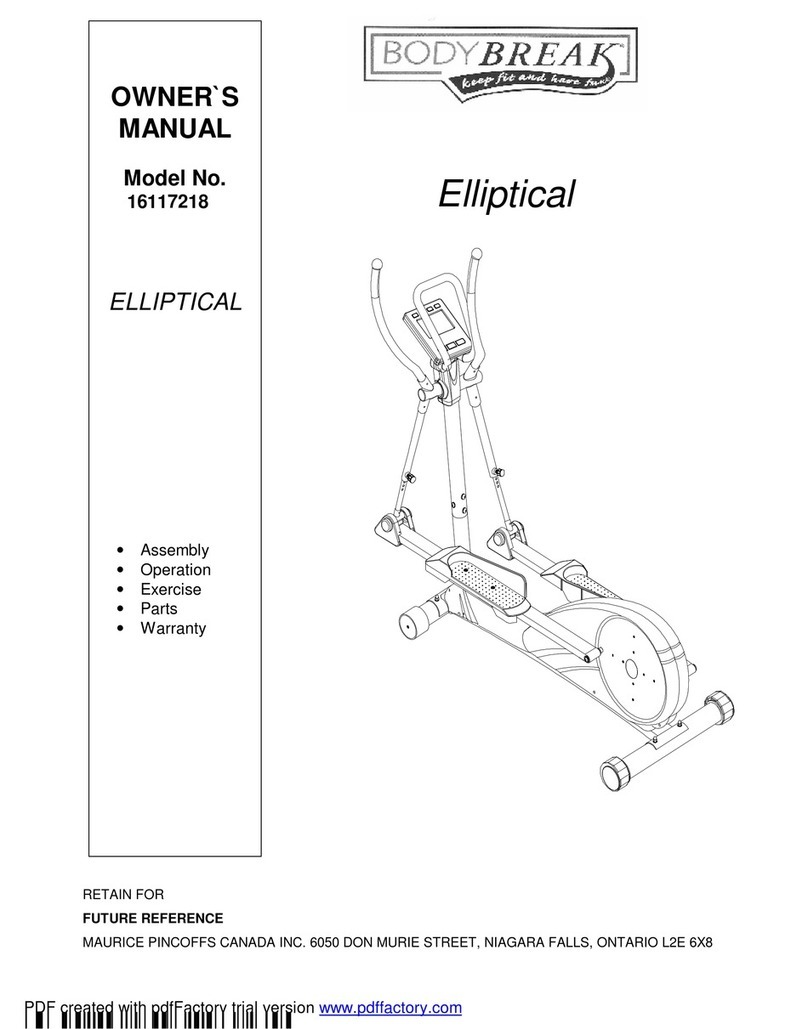
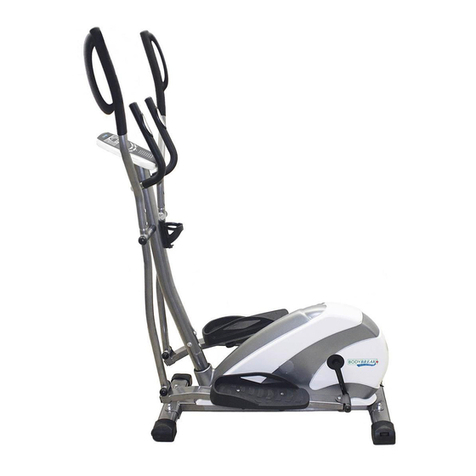
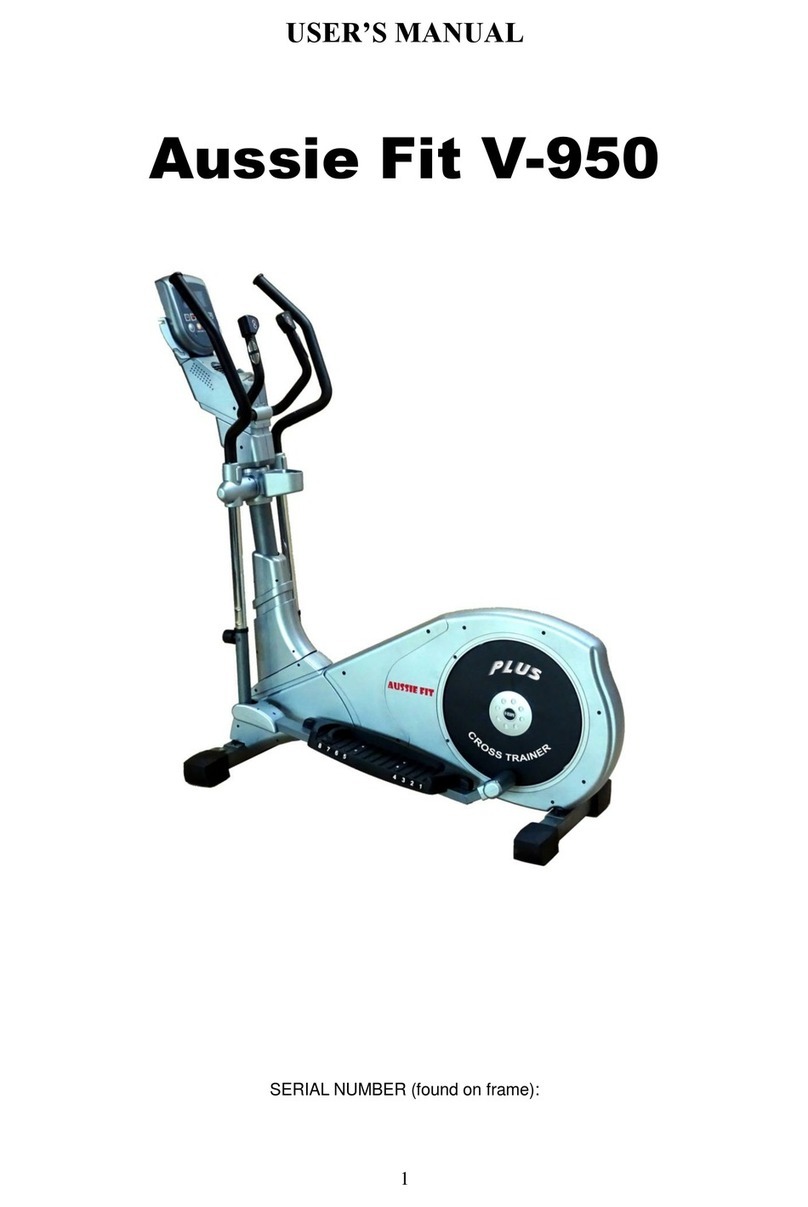
Body Break 16117117 User manual

Elliptical
OWNER`S
MANUAL
ModelNo.
16117117
•Assembly
•Operation
•Exercise
•Parts
•Warranty
CAUTION:
You must read and
understand this
owner smanual
beforeoperating
unit.
RETAINFOR
FUTUREREFERENCE
MAURICEPINCOFFSCANADAINC. 6050 DONMURIESTREET, NIAGARAFALLS, ONTARIO L2E6X8
PDFcreated withpdfFactorytrialversion www.pdffactory.com

Customerservice1-888-707-1880 2 MAURICEPINCOFFSCANADAINC.©2007
Manufacture sOne-Year Limited Warranty
YourBodyBreakMagneticEllipticaliswarranted forone yearfromthe dateof purchaseagainst
defectsinmaterialwhen used forthe purposeintended, undernormalconditionsand provided it
receivespropercare. Anypart found defectiveormissing will be sent at no cost when returned
inaccordancewiththe termsof thiswarranty.
Thiswarrantyisnot transferableand isextended onlytothe originalowner.
The warrantyshall not applytoexerciseunitswhichare(1)used forcommercialorotherincome
producing purposes, or(2)subject tomisuse, neglect, accident orunauthorized repairand
alterations.
Thiswarrantyprovided hereinislieu of all otherexpress warranties, anyimplied warranties,
including anyimplied warrantiesof merchantabilityof fitness forparticularpurpose, arelimited in
duration tothe first 12 monthsfromdateof purchase. All otherobligationsorliabilities,
including liabilityforconsequentialdamagesareherebyexcluded.
REPAIRPARTSAND SERVICE
All of the partsforthe ellipticalshowninfigurecan be ordered fromMauricePincoffsCanada
Inc. 6050 DONMURIESTREET, NIAGARAFALLS, ONTARIO L2E6X8. When ordering parts,
the partswill be sent and billed at the current prices. Pricesmaybe subject tochange without
notice. Check ormoneyordermust accompanyall orders. Standardhardwareitemsare
availableat yourlocalhardwarestore.
Toensurepromptand correcthandling ofanyerrors,ortoansweranyquestions,pleasecall
ourToll Free number:1-888-707-1880,orlocalnumber1-905-353-8955 orfax1-905-353-8968
oremail customerservice@pincoffs.ca.Officehoursarefrom8:30 AMto5:00 PMMondayto
FridayEasternStandardTime.
Always include the following information when ordering parts
lModelnumber
lNameof eachpart
lPart numberof eachpart
TABLE OFCONTENTS
WARRANTY2 PARTSLIST16-17
SAFETYPRECAUTIONS3 EXPLODEDVIEW18-19
PRE-ASSEMBLYCHECKLIST4 TROUBLESHOOTING 20
HARDWAREPACKING LIST 5 TRAINING GUIDELINES 21-23
ASSEMBLYINSTRUCTION 6-9 EXERCISE ROUTINE 24-25
COMPUTEROPERATION10-15
PDFcreated withpdfFactorytrialversion www.pdffactory.com

Customerservice1-888-707-1880 3 MAURICEPINCOFFSCANADAINC.©2007
SAFETY PRECAUTIONS
Thankyou forpurchasing ourproduct. Even though wego togreat effortstoensurethe quality
of eachproduct weproduce, occasionalerrorsand/oromissionsdo occur. Inanyevent should
you find thisproduct tohaveeitheradefectiveoramissing part pleasecontact usfora
replacement.
Thisproduct hasbeen designed forhomeuseonly. Product liabilityand guarantee conditions
will not be applicabletoproductsbeing subjected toprofessionaluseorproductsbeing used in
agymcentre.
Thisexerciseequipment wasdesigned and built foroptimumsafety. However, certain
precautionsapplywheneveryou operateapieceof exerciseequipment. Besuretoread the
entiremanualbeforeassemblyand operation of thismachine. Also, pleasenotethe following
safetyprecautions:
1. Read the OWNER SOPERATING MANUALand all accompanying literatureand followit
carefullybeforeusing yourelliptical.
2. If dizziness, nausea, chest pains, oranyotherabnormalsymptomsareexperienced while
using thisequipment, STOPthe workout at once. CONSULTAPHYSICIAN
IMMEDIATELY.
3. Inspect yourexerciseequipment priortoexercising toensurethat all nutsand boltsare
fullytightened beforeeachuse.
4. The ellipticalmust be regularlychecked forsignsof wearand damage. Anypart found
defective, the part must be replaced withnewsparepart fromthe manufacturer.
5. Fitness equipment must always be installed on aflat surface, do not placethe unit on a
looserug oruneven surface. It isrecommended tousean equipment mat toprevent the
unit frommoving whileit isbeing used, whichcouldpossiblyscratchordamage the
surfaceof yourfloor.
6. Nochangesmust be made whichmight compromisethe safetyof the equipment.
7. It isrecommended tohaveaminimumof 1 safeclearancearound the exerciseequipment
whileinuse.
8. Keep children and petsawayfromthisequipment at all timeswhileexercising.
9. Warmup 5to10 minutesbeforeeachworkout and cooldown5to10 minutesafterward.
Thisallowsyourheart ratetograduallyincreaseand decreaseand will helpprevent you
fromstraining muscles.
10. Neverholdyourbreathwhileexercising. Breathing shouldremainat anormalratein
conjunction withthe levelof exercisebeing performed
11. Always wearsuitableclothing and footwearwhileexercising. Donot wearloosefitting
clothing that couldbecomeentangled withthe moving partsof yourelliptical.
12. Caremust be taken when lifting ormoving the equipment, soasnot toinjureyourback.
Always useproperlifting techniques
13. Userweight shouldnot exceed 265 lbs.
WARNING: Beforebeginning anyexerciseprogramconsultyourphysician.Thisisespecially
importantforindividualsoverthe age of35 orpersonswithpre-existing health
problems.Read all instructionsbeforeusing anyfitness equipment. Weassume
no responsibilityformpersonalinjuryorpropertydamage sustained byorthrough
the useof thisproduct.
PDFcreated withpdfFactorytrialversion www.pdffactory.com

Customerservice1-888-707-1880 4 MAURICEPINCOFFSCANADAINC.©2007
Pre-assemblycheck list
PARTNO. DESCRIPTION Q TY
31 Mainframe1
33 Front stabilizerw/transportation wheels1
28 RearStabilizerw/end caps 1
41 Upright post1
37 Stationaryhandlebarw/pulse 1
1 Monitor 1
21 Foot PedalR/L 2
11 UpperhandlebarsR/ L 2
14 LowerhandlebarsR/ L 2
23 Foot pedaltube R/ L 2
Innerbox 1
Manual 1
PDFcreated withpdfFactorytrialversion www.pdffactory.com

Customerservice1-888-707-1880 5 MAURICEPINCOFFSCANADAINC.©2007
Hardware packing list
PartNO
Description Q ty Drawings
7 PVCCap M8 6
9 CurveWasher Φ8.5 12
10 Cap Nut M8 8
17 Flat Washer Φ8*1.2 4
20 HexHead Bolt M8*45 4
26 PVCCap M10 2
8 Carriage Bolt M8*40 4
36 Allen Bolt M8*38 4
81 Locking knob M8 4
Allen Wrench 1
Allen Key 1
Allen Key 1
Allen Key 1
PDFcreated withpdfFactorytrialversion www.pdffactory.com

Customerservice1-888-707-1880 6 MAURICEPINCOFFSCANADAINC.©2007
ASSEMBLY INSTRUCTION
Thismanualisdesigned tohelpyou easilyassemble, adjust and usethismachine. Please
read thismanualcarefully. Forthe sakeof familiarizing yourself withthe partsidentified in
the instruction, first studythe overviewdrawing.
Set all partsinacleararea on the floorand removethe packing material. Refertothe parts
list forhelptoidentifythe parts.
It will taketwopeopletoassembleyourunit.
STEP 1
Attachthe front stabilizer(33)withtransportation wheels(32)tothe front of the mainframe
(31), securing withtwocarriage bolts(29), twocurved washers(30), and twocap nuts(10).
Attachthe rearstabilizer(28)withend caps(27)tothe rearof the mainframe(31), securing
withtwocarriage bolts(29), twocurved washers(30)and twocap nuts(10).
STEP 2
Connect the extension computerwire(35)fromthe upright post (41)tothe lowercomputer
wire(34)fromthe frame(31).
Insert the upright post (41)intothe mainframe(31). Secureusing fourallen bolts(15)and
fourcurved washers(30)whicharepre-assembleon the upright post (41).
Hand tighten only.
PDFcreated withpdfFactorytrialversion www.pdffactory.com

Customerservice1-888-707-1880 7 MAURICEPINCOFFSCANADAINC.©2007
STEP 3
Slide the twobushings(3)on eachof the axlefromthe upright post (41). Attachthe bottom
left handlebar(14L)tothe left side axleof the upright post (41). Secureusing one flat
washer(5), one spring washer(75), one hexhead bolt (6)and one cap (7).
Repeat forthe bottomright handlebar(14R).
Slide the curvewasher(73)and the bushing (22)on the left crank(51). Attachthe left pedal
tube (23L)tothe left crankarm(51). Secureusing one flat washer(24), one nylon locknut
(25)and one cap (26).
Repeat forthe right pedaltube (23R).
Attachthe left pedaltube (23L)tothe bottomleft handlebar(14L). Secureusing one hex
head bolt (19), twoflat washers(17), one nylon locknut (16)and twocaps(7).
Repeat forthe right side.
STEP 4
Attachthe left pedal(21L)tothe left pedaltube (23L). Secureusing twohexhead bolts(20),
twoflat washers(17)and twolock knobs(81).
Repeat forthe right pedal(21R).
PDFcreated withpdfFactorytrialversion www.pdffactory.com

Customerservice1-888-707-1880 8 MAURICEPINCOFFSCANADAINC.©2007
STEP 5
Attachthe top left handlebar(11L)tothe left bottomhandlebar(14L). Secureusing two
carriage bolts(8), twocurved washers(9)and twocap nuts(10).
Repeat forthe top right handlebar(11R).
Step6
Attachthe stationaryhandlebar(37)withhand pulse(46)tothe bracketon the uprightpost
(41). Secureusing fourallen bolts(36), eight curved washers(9)and fourcap nuts(10).
Note: It will be necessarytomovethe handpulsewire(22)around the uprightpostand
awayfromthe monitorbracket toavoidpinching the wires.
PDFcreated withpdfFactorytrialversion www.pdffactory.com

Customerservice1-888-707-1880 9 MAURICEPINCOFFSCANADAINC.©2007
STEP 7
Connect the extension computerwire(35)tothe wireof the monitor(1).
Connect the hand pulsewire(38)tothe back of the monitor(1).
Slide the monitor(1)ontothe bracket of the upright post (41).
Note: Beforesliding the monitorontothe monitorbracket of the handlebarpost, please
ensureall wiresaresafelytucked inside the opening of the handlebarpost. Thiswill ensure
that the monitorslideson easilyand avoidspinching the cables.
Yourcomputercomeswithan adaptor. Plug the adaptorcable(85)tothe mainframe(31)
NOWFIRMLYTIGHTEN ALL NUTSANDBOLTS
YOURUNIT ISNOWFULLYASSEMBLED
PDFcreated withpdfFactorytrialversion www.pdffactory.com

Customerservice1-888-707-1880 10 MAURICEPINCOFFSCANADAINC.©2007
MONITORINSTRUCTION
Thethingsyou shouldknowbeforeexercise
A.Input Power
Plug inthe adaptortothe equipment then the computerwill produceabeep sound and turnon
the computerat the Manualmode.
B. Programselect and setting value
1. Usethe UPorDOWNkeys toselect programmode and then press
ENTERtoconfirm yourexercisemode.
2. Inthe Manualmode, the computerwill usethe UPorDOWNkeys toset up your
TIME,DISTANCE, and CALORIES.
3. Press the START/STOPkeytostart exercise.
4. When you reachthe target, the computerwill producebeep soundsand then stop.
5. Ifyou set up morethan one target and you wouldliketoreachnext target, press
START/STOPkeytokeep on exercising.
C.Clock Mode:
1. Onceyou haveplugged inthe ACadaptorthen the LCD will displaythe Clock mode foryou
toinput the current hourand minutes. Aftersetting up the clock the monitorwill displaythe
hour-minuteand second baron the screen, it will displaythe current temperatureon the
screen. Press anykeytoquit the CLOCKmode except the ENTERkey.
2. The computerwill enterthe clock mode when thereisno signalfor4minutes. You can
press ENTERkeytoswitchthe clock and temperatureat the clock mode orpress other
keys toquit the clock mode except the ENTERkey.
3. Holding the ENTERand UPkeys togetherfortwoseconds, you will switchtothe CLOCK
mode during the STOPmode. You can set up the TIMEbyUPorDOWNkeys.
PDFcreated withpdfFactorytrialversion www.pdffactory.com

Customerservice1-888-707-1880 11 MAURICEPINCOFFSCANADAINC.©2007
Functionsand Features:
1.Quick Start key: Allowsyou tostart the computerwithout selecting aprogram. TIMEwill
automaticallybeginstocount up fromzero. Usethe UPand DOWNkeys toadjustthe resistance.
2.TIME: Showsyourelapsed workout timeinminutesand seconds. Yourcomputerwill
automaticallycount up from0:00 to99:59 inone second intervals. You can alsoprogramyour
computertocount downfromaset value byusing the UPand DOWNkeys. Ifyou continue
exercising oncethe timehasreached 0:00, the computerwill beginbeeping, and reset itselfto
the originaltimeset, letting you knowyourworkout isdone.
3.DISTANCE: Displays the accumulativedistancetraveled during eachworkout up toamaximum
of99.9KM/MILE.
4.RPM: Yourpedalcadence.
5.SPEED: Displays yourworkout speed value inKM/MILEperhour.
6.CALORIES: Yourcomputerwill estimatethe cumulativecaloriesburned at anygiven timeduring
yourworkout.
7.PULSE: Yourcomputerdisplays yourpulserateinbeatsperminuteduring yourworkout.
8.PULSE RECOVERY: During the STARTstage, leavethe handsholding on gripsthen press
“PULSE RECOVERY”key, all function displays will stop except “TIME”. Timestartscounting from
00:60 -00:59 --to00:00. Assoon as00:00 isreached, the computerwill showyourheart rate
recoverystatuswiththe grade F1.0toF6.0.
1.0meansOUTSTANDING
1.0 F2.0meansEXCELLENT
2.0≦F≦2.9meansGOOD
3.0≦F≦3.9meansFAIR
4.0≦F≦5.9meansBELOWAVERAGE
6.0meansPOOR
Note: Ifno pulsesignalinput then the computerwill show “P”on the PULSE window. Ifthe
computershows “ERR”on the message window, pleasere-press the PULSE RECOVERY
keyand pleasemakesureyourhandsareon the pulsegrips.
Keyfunction:
START/STOPkey:
a. Quick Start keyfunction: Allowsyou tostart the computerwithout selecting aprogram.
Manualworkout only. Timeautomaticallybeginstocount up fromzero
b. During the exercisemode, press the keytoSTOPexercise.
c. During the stop mode, press the keytoSTARTexercise.
UPkey:
a. Press the keytoincreasethe resistanceduring exercisemode.
b. During the setting mode, press the keytoincreasethe value ofTime, Distance, Calories, Age
and select Genderand Program.
DOWNkey:
a. Press the keytodecreasethe resistanceduring exercisemode.
b. During the setting mode, press the keytodecreasethe value ofTime, Distance, Calories,
Age and select Genderand Program.
ENTER/RESETkey:
a. During the setting mode, press the keytoaccept the current dataentry.
b. At the stop mode, byholding thiskeyforovertwosecondsthe usercan reset all valuesto
zeroordefault value.
c. During setting the Clock, press thiskeycan accept the setting hourand setting minute.
BODYFAT/ MEASUREkey:
Press the keytoinput yourHEIGHT, WEKGHT, GENDERand AGEthen tomeasureyour
bodyfat ratio.
PULSE RECOVERYkey: Press the keytoactivateheart raterecoveryfunction.
PDFcreated withpdfFactorytrialversion www.pdffactory.com

Customerservice1-888-707-1880 12 MAURICEPINCOFFSCANADAINC.©2007
ProgramIntroduction &Operation:
ManualProgram:Manual
P1isamanualprogram. Usercan start exercising bypressing START/STOPkey. The default
resistancelevelis5. Usersmayexerciseinanydesirousofresistancelevel(Adjusting byUP/DOWN
keys during the workout)withaperiod oftimeoranumberofcaloriesoracertaindistance.
1. UseUP/DOWNkeys toselect the MANUAL(P1)program.
2. Press the ENTERkeytoenterMANUALprogram.
3. The TIMEwill flashand you can press UPorDOWNkeys toset yourexerciseTIME. Press
ENTERkeytoconfirm yourdesired TIME.
4. The DISTANCEwill flashand you can press UPorDOWNkeys toset yourtarget DISTANCE.
Press ENTERkeytoconfirm yourtarget DISTANCE.
5. The CALORIES will flashand you can press UPorDOWNkeys toset yourxerciseCALORIES.
Press ENTERkeytoconfirm yourtarget CALORIES.
6. Press the START/STOPkeytobeginexercising.
PresetProgram:Steps, Hill, Rolling, Valley, FatBurn, Ramp, Mountain, Intervals, Random,
Plateau, Fartlek, Precipice
PROGRAM2toPROGRAM13 arethe preset programs. Userscan exercisewithdifferent levelof
loading indifferent intervalsasthe profilesshow.
1. UseUP/DOWNkeys toselect one ofthe aboveprogramsfromP2toP13
2. Press the ENTERkeytoenteryourworkout program.
3. The TIMEwill flashand you can press UPorDOWNkeys toset yourexerciseTIME. Press
ENTERkeytoconfirm yourdesired TIME.
4. The DISTANCEwill flashand you can press UPorDOWNkeys toset yourtarget DISTANCE.
Press ENTERkeytoconfirm yourdesired DISTANCE.
5. The CALORIES will flashand you can press UPorDOWNkeys toset yourexerciseCALORIES.
Press ENTERkeytoconfirm yourdesired CALORIES.
6. Press the START/STOPkeytobeginexercise.
UserSetting Program:User1and User2
Program14 and 15 isthe usersetting program. Usersarefree tocreatethe valuesinthe orderof
TIME, DISTANCE, CALORIES and the resistancelevelin10 columns. The valuesand profileswill
be stored inthe memoryaftersetup. Usersmayalsochange the ongoing loading ineachcolumnby
UP/DOWNkeys, and theywill not change the resistancelevelstored inthe memory.
1. UseUP/DOWNkeys toselect the USER1(P14)orUSER2(p15)program.
2. Press the ENTERkeytoenteryourworkout program.
3. The column1will flash, and then usethe UP/DOWNkeys tocreateyourpersonalexerciseprofile.
Press ENTERtoconfirm yourfirst columnofexerciseprofile. The default levelisload 1.
4. The column2will flash, and then usethe UP/DOWNkeys tocreateyourpersonalexerciseprofile.
Press ENTERtoconfirm yoursecond columnofexerciseprofile.
5. Followthe abovedescription 5and 6tofinishyourpersonalexerciseprofiles. Press ENTERto
confirm yourdesired exerciseprofile.
6. The TIMEwill flashand you can press UPorDOWNkeys toset yourexerciseTIME. Press
ENTERkeytoconfirm yourdesired TIME.
7. The DISTANCEwill flashand you can press UPorDOWNkeys toset yourtarget DISTANCE.
Press ENTERkeytoconfirm yourdesired DISTANCE.
8. The CALORIES will flashand you can press UPorDOWNkeys toset yourexerciseCALORIES.
Press ENTERkeytoconfirm yourdesired CALORIES.
9. Press the START/STOPkeytobeginexercising.
PDFcreated withpdfFactorytrialversion www.pdffactory.com

Customerservice1-888-707-1880 13 MAURICEPINCOFFSCANADAINC.©2007
BodyFatProgram:BodyFat
Program16 isaspecialprogramdesign tocalculateusers bodyfat ratioand toofferaspecific
loading profileforusers. Thereare3bodytypesdivided according tothe FAT%calculated.
Type1: BODYFAT%> 27
Type2: 27 ≧BODYFAT% ≧20
Type3: BODYFAT%< 20
The computerwill showthe test resultsofFATPERCENT, BMIand BMR.
1. UseUP/DOWNkeys toselect the BODYFAT(P16)program.
2. Press the ENTERkeytoenteryourworkout program.
3. The HEIGHTwill flashand you can press UPorDOWNkeys toset yourHEIGHT. Press ENTER
keytoconfirm yourHEIGHT. The default HEIGHTis170cmor5 07”(5feet 7inches).
4. The WEIGHTwill flashand you can press UPorDOWNkeys toset yourWEIGHT. Press ENTER
keytoconfirm yourWEIGHT. The default WEIGHTis70kgsor155lbs.
5. The GENDERwill flashand you can press UPorDOWNkeys toselect yoursex. Number1
meansmale and number0meansfemale. Press ENTERkeytoconfirm yourGender. The
default sexis1(MALE).
6. The AGEwill flashand you can press UPorDOWNkeys toset yourAGE. Press ENTERkeyto
confirm yourAGE. The default AGEis35.
7. Press the START/STOPkeytobeginbodyfat measurement. Ifthe windowshowEon the
window, pleasemakesureyourhandsareattached well on the gripsorthe chest belt istouch
well on yourbody. Then press the START/STOPkeyagaintobeginbodyfat measurement.
8. Afterfinished yourmeasurement, the computerwill showthe valuesofBMR, BMIand FAT
PERCENTon the LCD display. Furthermore, the computerwill showyourownexerciseprofilefor
yourbodytype.
9. Press START/STOPkeytobeginexercising.
Remarks
1.Sleep Mode:
The computerwill enterthe sleep mode when thereisno signalinput and no keys be pressed
after4minutes. You can press anykeytostarthe computer.
2.BMI(BodyMass Index): BMIisameasureofbodyfat based on height and weight that appliesto
bothadult men and women.
3.BMR(BasalMetabolicRate): YourBasalMetabolicRate(BMR)showsthe numberofcalories
yourbodyneedstooperate. Thisdoesn t account foranyactivity, it ssimplythe energyneeded
tosustainaheartbeat, breathing and normalbodytemperature. It measuresthe bodyat rest, not
sleep, at roomtemperature.
PDFcreated withpdfFactorytrialversion www.pdffactory.com

Customerservice1-888-707-1880 14 MAURICEPINCOFFSCANADAINC.©2007
LCD WorkoutGraphics
PRESETPROGRAMPROFILES:
PROGRAM1PROGRAM2PROGRAM3
MANUAL STEPS HILL
PROGRAM4PROGRAM5PROGRAM6
ROLLING VALLEYFATBURN
PROGRAM7PROGRAM8PROGRAM9
RAMPMOUNTAININTERVALS
PROGRAM10 PROGRAM11 PROGRAM12
RANDOMPLATEAUFARTLEK
PROGRAM13
PRECIPICE
USERSETTING PROGRAM
PROGRAM14 PROGRAM15
USER1USER2
PDFcreated withpdfFactorytrialversion www.pdffactory.com

Customerservice1-888-707-1880 15 MAURICEPINCOFFSCANADAINC.©2007
BODYFATTESTPROGRAMS:
PROGRAM16
BODYFAT(STOPMODE)BODYFAT(STARTMODE)
One ofthe Following SixProfilesWill DisplayAutomaticallyafterMeasuring YourBODYFAT:
Workout Time: 40 minutesWorkout Time: 40 minutesWorkout time: 20 minutes
Workout Time: 40 minutesWorkout Time: 40 minutesWorkout time: 20 minutes
PDFcreated withpdfFactorytrialversion www.pdffactory.com

Customerservice1-888-707-1880 16 MAURICEPINCOFFSCANADAINC.©2007
PartsList
KEY NO PARTNO DESCRIPTION Q'TY
1 1711701 Monitor 1
2 1711702 ScrewST5*10 2
3 1711703 Bushing Φ32*59 2
4 1711704 Bushing 8
5 1711705 Flat WasherOD32*ID8.2*2 2
6 1711706 HexHead Bolt M8*15 2
7 1711707 PVCCap M8 6
8 1711708 Carriage Bolt M8*40 4
9 1711709 CurveWasher Φ8.5 12
10 1711710 Cap Nut M8 12
11L 1711711L UpperHandlebarLeft 1
11R 1711711R UpperHandlebarright 1
12 1711712 End Cap forHandlebar 2
13 1711713 FoamGripforHandlebar 2
14L 1711714L LowerHand Rail-L 1
14R 1711714R LowerHand Rail-R 1
15 1711715 Allen Bolt M8*20 4
16 1711716 Nylon Lock Nut M8 2
17 1711717 Flat Washer Φ8*1.2 8
18 1711718 Bushing 4
19 1711719 HexHead Bolt M8*75 2
20 1711720 HexHead Bolt M8*45 4
21L 1711721L Left Pedal 1
21R 1711721R Right Pedal 1
22 1711722 Bushing Φ32*26 2
23L 1711723L Foot PedalTube Left 1
23R 1711723R Foot PedalTube Right 1
24 1711724 Flat WasherOD32*ID10.5*2 2
25 1711725 Nylon Lock Nut M10 2
26 1711726 PVCCap M10 2
27 1711727 StabilizerEnd Cap 2
28 1711728 RearStabilizer 1
29 1711729 Carriage Bolt M8*73 4
30 1711730 CurveWasher Φ8.5*30 8
31 1711731 MainFrame 1
32 1711732 Transportation Wheel 2
33 1711733 Front Stabilizer 1
34 1711734 LowerComputerWire 1
35 1711735 Extension ComputerWire 1
36 1711736 Allen Bolt M8*38 4
37 1711737 Stationary Handlebar 1
PDFcreated withpdfFactorytrialversion www.pdffactory.com

Customerservice1-888-707-1880 17 MAURICEPINCOFFSCANADAINC.©2007
KEY NO PARTNO DESCRIPTION Q'TY
38 1711738 Hand PulseWire 1
39 1711739 UpperHand PulseSensor 1
40 1711740 UpperComputerSensor 1
41 1711741 Upright Post 1
42 1711742 PhilipsScrewST3*10 2
43 1711743 PowerSensor 1
44 1711744 Reed Switch 1
45 1711745 FoamGripforFront Handlebar 1
46 1711746 Hand PulseSensor 2
47 1711747 PhilipsScrewST4.2*25 2
48 1711748 Nut M10 2
49 1711749 FranceNut M10 2
50 1711750 Run Disc 2
51 1711751 Crank 2
52L 1711752L Left ChainCover 1
52R 1711752R Right ChainCover 1
53 1711753 Nut M10 3
54 1711754 Bushing OD16*ID12.5*11.5 1
55 1711755 Bearing 6001Z 2
56 1711756 AxleforFlywheel 1
57 1711757 Flywheel 1
58 1711758 Allen Bolt M8*15 2
59 1711759 Spring Washer Φ8 2
60 1711760 Washer φ8 2
61 1711761 Spring 1
62 1711762 Bearing 6203RS 2
65 1711765 Belt 1
68 1711768 Nylon Lock Nut M6 4
69 1711769 Pulley1
70 1711770 AxleforPulley 1
71 1711771 HexHead Bolt M6*16 4
72 1711772 PhilipsScrewST4.8*16 8
73 1711773 WaveWasher Φ32*Φ20.5*0.3 2
74 1711774 Magnet Holder 1
75 1711775 Spring Washer Φ8 2
76 1711776 Spacer 2
77 1711777 Wire 1
78 1711778 Motor 1
79 1711779 Washer φ6 4
80 1711780 Allen Bolt M6 4
81 1711781 Locking Knob M8 4
85 1711785 Adaptor 1
PDFcreated withpdfFactorytrialversion www.pdffactory.com

Customerservice1-888-707-1880 18 MAURICEPINCOFFSCANADAINC.©2007
PARTS DIAGRAM
PDFcreated withpdfFactorytrialversion www.pdffactory.com

Customerservice1-888-707-1880 19 MAURICEPINCOFFSCANADAINC.©2007
PDFcreated withpdfFactorytrialversion www.pdffactory.com

Customerservice1-888-707-1880 20 MAURICEPINCOFFSCANADAINC.©2007
TROUBLE SHOOTING
Problem Cause Correction
Monitordoesnot display
Adaptornotplugged inorbatteries
not installed Plug adaptorinorinsert batteries
Nospeed ordistance
displays on the monitor Sending unit not connected Securelyplug sending unitinto
extension wireand the back of
the monitor
Sending unit not working properly Replacesending unit
Monitornot working properly Replacemonitor
Notension Gearboxwirenot connected Securelyconnectthe gearbox
wiresintothe extension gearbox
wire
Magneticwheelnot working properly Replacemagneticwheel
Heart ratenot displaying
Pulsewirenotconnected not
connected Securelyplug wirestogether
Hand pulsedefective Replacehand pulsegrip
Monitornot working properly Replacemonitor
Grinding Crankbearing defective Replacecrankbearings
Idlerpulleydefective Replaceidlerpulley
Mag wheeldefective Replacemagneticwheel
Squealing V-belt slipping Adjust v-belt
PDFcreated withpdfFactorytrialversion www.pdffactory.com
Table of contents
Other Body Break Elliptical Trainer manuals
Popular Elliptical Trainer manuals by other brands
Spirit
Spirit XE395 Elliptical owner's manual
ICON Health & Fitness
ICON Health & Fitness Pro-Form Carbon E7 user manual
Octane Fitness
Octane Fitness Q35 Assembly manual
Bowflex
Bowflex Gym Style Ab Crunch Station Owner's/assembly manual

FOCUS FITNESS
FOCUS FITNESS FOX 4 manual

SPORTS ART
SPORTS ART E81 user manual

