Bodytastic E22.3 User manual
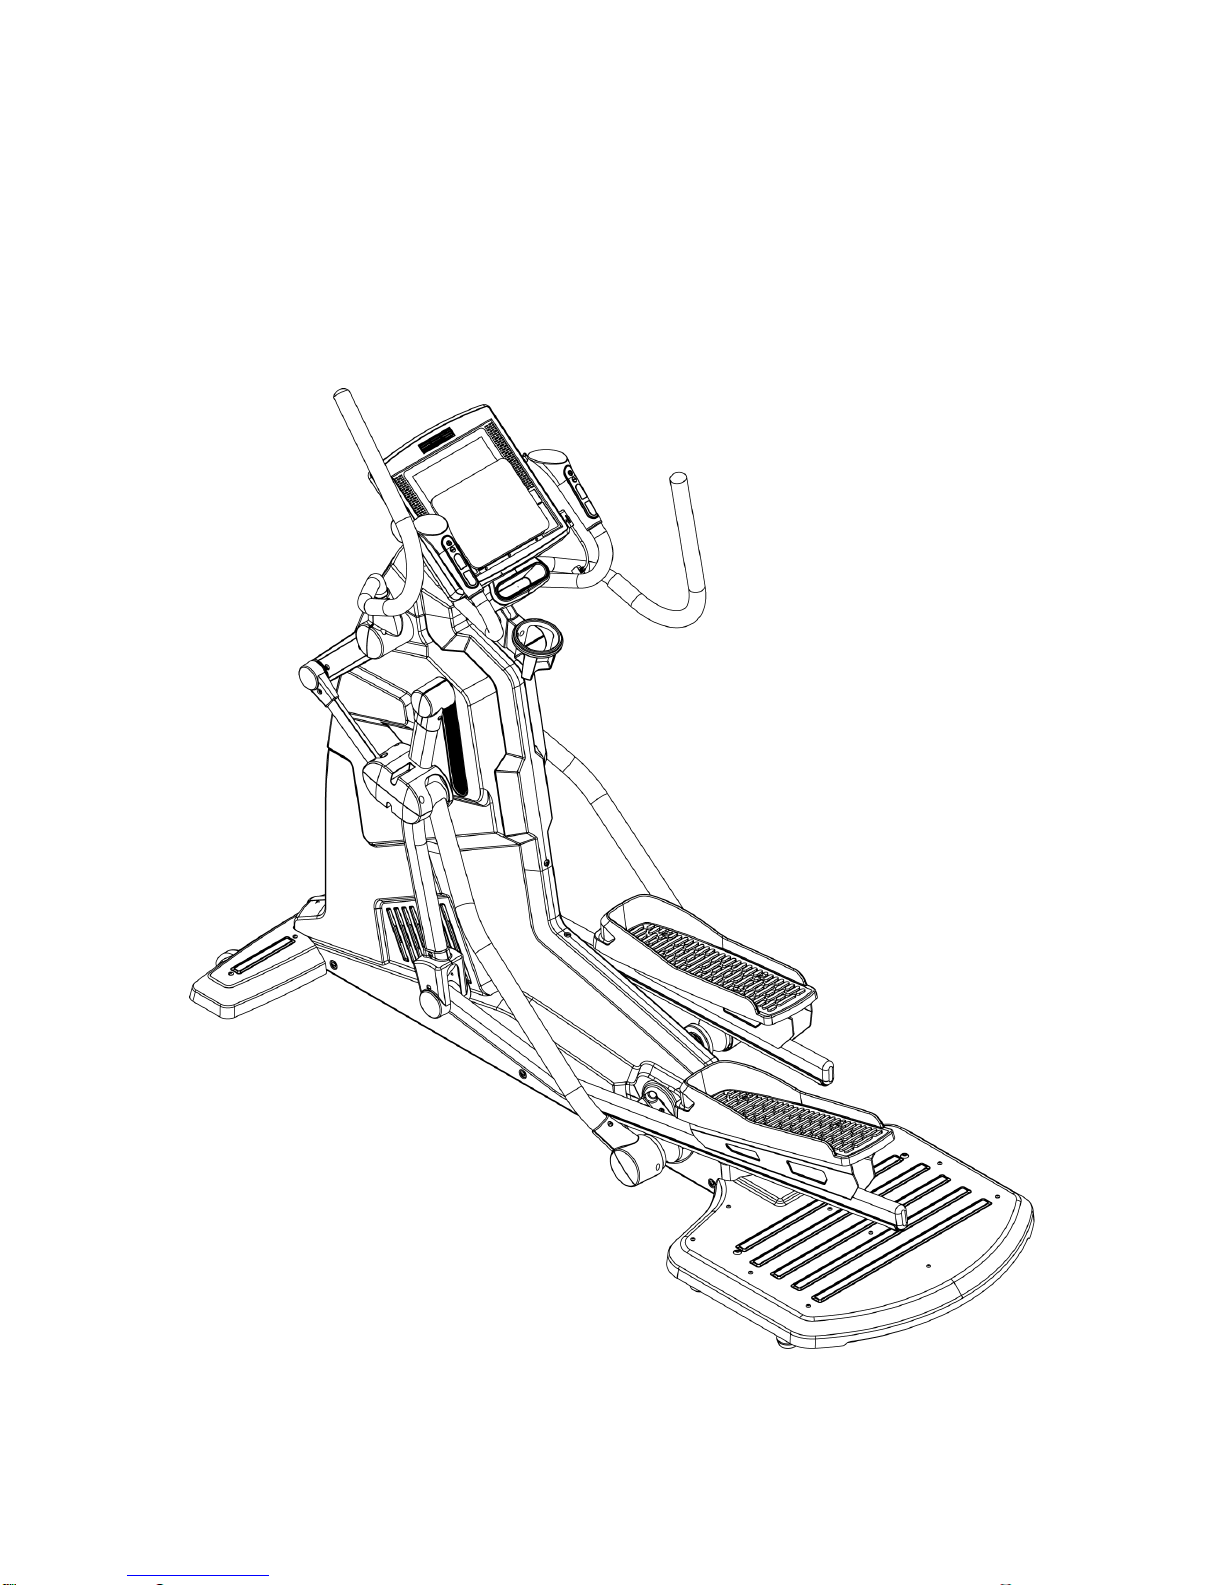
E22.3
Elliptical Machine Instructions

1
2014/11/10V1.0+V1.0
INDEX
1. Assembly parts.............................................................................................................2
2. Details of parts..............................................................................................................3
3. Assembly steps.............................................................................................................4
4. The operation instruction of electronic meter..............................................................13
4.1. Electronic meter structure................................................................................14
5. Display page introduction ...........................................................................................16
5.1. Simple user interface:....................................................................................16
5.2. Startup page.....................................................................................................16
5.3. Resident area...................................................................................................17
5.4. User login page................................................................................................17
5.5. Standby page...................................................................................................19
5.6. Program control set page.................................................................................19
5.7. Exercise storage device optional page (running and fitness with the exercise
record device).............................................................................................................20
5.8. Pages of the exercise ......................................................................................22
5.9. Exercise Course Page .....................................................................................27
6. Heart Detection Introduction.......................................................................................29
6.1. Heart Rate Sensor System ..............................................................................29
6.2. Regional heart rate exercise............................................................................30
7. Sports and fitness program.........................................................................................30
7.1. Overview of sports and fitness program...........................................................30
7.2. Overview of sports and fitness program...........................................................31
8. Program Set ...............................................................................................................39
8.1. Software version shows System info ...............................................................39
8.2. Setting Metric or Imperial system Units............................................................39
8.3. TV setting.........................................................................................................40
8.4. Wi-fi setting......................................................................................................40
8.5. Resting time setting .........................................................................................41
8.6. Time zone setting.............................................................................................41
8.7. Language.........................................................................................................41
8.8. Others..............................................................................................................41

2
2014/11/10V1.0+V1.0
1. Assembly parts

3
2014/11/10V1.0+V1.0
2. Details of parts
ITEM
Description
Qty
ITEM
Description
Qty
K01.
Truss hex screw M10xP1.5x70
Stainless Steel
2
K15.
Screw Ø4X12
3
K02.
Spring washer M10
2
K15-1.
Truss cross screw M4X10
2
K03.
Truss hex screw M5X10
Stainless Steel
4
K16.
Truss cross screw M4X10
2
K04.
Truss hex screw M10xP1.5x85
2
K17.
Screw Ø4X12
4
K05.
Spring washer M10
2
K18.
Carriage Screw
M8X45
4
K06.
Washer ψ10xψ20x1.5t
2
K19.
Nylon Nut M8
4
K07.
Nylon Nut M10
2
K20.
Truss hex screw M5X10
Stainless Steel
4
K08.
Truss hex screw M5X10
Stainless Steel
8
K21.
Screw Ø4X12
4
K09.
Truss hex screw M5X10
Stainless Steel
8
K22.
L shaped hex wrench 6X40X120
1
K10.
Washer ψ10xψ20x1.5t
4
K23.
L shaped hex wrench +cross screwdriver
5x35x115mm
1
K11.
Spring washer M10
4
K24.
Opened wrench 17mmX110mmX2.0t
1
K12.
Truss hex screw M10xP1.5x15
4
K25.
Opened wrench 13mm+15mm
1
K13.
Truss cross screw M5X10
4
K26.
Cable adapter _PAL (female) adapted
to socket F (male)
1
K14.
Truss cross screw M5X10
2
K27.
L shaped hex wrench 3X23X129
1

4
2014/11/10V1.0+V1.0
3. Assembly steps
STEP 1 Assemble the main frame set with the rear pedals
As shown in the figure, use truss head hexagon socket screw (K01) and spring washer
(K02) to lock and fix the rear pedal set (B) on the main frame set (A), and then use cross
Truss hex screw (K03) to lock and fix the front bottom tube trim cover (G) on the main frame
set (A). At last, fix the adjustment foot pad (R) and make it level to ground.
Note: The assembly must be implemented by two person.
5
2014/11/10V1.0+V1.0
STEP 2 Assemble the foot tube set with the main frame set
Use truss head hexagon socket screw (K04), spring washer (K05), washer (K06) and nylon
nut (K07) to lock and fix the foot pedal set (C), and then use Truss hex screw (K08) to lock
the foot tube spindle cover set (H).

6
2014/11/10V1.0+V1.0
STEP 3 Assemble the foot pedal set with the foot tube set
Align the screw holes on the foot pedal set (I) with the screw holes on the foot pedal set (C)
firstly, and then use cross Truss hex screw (K09) to lock and fix them after affirming that
they are aligned.
Note:
It should be affirmed that the foot pedal set are really locked to avoid using
dangers due to loosening of the screw.

7
2014/11/10V1.0+V1.0
STEP 4 Assemble the control tube set with the main frame set
Align the screw holes of the control tube set (D) with the screw holes of the main frame set,
and use washer (K10), spring washer (K11) and truss head hexagon socket screw (K12) to
lock and fix the control tube set (D).
Lower section of control line
Network line
Lower section of TV CABLE line
8
2014/11/10V1.0+V1.0
STEP 5 Assemble the electronic meter set with the control tube set
Connect the lines according to the figure. Pay attention to the directivity. Please do not
insert forcibly if the directivity is wrong.
Align the screw holes on the rear part of the electronic meter set (E) with the screw holes of
the control tube set (D), and use cross truss head screw (K13) to lock and fix the electronic
meter.
During assembly, please make sure the screws are firmly locked to avoid damage of the
electronic meter due to loosening of the screw.
Notes:
The holes shall be aligned and the directivity of the electronic meter shall be
affirmed during assembly.
The wires of the electronic meter shall be arranged in cooperation with the holes
of the electronic meter holder, so as to avoid wire short easily caused by bending
of the electric wires.

9
2014/11/10V1.0+V1.0
STEP 6 Assemble the trim cover set of electronic meter with the
electronic meter set
Use cross truss head screw (K14) to lock and fix the front trim cover set of electronic meter
on the control tube set (D), and then arrange the commodity cup holder (L) in, and use
cross truss head self-tapping screw (K15-1) to lock.
Use cross truss head self-tapping screw (K15) to lock and fix the lower trim cover of
electronic meter on the electronic meter set (E) finally.

10
2014/11/10V1.0+V1.0
STEP 7 Assemble the trim covers of control tube, the cup holder with
the control tube set
Use cross truss head self-tapping screw (K17) to lock the trim covers of control tube (M)
along the direction shown in the figure, and finally use cross truss head screw (K16) to lock
and fix the cup holder (N).

11
2014/11/10V1.0+V1.0
STEP 8 Assemble the handrail tube set with the main frame set
Sheath the tail end of the handrail tube set (F) into the iron tube at the upper end of the
swing tube set, combine them and use carriage bolt (K18) and nylon nut (K19) to fix.

12
2014/11/10V1.0+V1.0
STEP 9 Assemble the handrail spindle cover set with the handrail tube
set
Lean the handrail spindle cover set (O) against the horizontal tube of the handrail tube set
tightly, use cross Truss hex screw (K20) to lock it and use cross truss head self-tapping
screw (K21) to fix it.
Note:
When locking plastic covers, it shall be affirmed that whether the plastic covers are mutually
cooperated and tightly jointed.

13
2014/11/10V1.0+V1.0
4. The operation instruction of electronic meter
This machine can provide a simple and easily operated electronic meter. Users can input
personal data by the electronic meter and set each exercise target.
A
B
C
D

14
2014/11/10V1.0+V1.0
4.1. Electronic meter structure
A1
Information
condition
display area
Display each condition information before
exercise, during exercise and after exercise.
A2
Touch operation
area
The screen area has touch function. On the
screen, there are operation keys for each page.
Except for pressing once, part keys support long
time pressing, finger drag and rotating.
A3
Picture display
area
Display multiplayer picture.
B1
Resistance
increase
Press the button to increase the resistance. Scope
value: 1~40 LEVEL
Resistance
decrease
Press the button to decrease the resistance.
Scope value: 1~40 LEVEL
B2
Start
(1) If press the key at any time, the program
setting can be skipped to directly enter the optional
page of exercise storage device with default value
before exercise.
(2) If the electronic meter is in the optional page of
exercise storage device and if press this key, it can
enter exercise page.
(3) If the electronic meter is in pause status and if
press this key, it can cancel pause and return to
exercise status, The speed can return to the
previous value and the lifting can continue the
unfinished target value.
(4) If the electronic meter is in course page for
exercise ending and if press this key, the
electronic meter can return to standby page.
B3
Stop
(1) If the electronic meter is in log in page and if
press this key, this page can be skipped. Users
can login as guests.
15
2014/11/10V1.0+V1.0
(2) If the electronic meter is in setting page and if
press this key, the electronic meter can return to
standby page.
(3) If the electronic meter is in optional page of
exercise storage device and if press this key, the
electronic machine can return to standby page.
(4) If the electronic is in exercise status or in pause
status and if press this key, this exercise can be
ended directly and enter exercise course report.
B4
Fan
Press this button to turn on/off the fan during
exercise. The fan has high/low speed 2 section.
B5
Pause
Press this button to enter into pause state during
exercise.
Under pause state, press this button to return to
exercise mode.
Under warm up or cool down statue, press this
button to skip.
B6
Walking
distance
increase
Press the button to increase the walking distance
Scope value: 1~40 LEVEL
Walking
distance
decrease
Press the button to decrease the walking distance.
Scope value: 1~40 LEVEL
C1
The fixed hook
with IPod wires
When IPod connection wires are not used, twine
them as U shape and hang them on the hook.
C2
USB
(1) This holes can be used for Andriod device
charging and the output power supply is 5V/1A.
(2) This holes can be used for software updating
and maintenance.
16
2014/11/10V1.0+V1.0
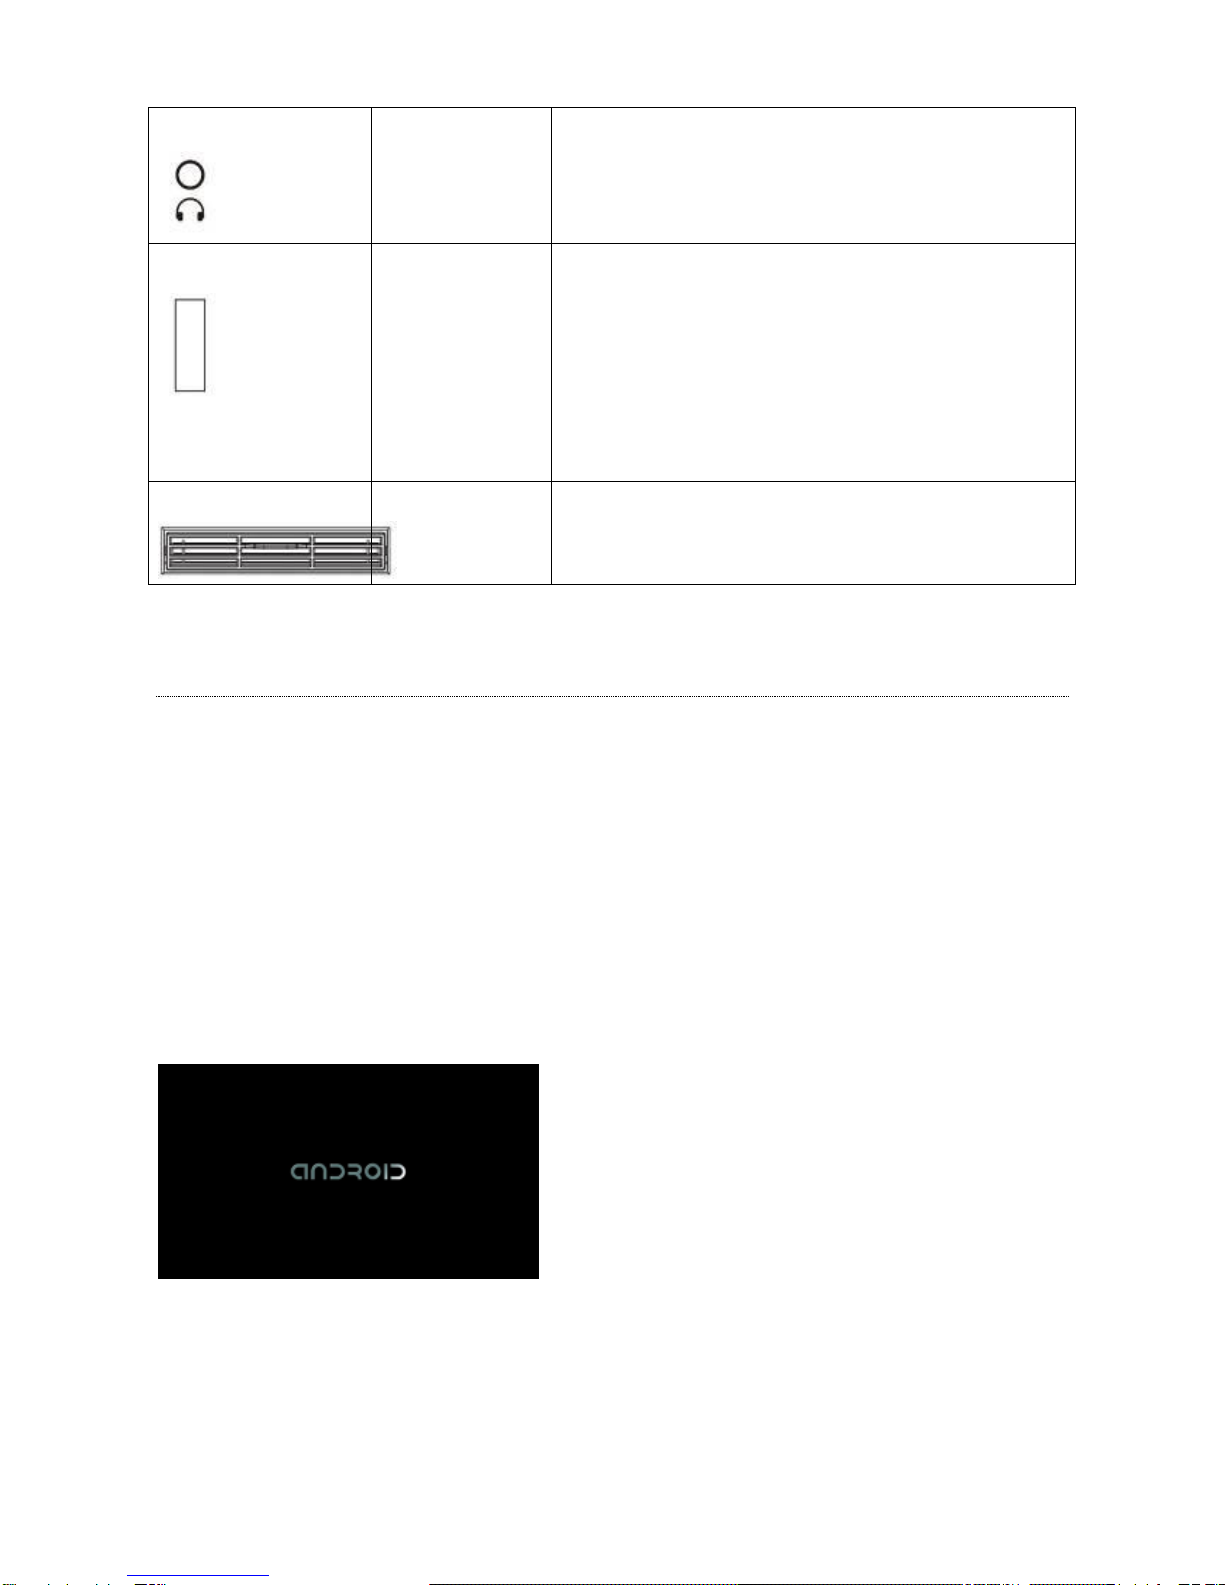
C3
Earphone
This hole can connect 3.5mm voice output device,
such as earphone.
C4
IPod
connecting wire
This wire can connect iOS device through the
electronic meter and the following functions can be
used:
Charging function,
Reading the sound source and video inside the
device.
Nike+ function.
D
The air outlet
holes of fan
The air outlet angle can be adjusted by hand.
5. Display page introduction
5.1. Simple user interface:
The simple and obvious buttons and icons will assist users to operate as the users
wish to finish all settings and the control during exercise.
UI design of the electronic meter comes from the our long term experience in
fitness equipment field, the special new technical function and users’ angle. The
designed operation environment is the fittest.
5.2. Startup page
This electronic meter isAndriod system and the loading picture can be displayed during
startup. The total loading time of the system is about 35s.

17
2014/11/10V1.0+V1.0
5.3. Resident area
There is a commonly existed status column at the bottom of the picture to assist users to
make an inspection at any time.
Wi_fi signal intensity
It is used for confirming the online quality of wireless network of the electronic
meter.
The online status of local area network:
It is used for confirming the online quality of local area network of the electronic
meter.
5.4. User login page
User login:
The cloud exercise management system built in the electronic meter is called Fit2Go. Users
can deal with the following exercise as memberships. During exercise, the users’ weight,
age and other data can be put into all the exercise formula automatically and the steps set
by the program can be omitted. When the exercise is over, the system can automatically
record the data of the exercise and upload the data to the server.
Click “account No.” field and the letter input keyboard shall appear. Input ID and click
“password” field. Continue to input password and press “Send” key or “Login” key after the
input is finished. If it is successful, the picture can enter home page; if the page does not
skip, “connect fit2go fail” message shall appear at the bottom of the picture, showing that
the account No. or the password is wrong or the network has a problem. Please make an
inspection.
※If press “Skip” key, users can login as guests (70kg/ 30 years old/ female) and guests can

18
2014/11/10V1.0+V1.0
also use all kinds of program or functions but they can not save the data for exercise into
the cloud.
※Fit2Go account No. and password gaining:
Before exercise, please use computer, phablet or smart phone and other external devices
that can serve on the Internet to connect to http://fit2go.honixtech.com/fit2go to register the
account No.
Register: Please press “Register”key and fill E-mail (ID), password and personal basic data
in the table and press “submit”key.
Login: Input the account No. and password and after enter Fit2Go website, you can browse
your exercise course.
Multinational language area:
After press the design of national flag and the menu for multinational language can
appear. There are 14 kinds in total.After choose the language design, the system
can start to switch and the switching time is about 5s.
※This language switching is real-time. When the electronic meter is turned on, the system
language can return to the default automatically which can be set under the engineering
mode.

19
2014/11/10V1.0+V1.0
5.5. Standby page
When the user logs in, choose Quick start or other program control in this page. Go back to
this page whenever the exercise is over.
5.5.1. There is withdraw key and identity of user, membership, name, head photo,
accumulated time and distances synchronous with cloud. There is no such
information if the user is a guest.
5.5.2. Date, time and address of the system will be shown in the page center.
5.5.3. Bottom of the page is menu area of program control, total 2 pages. Change to
the next page in the method of left or right sliding. Some program control has
sub-stage. Pop-up sub-menu after pressing program control title
5.6. Program control set page
Choose any program control in standby page, apart from Quick start, and then enter into
the set page of the program control.
3.6.2. Input the age, weight, gender…of the user in specific program control, to be
substituted into the computational formula of the SPC. If the user is a membership, the
system will automatically input the value registered in Fit2go website and the value will be
Table of contents
Popular Elliptical Trainer manuals by other brands

Cory Everson
Cory Everson 6000HT owner's manual

Sirius Fitness
Sirius Fitness 16117002LUS owner's manual

Thane Fitness
Thane Fitness OrbiTrek Platinum owner's manual

Schwinn
Schwinn 420 Elliptical - 2010 Model Assembly manual
ICON Health & Fitness
ICON Health & Fitness NTEL71320-INT.0 user manual

NordicTrack
NordicTrack NTEL16908.0 user manual


