Bosch PRA-APAS Instruction sheet

Advanced public address server
PRA‑APAS
en Configuration manual


Advanced public address server Table of contents | en 3
Bosch Security Systems, B.V. Configuration manual 2021-05 | V1.00 |
Table of contents
1Important product information 5
1.1 Safety information 5
1.2 Disposal instructions 6
1.3 Class A Notice for FCC and ICES 003 6
2About this manual 7
2.1 Intended audience 7
2.2 Listing of open source components 7
2.3 Copyright statement 7
2.4 Trademarks 7
2.5 Notice of liability 7
2.6 Document history 7
3Security precautions 8
4Installation procedure 10
4.1 Network setup 10
4.2 Initial power on 12
5Configuration procedure 13
5.1 Settings 13
5.2 PA Settings 14
5.3 Licenses 16
5.4 Update 17
5.5 Dante controller setup 17
5.6 Further settings configuration 18
6Logon to the application 19
7Application navigation 19
8Settings menu 20
8.1 Settings 20
8.1.1 Backup 20
8.2 PA Settings 21
8.3 Users 21
8.3.1 Add a new user account 21
8.3.2 Edit a user account 22
8.3.3 Delete a user account 22
8.4 Areas 22
8.4.1 Add a new section 22
8.4.2 Add a new area 22
8.5 Announcement Scripts 23
8.5.1 Add a new announcement script 23
8.5.2 Edit an announcement script 23
8.5.3 Delete an announcement script 23
8.6 Recordings 24
8.6.1 Add a new recording 24
8.6.2 Edit a recording 25
8.6.3 Delete a recording 25
8.7 Music sources 25
8.7.1 Add a new music source 25
8.7.2 Edit a music source 26
8.7.3 Delete music source 27
8.8 Text to speech 27

4en | Table of contents Advanced public address server
2021-05 | V1.00 | Configuration manual Bosch Security Systems, B.V.
8.8.1 Amazon settings 27
8.8.2 Create a new TTS language configuration 27
8.8.3 Edit a TTS language 27
8.8.4 Delete a TTS language 27
8.9 History 28
8.9.1 Cancel an announcement playing 29
8.10 Logs 29
8.11 Factory reset 29
9User menu 30
9.1 Voice 30
9.2 Text to speech 30
9.3 Messages 31
9.4 Music 32
9.5 Scheduler 32
9.5.1 Messages 33
9.5.2 Music 34
10 Troubleshooting 36
10.1 Find the IP address of the device 36
10.2 Unable to connect to the device after misconfiguring network settings 36
10.3 Unable to connect to the device with the browser 36
10.4 Unable to prelisten on Apple PC using Safari 37
10.5 Unable to hear anything in any area 37
10.6 The device has no Internet connection 37
10.7 Unable to hear web radio Music source in any area 38
10.8 Unable to hear Text to Speech announcements in any zone 38
10.9 Unable to sync PTP clock with PRAESENSA master clock 38
10.10 Dante controller 39
10.11 Firefox does not allow to login anymore 39
11 Support services and Bosch Academy 41

Advanced public address server Important product information | en 5
Bosch Security Systems, B.V. Configuration manual 2021-05 | V1.00 |
1 Important product information
1.1 Safety information
1. Read and keep these safety instructions. Follow all instructions and heed all warnings.
2. Download the latest version of the applicable installation manual from
www.boschsecurity.com for installation instructions.
Information
Refer to the Installation Manual for instructions.
3. Follow all installation instructions and observe the following alert signs:
Notice! Containing additional information. Usually, not observing a notice does not
result in damage to the equipment or personal injuries.
!
Caution! The equipment or the property can be damaged, or persons can be injured if
the alert is not observed.
Warning! Risk of electric shock.
4. System installation and servicing by qualified personnel only, in accordance with
applicable local codes. No user-serviceable parts inside.
5. System installation for emergency sound (except for call stations and call station
extensions) in a Restricted Access Area only. Children may not get access to the system.
6. For rack-mounting of system devices, make sure that the equipment rack is of suitable
quality to support the weight of the devices. Use caution when moving a rack to avoid
injury from tip over.
7. The apparatus shall not be exposed to dripping or splashing and no objects filled with
liquids, such as vases, shall be placed on the apparatus.
Warning! To reduce the risk of fire and electric shock, do not expose this apparatus to
rain or moisture.
8. Mains powered equipment shall be connected to a mains power outlet socket with a
protective earthing connection. An external, readily operable, mains plug or all‑pole mains
switch shall be installed.
9. Only replace the mains fuse of an apparatus with a fuse of the same type.
10. The protective ground connection of an apparatus shall be connected to protective
ground before the apparatus is connected to a power supply.
11. Amplifier outputs marked with
may carry audio output voltages up to 120VRMS.
Touching uninsulated terminals or wiring may result in an unpleasant sensation.
Amplifier outputs marked with or may carry audio output voltages above 120VRMS. It
requires a skilled person to strip and connect the loudspeaker wires in such a way that
the naked conductors are inaccessible.
12. The system may receive power from multiple mains power outlet sockets and backup
batteries.
Warning! To prevent a shock hazard disconnect all power sources prior to system
installation.
13. Only use recommended batteries and observe polarity. Risk of explosion if an incorrect
type of battery is used.

6en | Important product information Advanced public address server
2021-05 | V1.00 | Configuration manual Bosch Security Systems, B.V.
14. Fiber optical converters use invisible laser radiation. To prevent injury, avoid eye
exposure to the beam.
15. Devices for vertical (wall) mounting supporting a user interface for operation shall only be
mounted below 2m height.
16. Devices installed above 2m height may cause injury when falling down. Preventive
measures must be taken.
17. To prevent hearing damage do not listen at high volume levels for long periods.
18. An apparatus may use a lithium coin battery. Keep away from children. If ingested, high
risk of chemical burn hazard. Seek medical attention immediately.
1.2 Disposal instructions
Old electrical and electronic appliances.
Electrical or electronic devices that are no longer serviceable must be collected
separately and sent for environmentally compatible recycling (in accordance with the
European Waste Electrical and Electronic Equipment Directive).
To dispose of old electrical or electronic devices, you should use the return and
collection systems put in place in the country concerned.
1.3 Class A Notice for FCC and ICES 003
applies to U.S.A. and Canadian models only
Business Equipment
For commercial or professional use
This equipment has been tested and found to comply with the limits for a ClassA
digital device, pursuant to Part15 of the FCC and Canadian ICES‑003 requirements.
These limits are designed to provide reasonable protection against harmful
interference when the equipment is operated in a commercial environment. This
equipment generates, uses, and can radiate radio frequency energy and, if not
installed and used in accordance with the instruction manual, may cause harmful
interference to radio communications. Operation of this equipment in residential area
is likely to cause harmful interference in which case the user will be required to
correct the interference at their own expense. Intentional or unintentional changes or
modifications not expressly approved by the party responsible for compliance shall not
be made. Any such changes or modifications may void the user’s authority to operate
the equipment.

Advanced public address server About this manual | en 7
Bosch Security Systems, B.V. Configuration manual 2021-05 | V1.00 |
2 About this manual
This Configuration manual is part of the PRA-APAS Advanced public address server delivery,
describing the PRA-APAS device installation and configuration procedures.
2.1 Intended audience
This configuration manual is intended for everyone who is authorized to configure PRAESENSA
and related products.
2.2 Listing of open source components
An up to date listing of open source licensed software which may accompany a PRAESENSA
device is stored inside the device and can be downloaded by clicking the version number in
the software.
Each of the components listed may be redistributed under the terms of their respective open
source licenses. Notwithstanding any of the terms in the license agreement you may have with
Bosch, the terms of such open source license(s) may be applicable to your use of the listed
software.
To the extent permitted by applicable law, Bosch and its suppliers make no representations or
warranties, express or implied, statutory or otherwise, with regard to the list or its accuracy or
completeness, or with respect to any results to be obtained from use or distribution of the
list. By using or distributing the list, you agree that in no event shall Bosch be held liable for
any special, direct, indirect or consequential damages or any other damages whatsoever
resulting from any use or distribution of this list.
2.3 Copyright statement
Unless otherwise indicated, this publication is the copyright of www.boschsecurity.com. All
rights are reserved.
2.4 Trademarks
Throughout this document trademark names may have been used. Rather than put a
trademark symbol in every occurrence of a trademark name, Bosch Security Systems states
that the names are used only in an editorial fashion and to the benefit of the trademark owner
with no intention of infringement of the trademark.
2.5 Notice of liability
While every effort has been taken to ensure the accuracy of this document, neither Bosch
Security Systems nor any of its official representatives shall have any liability to any person or
entity with respect to any liability, loss or damage caused or alleged to be caused directly or
indirectly by the information contained in this document.
Bosch Security Systems reserves the right to make changes to features and specifications at
any time without prior notification in the interest of ongoing product development and
improvement.
2.6 Document history
Release date Documentation version Reason
2021.05 V1.00 1st edition

8en | Security precautions Advanced public address server
2021-05 | V1.00 | Configuration manual Bosch Security Systems, B.V.
3 Security precautions
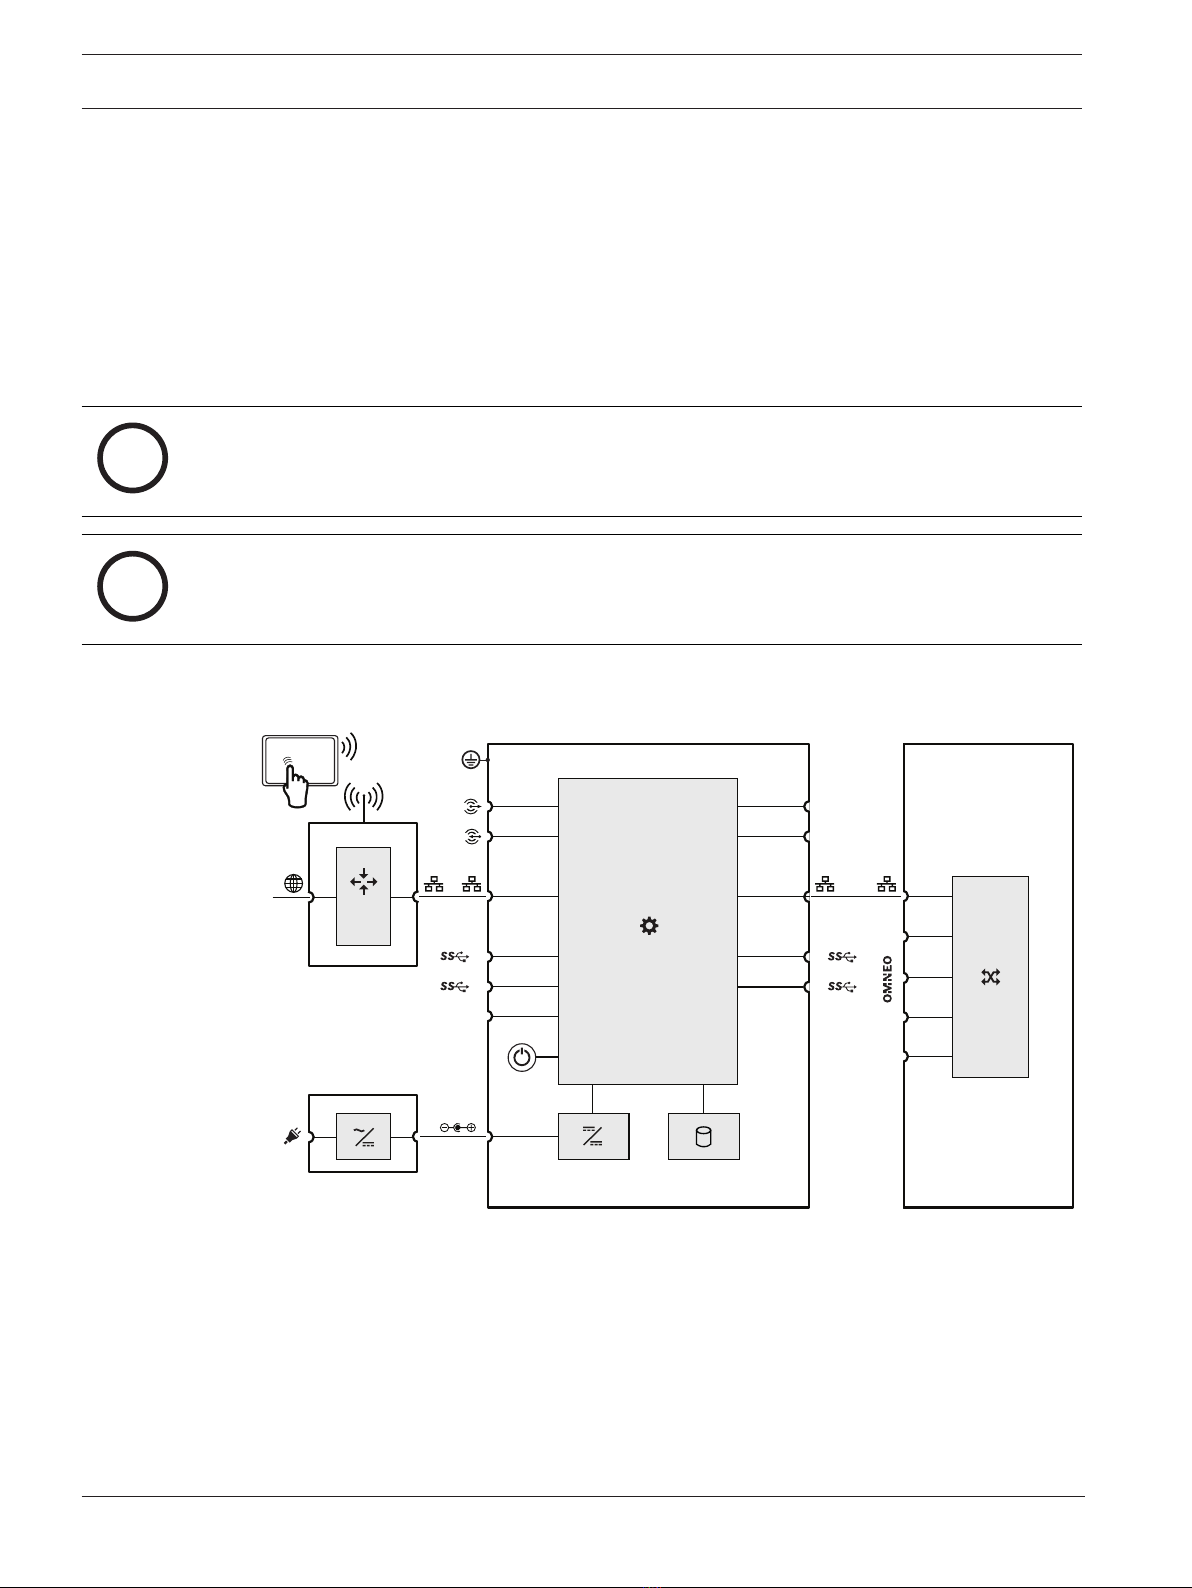
PRAESENSA is an IP‑connected, networked Public Address and Voice Alarm system. In order
to ensure that the intended functions of the system are not compromised, special attention
and measures are required during installation and operation to avoid tampering of the system.
Many of such measures are provided in the PRAESENSA configuration manual and installation
manual, related to the products and the activities described. This section provides an
overview of precautions to be taken, related to network security and access to the system.
– Follow the installation instructions with respect to the location of equipment and the
permitted access levels. See section 4.1 of the PRAESENSA installation manual. Make
sure that critical* call stations and operator panels that are configured for alarm functions
only have restricted access using a special procedure, such as being mounted in an
enclosure with lockable door or by configuration of user authentication on the device**.
* Call stations, that address very large areas, are considered as critical.
** Availability of the user authentication function is to be announced.
– It is highly recommended to operate PRAESENSA on its own dedicated network, not
mixed with other equipment for other purposes. Other equipment may be accessible by
unauthorized people, causing a security risk. This is especially true if the network is
connected to the Internet.
– It is highly recommended that unused ports of network switches are locked or disabled to
avoid the possibility that equipment is connected that may compromise the system. This
is also the case for PRAESENSA call stations that are connected via a single network
cable. Make sure that the connector cover of the device is in place and properly fixed, to
avoid that the second network socket is accessible. Other PRAESENSA equipment should
be installed in an area that is only accessible by authorized people to avoid tampering.
– PRAESENSA uses secure OMNEO for its network connections, using encryption and
authentication for all control and audio data exchange, but the system controller allows
the configuration of unsecure Dante or AES67 audio connections as an extension of the
system, both as inputs and as outputs. These Dante/AES67 connections are not
authenticated and not encrypted and form a security risk, as no precautions are taken
against malicious or accidental attacks via their network interfaces. For highest security,
these Dante/AES67 devices should not be used as part of the PRAESENSA system. If such
inputs or outputs need to be used, use unicast connections only. Only Dante devices
should be used that support Device Lock. Device Lock allows you to lock and unlock
supported Dante devices using a 4‑digit PIN (Personal Identification Number). Make sure
that the devices are locked when in normal operation. Dante Controller is needed to set
the PIN and setup the connections. Alternatively use Dante Domain Manager.
– For security reasons, by default the PRA-ES8P2S Ethernet switch is not accessible from
the Internet. When the default (special link‑local) IP‑address is changed to an address
outside the link‑local range (169.254.x.x/16), then also the default (published) password
must be changed. But even for applications on a closed local network, for highest security
the password may still be changed. See section 14.5 of the PRAESENSA installation
manual.
– The PRA-ES8P2S network switch supports SNMP. By convention, most SNMPv1‑v2c
equipment ships from the factory with a read-only community string set to "public". This
also applies to the PRA-ES8P2S. For security reasons SNMP should be disabled. If SNMP
must be enabled, for example to use the Bosch Network analysis tool OMN‑DOCENT, use
SNMPv3. SNMPv3 provides much better security with authentication and privacy. Select
the authentication level SHA and encryption via AES. To configure the switch accordingly,
see section 14.5 of the PRAESENSA installation manual.

Advanced public address server Security precautions | en 9
Bosch Security Systems, B.V. Configuration manual 2021-05 | V1.00 |
– The system controller webserver uses secure HTTPS with SSL. The web server in the
system controller uses a self‑signed security certificate. When you access the server via
https, you will see a Secure Connection Failed error or warning dialog indicating that the
certificate was signed by an unknown authority. This is expected and to avoid this
message in the future you have to create an exception in the browser.
– Make sure that new user accounts for system configuration access use sufficiently long
and complex passwords. The user name must have between 5 and 64 characters. The
password must have between 4 and 64 characters.
– The PRAESENSA system controller provides an Open Interface for external control.
Access via this interface requires the same user accounts as for system configuration
access. In addition, the system controller generates a certificate to setup the TLS
(secure) connection between the system controller and the Open Interface client.
Download the certificate and open/install/save (depending on browser type) the crt‑file.
Activate the certificate on the client PC. See section 7.2 of the PRAESENSA configuration
manual.
– System access to the devices of this system is secured via the OMNEO security user name
and passphrase of the system. The system uses a self-generated user name and long
passphrase. This can be changed in the configuration. The user name must have between
5 and 32 characters and the passphrase must have 8 to 64 characters. To update the
firmware of the devices, the firmware upload tool requires this security user name and
passphrase to get access.
– In case a PC for event logs is used (PRAESENSA logging server and viewer), make sure
that the PC is not accessible by unauthorized persons.

10 en | Installation procedure Advanced public address server
2021-05 | V1.00 | Configuration manual Bosch Security Systems, B.V.
4 Installation procedure
The initial installation of the PRA-APAS server is structured into the below steps which need to
be followed.
1.
Network setup, page 10
.
2.
Initial power on, page 12
.
4.1 Network setup
The PRA-APAS server needs to be connected to a LAN or corporate network and to the
PRAESENSA network to which announcements should be sent from the PRA-APAS.
i
Notice!
Only one PRA-APAS device can be connected via ETH1 port to the PRAESENSA network.
i
Notice!
APAS is using internal network segment 172.18.0.0/16. Make sure that ETH1 and ETH2 ports
do not use this segment either statically configured or by DHCP.
Connection and functional diagram
HDMI
PRA-APAS PRAESENSA
HDMI
1
2
4
COM
DC 12V
3

Advanced public address server Installation procedure | en 11
Bosch Security Systems, B.V. Configuration manual 2021-05 | V1.00 |
Private network connection
1 2
43
Figure4.1: Private network connection
1Switch and DHCP 3PRA-APAS device
2Client PC 4PRAESENSA
The previous figure shows how to connect the PRA-APAS device via ETH1 to one common
private network. The PRA-APAS connects to PRAESENSA,which is then connected to the
switch and DHCP server.
Between PRA-APAS device and PRAESENSA there is heavy multicast traffic and you need a
compliant Ethernet switch to handle such traffic.
Corporate network connection
1 2
43
5
6
Figure4.2: Corporate network connection
1Switch and DHCP 4PRAESENSA
2Client PC 5ETH2 (next to COM port)
3PRA-APAS device 6ETH1 (next to HDMI port)
This figure shows how to connect the PRA-APAS to a corporate network. The PRA-APAS
connects to PRAESENSA via ETH1, and establishes the connection from the PRA-APAS to the
corporate switch via ETH2.
The ETH1 port is on the side with the 12VDC power connection, between the USB and the
HDMI ports.
The ETH2 port is on the side with the power button, between the USB and COM ports.

12 en | Installation procedure Advanced public address server
2021-05 | V1.00 | Configuration manual Bosch Security Systems, B.V.
i
Notice!
The corporate network connection is preferred for security reasons and due to the higher
network throughput.
4.2 Initial power on
After connecting the device to the network, you can power on the PRA-APAS server.
To do the initial power on:
1. Connect the device to the 12V DC power supply.
2. Power on the PRA-APAS server.
– The system plays an audible signal through the PC speakers when the system boots.
It can take a couple of minute before the web interface is ready to receive requests.
– Use the On/Off button for hard resets only.
3. On the PRA-APAS device label, find the MAC address of the ETH2 corporate port.
4. Find the hostname of the PRA-APAS, which is praapas-<suffix_of_mac_address>-
ctrl.local.
– The suffix of the MAC-address is the last 6 characters of the MAC address found in
previous step without the colon.
5. Find the IP-address of the PRA-APAS using one of the following options:
– Find it in the Switch/Router admin panel DHCP clients by its MAC address;
– Open a command prompt screen, enter dns-sd -Gv4 <praapas_hostname>;
– Open a command prompt screen, enter ping <praapas_hostname>
– In the Dante controller, find recognizable PRA-APAS AES67 streams.

Advanced public address server Configuration procedure | en 13
Bosch Security Systems, B.V. Configuration manual 2021-05 | V1.00 |
5 Configuration procedure
Use any Windows PC in the corporate or Public Address network to connect to the user
interface for further configurations. The browsers Chrome and Firefox are supported.
1. Type <hostname> or <ip_address> in the browser to open the login webpage.
2. Enter the default credentials:
–User: admin.
–Password: admin.
i
Notice!
These credentials are used for initial configuration purposes of the PRA-APAS and should be
changed for security reasons.
3. Click Enter.
– The Welcome screen with the admin menu and individual tiles appears.
i
Notice!
You need to upload the License response file as described in
Licenses, page 16
. Without
purchasing a license, the admin/admin credentials enable only limited access to the user
interface. Get your Activation ID, download the license request file, and get your response
file.
5.1 Settings
Use the Settings tile in the administration module to configure your network and time
preferences
To configure the network:
1. In the Settings menu, click the Settings tile.
2. Enter the Host name.
OR
Enter the Name servers.
3. On ETH1 - PA network, select either DHCP or Static.
– The icon turns green when a successful connection is made.
4. For Static, enter the IP address, Netmask and Gateway addresses.
– For DHCP, these fields auto-populate.
5. On ETH2 - corporate network, select either DHCP or Static.
6. Click the Save button to save your settings.
–Note: The button Enable SSH for 24 hours will enable SSH access for access for
support in case of an accident for a day.
Each time you change the IP address or the Host name, the settings for a new self-
signed certificate will be generated with validity of 730 days. Refresh your browser
and confirm you trust this self-signed certificate. The system will check the
certificate daily and at each boot, and it will generate a new one if the IP address or
Host name changes, or if its validity expires within next 24 hours.
7. In Time settings, select either Manual or NTP.
8. For NTP, enter the NTP primary server and the NTP secondary server addresses.
OR
For Manual, enter the date and time in Server time.

14 en | Configuration procedure Advanced public address server
2021-05 | V1.00 | Configuration manual Bosch Security Systems, B.V.
– When the NTP settings are changed, the system will restart and be unavailable for a
short period of time. Calls in progress can be dropped and background music can be
interrupted while the changes take effect.
9. Select the proper time zone from the drop-down list in Time zone.
10. Click the Save button to save your settings.
i
Notice!
Creating a backup is not required for initial configuration. You can find more information in
Backup, page 20
.
5.2 PA Settings
To configure the PRAESENSA Public Address system:
1. Select the PA Settings tile.
2. Under System Controller Connection:
– In the Controller IP address / Group IP address field, enter the PRAESENSA System
Controller IP address or its Hostname. For example, 1.2.3.4.
– In the Secure Port field, enter 9403, the default in PRAESENSA.
– Find the SHA-256 Fingerprint in PRAESENSA: Security > Open Interface >
Fingerprints > SHA-256.
– In the Username field, enter the username of the PRAESENSA System controller. For
example, admin.
– In the Password field, enter the password of the PRAESENSA System controller. For
example, admin.
3. Click the Save button to save your settings.
– The page closes and the main administrative page appears. The PA Settings tile
shows the PRAESENSA settings icon as green.
4. Select the PA Settings tile.
5. On the right side of the screen, enter the following under Praesensa settings:
–APAS Call priority: From the drop-down list, select the priority (the same as the
PRAESENSA call priority).
Note: Higher values mean higher priorities. Calls with higher priority can interrupt calls
with lower priority. This priority is used for paging calls from the PRA-APAS except for
BGM, which has the BGM priority selected in PRAESENSA.
–Input prefix: Enter the input port prefix (for example: System controller SCL 1-1).
i
Notice!
The prefix must be exactly the same as the System controller name that can be found in
PRAESENSA (Configure > User accounts > System compositions)
–Audio input offset: Enter the first number of audio input (inclusive) from which the
PRA-APAS device will use the inputs onwards. The minimum value is 17.
–Channels count: number of AES67 channels simultaneously active (starting from
Audio input offset). You can select 10 as a hard coded value.
–Reserved channels for live paging: Select the number of live channels that are
reserved for live paging from the PRA-APAS device. These channels will never be
allocated for background music.

Advanced public address server Configuration procedure | en 15
Bosch Security Systems, B.V. Configuration manual 2021-05 | V1.00 |
i
Notice!
The number of BGM sources plus the number of reserved channels for live paging should be
less or equal to the number of channels. With this type of configuration, however, there are
no channels left for Recording or TTS announcements.
It is recommend leaving one reserved channel for live paging and at least one extra channel
for Recording and TTS. This means having up to eight BGM sources from the PRA-APAS.
–Start chime: Enter the name of the chime that plays before an announcements
–End chime: Enter the name of the chime that plays after an announcement.
The chime names must be the same as found in PRAESENSA System Controller UI >
Recorded messages. If you leave these fields empty, they will be skipped.
i
Notice!
The chime names in the PRA-APAS UI and in the System controller must be the same. This
field is not mandatory.
–BGM channel prefix: This prefix is used by the PRA-APAS device when constructing a
BGM channel name. For example, for the prefix “APAS-BGM-” with Audio input offset set
to 17 and Input prefix set to System controller SCL 1-1, you need to configure the
settings in PRAESENSA:
– In the System controller, navigate to Configure > Zone definitions > BGM routing
and create the BGM channels with corresponding Input prefix as shown in the table
below.
The number is added at the end of the prefix automatically in the PRA-APAS system.
Start with the same number as entered in Audio input offset and make sure that
these BGM channels are never configured to be used by the end user directly, for
example, in the call station.
Note: All fields are case sensitive.
– Make sure that all used audio inputs are enabled in the PRAESENSA System
controller as well:
Go to Configure > Device Options > System controller > Unencrypted virtual audio
inputs (Dante/AES67) and check that all used inputs are selected (in the example
show in the table, it should be input *17 to *26).
6. Click the Save button to save your settings.
7. Click the Home button to exit.
Name Input prefix
APAS-BGM-17 System controller SCL 1-1 (*17)
APAS-BGM-18 System controller SCL 1-1 (*18)
… …
APAS-BGM-26 System controller SCL 1-1 (*26)

16 en | Configuration procedure Advanced public address server
2021-05 | V1.00 | Configuration manual Bosch Security Systems, B.V.
Figure5.1: Input prefix
Figure5.2: BGM channels
5.3 Licenses
In order to fully use the system, you must request your PRA-APAL license.
1. Order one or more licenses.
– Each active user of the PRA-APAS server can use one license.
2. Receive your Activation ID by e-mail.
– Each PRA-APAL license has its own Activation ID.
3. Click the tile Licenses.
– The Licenses page opens.
4. Click the Add license button.
– The Add license window appears.
5. Fill in the fields required for adding a new license:
– Under Customer information enter:
– The Location name.
– The Customer name.
– The Address.
– The City.
– The Country, from the drop-down menu.
– Under Activation information, type in your Activation ID that identifies your installation.
– The added IDs are visible under Activation ID list.
6. Click the Next button to go to the Add license window.
–Note: Next time you click the Add license button, you will be redirected to this Add
license window.
7. Click the License request file button to download the license Response request file.
8. Download the corresponding Response request file from licensing.boschsecurity.com.
9. Click the Upload license response file button to upload the Response request file in the
Add license window.
10. Confirm the settings with the button Activate or abort the action with the Cancel button.
An error message will appear if something goes wrong.

Advanced public address server Configuration procedure | en 17
Bosch Security Systems, B.V. Configuration manual 2021-05 | V1.00 |
If the PRA-APAL license file is valid, you will be redirected to the Licenses tile. There, under
Licenses, you will see your licenses information:
–Qty: The allowed user quantity for the license.
–Feature: The features the license grants the user.
–Activated: When was the license activated.
–Expires: The expiration date of the license.
Note: Once a valid license appear in the table, you need to click on your username in the top
left corner to log out and log in again to be able to access the license features.
For further updates of your license:
– After submitting the license return request file provided by Bosch sales, you can revoke
your PRA-APAL license with the Revoke license button.
5.4 Update
Before configuring the settings, update your firmware to the latest version.
i
Notice!
Only use firmware provided by the manufacturer.
1. Download the update file from the following link: www.boschsecurity.com.
2. Click the tile Update in the administration module.
3. Click Choose a file….
4. Select the appropriate Firmware file from the device to upload.
–Note: The file type must be .swu.
5. Click the Update device button.
6. Wait for the progress to complete.
7. Click the Reboot device button.
– The system plays an audible signal through the PC speakers when it is ready.
8. Refresh the page to login to a newly updated system.
To update the firmware of the application afterwards, the Update tile enables you to choose a
Firmware file and either to reboot the device or to update it.
5.5 Dante controller setup
To set up the Dante controller:
1. Download the Dante controller from the Audinate website at https://www.audinate.com/
products/software/dante-controller.
2. Set up the routing according to the Figure below.
– Make sure to check the correct cross points according to your configuration of the
PRA-APAS device and PRAESENSA.

18 en | Configuration procedure Advanced public address server
2021-05 | V1.00 | Configuration manual Bosch Security Systems, B.V.
Figure5.3: Routing example for PRAESENSA and PRA-APAS system
Refer to
Troubleshooting, page 36
for further information.
Refer to
– Troubleshooting, page 36
5.6 Further settings configuration
To make the PRA-APAS device operational, follow the instructions in the
Settings menu, page
20
configure the individual parts in the administration module:
– To create new users with the relevant authorization level refer to
Users, page 21
.
– To setup areas where the announcements will be played refer to
Areas, page 22
.
– To prepare different types of announcement inputs, like scripts, recordings, and BGM
channels, refer to
Announcement Scripts, page 23
,
Recordings, page 24
, and
Music
sources, page 25
respectively.

Advanced public address server Logon to the application | en 19
Bosch Security Systems, B.V. Configuration manual 2021-05 | V1.00 |
Navigation
– Access individual sections in the administration module by simply clicking on the
respective tile.
– Leave a section with a simple click on the Home icon in the upper left corner.
– The section name is visible next to the Home icon in the upper left corner.
6 Logon to the application
Before starting, get the credentials for login and URL from your administrator.
1. Type the URL into a supported browser.
– The login page is visible.
–Note: Optionally change the UI language with the drop-down menu.
2. Type your Username and Password in the respective fields.
3. Click the Log in button.
– You are logged in and the User menu is visible.
7 Application navigation
Two modules are available:
– The User menu for normal operations.
– The Settings menu for administrators.
The action tiles grouping system functionalities are in the middle of the screen.
Above it, the navigation bar is always available:
– The admin icon: Visible in the main pages. Click on this icon to log out. A confirmation
window is shown.
– The Home icon: Returns the user to the main page.
–Note: The Home icon leaves works unsaved.
– The section name and/or workflow information are visible after clicking an action button
on the main page.
On the Home screen, you can also see the release version of the system. Click on it to see a
detailed version of the Server and UI, including the OSS software used with its license.

20 en | Settings menu Advanced public address server
2021-05 | V1.00 | Configuration manual Bosch Security Systems, B.V.
8 Settings menu
Use the Settings menu to perform different administrative tasks such as device configuration,
firmware updates, licensing, resets, and user management.
i
Notice!
Only users assigned the Integrator role have full access to the Settings menu. Users with the
Manager role have partial rights to the Voice configuration tiles. For more information, refer
to
Users, page 21
.
The modules in the Settings menu are:
–
Settings, page 20
: includes network, time, and backup settings.
–
PA Settings, page 21
: includes PRAESENSA configuration.
–
Users, page 21
: includes user administration.
–
Areas, page 22
: includes section and area configuration for voice transmission.
–
Announcement Scripts, page 23
: includes creation of message templates.
–
Recordings, page 24
: includes audio file upload and voice recordings.
–
Music sources, page 25
: includes background music channel configuration.
–
Text to speech, page 27
: includes TTS license configuration.
–
History, page 28
: includes an overview of all actions configured in the device.
–
Logs, page 29
: includes an overview of the logs.
–
Licenses, page 16
: includes license maintenance.
–
Update, page 17
: includes firmware updates.
–
Factory reset, page 29
: includes device reset, which deletes all data.
8.1 Settings
If you are logged in as an Integrator, you can use the Settings tile to configure the network
settings, the time settings, and create a system backup or import it.
The initial device configuration must be done during installation, after the PRA-APAS device is
connected to the network. For more information refer to Installation procedure.
To configure the network settings and the time settings, refer to
Settings, page 13
.
8.1.1 Backup
Backup files safeguard against system outages by making a copy of the system. Once the
backup is created, you can download it or delete it. Backups show their size and date of
creation.
To create a backup file:
1. In the Settings menu, click the Settings tile.
2. Click the Create backup button.
– A confirmation message appears. Backup duration is dependent on how much data
needs to be backed up.
3. Click Create to confirm or Cancel to abort the backup file creation.
To import a backup file:
1. In the Settings menu, click the Settings tile.
2. Click the Import backup button.
3. Click Choose a file….
4. Navigate to the desired backup file.
5. Click Import to confirm or Cancel to abort the import.
This manual suits for next models
1
Table of contents
Other Bosch Server manuals

Bosch
Bosch VIP-X1XF User manual

Bosch
Bosch DIP-6186-8HD User manual

Bosch
Bosch DIVAR IP all-in-one 7000 2U User manual

Bosch
Bosch DIVAR IP all-in-one 7000 3U User manual

Bosch
Bosch DIVAR IP 6000 Series User manual

Bosch
Bosch VJT-X10S User manual

Bosch
Bosch FPA-5000 User manual

Bosch
Bosch DSA-N2E8X4-12AT User manual

Bosch
Bosch DIP-7280-00N User manual

Bosch
Bosch VideoJet 8008 User manual