Installation instructions
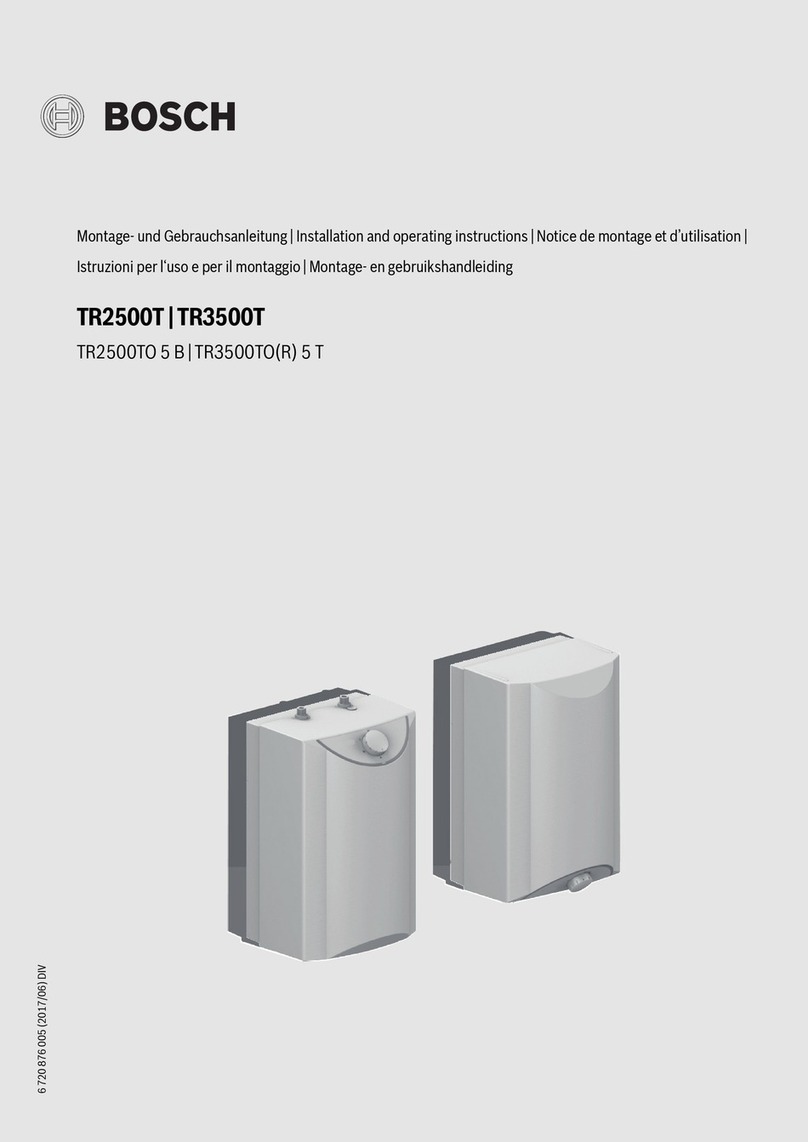
TR3500T – 6 720 876 000 (2019/01)
8
• Compliance with the IEC 60364-7-701 (DIN VDE 0100 Part 701)
must be observed during installation of the appliance or
the electrical accessories.
• No modifications to the appliance are permissible.
• This appliance can be used by children aged 8 years and older as well
as by persons with diminished bodily, sensory or mental perception,
or those who lack knowledge or experience, if they are monitored or
have received instruction concerning use and comprehend
the possible dangers that can result. Children may not play with
the appliance. Cleaning and maintenance by the user may not be
performed by unsupervised children.
• Keep children away from the appliance.
• Please monitor children to ensure that they do not play with
the appliance.
• Themixertap andthe warmwaterpipemaybe hot. Pleaseinformand
instruct children appropriately.
• Do not use aggressive or abrasive cleaning detergents!
• Do not use a steam cleaner.
• The appliance is only to be descaled by a suitably qualified specialist.
Please observe the manufacturers warnings when decalcifying.
Please read this installation and operating instruction manual
carefully, then act accordingly! Store for future reference.
2 Installation instructions
Installthe smallwaterheateras described in the illustratedsection.
Observe the instructions in the text.
The illustrations can be found in the centre of the instruction manual.
2.1 Unpacking
• Inspect the new appliance for transport damage!
• Please dispose of the packaging, and if applicable, the old appliance
in an environmentally-friendly manner.
Scope of delivery (Fig. 1)
Dimensions (Fig. 2)
2.2 Product description
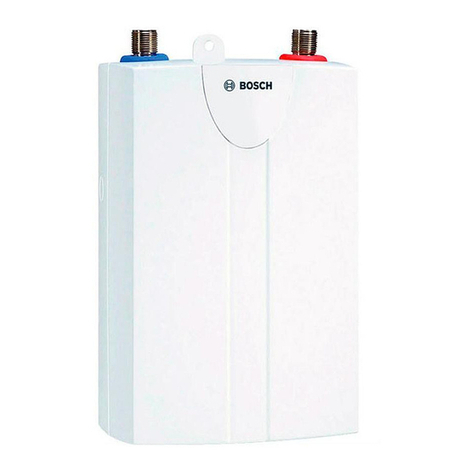
This appliance is a sealed water heater (pressurized water heater).
Only use fittings and mixer taps permitted for pressurized water
heaters.
One or more tap connections (e. g. washbasin + sink) can be supplied
with hot-water.
• Water pressure at the cold-water connection is a max. 5 bar,
otherwise fit a pressure-reducing valve.
• After installation, completely fill the water heater with water and
check that it functions properly.
• Explain to the user how the appliance and the safety valve
arrangement operate.
Hand over the operating instructions to the user.
Water connection (Fig. 3)
• Install mixer tap on washbasin.
• Instead of the cold-water corner valve, screw in pressuretight the
safety fitting.
Handle 1must be in a horizontal position after installation.
Wall mounting (Fig. 4)
Note: Before mounting, check length of connecting pipe.
• If necessary, fit longer pipes before mounting the appliance
(see page 8).
• Suspend the heater from the screws.
• Adjust the connecting pipes.
• Connect the water.
Installation example of 2 tap connections (Fig. 5)
The pressurized water heater can supply 2 sinks or washbasins with hot-
water.
Inthis casea T-piece (commerciallyavailable)mustbefitted intothe hot-
water outlet nozzle of the water heater.
2.3 Electrical connection
Connect to a 230 V AC power supply only.
• Only connect the appliance to a socket with earthing contact
installed according to regulations. Do not use multiway adaptors or
push-on terminal strips. If necessary, fit the appliance with a longer
cable.
• Do not connect the appliance to the earthed socket until it is
mounted on the wall and filled with water.
• This appliance complies with EC directive No. 76-889-EEC for
interference suppression and supplementary directive No. 82/499.
Exchanging the connecting cable
The connection cable may only be replaced by one of our authorized
customer service representatives in order to avoid potential
sources of danger.
•The plug must be removed from the mains before replacement.
Startup (Fig. 6)
CAUTION:
Attention!
Fill the appliance with water first.
Raise the safety valve before start up (see “Maintenance for
the customer”, page 10).
1Safety valve arrangement BV 700000 (not included in standard
delivery)
no diagramm:
Savety valve arrangement BZ 30020 with flexible hose
(not included in standard delivery)
2Drainage angle with non-return valve
3Sealed (pressure-resistant) water heater
4T-piece (commercially available)
5Soft copper connecting pipe, diam. 10mm
6Single-hole pressure mixer (standard)
aCold-water to the mixer tap
bOverflow water with unrestricted outlet to the syphon
cCold-water to the water heater
dHot-water from the water heater
1Pull out the power plug or disconnect the fuse.
Fill the appliance, with the hot-water tap fully open, until
the water comes out bubble-free.
