manuals.online logo
Brands
  1. Home
  2. •
  3. Brands
  4. •
  5. BOSSCO
  6. •
  7. Recording Equipment
  8. •
  9. BOSSCO BR-1600CD User manual

BOSSCO BR-1600CD User manual

b
BR-1600CD
Digital Recording
Studio
TurboStart
TBS202 ©2004 Roland Corporation U.S.
www.RolandUS.com
Faxback #20235 Page 1
Welcome
Congratulations on your purchase of the BOSS
BR-1600CD. This TurboStart contains step-by-step
instructions that will quickly introduce you the
BR-1600CD’s major features.
Loading and Playing a Song
Use the following procedure to load and play back
the BR-1600CD’s demo song:
1. Press UTILITY.
2. Use the  buttons to display the SONG icon,
and then press F2 (SONG).
3. Use the  buttons to display “SONG
SELECT,” and then press F2 (SELECT).
4. Turn the TIME/VALUE dial to select Baby Calls,
and then press F4 (GO).
5. If “Save Current?” is displayed, press ENTER to
continue loading the song.
6. Press PLAY and bring up the AUDIO TRACK
and MASTER faders to listen to the song.
7, Press STOP when you’re finished listening.
Creating a New Song
1. Press UTILITY.
2. Use the  buttons to display “SONG,” and
then press F2 (SONG).
3. Use the  buttons to display “NEW,” and then
press F3 (NEW).
4. Turn the TIME/VALUE dial to select the track
type called “Use Drums”—you can change this
later if you like.
5. Press F4 (GO).
Naming Your Song
When a new song is created, the BR-1600CD
assigns it a name that’s displayed in the upper left-
hand corner of the display. You may want to change
the name to something you can more easily recall:
1. Press UTILITY.
2. Use the  buttons to display “SONG,” and
then press F2 (SONG).
3. Use the  buttons to display “NAME,” and
then press F1 (NAME).
4. Use the  buttons and the TIME/VALUE dial
to name your song.
5. Press EXIT/NO three times when you’re finished
to return to the main screen.
Recording a Track
Let’s record a guitar part while inserting a COSM
amp effect on the BR-1600CD’s input:
1. Plug the guitar into the GUITAR/BASS input.
2. Press the GUITAR/BASS input select button so
that it’s lit.
3. Adjust the first INPUT SENS knob so its red
PEAK light flashes occasionally when the
instrument is played at its loudest level.
4. Adjust the INPUT LEVEL knob until the INPUT 1
meter on the LCD screen stays between –12 and
–4.
5. Press the REC MODE button so INPUT is lit.
6. Press COSM EFFECTS so it’s lit, and then turn
the TIME/VALUE dial to select P011 Warm
Drive.
7. Press EXIT/NO to return to the main screen.
8. Press the round button beneath the AUDIO
TRACK 1 fader so the button blinks. Verify your
input level and adjust it if necessary.
9. Press the REC button—it flashes red to indicate
the BR-1600CD’s ready to start recording.
10. Press PLAY to begin recording.
11. Record your performance. When you’re finished
recording, press STOP.
12. Press ZERO, then press PLAY to listen to your
new track. Adjust the AUDIO TRACK 1 and fader
as necessary to set your listening level.
Saving Your Song
It’s a good idea to save your song often while you’re
working on it.
1. Press UTILITY.
2. Use the  buttons to display “SONG,” and
then press F2 (SONG).
3. Use the  buttons to display “STORE,” and
then press F4 (STORE).
4. Press ENTER/YES when the screen displays
“SAVE CURRENT?”
Tip: There’s a shortcut for saving your song. Hold
down STOP and press REC—when “SAVE
CURRENT?” appears, press ENTER/YES.
b
BR-1600CD
Digital Recording
Studio
TurboStart
TBS202 ©2004 Roland Corporation U.S.
www.RolandUS.com
Faxback #20235 Page 2
Using the Rhythm Guide
The BR-1600CD features a built-in drum machine
you can use for building songs easily.
1. Press the PROGRAMMABLE RHYTHM
ARRANGEMENT/PATTERN button so it’s lit.
2. Press the PROGRAMMABLE RHYTHM EDIT
button.
3. Press or to the Arrangement box and turn
the TIME/VALUE dial to select U005.
4. Press to select the BPM box and turn the
TIME/VALUE dial to adjust the tempo.
5. Press F4 (DRUMS).
6. Cursor to “Pattern” and turn the TIME/VALUE
dial to select Pattern P002 Rock 01 – V1.
7. Press twice to highlight “LENGTH” and turn
the TIME/VALUE dial to select 100—this sets the
length of the pattern in measures.
8. Raise the Fader 15/16 to the desired listening
volume.
9. Press ZERO, and then PLAY to hear the drums.
Mixing Down Your Tracks
Before you can create an audio CD it’s necessary to
combine—or “bounce”—all of your recorded tracks
down to two tracks in a process called “mixing down.”
By default, your mix is bounced to Track 9/10.
1. Press REC MODE to light the BOUNCE
indicator—AUDIO TRACK 9/10’s round button
flashes.
2. If you’ve already recorded on Track 9/10, select
a different pair of odd/even tracks for the
bounce. Press a round button belonging the
desired pair of tracks.
3. Press ZERO, and then press REC so it flashes.
4. Press PLAY to begin the mixdown—as the song
plays back, you can adjust the AUDIO TRACK
faders as desired.
5. Press STOP when you’ve reached the end of the
song or the point where you want to stop the
mixdown.
6. Press ZERO, and then PLAY to play back the
audio mixed down to Track 9/10.
Mastering with the MTK Effects
Use the Mastering Tool Kit (“MTK”) effects to add the
final touches to your mix by “mastering” it.
1. Press REC MODE to light the MASTERING
indicator.
2. Press MASTERING TOOL KIT so it’s lit.
3. Turn the TIME/VALUE dial to select the desired
MTK effect.
4. Press STOP, and then ZERO to return to the
beginning of the song.
5. Cursor to “Play V-Track” and turn the
TIME/VALUE dial to select the V-Track onto
which you mixed down, typically V-Track 1.
6. Cursor to “Rec V-Track” and use the
TIME/VALUE dial to select the V-Track onto
which you want to record the mastered version
of your mix.
7. Press REC, and then press PLAY to begin
recording.
8. Press STOP, and then ZERO when the song
has ended.
9. Press PLAY to listen to your mastered tracks.
Burning an Audio CD
Here’s how to burn your song onto an audio CD:
1. Place a blank CD-R disc in the CD-R/RW drive.
2. Press AUDIO CD WRITE/PLAY so it’s lit.
3. Press F1 (WRITE).
4. Press F1 (TR. AT ONCE).
Note: Use Track At Once if you want to add songs to
your CD one at a time. Use the Disk At Once option if
you’re going to burn this single song and won’t be
adding other songs later.
5. Use the CURSOR buttons and the TIME/VALUE
dial to select the V-Tracks that contain your
mastered mix.
6. Press F4 (GO).
7. Turn the TIME/VALUE dial to set the write speed
to X8, and then press ENTER twice.
9. When “Finalize OK?” is displayed, press
ENTER/YES if you want to finalize the CD.
Note: If you want to play the CD on a standard CD
player, you must finalize the CD.
Note: If you’d like to write additional songs to this CD
before playing it on a standard CD player, press
EXIT/NO when you’re asked if you want to finalize
the CD.
Other manuals for BR-1600CD

7

Other BOSSCO Recording Equipment manuals

BOSSCO RC-505 User manual

BOSSCO

BOSSCO RC-505 User manual

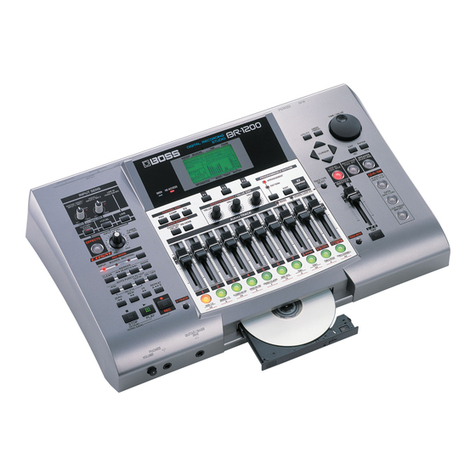
BOSSCO BR-1200CD Manual

BOSSCO

BOSSCO BR-1200CD Manual

BOSSCO SDE-3000EVH User manual

BOSSCO

BOSSCO SDE-3000EVH User manual

BOSSCO ME-50 User manual

BOSSCO

BOSSCO ME-50 User manual

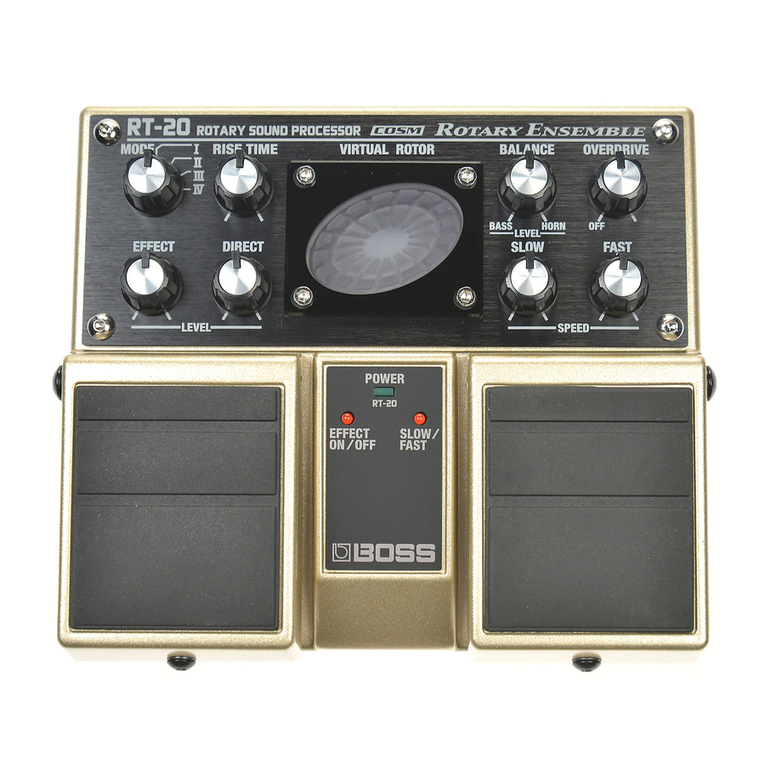
BOSSCO Rotary Ensemble RT-20 User manual

BOSSCO

BOSSCO Rotary Ensemble RT-20 User manual

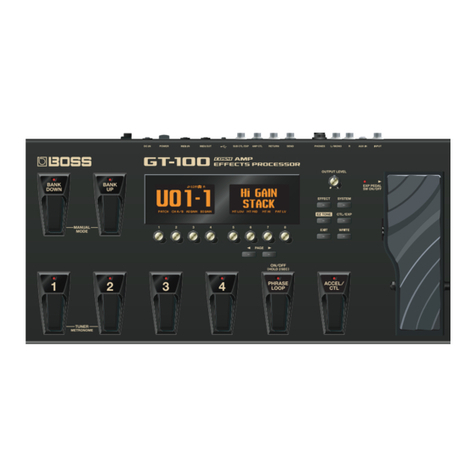
BOSSCO GT-100 Operating and maintenance manual

BOSSCO

BOSSCO GT-100 Operating and maintenance manual

BOSSCO Dr.Rhythm DR-110 User manual

BOSSCO

BOSSCO Dr.Rhythm DR-110 User manual

BOSSCO BR-1200CD User manual

BOSSCO

BOSSCO BR-1200CD User manual

BOSSCO VF-1 User manual

BOSSCO

BOSSCO VF-1 User manual

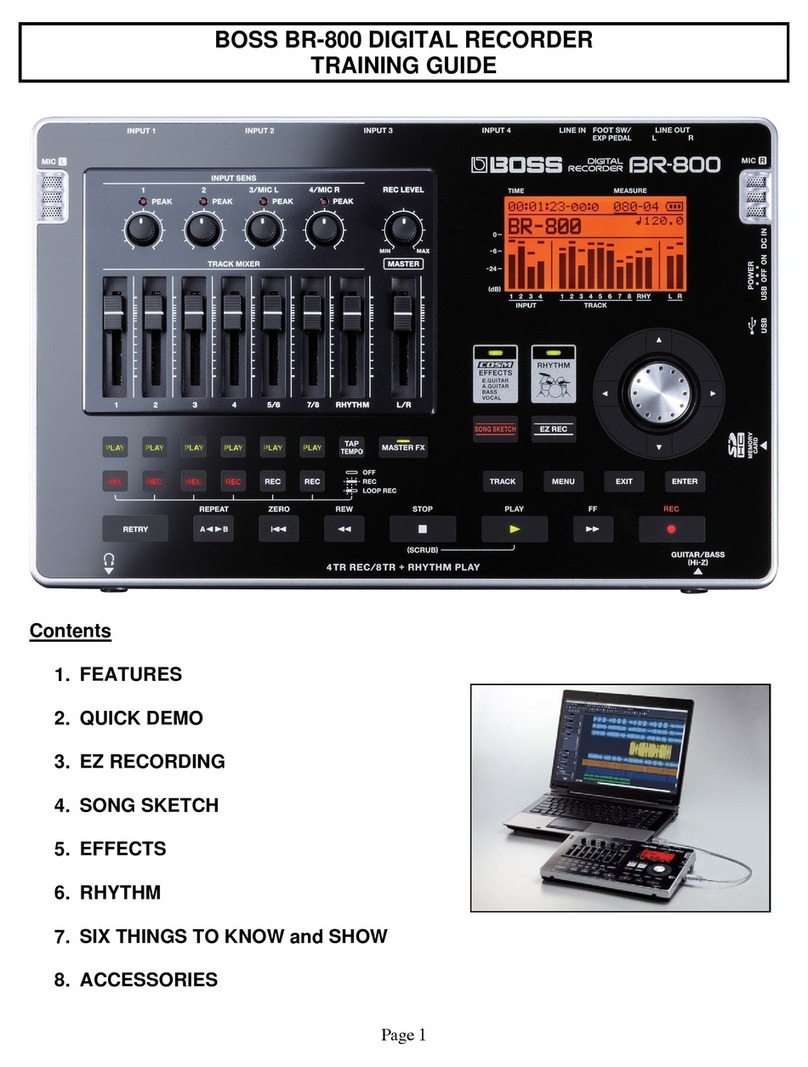
BOSSCO TurboStart BR-800 Setup guide

BOSSCO

BOSSCO TurboStart BR-800 Setup guide

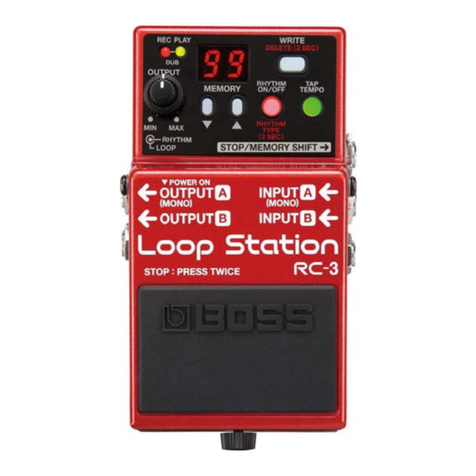
BOSSCO RC-3 Loop Station Setup guide

BOSSCO

BOSSCO RC-3 Loop Station Setup guide

BOSSCO ME-90 User manual

BOSSCO

BOSSCO ME-90 User manual

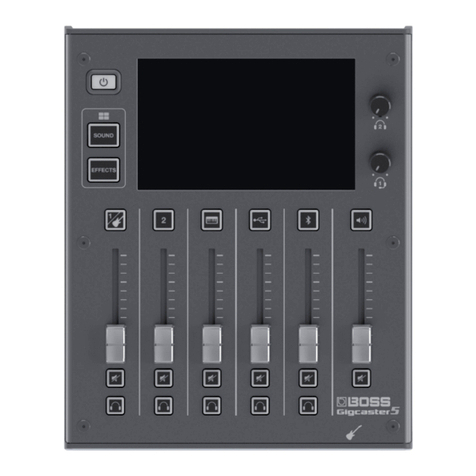
BOSSCO Gigcaster 5 User guide

BOSSCO

BOSSCO Gigcaster 5 User guide

BOSSCO Dr. Sample SP-303 User manual
BOSSCO

BOSSCO Dr. Sample SP-303 User manual

BOSSCO BR Series Parts list manual

BOSSCO

BOSSCO BR Series Parts list manual

BOSSCO UBAC30 User manual

BOSSCO

BOSSCO UBAC30 User manual

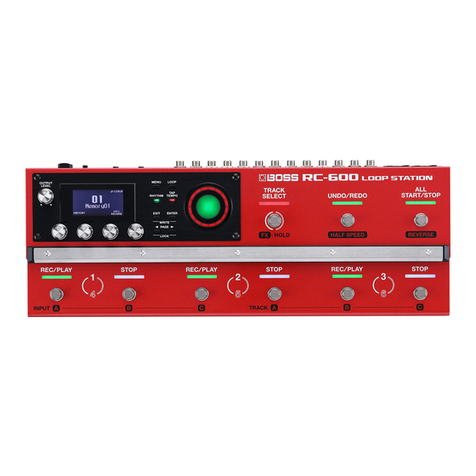
BOSSCO RC-600 User manual

BOSSCO

BOSSCO RC-600 User manual

BOSSCO BR-1200CD Installation and operating manual

BOSSCO

BOSSCO BR-1200CD Installation and operating manual

BOSSCO RC-600 User manual

BOSSCO

BOSSCO RC-600 User manual

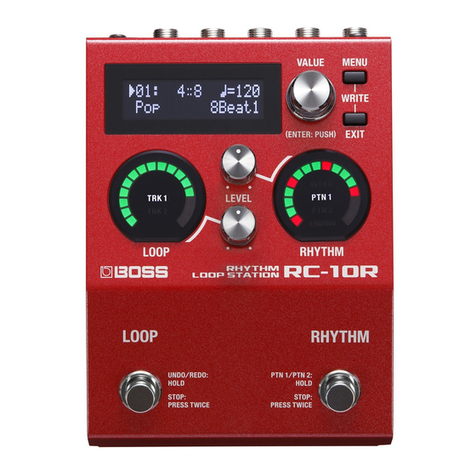
BOSSCO RC-10R User manual

BOSSCO

BOSSCO RC-10R User manual

BOSSCO MICRO BR User manual

BOSSCO

BOSSCO MICRO BR User manual

BOSSCO GT-10B User manual

BOSSCO

BOSSCO GT-10B User manual

BOSSCO Digital Delay DE-200 Operating and maintenance manual

BOSSCO

BOSSCO Digital Delay DE-200 Operating and maintenance manual

BOSSCO RCE-10 User manual

BOSSCO

BOSSCO RCE-10 User manual

Popular Recording Equipment manuals by other brands

LeafAudio Dronesynth user manual

LeafAudio

LeafAudio Dronesynth user manual

Yamaha YPC-1 owner's manual

Yamaha

Yamaha YPC-1 owner's manual

Phonotonic Phonotonic manual

Phonotonic

Phonotonic Phonotonic manual

SoundSwitch Control One quick start guide

SoundSwitch

SoundSwitch Control One quick start guide

VoiceCollect IR44CF-II Battery changing instructions

VoiceCollect

VoiceCollect IR44CF-II Battery changing instructions

Jupiter Avionics JA95-043 Installation and operating manual

Jupiter Avionics

Jupiter Avionics JA95-043 Installation and operating manual

Comelit 1469 Programming manual

Comelit

Comelit 1469 Programming manual

Ashly MQX-2150 operating manual

Ashly

Ashly MQX-2150 operating manual

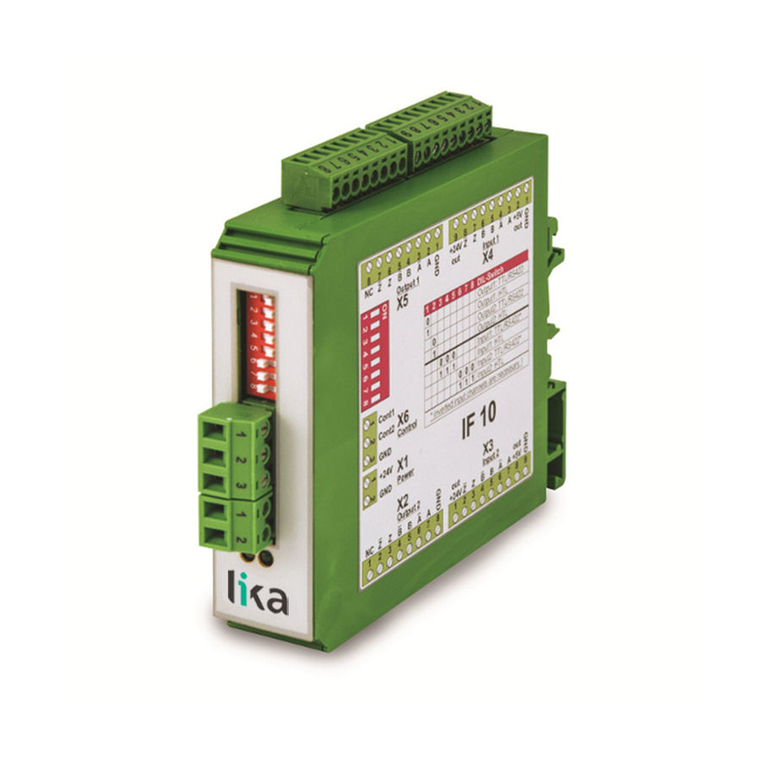
Lika IF10 user manual

Lika

Lika IF10 user manual

Balluff BNI IOL-302-000-Z026 user guide

Balluff

Balluff BNI IOL-302-000-Z026 user guide

TC-Helicon VoiceWorks user manual

TC-Helicon

TC-Helicon VoiceWorks user manual

Thermo Scientific TGA user guide

Thermo Scientific

Thermo Scientific TGA user guide

Crux WVIFD-02F manual

Crux

Crux WVIFD-02F manual

Fortin EVO ALL SUGGESTED WIRING CONFIGURATION

Fortin

Fortin EVO ALL SUGGESTED WIRING CONFIGURATION

M2SYNTH 191 Assembly instructions

M2SYNTH

M2SYNTH 191 Assembly instructions

Musikhaus Kirstein Showlite LDO-10 LED DMX Operator user manual

Musikhaus Kirstein

Musikhaus Kirstein Showlite LDO-10 LED DMX Operator user manual

Steinberg PRO 24 III user manual

Steinberg

Steinberg PRO 24 III user manual

M-Audio TRIGGERFINGER quick start guide

M-Audio

M-Audio TRIGGERFINGER quick start guide

manuals.online logo
manuals.online logoBrands
  • About & Mission
  • Contact us
  • Privacy Policy
  • Terms and Conditions

Copyright 2025 Manuals.Online. All Rights Reserved.