BOSSCO METRONOME Dr.Beat DB-60 User manual

OE
=p
NA4S-60
METRONOME
Pr.Beat
Owner's
Manual
Thank
you,
and
congratulations
on
your
choice
of
the
BOSS
DB-60
METRONOME
Dr.
Beat.
Before
using
this
unit,
carefully
read
the
sections
entitled:
“USING
THE
UNIT
SAFELY”
and
“IMPORTANT
NOTES”
(separate
sheet).
These
sections
provide
important
information
concerning
the
proper
operation
of
the
unit.
Additionally,
in
order
to
feel
assured
that
you
have
gained
a
good
grasp
of
every
feature
provided
by
your
new
unit,
this
manual
should
be
read
in
its
entirety.
The
manual
should
be
saved
and
kept
on
hand
as
a
convenient
reference.
As
shipped,
the
DB-60's
batteries
are
not
yet
installed.
Be
sure
to
read
“Changing
the
Batteries”
and
then
follow
the
instructions
to
install
the
batteries.
Copyright
O
2004
BOSS
CORPORATION
All
rights
reserved.
No
part
of
this
publication
may
be
reproduced
in
any
form
without
the
written
permission
of
BOSS
CORPORATION.
O
You
can
specify
the
reference
tone
in
semitone
increments
over
a
range
of
one
octave.
This
is
convenient
for
use
in
practicing
with
wind
instruments
and
for
tuning
(Reference
Tone
function).
O
You
can
measure
the
time
of
the
performance
as
well
as
have
an
alarm
sound
play
at
a
preset
time.
In
addition,
you
can
have
the
time
displayed
as
split
time
(Timer/Stopwatch
function).
O
Features
an
Auto
Power
Off
function,
which
automatically
turns
off
the
power
when
the
DB-60
is
not
used
for
approximately
70
minutes.
O
Comes
equipped
with
a
backlighting
feature
that
allows
you
to
use
the
DB-60
even
in
poorly
lit
stage
environments.
TAP/RESET/SPLIT
button
Used
when
setting
the
metronome
tempo
(tap
input),
resetting
the
timer
and
stopwatch,
and
displaying
the
split
time.
Speaker
WRITE
button
Used
when
storing
settings
to
memory.
START/STOP
button
Starts
and
stops
the
metronome,
reference
tone,
timer,
and
stopwatch.
@
You
can
use
the
DB-60's
stand
by
setting
it
up
as
shown
in
the
VOLUME
dial
Adjusts
the
overall
volume.
MEMORY
button
Switches
to
the
stored
settings.
Create
Original
Rhythm
Styles
In
Metronome
mode
you
can
use
the
5
buttons
under
the
display
(ACCENT
button
and
J,
۸
IAIA,
J43
buttons)
to
change
the
way
the
metronome
plays.
1.
Press
the
&
button
in
Metronome
mode
so
that
“BEAT”
or
“PATTERN”
flashes
in
the
display.
2.
If
“PATTERN”
is
flashing
in
the
display,
press
the
TEMPO/VALUE
W/M
buttons
to
select
“BEAT.”
3.
Change
the
way
the
metronome
plays
with
the
ACCENT
button
and
NOTE
buttons.
-
Adjust
the
volume
of
the
accent
for
the
first
beat
in
the
measure
with
the
ACCENT
button
at
the
left
of
the
row
of
buttons.
You
can
select
any
of
three
volume
levels.
-
Use
the
four
NOTE
buttons
to
adjust
the
volume
of
each
rhythm
to
any
of
three
levels.
You
can
store
the
changed
Styles
to
memory.
Refer
to
the
section
“Using
the
Memory,”
which
follows.
Using
the
Memor
You
can
store
up
to
eight
different
metronome
setting
configurations
in
the
memory.
e
Calling
Up
Stored
Settings
(Memory)
Press
the
MEMORY
button
to
call
up
stored
settings;
the
memory
number
is
switched
each
time
you
press
the
button.
e
Storing
Settings
to
Memory
1.
Press
the
WRITE
button;
the
memory
number
flashes.
2.
Press
the
TEMPO/VALUE
W/
buttons
to
select
the
memory
number
to
which
you
want
to
store
the
settings.
3.
Press
the
WRITE
button
once
more;
the
memory
number
starts
flashing
rapidly.
Once
the
memory
number
lights
steadily,
you'll
know
that
the
data
has
been
successfully
stored
in
memory.
If
you
press
the
START/STOP
button
during
Step
1
or
Step
2,
the
memory
number
stops
flashing,
and
the
process
is
cancelled.
Do
not
turn
off
the
power
while
data
is
being
stored
to
memory
(when
the
memory
number
is
flashing
rapidly).
“EDIT”
is
displayed
when
you
change
settings
from
content
stored
in
the
memory.
Switching
to
Loop
Play
cancels
the
changes
to
the
settings
stored
in
memory.
TEMPO/VALUE
w
a
button
Changes
the
metronome
tempo
and
the
settings
values
indicated
in
the
display.
Main
Features
0
The
four
different
rhythms
(quarter-note,
eighth-note,
sixteenth-note,
and
triplet)
and
accent
volume
are
completely
adjustable,
allowing
you
to
create
original
rhythm
Styles
quickly
and
easily.
O
Comes
not
only
with
basic
Styles
(the
way
the
metronome
sound
is
played)
pre-programmed,
but
also
Styles
with
compound
beats
and
other
Styles
to
match
different
musical
genres.
O
You
can
use
the
Memory
function
to
store
up
to
eight
different
metronome
setting
configurations.
Q
You
can
have
settings
in
memory
played
back
automatically,
allowing
you
to
practice
irregular
rhythms
and
tempo
changes
in
songs
(Loop
Play
function).
O
You
can
set
the
tempo
by
pressing
the
TAP
button
in
time
with
the
song
tempo
(tap
input
of
the
tempo).
Panel
Descriptions
Tempo
Indicators
Lights
in
time
with
the
tempo.
Display
POWER
button
=
Turns
the
power
on
and
off.
K
TEMPO/STYLE
button
a
Switches
the
unit
to
Metronome
mode.
۱١
NOTE/PITCH
button
„=
Switches
the
unit
to
Reference
Tone
mode.
©
TIMER/ST.WATCH
button
Alternately
switches
the
unit
between
سس
Timer
and
Stopwatch
mode.
PHONES
jack
Connect
headphones
here.
_
*
Do
not
connect
any
other
a
device
to
this
jack.
ACCENT
button,
NOTE
buttons
(J
,1
۸1,
J37)
Adjusts
the
volume
of
the
accent
on
the
first
beat
and
the
volume
of
each
rhythm,
allowing
creation
of
original
Styles
(only
when
BEAT
is
selected
in
Metronome
mode).
Ld
TIMER
/ST.WATCH
Operation
ım
Using
the
DB-60
as
a
Metronome
1.
With
the
power
turned
on,
press
the
&
button
to
switch
the
DB-60
to
Metronome
mode.
When
“BEAT”
or
“PATTERN”
flashes
in
the
display,
press
the
&
button;
“BEAT”
or
“PATTERN”
remains
lit
in
the
display.
When
the
DB-60
is
in
Metronome
mode,
“MEMORY,”
“TEMPO,”
and
“STYLE”
appears
in
the
display.
2.
Set
the
tempo
with
the
TEMPO/VALUE
W/M
buttons.
You
can
set
the
tempo
within
the
range
of
J
=
30-250.
ےم
The
value
can
be
increased
or
decreased
ten
beats
at
a
time—hold
down
the
TEMPO/VALUE
4
button
and
press
the
W
button,
or
hold
down
the
W
button
and
press
the
@
button.
3.
Press
the
QX
so
that
“BEAT”
or
‘PATTERN’
flashes
in
the
display.
4.
Select
a
Style
with
the
TEMPO/VALUE
۷۶
/
buttons.
ia
(ıı
`
The
DB-60's
Styles
include
23
different
“BEATS”
and
20
kinds
of
î
"Û
|
sewr
yî
1
“PATTERNS”
from
which
to
choose.
Either
“BEAT”
or
|
Gotine.
Te
“PATTERN”
is
indicated
in
the
display,
depending
on
the
Style
Beat
No.
that
is
currently
selected.
(fuenorr
rewo
=
:
“BEAT”
indicates
the
number
of
quarter-note
beats.
“BEAT”
î
۳
L
boni
٩
always
indicates
a
metronome
setting
that
plays
a
fixed,
regular
|
aie
T
beat.
Rhythms
are
played
when
“PATTERN”
is
indicated.
Pattern
No.
*
A
compound
beat
is
displayed
with
a
dot
in
between
the
numbers.
E.g.
Pa
+
(BEAT
2+3)
[Pattern
Number/Name
Correspondence
Chart]
8-BEAT1
|5
|16-BEAT2
|9
|DANCE1
[13|CLAVE3-2
۱17
WALTZ
|
2
SEENTE
e
SHUFFLE
1
د
Jess
71
SHUFFLE
2
16-BEAT
1
[6
|FUNK_
_|12[REGGAE
|16
[BOSSA
NOVA
|
20
|
MARCH
|
(Pattern
17
features
three
beats;
all
other
patterns
have
four
beats.)
5.
Press
the
START/STOP
button
to
start
the
metronome.
To
stop
the
metronome,
press
the
button
once
more.
*
You
cannot
change
the
tempo
with
the
TEMPO/VALUE
W
/
&
buttons
while
“BEAT”
or
“PATTERN”
is
flashing
in
the
display.
If
you
want
to
change
the
tempo,
press
the
button
so
“BEAT”
or
“PATTERN”
stops
flashing
and
remains
lit
in
the
display.
Setting
the
Tempo
with
Tap
Input
You
can
set
the
tempo
by
pressing
the
TAP/RESET/SPLIT
button
two
or
more
times
in
Metronome
mode;
the
tempo
is
set
to
the
timing
you
use
in
tapping
the
button.
You
can
set
the
tempo
within
the
range
of
d
=
30-250.

n
Other
Functions
Auto
Power
Off
The
Auto
Power
Off
function
works
to
help
prevent
unnecessary
battery
drainage
by
automatically
turning
off
the
DB-60's
power
if
no
operation
or
adjustment
is
made
within
70
minutes
after
any
button
is
pressed.
e
Disabling
the
Auto
Power
Off
Function
To
disable
the
Auto
Power
Off
function,
first
turn
off
the
DB-60’s
power,
then
hold
down
the
TAP/RESET/SPLIT
button
as
you
press
the
POWER
button
to
turn
the
power
back
on
again.
The
Auto
Power
Off
function
is
disabled.
”
3
"د
is
indicated
in
the
display
while
the
TAP/
RESET
/SPLIT
button
is
held
down.
The
Auto
Power
Off
function
is
enabled
again
the
next
time
the
DB-60
is
turned
on
again.
Backlightin
You
can
have
the
display
be
back
lit.
Turn
on
the
backlighting
by
simultaneously
pressing
the
ACCENT
and
¿
buttons.
The
backlighting
automatically
turns
off
in
approximately
five
seconds
(Auto
Backlight
Off
function).
“
Oo:
”
disappears
from
the
display
when
Auto
Backlight
Off
is
enabled.
e
Disabling
the
Auto
Backlight
Off
Function
If
you
want
the
backlighting
to
stay
on,
first
turn
off
the
DB-60’s
power,
then
hold
down
the
ACCENT
button
as
you
press
the
POWER
button
to
turn
the
power
back
on
again.
The
Auto
Backlight
Off
function
is
disabled,
and
“
Os
”
appears
in
the
display.
The
Auto
Backlight
Off
function
is
enabled
again
the
next
time
the
DB-60
is
turned
on
again.
*
You
cannot
store
the
disabled
status
for
Auto
Power
Off
and
Auto
Backlight
Off
to
memory.
Changing
the
Batteries
قا
The
display
and
LED
indicators
dim
when
the
batteries
begin
to
run
down.
Replace
the
batteries
as
soon
as
possible.
*
The
settings
stored
by
the
memory
function
are
reset
to
the
default
factory
settings
if
the
batteries
are
removed
from
the
DB-60,
or
if
the
batteries
get
completely
depleted.
When
turning
the
unit
upside-down,
handle
with
care
to
avoid
dropping
it,
or
damaging
the
buttons
and
controls.
1.
Press
down
and
slide
off
the
lid
of
the
batteries
compartment
(located
on
the
bottom
of
the
unit).
2.
Remove
the
old
batteries
from
the
compartment.
3.
Insert
two
of
the
same
type
of
fresh
AA
batteries.
*
Make
sure
the
“+”
and
“-”
ends
of
the
batteries
are
oriented
correctly.
4.
Securely
close
the
battery
cover.
*
Do
not
mix
fresh
batteries
with
used
ones,
or
mix
batteries
of
different
types.
Doing
so
can
result
in
fluid
leakage.
Restoring
the
Factory
Settings
قا
`
This
returns
all
settings
on
the
DB-60
to
the
values
they
had
when
the
unit
shipped
from
the
factory.
Hold
down
the
MEMORY
button
as
you
press
the
POWER
button
to
turn
the
power
on.
“F
”
is
indicated
in
the
display
while
the
MEMORY
button
is
held
down.
All
of
the
settings
are
restored
to
their
original
factory
status.
*
Factory
Settings
[Metronome
Mode]
a
25
1
5577
Tempo
|
120
|
10
Style
BEAT
4
|
BEAT
4 |
BEAT
3
En
وف
HE
د
غ
PATTERN
copra
|
a
[2
[
3
[5s
|
۶
|
#
|]
6
|
[Other
Mode]
Reference
Note
Reference
Pitch
440
Hz
Timer
60
minutes
Main
Specifications
*
Metronome
-
F
d
=30-250
(Accuracy:
+0.1%)
-
BEAT:
1-9,
2+3, 3+2,
3+4,
4+3,
4+5, 5+4, 5+6,
6+5,
6+7,
7+6,
7+8,
8+7,
8+9,
9+8
(23
kinds)
-
PATTERN:
8-BEAT
x
3,
16-BEATx
2,
SHUFFLE
x
2,
FUNK,
DANCE
x
2,
COUNTRY,
REGGAE,
CLAVE
x
2,
RUMBA,
BOSSA
NOVA,
WALTZ,
TANGO,
MAMBO,
MARCH
(20
kinds)
*
Reference
Tone
-
Reference
Pitch:
A4=438
Hz-445
Hz
(1
Hz
steps)
-
Reference
Tone
Range:
C4-B4
(Accuracy:
+1
cent)
*
Timer
-
Setting
Range:
1-60
minutes
٥
Stopwatch
-
Timing
Resolution:
1/10
second
-
Time
Duration:
10
hours
(with
Auto
Power
Off
disabled)
٥
Indicators:
LCD
Display,
Tempo
Indicator
LED
x
2
*
Connector:
PHONES
Jack
(Stereo
miniature
phone
type)
٥
Power
Supply:
Dry
Battery
(R6/LR6
(AA)
Type)
x
2
*
Power
Consumption:
70
mA
or
less
(with
reference
tone
sounding)
-
Expected
battery
life
under
continuous
use
(Carbon):
Approximately
200
hours
*
These
figures
will
vary
depending
on
the
actual
conditions
of
use.
٥
Dimensions:
129
(W)
x
84
(D)
x
22
(H)
mm
/
5-1/8
(W)
x
3-5/16
(D)
x
7/8
(H)
inches
e
Weight:
156
g
/
6
oz
(including
batteries)
*
Accessories:
Dry
Battery
(R6
(AA)
Type)
x
2,
Soft
case,
Owner’s
Manual,
Leaflet
(“USING
THE
UNIT
SAFELY,”
“IMPORTANT
NOTES”
and
“Information”)
*
In
the
interest
of
product
improvement,
the
specifications
and/or
appearance
of
this
unit
are
subject
to
change
without
prior
notice.
O
If
the
string
ring
of
the
soft
case
supplied
with
this
unit
is
removed,
keep
it
away
from
small
children
to
prevent
them
from
swallowing
it.
257
ing
Loop
Play
.
can
have
metronome
settings
that
are
stored
in
memory
automatically
play
back
in
sequence.
‘ing
settings
with
various
tempos
and
rhythms
to
different
memories
and
then
playing
these
back
1
Loop
Play
is
effective
for
rhythm
training.
You
can
also
use
this
to
practice
irregular
rhythms.
In
Metronome
mode,
simultaneously
press
the
5
and
JW
buttons
to
switch
to
Loop
Play
mode.
MEMORY
(
LI
1
LOOP
f
f
“LOOP”
appears
in
the
display.
The
number
a
ıi
Press
the
START/STOP
button
to
start
Loop
Play.
of
repeats
During
Loop
Play,
the
number
in
the
center
of
the
display
indicates
the
number
of
repeats
for
each
memory.
The
number
at
the
upper
right
indicates
the
number
of
times
the
material
is
repeated.
You
can
select
a
memory
to
be
played
back,
pressing
the
MEMORY
button
during
Loop
Play.
Press
the
START/STOP
button
once
again
to
stop
Loop
Play
and
put
the
DB-60
in
Loop
Play
standby.
Changing
the
Number
of
Times
Playback
of
the
Memory
is
Repeated
Pressing
the
MEMORY
button
while
Loop
Play
is
in
standby
switches
the
memory
number;
you
can
then
change
the
number
of
number
of
times
the
currently
displayed
memory
number
is
to
be
played
back,
using
the
TEMPO/VALUE
W
/
@
buttons.
You
can
set
the
number
of
repeats
to
any
value
from
0
to
255.
When
set
to
0,
the
data
for
that
memory
number
is
not
played
back.
Simultaneously
press
the
1۸
and
Jd)
buttons;
“LOOP”
disappears
from
the
display,
and
the
DB-60
exits
Loop
Play
mode.
:
Playing
the
Reference
Tone
;
Û
)
mt
yuri
With
the
power
turned
on,
press
the
button
to
switch
to
piren
„Ê
LL
Reference
Reference
Tone
mode.
Note
Name
Pitch
When
the
DB-60
is
in
Reference
Tone
mode,
“NOTE,”
and
“PITCH”
appears
in
the
display.
Set
the
note
name
with
the
TEMPO/VALUE
‘W/4
buttons.
You
can
set
the
note
name
in
semitone
increments
over
an
octave
range
from
C
toB.
Press
the
START/STOP
button
to
play
the
reference
tone.
Press
the
button
again
to
stop
the
sound.
tting
the
Reference
Pitch
Press
the
q
in
Reference
Tone
mode
so
that
“PITCH”
flashes
in
the
display.
Set
the
reference
pitch
is
with
the
TEMPO/VALUE
W/M
buttons.
The
reference
pitch
is
set
in
terms
of
the
value
of
A,
which
can
be
any
frequency
from
438
to
445 Hz.
You
cannot
change
the
note
name
with
the
TEMPO/VALUE
W
/
@
buttons
while
“PITCH”
is
flashing
n
the
display.
If
you
want
to
change
the
note
name,
press
the
ji
button
so
“PITCH"
stops
flashing
and
‘emains
lit
in
the
display.
Nhat
is
the
reference
pitch?
The
frequency
for
A4
(the
middle
A
on
a
piano)
of
a
note
played
by
an
instrument
(a
piano,
for
example)
as
he
pitch
to
which
all
other
performers
tune
their
instruments
for
performances
is
called
the
“reference
pitch.”
Using
the
DB-60
as
a
Timer
With
the
power
turned
on,
press
the
(DO)
button
to
switch
to
Timer
mode.
Minute
Second
When
the
DB-60
is
in
Timer
mode,
“TIMER”
appears
in
the
display.
Set
the
length
of
time
before
you
want
the
timer
to
sound
with
the
TEMPO/VALUE
W/M
buttons.
You
can
set
the
timer
to
any
value
from
1
to
60
minutes.
The
value
can
be
increased
or
decreased
ten
minutes
at
a
time—hold
down
the
TEMPO/
VALUE
æ
button
and
press
the
W
button,
or
hold
down
the
W
button
and
press
the
button.
Press
the
START/STOP
button
to
start
the
timer.
Once
you
start
the
timer,
the
alarm
goes
off
after
the
programmed
time
has
elapsed;
the
alarm
stops
after
sounding
for
approximately
20
seconds.
Pressing
any
button
while
the
alarm
is
sounding
stops
the
alarm.
You
can
also
stop
the
timer
while
it
is
counting
down
by
pressing
the
START/STOP
button
once
more.
The
timer
continues
to
operate
even
when
you
switch
to
another
mode,
with
the
alarm
sounding
once
the
et
time
has
elapsed
(the
metronome
and
reference
tone
stop
playing
when
the
alarm
sounds).
“TIMER”
flashes
in
the
display
in
Metronome
mode,
Reference
Tone
mode
and
Stopwatch
mode
when
the
imer
is
operating.
f
you
want
to
reprogram
the
timer
after
starting
it,
press
the
START/STOP
button
to
stop
the
times,
hen
press
the
TAP/RESET/SPLIT
button
to
return
the
most
recently
set
values
to
the
display.
Using
the
DB-60
as
a
Stopwatch
With
the
power
turned
on,
press
the
(©)
button
to
switch
to
Stopwatch
mode.
PIFI
MJ
JM]
HE
اوو
Minute
Second
When
the
DB-60
is
in
Stopwatch
mode,
“ST.WATCH”
appears
in
the
display.
Press
the
START/STOP
button
to
start
the
stopwatch.
You
can
also
stop
the
stopwatch
by
pressing
the
START/STOP
button
once
more.
When
you
press
the
TAP/RESET/SPLIT
button
after
the
stopwatch
has
been
started,
the
indication
“L”
begins
blinking
in
the
upper
left
of
the
display,
and
the
split
time
(the
time
elapsed
at
that
point)
is
displayed.
When
you
press
the
START/STOP
button
while
the
split
time
is
displayed,
the
stopwatch
stops
and
the
indication
“L”
changes
from
blinking
to
steadily
lit.
Press
the
TAP/RESET/SPLIT
button
once
more,
and
the
“L”
disappears
from
the
display,
and
the
normal
stopwatch
returns
to
the
display.
Pressing
the
TAP/RESET/SPLIT
button
while
the
stopwatch
is
stopped
resets
the
number
to
zero.
Phe
stopwatch
continues
to
run
even
after
you
switch
to
other
modes.
‘ST.WATCH"
flashes
in
the
display
in
Metronome
mode,
Reference
Tone
mode
and
Timer
mode
when
he
stopwatch
is
operating.
The
stopwatch
counts
up
to
ten
hours,
but
when
the
Auto
Power
Off
function
is
operational,
it
only
`ounts
up
to
70
minutes.
If
you
want
to
have
it
measure
beyond
70
minutes,
turn
off
the
Auto
Power
Off
unction
beforehand.


|
E”Roland"
SX000026
UPC
SX000026
Other BOSSCO Tuner manuals
BOSSCO
BOSSCO TU-15 User manual
BOSSCO
BOSSCO TU-2 Chromatic Tuner User manual

BOSSCO
BOSSCO TU-05 User manual
BOSSCO
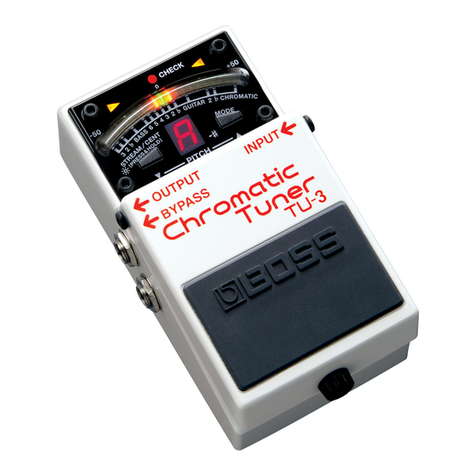
BOSSCO tu-3 User manual

BOSSCO
BOSSCO TU-03 User manual
BOSSCO
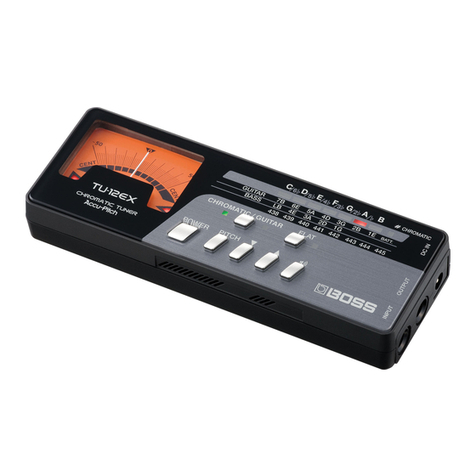
BOSSCO TU-12EX User manual
BOSSCO
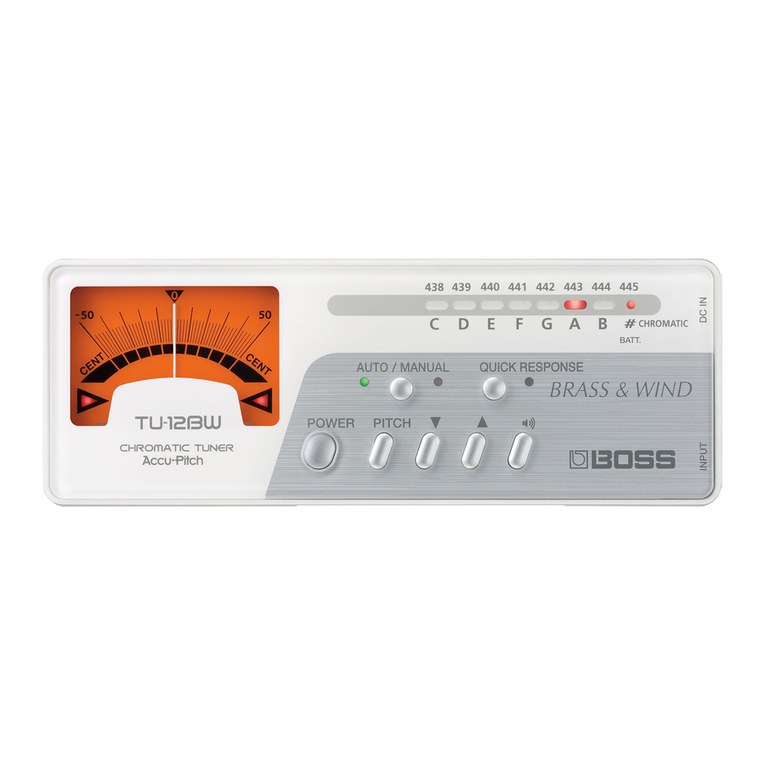
BOSSCO Brass & Wind TU-12BW User manual

BOSSCO
BOSSCO tu-3 User manual
BOSSCO
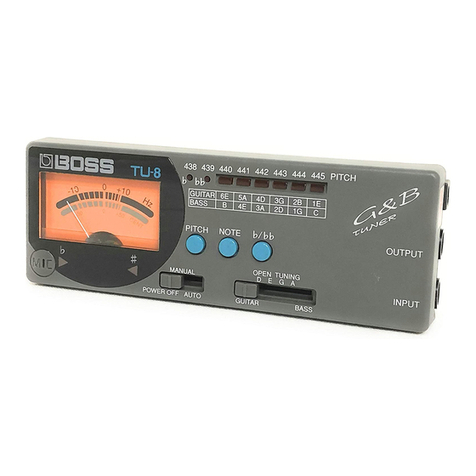
BOSSCO TU-8 User manual
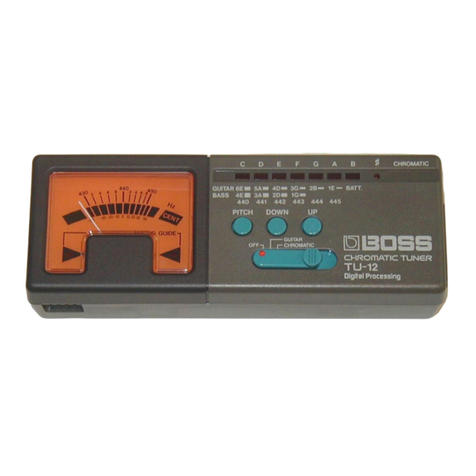
BOSSCO
BOSSCO TU-12 User manual
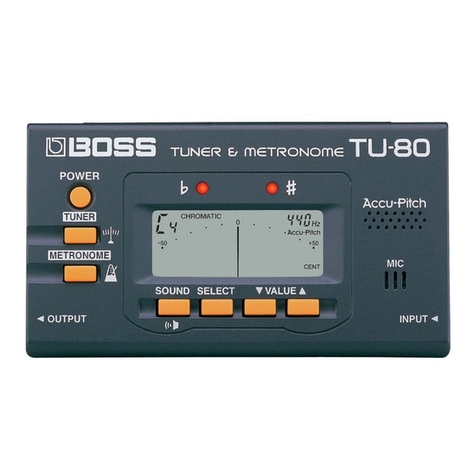
BOSSCO
BOSSCO TU-80 User manual

BOSSCO
BOSSCO TU-12EX User manual
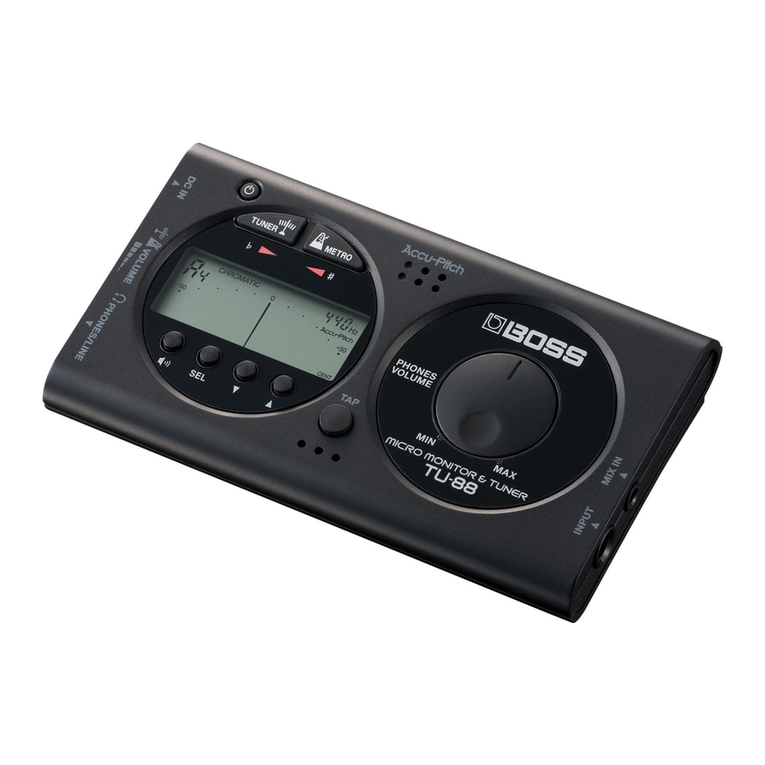
BOSSCO
BOSSCO TU-88 User manual
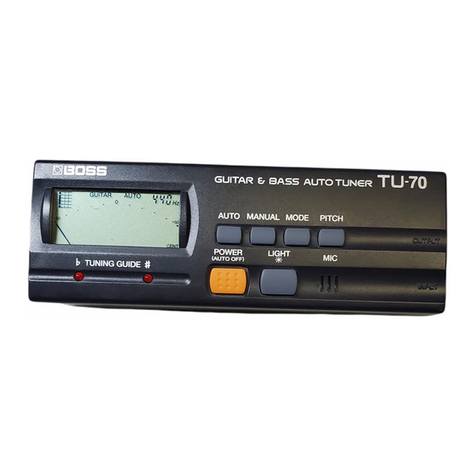
BOSSCO
BOSSCO TU-70 User manual

BOSSCO
BOSSCO tu-3 User manual
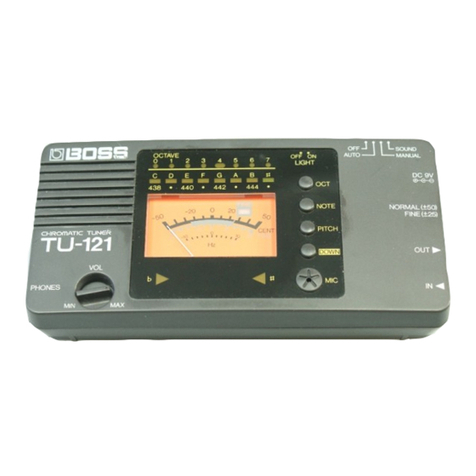
BOSSCO
BOSSCO TU-121 User manual
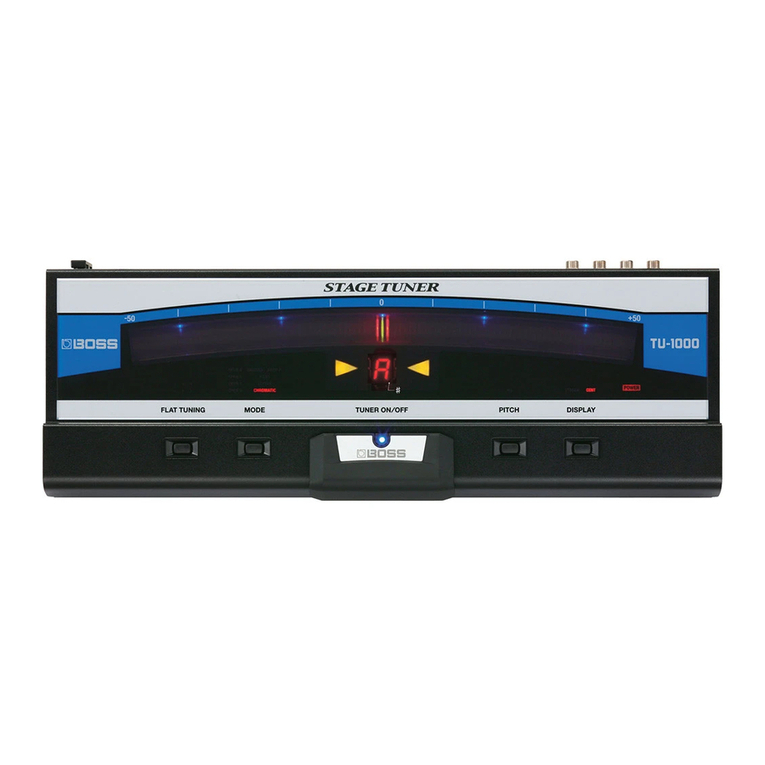
BOSSCO
BOSSCO TU-1000 User manual

BOSSCO
BOSSCO TU-50 chromatic tuner User manual

BOSSCO
BOSSCO CT-6 User manual
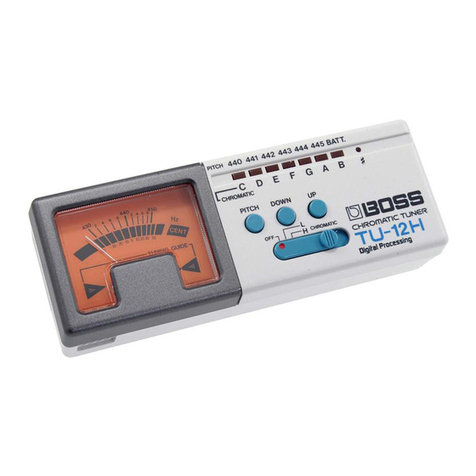
BOSSCO
BOSSCO TU-12H User manual
