manuals.online logo
Brands
  1. Home
  2. •
  3. Brands
  4. •
  5. BOSSCO
  6. •
  7. Tuner
  8. •
  9. BOSSCO TU-12 User manual

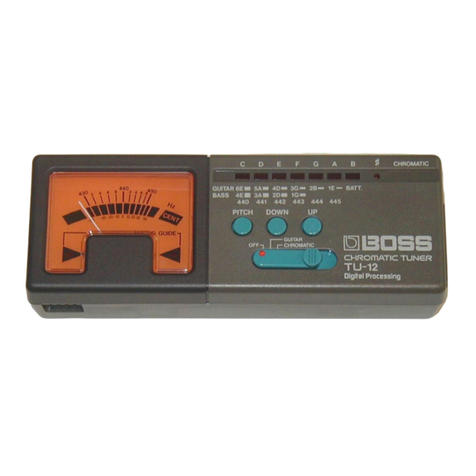
BOSSCO TU-12 User manual

SPECIFICATIONS
Power
Consumption
................
Max.
20mMA
Tuning
Range
.........c0ccccceeeeeeees
C,
(32.
70Hz)
to
Bs
(987.
77Hz)
ACCULACY
oo...
ccee
ec
ceecececeeeceeneeueeee
+
1
cent
Master
Oscillator
....0..
ee.
Quartz
(3.
579545MHz)
Standard
Pitch
2.0.0.0...
440
to
445Hz
1Hz
step
EIS,
syhgute
cupeiae
oar
tase
tance
eeeees
Input,
Output,
AC
Adaptor
DIMENSIONS
.o.cececcceccccccceeeccecees
145(W)
x
35(H)
x
53(D)
mm/
5-7/16
x
1-3/8
x
2-1/16
in
WRIGIVE
ra
csthinuc
Or
eticre
ice
aie
acess
170
g/6
oz
*
Specifications
are
subject
to
change
without
notice.
UBOSS
Products
of
Roland
'89-4-A4-11Y
Battery
Replacement
(9V
x
1)
If
the
indicator
under
B
Starts
flashing
during
operation,
proper
tuning
function
is
no
longer
available.
Please
replace
the
battery
with
a
new
one.
How
to
replace
the
battery
1
Remove
the
lid
of
the
Battery
Housing.
2
Take
out
the
battery
and
separate
it
from
the
Battery
Connector.
3
Place
a
new
battery.
(Be
sure
that
the
polarity
is
correct.)
4
Close
the
lid
securely.
Important
@
!f
the
TU-12
is
not
to
be
used
for
a
long
time,
remove
the
battery
to
prevent
the
trouble
caused
by
battery
leakage.
AC
Adaptor
For
AC
operation,
be
sure
to
use
the
BOSS
AC
Adaptor
PSA-120,
220
or
240
depending
on
the
voltage
system:
in
your
country,
and
never
use
one
Adaptor
for
two
units
simultaneous-
ly
Note
elf
the
B
indicator
starts
flashing
while
the
TU-12
is
being
operated
with
the
AC
Adaptor,
tuning
is
not
possible.
{tf
this
happens,
turn
the
TU-12
off,
then
turn
it
on
again.
e@
When
an
amplifier
is
connected
to
the
TU-
12,
set
the
POWER
switch
of
the
TU-12
to
OFF
immediately
after
tuning
is
com-
pleted
to
avoid
unnecessory
consumption
of
the
battery.
Moreover,
increasing
the
volume
of
the
amplifier
with
the
TU-12
on
may
cause
noise.
@
IN:
120,
220,
240V
@
OUT:
9V
200mA
O
@®
UBOSS
MANUAL
CHROMATIC
TUNER
TU-12
Digital
Processing
RADIO
AND
TELEVISION
INTERFERENCE
“Warning
—
This
equipment
has
been
verified
to
comply
with
the
limits
for
a
Class
B
computing
device,
pursuant
to
Subpart
J,
of
Part
15,
of
FCC
rules.
Operation
with
non-certified
or
non-verified
equip-
ment
is
likely
to
result
in
interference
to
radio
and
TV
reception.”
The
equipment
described
in
this
manual
generates
and
uses
radio-frequency
energy.
If
it
is
not
installed
and
used
properly,
that
is,
in
strict
accordance
with
our
instructions,
it
may
cause
interfer-
ence
with
radio
and
television
reception.
This
equipment
has
been
tested
and
found
to
comply
with
the
limits
for
a
Class
B
computing
device
in
accordance
with
the
specifications
in
Subpart
J,
of
Part
15,
of
FCC
Rules.
These
rules
are
designed
to
provide
reasonable
protection
against
such
a
interference
in
a
residential!
installation.
However,
there
is
no
guarantee
that
the
interference
will
not
occur
in
a
particular
instaliation.
If
this
equipment
does
cause
interference
to
radio
or
television
reception,
which
can
be
determined
by
turning
the
equipment
on
and
off,
the
user
is
encouraged
to
try
to
correct
the
interference
by
the
following
measure:
@
Disconnect
other
devices
and
their
input/output
cables
one
at
a
time.
If
the
interference
scops,
it
is
caused
by
either
the
other
device
or
its
|/O
cable.
:
These
devices
usually
require
Roland
designated
shielded
!/O
cables.
For
Roland
devices,
you
can
obtain
the
proper
shielded
cable
from
your
dealer.
For
non
Roland
devices,
contact
the
manufacturer
or
dealer
for
assistance.
If
your
equipment
does
cause
interference
to
radio
or
television
reception,
you
can
try
to
correct
the
interference
by
using
one
or
more
of
the
following
measures:
Turn
the
TV
or
radio
antenna
until
the
interference
stops.
Move
the
equipment
to
one
side
or
the
other
of
the
TV
or
radio.
Move
the
equipment
farther
away
from
the
TV
or
radio.
Plug
the
equipment
into
an
outlet
that
is
on
a
different
circuit
than
the
TV
or
radio.
(That
is,
make
certain
the
equipment
and
the
radio
or
television
set
are
on
circuits
controlled
by
different
circuit
breakers
or
fuses.)
@®
Consider
installing
a
rooftop
television
antenna
with
coaxial
cable
lead-in
between
the
antenna
and
TV.
\f
necessary,
you
should
consult
your
dealer
or
an
experienced
radio/television
technician
for
additional
suggestions.
You
may
find
helpful
the
following
booklet
prepared
by
the
Federal
Com-
munications
Commission:
“‘How
to
Identify
and
Resolve
Radio-TV
Interference
Problems”
This
booklet
is
available
from
the
U.S.
Government
Printing
Office,
Washington,
D.C.,
20402,
Stock
No.
004-000-00345.4.
Bescheinigung
des
Herstellers
/Importeurs
Storing
the
TU-12
in
the
Carrying
Case
BCB-6.
Hiermit
wird
bescheinigt,
da®
der/die/das
CHROMATIC
TUNER
TU-12
({Gerat,
Typ.
Bezeichnung)
in
Ubereinstimmung
mit
den
Bestimmungen
der
Amtsbl.
Vfg
1046
/
1984
(Amtsblattverfiigung)
funk-entstort
ist.
Der
Deutschen
Bundespost
wurde
das
Inverkehrbringen
dieses
Gerates
angezeigt
und
die
Berechtigung
zur
Uberpriifung
der
Serie
auf
Einhaltung
der
Bestimmungen
eingeraumt.
Roland
Corporation
Osaka
/
Japan
Name
des
Herstellers/Importeurs
For
Canada
CLASS
B
NOTICE
CLASSE
B
AVIS:
This
digital
apparatus
does
not
exceed
the
Class
B
Cet
appareil
numérique
ne
depasse
pas
les
limites
de
limits
for
radio
noise
emissions
set
out
in
the
Radio
la
classe
B
au
niveau
des
émissions
de
bruits
radio-
Interference
Regulations
of
the
Canadian
Department
électriques
fixés
dans
le
Réglement
des
signaux
para-
of
Communications.
sites
par
le
ministere
canadien
des
Communications.
INSTRUCTION
OPERATION
[1]
Chromatic
Tuning
GUITAR
iG
7
A
=
440
Hz
2)
6
445
Hz
3)
Ce
Se
Bom
if
Microphone
Input
[
Produce
a
(single)
tone.
|
Set
the
MODE
SELECT/POWER
Switch
to
CHROMATIC.
Select
the
pitch.
The
TU-12
has
the
preset
pitch,
A=440Hz.
(Refer
to
‘Selecting
of
Pitch’’)
a)
If
tuning
the
acoustic
instrument,
put
it
close
to
the
Microphone.
b)
If
tuning
the
electronic/electric
instru-
ment,
connect
it
to
the
Input
Jack
by
using
a
connecting
cord.
The
indicator
nearest
to
that
tone
will
flash.
<How
to
check
a
tone
with
the
Indicators>
4)
¢
0
£
°F
@
Kw
‘es
a
CHROMATIC
Ciacam@m@4acocim
°0o
GUITAR
GE
em
5A
me
ada”
3G
ae
?hem
lf
BATT
c
D
E—€
F
G
AB
ge
CHROMATIC
+h
CoOCIOC)
Gm
He
GUITAR
66m
Sian
40a
3G
aw
2G
Ewe
BATT
6]
|
Now
start
tuning.
Selecting
of
Pitch
S44
[So
ooOoMm
oO
A,
Am
oO
3Geu
26mm
if
BATT
om
While
you
hold
the
Pitch
button
down,
the
Indicator
will
blink
show-
ing
that
the
preset
pitch
is
A=440Hz.
PITCH
DOWN
uP
Select
the
desired
pitch
by
pressing
the
UP
(or
DOWN)
button
while
the
Pitch
button
is
held
down.
The
blink-
ing
of
the
Indicator
will
case
when
you
release
the
Pitch
button.
How-
ever,
the
selected
pitch
will
remain
until
the
POWER
Switch
is
turned
off.
Connecting
Chart
(Example
1)
If
the
Indicator
under
‘‘E”
lights
as
shown
in
the
figure,
it
means
the
tone
produced
is
near
“‘E”’
(Example
2)
If
the
Indicators
under
“G"
and
‘“‘#"'
light
simultaneously,
it
means
the
tone
near
“G#"
jis
pro-
duced.
Tune
it
referring
to
<How
to
check
a
tone
with
Meter
and
Tuning
Guide>
mentioned
later.
OPERATION
[2]
Tuning
Guitars
or
Bass
Guitars
GUITAR
OFF
CHROMATIC
0
Sty
Qe
[
ie
ooog
o
{
A=
440
Hz
8
§
445
Hz
<Selecting
the
String
to
be
tuned>
Cc.
O°
ee
A
8B
f
=
CHROMATIC
a
CaM
m@e7mo
oO
1TAR
BF
mm
SAqs
40am
Idem
em
them
BATT
Microphone
Input
@
Tune
by
producing
a
(single)
tone.
Set
the
MODE
SELECT/POWER
Switch
to
GUITAR.
For
guitars,
the
indicator
of
6E
(for
the
6th
string)
will
light.
For
bass
guitars,
the
indica-
tor
of
4E
(for
the
4th
string)
will
light.
The
symbols
(i.e.
6E,
5A,
4D
etc.)
under
the
Indicators
show
the
number
of
the
string
and
its
pitch.
Select
the
pitch.
The
TU-12
has
the
preset
pitch,
A=440Hz.
(Refer
to
‘'Selecting
of
Pitch’’)
Select
the
number
of
the
string
to
be
tuned
by
pressing
the
UP
(or
DOWN)
button.
(Example)
In
case
of
the
figure
on
the
left,
you
can
tune
the 3rd
string
of
a
guitar
and
the
1st
of
bass
guitar.
a)
If
tuning
the
acoustic
guitar,
put
its
sound
hole
close
to
the
Microphone.
b)
If
tuning
the
electric
guitar,
connect
it
to
the
Input
Jack
by
using
a
connecting
cord.
Tune
it
by
producing
a
(single)
tone.
For
tuning
method,
please
refer
to
<How
to
check
a
tone
with
Meter
and
Tuning
Guide>
mentioned
later.
How
to
check
a
tone
with
Meter
and
Tuning
Guide
1.
Chromatic
Mode
When
a
tone
is
produced,
the
Indicator
shows
the
name
of
the
tone
(C~B)
and
the
Meter
shows
its
pitch
at
the
same
time.
(Example
1)
Pitch
A=440Hz
lower
just
tuned
(Example
2)
Pitch
A=443Hz
just
tuned
240
Amp.
Electric
guitar,
bass
guitar
Keyboard
BOSS
PSA-120,
220,
2.
GUITAR
Mode
tension
of
the
strings
etc.
Before
tuning
your
guitar
with
this
unit,
tune
it
roughly
by
checking
(Example
1)
PitchA=440Hz
;
|
ow
HH
any
|
ow
be
brad
just
tuned
o
qua
we
>|
R
\
ew
ay
TAN
higher
than
quater
tone
(50
cent)
higher
(Example
2)
Pitch
A=443Hz
higher
just
tuned
Front
Panel
Description
Meter
Microphone
Pitch
button
Tuning
Guide
UP
button
MODE
SELECT/POWER
Switch
DOWN
button
Indicators
AC
Adaptor
Jack
Output
Jack
Input
Jack

Other BOSSCO Tuner manuals

BOSSCO TU-12EX User manual

BOSSCO

BOSSCO TU-12EX User manual

BOSSCO tu-3 User manual

BOSSCO

BOSSCO tu-3 User manual

BOSSCO tu-3 User manual

BOSSCO

BOSSCO tu-3 User manual

BOSSCO TU-15 User manual

BOSSCO

BOSSCO TU-15 User manual

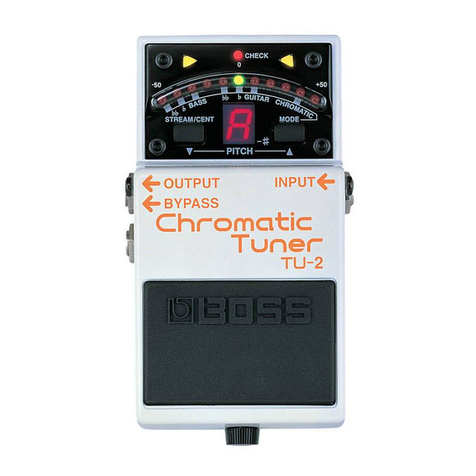
BOSSCO TU-2 Chromatic Tuner User manual

BOSSCO

BOSSCO TU-2 Chromatic Tuner User manual

BOSSCO TU-12EX User manual

BOSSCO

BOSSCO TU-12EX User manual

BOSSCO TU-80 User manual

BOSSCO

BOSSCO TU-80 User manual

BOSSCO TU-88 User manual

BOSSCO

BOSSCO TU-88 User manual

BOSSCO TU-12 User manual

BOSSCO

BOSSCO TU-12 User manual

BOSSCO TU-03 User manual

BOSSCO

BOSSCO TU-03 User manual

BOSSCO tu-3 User manual

BOSSCO

BOSSCO tu-3 User manual

BOSSCO TU-121 User manual

BOSSCO

BOSSCO TU-121 User manual

BOSSCO METRONOME Dr.Beat DB-60 User manual

BOSSCO

BOSSCO METRONOME Dr.Beat DB-60 User manual

BOSSCO TU-05 User manual

BOSSCO

BOSSCO TU-05 User manual

BOSSCO TU-50 chromatic tuner User manual

BOSSCO

BOSSCO TU-50 chromatic tuner User manual

BOSSCO TU-1000 User manual

BOSSCO

BOSSCO TU-1000 User manual

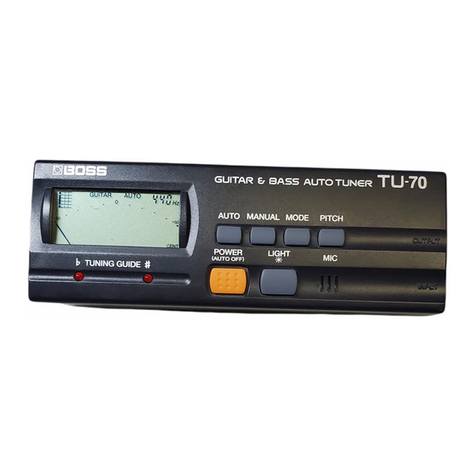
BOSSCO TU-70 User manual

BOSSCO

BOSSCO TU-70 User manual

BOSSCO TU-2 Chromatic Tuner User manual

BOSSCO

BOSSCO TU-2 Chromatic Tuner User manual

BOSSCO TU-80 User manual

BOSSCO

BOSSCO TU-80 User manual

BOSSCO CT-6 User manual

BOSSCO

BOSSCO CT-6 User manual

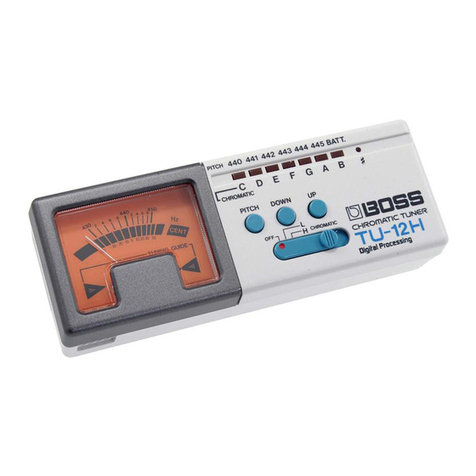
BOSSCO TU-12H User manual

BOSSCO

BOSSCO TU-12H User manual

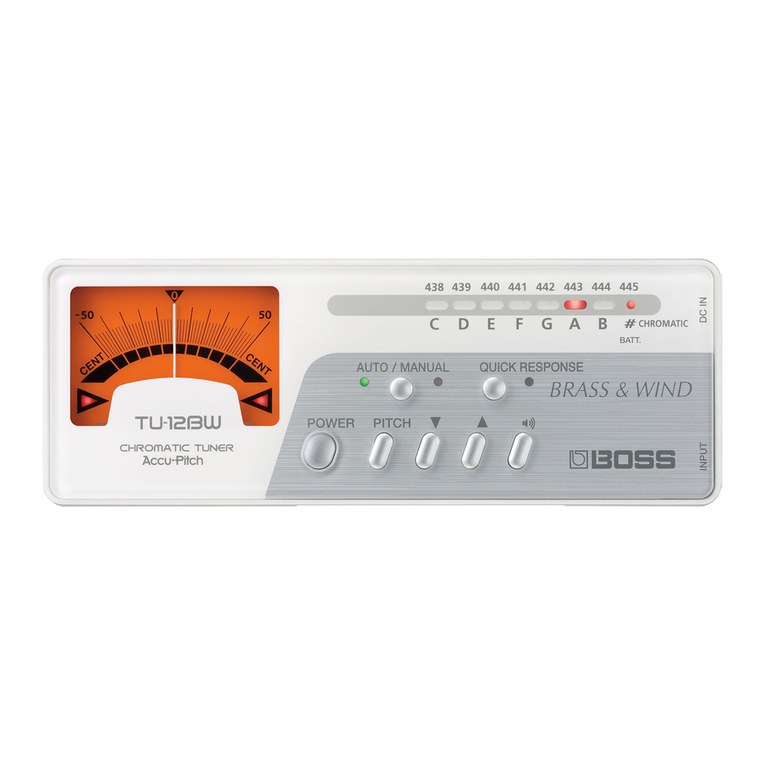
BOSSCO Brass & Wind TU-12BW User manual

BOSSCO

BOSSCO Brass & Wind TU-12BW User manual

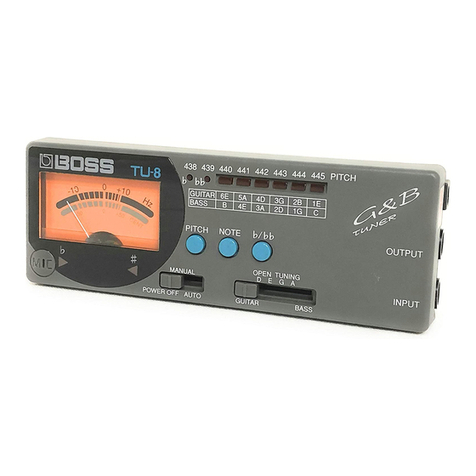
BOSSCO TU-8 User manual

BOSSCO

BOSSCO TU-8 User manual

Popular Tuner manuals by other brands

Fisher FM-190 Service manual

Fisher

Fisher FM-190 Service manual

Sanyo VA-SW3050S installation manual

Sanyo

Sanyo VA-SW3050S installation manual

Sima DTU-100 quick start guide

Sima

Sima DTU-100 quick start guide

Sony URX-S03D operating instructions

Sony

Sony URX-S03D operating instructions

Sonic Research ST-300 instruction manual

Sonic Research

Sonic Research ST-300 instruction manual

Renkforce TU-1000 operating instructions

Renkforce

Renkforce TU-1000 operating instructions

Whirlwind WT1000 owner's manual

Whirlwind

Whirlwind WT1000 owner's manual

COX mini box instructions

COX

COX mini box instructions

Toa WT-5810 operating instructions

Toa

Toa WT-5810 operating instructions

Siemens RH 180 Service manual

Siemens

Siemens RH 180 Service manual

Freedom9 Capture 2000 Specifications

Freedom9

Freedom9 Capture 2000 Specifications

MFJ VERSA TUNER III owner's manual

MFJ

MFJ VERSA TUNER III owner's manual

Sirius XM RAdio V200C Connect Vehicle Tuner installation guide

Sirius XM RAdio

Sirius XM RAdio V200C Connect Vehicle Tuner installation guide

Dimavery SGBM-100 user manual

Dimavery

Dimavery SGBM-100 user manual

Onboard Research PT10C The Intellitouch Operator's manual

Onboard Research

Onboard Research PT10C The Intellitouch Operator's manual

Harman Kardon CITATION 23 owner's manual
Harman Kardon

Harman Kardon CITATION 23 owner's manual
Vectronics VC-300DLP owner's manual

Vectronics

Vectronics VC-300DLP owner's manual

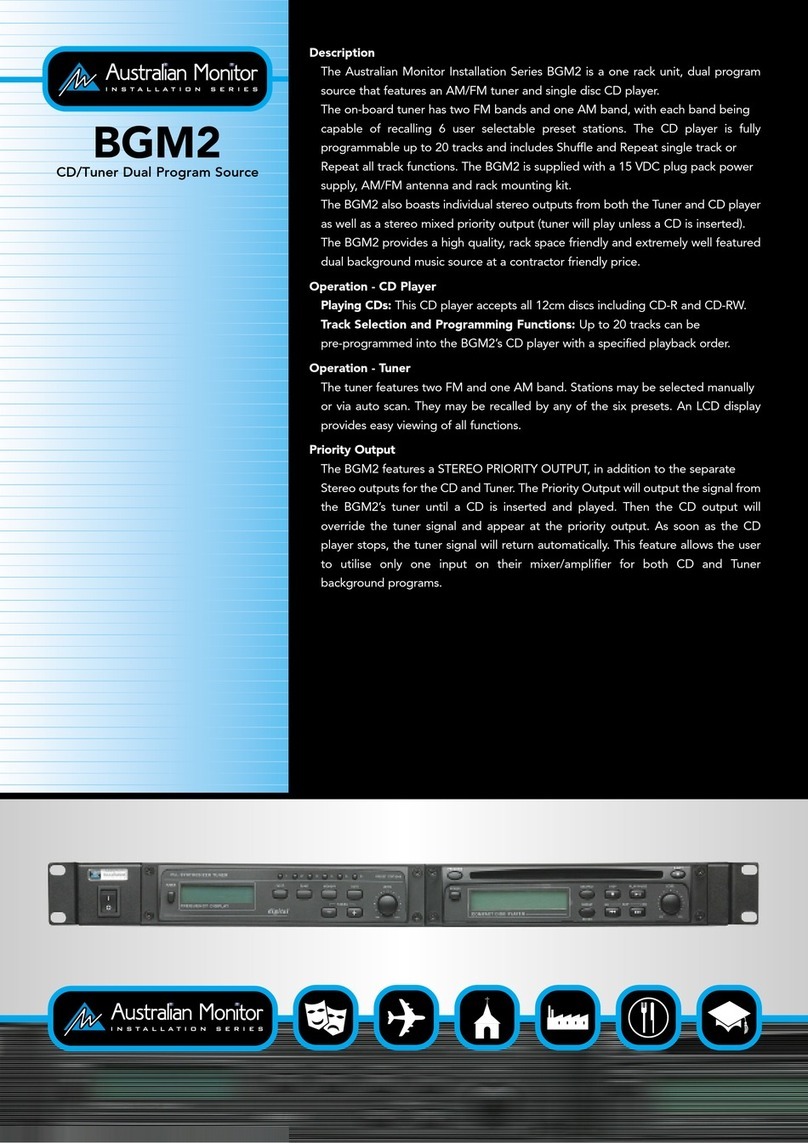
AUSTRALIAN MONITOR BGM2 Specifications

AUSTRALIAN MONITOR

AUSTRALIAN MONITOR BGM2 Specifications

manuals.online logo
manuals.online logoBrands
  • About & Mission
  • Contact us
  • Privacy Policy
  • Terms and Conditions

Copyright 2025 Manuals.Online. All Rights Reserved.