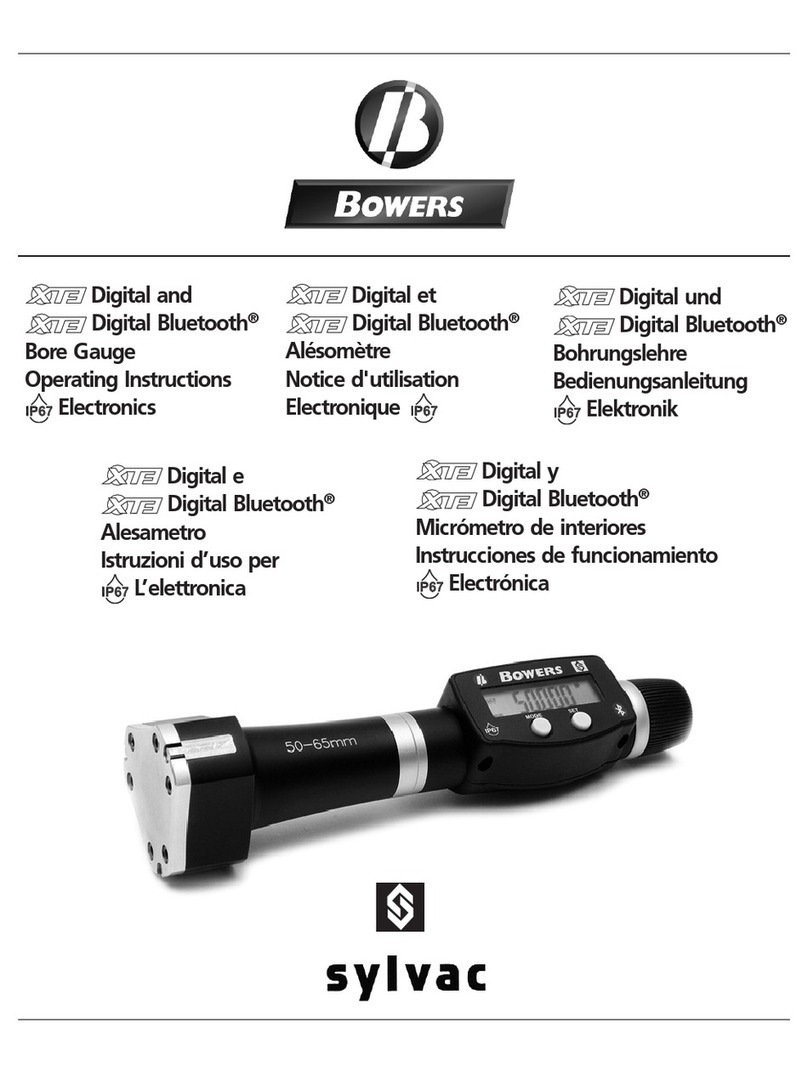
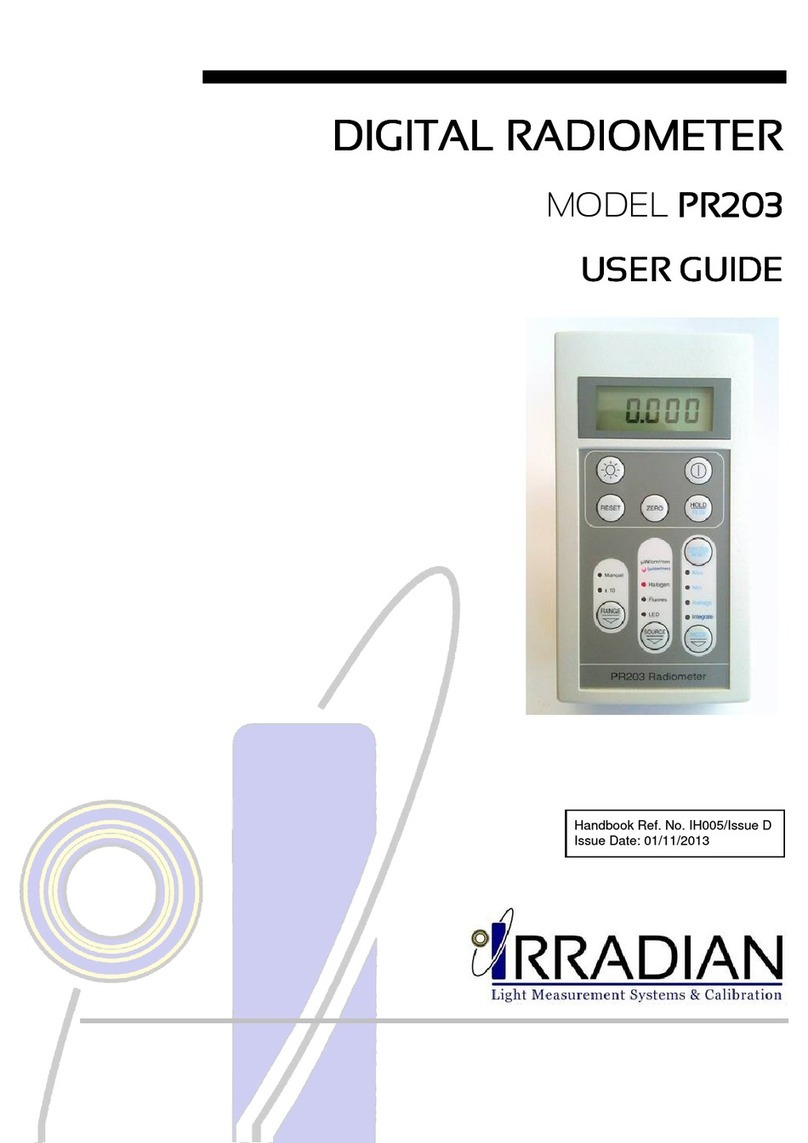
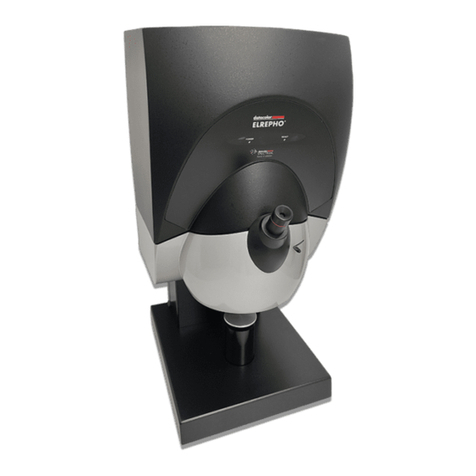
Bowers DigiMic User manual

Bowers DigiMic External Micrometer
www.bowersgroup.co.uk
1
E
F
D
Digital Micrometer
Micromètre Digital
Digital Mikrometer
Instructions - Mode d’emploi - Bedienungsanleitung

2
Installing and replacing the battery /Mise en place et remplacement de la batterie /
Einbau und Austausch von Batterie
When the <<B>> symbol shows on screen, the battery is low and will need changing soon. / L’affichage du symbole
«B» indique la fin de vie de la batterie. Cependant il reste des heures de travail disponibles. / Die Anzeige des
Buchstabens «B» zeigt das Ende der Batteriebetriebsdauer an. Es verbleiben einige Arbeitsstunden.
Battery / batterie / Batterie: Lithium 3V, type CR2032
1. Remove the battery cover / Dévisser le bouchon de pile / Batterie deckel mittels
2. Change the Battery (Lithium CR2032 type) / Changer la pile
(Pile lithium type CR2032) / Batterie wechseln. (Lithium Batterie,
Typ CR2032).
3. Check the rubber seal is intact / Contrôler la mise en place du joint
/ Dichtungslagerung kontrollieren.
4. Re-assemble the battery cover / Revisser le bouchon / Deckel wieder einschrauben.

E
F
D
Reference setting / Prise de référence / Referenzpunkt setzen
33
--SEt--
mm
When used for the first time, after a battery change or a complete switch OFF, it is necessary to set the reference
(--sEt--). Close the micrometer completely by rotating the friction thimble. (see chap. 5).
Lors de la première utilisation, après un remplacement de batterie, ou après une extinction complète (OFF),
l’device demande une nouvelle prise de référence (--sEt--). Fermez complètement le micromètre en tournant le
tambour. (voir chap. 5).
Beim Erstgebrauch, nach einem Batteriewechsel oder nach einem kompletten Ausschalten (OFF) verlangt
das Device einen neuen Referenzpunkt (--sEt--). Schließen Sie die Messschraube vollständig, indem Sie die
Trommel drehen. (sehe Kap. 5).

4
Unlocking the spindle / Déblocage du tambour / Entriegeln der Spindel
If you fully retract the spindle, the spindle will be locked and cannot be moved by the thimble.
Si vous avez complètement rétracté la broche, le tambour ne la fera pas avancer, elle sera verrouillée.
Wenn Sie die Spindel ganz eingefahren haben, bewegt der Trommel sie nicht vorwärts, sie ist gesperrt.

E
F
D
5
To unlock the spindle, rotate the speeder to extend the spindle, regaining control via the thimble.
Pour déverrouiller la broche, tournez la manette rapide pour débloquer le verrou, puis continuez à tourner l’avance
rapide pour faire avancer la broche.
Um die Spindel zu entriegeln, drehen Sie den Speeder, um die Verriegelung zu lösen, und drehen Sie dann den
Trommel weiter, um die Spindel vorwärts zu bewegen.

6
12
7
3 4
5
9
6
10
12
11
13 14 15 16 17
18
19
20
8

E
7
Description
1. Measuring spindle
2. Anvil
3. Thermal isolation
4. Mode button
5. Set button
6. Favourite button
7. Rotating thimble
8. Speeder
9. Battery cover
10. mm/inch
11.+/- indicator
12. Low battery
13. Preset mode
14. Active reference
15. Keypad lock
16. Multiplication factor
17. Hold measured value
18. Send data
19. Bluetooth®active
20. 7-digit display

8
1. General description
The external micrometer is equipped with Bluetooth®and SIS (Smart Inductive Sensor) technologies,
maintaining accurate measurements even while in standby mode.
It includes the following functional features:
•Input of Preset values.
•Selection of the measuring unit (mm / INCH).
•Transfer of measurement value (Bluetooth®connection).
•Dust and water resistant to IP67. (IEC 60529).
The micrometer is extremely easy to operate thanks to its menu selection system.

E
9
2. First level functions
Fav
rESEt
mm
MAC
mm
off
mm
Set Set Set
1.922
mm
1.922
mm H
25.00
mm
25.000
mm PRESET
26.000
mm PRESET
PrE
25.000
mm
mm
SEt
mm
On
mm
bt
mm
rEF2
mm
rEF1
mm
rEF
mm
Mode
Mode
Mode
Mode Set
Set
Mode
Set
Set
Mode
Set
Mode
Fav
Fav
Fav Fav Fav
0.000
mm
Fav
After the last digit
Après le dernier digit
Nach der letzen Steile
Zero setting can be activated by master
La mise à zéro peut être activée via le master
Der Null-Einstellung kann über den Master aktiviert werden
* Hold function can be activated by master
* La fonction Hold peut être activée par le master
* Haltefunktion kann vom Master aktiviert werden
*
Fav
Fav
1)

10
Without push (after 5s) : Return to measuring mode
(15s for preset input)
1)Device with Bluetooth®
3. Second level functions
2)The sign + indicates the currently active profile.
1)
Set
Set
MM
mm
Inch
INCH
Unit
Off
mm
On
mm
Loc
0.001
mm
0.01
mm
mm
mm
rEs
mm
Mode
Set
Set
Mode
SetMode Set
Auto
mm
MAn
mm
OFF
mm
SetMode Set
Mode
Set
SIMPLE
mm
PAIr
mm
bt. CFG
mm
Mode Set
HId
mm
Set
+
Fav Fav
Fav Fav
Fav Fav
Fav Fav
Fav Fav
Fav
2)
Depends on model

E
11
4. Maintenance
Store the micrometer in a dry environment when not in use for long periods of time to avoid corrosion of the
metallic parts.
Do not close the spindle when not in use, maintain separation to avoid seizing / corrosion.
Do not use aggressive products (alcohol, trichloroethylene or others) to clean the plastic parts. Do not store the
micrometer in areas which are exposed to sun, heat or humidity.
5. Switching ON, initialisation
After pressing any button, the device displays «--SET--» for the initiation of the reference point.
Bring the spindle on to the anvil (0-25mm) or on to the corresponding setting gauge. Press [SET] again to set
the reference point, the device is ready for use.

12
6. Standby
This reduced consumption mode works without the loss of the reference position. Standby mode activates
after 10 minutes of no use, or by holding the [SET] button until the screen goes blank.
Standby mode deactivates on detected movement, button pressing or communicating with Bluetooth de-
vices.
7. Full Switch OFF
To switch the device fully off, press and hold the [SET] button until the device shows (--OFF--).
In this state no data is maintained and therefore the reference position is lost. The (--SET--) message will be
displayed again during next use (See switching ON).

E
13
8. Description of the menu system
The [MODE] button cycles through different menus / functions, while the [FAV] button cycles the selections
in each menu.
After 5 second of inactivity, the device returns to displaying the current measurement.
9. Preset mode
Pre-set allows for a value other than zero to be the reference point.
Use [MODE] to cycle to the «--PRE--» menu and press the [FAV] button to activate. Press the [SET] button to
cycle the flashing value, press the [FAV] button to move to the next value. Once the pre-set value has been
entered, press the [MODE] button to confirm.

14
Holding the [SET] button for 2 seconds assigns the pre-set value to the current spindle location.
10. Reset, recall of the preset
11. Changing unit (mm/inch)
Hold the [MODE] button down to enter the advanced menu with «--units--» appearing first on the list. Press
the [FAV] button to switch between «--mm--» and «--inch--» and the [SET] button to apply.

E
15
12. Locking of the device
Hold the [MODE] button down to enter the advanced menu, cycle through the menus until «--LOC--» appears.
Press the [FAV] button until «--ON--» appears and press the [SET] button to lock.
To unlock the device, press and hold the [SET] button for 5 seconds.
13. Bluetooth®Function (depends on model)
The connection procedure has been designed to be simple and is signalled by the following three states:
1° Symbol off Disconnected Mode
2° Symbol blinking Advertising Mode
3° Symbol on Connected Mode

16
The following options can be selected to control the Bluetooth® module.
On Enable Bluetooth® module (start advertising mode).
OFF Disable Bluetooth® module (terminate active connection).
rESEt Clear pairing information.
MAC Display the MAC (Media Access Control) address.
Three Bluetooth®profiles are available.
SIMPLE Profile without pairing (default).
PAIr Paired and secured profile.
HId Virtual keyboard mode (compatible with recent equipement without driver installation).
Note:
- Bluetooth®pairing information is cleared when the profile is changed.

E
17
13.1. Connection :
1° Activate Bluetooth®compatible software and hardware (Master : PC, Display Unit).
2° Start the device. By default the Bluetooth®module is active and the device is available for connection (Adver-
tising Mode).
3° If no connnection is established during the advertisement period reactivate the Bluetooth®module using
the bt /On menu.
4° Device is ready to communicate (connected mode.)
13.2. Only with Paired Profile :
Pairing with master is automatically done at first connection.
To connect the device to a new master (new pairing), pairing information on the device must be cleared using
the bt/ rESEt menu.

18
13.3. Bluetooth® Specifications
Frequency Band 2.4GHz (2.402 - 2.480GHz)
Modulation GFSK (Gaussian Frequency Shift Keying)
Max Output Power Class 3: 1mW (0dBm)
Range Open space: up to 15m
Industrial environment: 1-5m
Battery life
Continuous : up to 2 months - Always connected with 4 values /sec.
Saver : up to 5 months - The device sends value only when the position has changed.
Blind/Push : up to 7 months - Value is sent from the device (button) or requested from the
computer.

E
19
14. Favourite keys
The [FAV] button can be used as a shortcut to one predefined function. To change the shortcut, press and hold the
[FAV] button until «--0data--»appears, use [FAV] button to cycle through functions and [SET] to select a function.
Validation of selection: By a prolonged press on [FAV] Key or a short press on [SET]or [MODE].
Note :
- A function can also be assigned via RS232 using the command <FCT + Function No.> (FCT 0..9 A..F)
example : Toggle unit = <FCT6>, reference change = <FCT3>.
0 dAtA
1 HoLd
2 SEt
3 rEF
4 PrE
5 bt
6 Unit
7 rES
Data Transmission (default)
Hold Display
Zero Reset
REF 1 - REF 2
Recall Preset
Bluetooth®ON-OFF
mm - INCH
0.01 0.001 / 0.001 0.0001
(depends on model)
8 no.F No function

20
The other commands are shown in the following table:
? Sends the displayed value
AOFF 0 / AOFF 1 / AOFF? Deactivates/activates/status the automatic switch-off
BAT? Sends the status of the battery (BAT1=ok or BAT0=low)
ID ? Sends the device identification (SY306)
IN Activates the Inch unit
KEY 0 / KEY 1 / KEY? Locks/unlocks/status of keyboard (except data output)
ECO 1 / ECO 0 / ECO? Activate/deactivate/status of Bluetooth®economic mode
LCAL? Sends the date of the last calibration (DD.MM.YYYY)
LCAL DD.MM.[YY]YY Sets the date of the last calibration
MM Activates the millimeter unit
NCAL? Sends the date of the next calibration (DD.MM.YYYY)
15. Remote commands
The data request is done by the sending of the character ASCII <?>, followed by <CR> (carriage return). The device
also answers in the same way during the detection of an impulse pedals/automaton.
Table of contents
Languages:
Other Bowers Measuring Instrument manuals
