manuals.online logo
Brands
  1. Home
  2. •
  3. Brands
  4. •
  5. Brateck
  6. •
  7. Projector Accessories
  8. •
  9. Brateck EPB-1 User manual

Brateck EPB-1 User manual

2015/2/13
502874
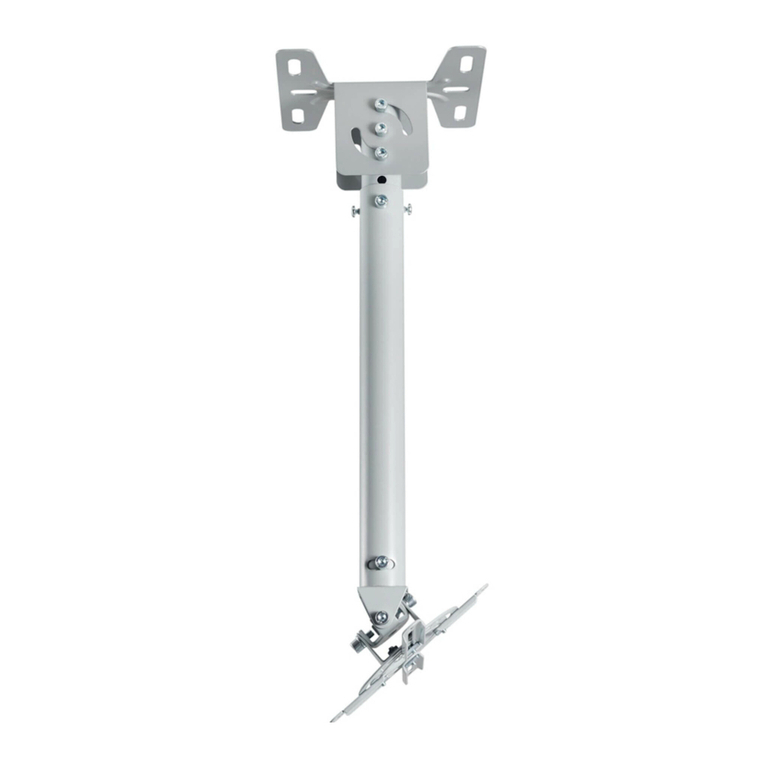
Universal ceiling projector mount
INSTALLATION INSTRUCTIONS
EPB-1
ISSUED: MAY. 2014
CAU T I O N : DO NOT EXCEED MAXIMUM
LISTED WEIGHT CAPACITY. SERIOUS
INJURY OR PROPERTY DAMAGE MAY
OCCUR!
Projector Ceiling Mount
15kg
(33lbs)
RATED
15kg
(33lbs)
RATED
7
5. Hanging the Projector onto the Ceiling Mount
6. Adjustment
Adjust to the desired position or tilt.
Important: Make sure the projector is correctly hooked and the screws are locked safely before releasing
the projector.
-25° ~ +25° 360°
Maintenance
• Check that the bracket is secure and safe to use at regular intervals(at least every three months).
• Please contact your dealer if you have any questions.
M-I
21
Component Checklist
IMPORTANT: Ensure that you have received all parts according to the component checklist prior to installing. If
any parts are missing or faulty, telephone your local distributor for a replacement.
Package M
Package W
ST4.8x45 (x2)
W-A
concrete anchor (x2)
W-B
D6 washer (x2)
W-C
projector (x1)
C
pothook
projector (x1)
B
coupler
projector plate (x1)
D
mounting leg (x4)
E
ceiling plate (x1)
A
M4x16
M-A
(x4) M4x40
M-B
(x4) M5x16
M-C
(x4) M6x16
M-D
(x4)
3mm Allen key (x1)
M-H
6mm Allen key (x1)
M-I
D5 washer (x4)
M-G
M8x16
M-F
(x1)
M6x40
M-E
(x4)
NOTE: Read the entire instruction manual before you start installation and assembly.
WARNING
• Do not begin the installation until you have read and understood all the instructions
and warnings contained in this installation sheet. If you have any questions
regarding any of the instructions or warnings, please contact your local distributor.
• This mounting bracket was designed to be installed and utilised ONLY as
specified in this manual. Improper installation of this product may cause damage
or serious injury.
• This product should only be installed by someone with good mechanical ability
who has basic building experience and fully understands this manual.
• Make sure that the supporting surface will safely support the combined weight of
the equipment and all attached hardware and components.
• If mounting to wood joist ceiling, make sure that mounting screws are anchored
into the center of the joist. The use of a stud finder is highly recommended.
• Always use an assistant or mechanical lifting equipment to safely lift and position
the equipment.
• Tighten screws firmly, but do not over tighten. Over tightening can cause damage
to the items, This greatly reduces their holding power.
• This product is intended for indoor use only. Using this product outdoors could
lead to product failure and personal injury.

WARNING
• Make sure that mounting screws are anchored into the center of the wood joist. Use of a stud
finder is highly recommended.
• Installers are responsible to provide hardware for other types of mounting situations.
• Installer must verify that the supporting surface will safely support the combined load of the
equipment and all attached hardware and components.
Screw the
ceiling mount
onto the ceiling
4
3
2a. For Wood Joist Ceiling Mounting
1. Assembling the Ceiling Mount
B
A
C
M-H
M-H
M-F
Route the cables before installing
the ceiling mount onto the ceiling.
W-C
W-A
Drill pilot holes
2
13
ø 3.5mm
(ø 1/8")
55mm
(2.2")
55mm
2.2"( )
45mm
(1.8")
3. Attaching the Mounting Legs to the Projector Plate
65
4. Attaching the Projector Plate to the Projector
Installer must verify that the supporting surface will safely support the combined load of the
equipment and all attached hardware and components.
WARNING
2b. For Solid Brick and Concrete Mounting
1
Drill pilot holes
2
Screw the
ceiling mount
onto the ceiling
W-C
W-A
W-B
DO NOT OVER TIGHTEN SCREWS!
• Locate the projector's mounting points.
• Position an appropriate number of mounting legs on the projector.
Note: If your projector model has three mounting holes only, please remove the fourth leg using the screwdriver.
Important: If the projector does not have at least three mounting holes, do not use this adapter bracket.
M-C
M-G
M-A
M-B
M-D
M-E
Route the cables before installing
the ceiling mount onto the ceiling.
60mm
(2.4")
60mm
2.4"( )
50mm
(2")
ø 8mm
(ø 5/16")

Popular Projector Accessories manuals by other brands

Da-Lite Pivoting Da-Lift 26P Instruction book

Da-Lite

Da-Lite Pivoting Da-Lift 26P Instruction book

WePresent WiPG-1600 user guide

WePresent

WePresent WiPG-1600 user guide

PEERLESS PRG-UNV-S Installation and assembly

PEERLESS

PEERLESS PRG-UNV-S Installation and assembly

Navitar 584MCL047 installation instructions

Navitar

Navitar 584MCL047 installation instructions

Sanyo LNS-S30 - Zoom Lens - 48.4 mm Lens Replacement Manual

Sanyo

Sanyo LNS-S30 - Zoom Lens - 48.4 mm Lens Replacement Manual

Eiki AH-A25010 installation guide

Eiki

Eiki AH-A25010 installation guide

B-Tech SYSTEM V BT5890-010 installation guide

B-Tech

B-Tech SYSTEM V BT5890-010 installation guide

D'San PerfectCue Mini manual

D'San

D'San PerfectCue Mini manual

New Star Beamer-C350Black instruction manual

New Star

New Star Beamer-C350Black instruction manual

PMV Mounts PMVMOUNT1PA Mounting instructions

PMV Mounts

PMV Mounts PMVMOUNT1PA Mounting instructions

Navitar 638MCZ087 installation instructions

Navitar

Navitar 638MCZ087 installation instructions

CHIEF SL-236 installation instructions

CHIEF

CHIEF SL-236 installation instructions

Sony HCS-W80 instructions

Sony

Sony HCS-W80 instructions

RCA RPJ144 instruction manual

RCA

RCA RPJ144 instruction manual

ZeeVee ZVconnect user manual

ZeeVee

ZeeVee ZVconnect user manual

Digital Projection TheaterScooe System installation manual

Digital Projection

Digital Projection TheaterScooe System installation manual

Navitar 370MCZ125 installation instructions

Navitar

Navitar 370MCZ125 installation instructions

Premier Mounts PCS-5000 Specifications

Premier Mounts

Premier Mounts PCS-5000 Specifications

manuals.online logo
manuals.online logoBrands
  • About & Mission
  • Contact us
  • Privacy Policy
  • Terms and Conditions

Copyright 2025 Manuals.Online. All Rights Reserved.