manuals.online logo
Brands
  1. Home
  2. •
  3. Brands
  4. •
  5. Braun
  6. •
  7. Electric Shaver
  8. •
  9. Braun ISIS User manual

Braun ISIS User manual

This manual suits for next models

4

Other Braun Electric Shaver manuals

Braun BT 3340 Blue User manual

Braun

Braun BT 3340 Blue User manual

Braun Silkpil Xpressive 7281 WD User manual

Braun

Braun Silkpil Xpressive 7281 WD User manual

Braun 590 cc User manual

Braun

Braun 590 cc User manual

Braun 795 cc-3 User manual

Braun

Braun 795 cc-3 User manual

Braun BGK 7090 User manual

Braun

Braun BGK 7090 User manual

Braun FLEX XP 5614 User manual

Braun

Braun FLEX XP 5614 User manual

Braun Series 3 User manual

Braun

Braun Series 3 User manual

Braun 5723 User manual

Braun

Braun 5723 User manual

Braun BT 3050cb User manual

Braun

Braun BT 3050cb User manual

Braun BD 5006 User manual

Braun

Braun BD 5006 User manual

Braun 340 User manual

Braun

Braun 340 User manual

Braun 7 series User manual

Braun

Braun 7 series User manual

Braun 720s-7 User manual

Braun

Braun 720s-7 User manual

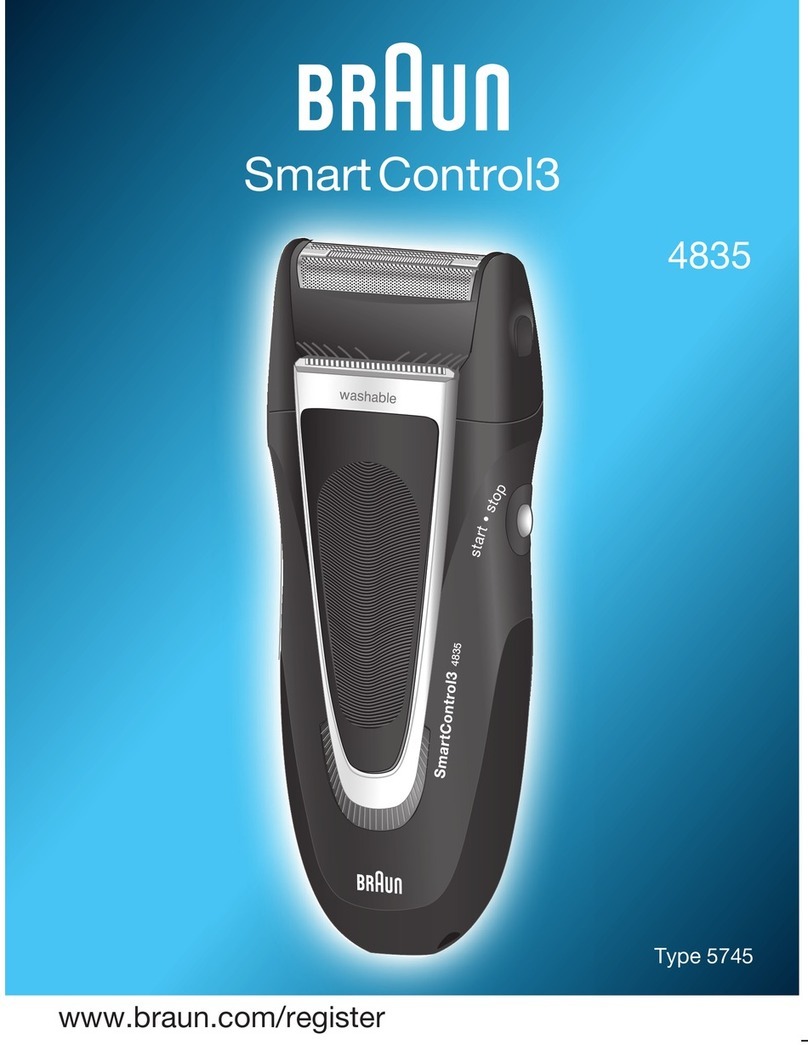
Braun 5745 User manual

Braun

Braun 5745 User manual

Braun Pulsonic Pro-System Plus User manual

Braun

Braun Pulsonic Pro-System Plus User manual

Braun TriControl 4736 User manual

Braun

Braun TriControl 4736 User manual

Braun BS7497 User manual

Braun

Braun BS7497 User manual

Braun cruZer 6 face User manual

Braun

Braun cruZer 6 face User manual

Braun Contour 390 cc User manual

Braun

Braun Contour 390 cc User manual

Braun cruZer FACE Z-40 User manual

Braun

Braun cruZer FACE Z-40 User manual

Braun 360S-4 User manual

Braun

Braun 360S-4 User manual

Braun Silk epil 7 User manual

Braun

Braun Silk epil 7 User manual

Braun 190 S User manual

Braun

Braun 190 S User manual

Braun cruZer5 User manual

Braun

Braun cruZer5 User manual

Popular Electric Shaver manuals by other brands

Norelco 6885XL manual

Norelco

Norelco 6885XL manual

Saturn ST-HC7398 manual

Saturn

Saturn ST-HC7398 manual

Panasonic ES-LA83 operating instructions

Panasonic

Panasonic ES-LA83 operating instructions

Wahl 9639 manual

Wahl

Wahl 9639 manual

Povos PS1080 operating instructions

Povos

Povos PS1080 operating instructions

Philips HQ6735/01 user manual

Philips

Philips HQ6735/01 user manual

Philips MicroAction 4402LC Specifications

Philips

Philips MicroAction 4402LC Specifications

Philips HQ7740 user guide

Philips

Philips HQ7740 user guide

Norelco Quadra 7610X owner's manual

Norelco

Norelco Quadra 7610X owner's manual

Philips 7616X manual

Philips

Philips 7616X manual

Philips HQ802 Specifications

Philips

Philips HQ802 Specifications

Daga MT-400 Directions for use

Daga

Daga MT-400 Directions for use

Remington BHT100 user manual

Remington

Remington BHT100 user manual

Philips Bodygroom BG2000 brochure

Philips

Philips Bodygroom BG2000 brochure

Kompernass KH 5537 operating instructions

Kompernass

Kompernass KH 5537 operating instructions

Remington BHT6100 manual

Remington

Remington BHT6100 manual

Philips qc5365 user manual

Philips

Philips qc5365 user manual

MIA Aqua Body manual

MIA

MIA Aqua Body manual

manuals.online logo
manuals.online logoBrands
  • About & Mission
  • Contact us
  • Privacy Policy
  • Terms and Conditions

Copyright 2025 Manuals.Online. All Rights Reserved.

Application, cleaning and care of clipping heads
FOR ISIS, VEGA, EXACTA, AKKURATA AND BASECUT
Proper application, cleaning and care of the clipping heads is especially important for
the trimmer in order to keep them ready for operation for a long time to come.
Isis and Exacta
The application areas for the Exacta and Isis are special parts such
as paws and faces; Isis is also used for the preparation of biopsies.
However, the machine is not suitable for completely shearing a dog.
Neither the clipping head nor the motor are designed for this.
Frequently asked questions:
The machine has not been in operation very long and now it no
longer functions!
In 90 % of all cases, the
problem is not with the
machine, but with the
clipping head. The clipping
head is unscrewed to test this.
This is done using the Allen
key under the charging tray.
Then the machine is switched on without the clipping head.
If it rums normally, then the clipping head is the cause of the problem.
The machine has a safeguard mechanism and will not switch on if
the cutting blades of the head are stuck together and can no
longer move. This prevents the machine from „burning out“.
Therefore, proper care of
the clipping head is
extremely important.
When using a disinfectant,
the cutting head should be
dried thoroughly to prevent
corrosion. After drying, the
clipping head must be oiled
thoroughly.
OILING BEFORE OPERATION
The clipping head must be
oiled before each use. Use the
supplied clipper oil for this
purpose. Add a few drops of oil
directly to the shearing blade.
Then let the machine run for a
few minutes so that the oil can
distribute itself well and thus not
be transferred to the hair of the
animal.
OILING DURING OPERATION
Repeat oiling every 5-10
minutes during operation.
This prevents the clipping head
becoming hot and being
overloaded. It would then
become duller sooner and then
must be replaced sooner.
CLEANING AND CARE AFTER OPERATION
After operation when the ma-
chine is no longer required, the
clipping head must be thoroug-
hly cleaned. The hair and dirt is
removed using a soft brush or
soft toothbrush.
An oil spray with a small tube
attachment is well suited for
cleaning and oiling between the
shearing blades. This creates
more pressure and the dirt is
blown out and the oil can be
better distributed between the
shearing blades.
Please never disassemble the clipping head - it can then no longer be used!
The clipping heads of the Isis/
Exacta, Vega/ Akkurata and
BaseCut clipping heads cannot be
re-sharpened. If the clipping head
is dull or defective, then it must
be replaced with a new one.
If these care instructions are
ignored, then the clipping head
will quickly become unusable
and will look like the following
when taken apart:
It can no longer be used
and a new clipping head
must be purchased.
PR=Aesculap_Pflege_Isis_Vega_Akkurata_Exacta_BaseCut_EN_0518
AESCULAP®– a B. Braun brand
Albert Kerbl GmbH | Felizenzell 9 | 84428 Buchbach | Germany | [email protected] | www.kerbl.com
BaseCut
The application areas of the
BaseCut are similar to the Isis/
Exacta and Vega/Akkurata.
The care instructions for the
BaseCut are similar to those for
the Vega/Akkurata.
The Vega and Akkurata
The application areas of the Vega and Akkurata are small areas on dogs such as the neck, belly, head and
face; the Vega is used for veterinary cuts. The machine is not designed to shear an entire dog or shear dogs
whose coat is very dirty. Neither the clipping head nor the motor are designed for this. The care and oiling of
the clipping heads is especially important in order to keep them ready for operation for a long time to come.
Even in this case, if the machine will no longer run, you must also test it without the clipping head to determi-
ne the source of the problem. To do so, remove the clipping head from the machine by folding it back.
The other points related to oiling before and during operation, as well as for cleaning and care after operation
are the same as those for Isis and Exacta. The Vega and Akkurata have a charging display. The number of
illuminated segments indicates the battery charge level and/or when the machine must be recharged.
FEATURES:
The cutting heights 0.5 mm, 1.5 mm and 2.5 mm can be set directly on the clipping head.
It can also be operated via cable because the plug for the charger also fits in the machine.
The Akkurata has a function lock for transport. This is released by placing the device into the
connected charger. After approx. 5 seconds the machine is ready for operation.
Machines with a red charging display are equipped with a lithium ion battery.
Machines with a blue charging display are older versions and are equipped with
a nickel metal hydride battery.
THE BATTERY NO LONGER CHARGES:
Please make sure that the contacts on the charger and on the machine are clean and dry. The contacts can be cleaned using alcohol or
spirit using a moist cotton pad.
The machine may only be placed in the charger when the contacts are completely dry because there is a risk of leakage currents and the
housing could become hot.
For the first time, the machine should be discharged until the motor stops. This should be repeated occasionally.
The red charging display always lights up when the charging current is flowing.
The following should also be checked when there are other problems with the machine: