5
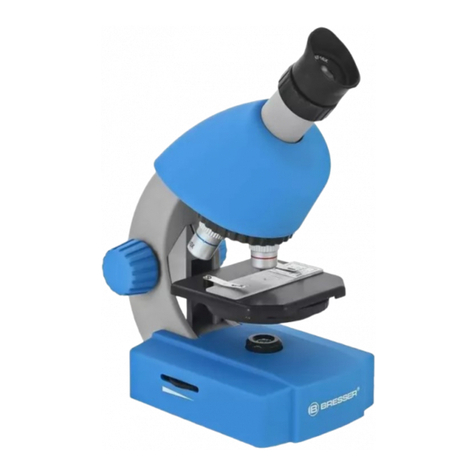
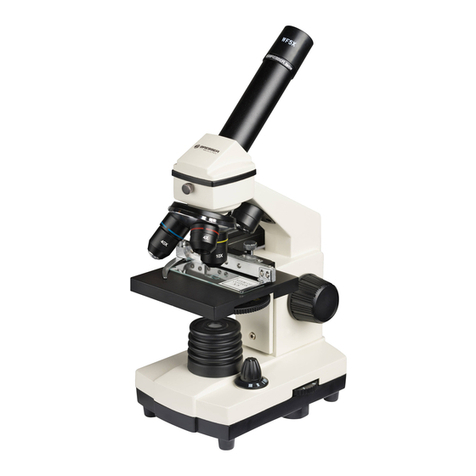
40X - 640X Microscope Set
Cleaning Tips
To ensure your microscope has
a long service life, clean the lens
(objective and eyepiece) only with
soft lint free cloth (e.g., microber).
Do not press hard as this might
scratch the lens. Ask your parents
to help if your microscope is really
dirty. The cleaning cloth should be
moistened with cleaning uid and
the lens wiped clean using very
little pressure. Make sure your
microscope is always protected
against dust and dirt. After use,
leave it in a warm room to dry off.
This microscope can be the
gateway to a fun, creative, learning
process and will open the door
to advanced knowledge of the
world around you. It allows you
to explore the various elds of
science from biology to botany
to chemistry and beyond, so have
fun exploring the exciting world of
science.
Experiment Instructions
WARNING
• Keep chemicals and corrosive
liquids out of the reach of
children.
• Do not ingest any chemicals.
• Wash your hands thoroughly
with soap under running water
after use.
Introduction
Here are a few tips about how to
take a better look at the wonderful
world of microorganisms and
crystals. For example, you will
learn how to prepare your object,
so that you can look at it with
the microscope. The numerous
experiments described should
make you curious and want to use
your microscope more.
What Kind of Objects?
With a magnifying glass, you
can look at non-transparent (i.e,
opaque) objects—for example,
small animals, parts of plants,
tissues, etc. Here, the light falls
onto the object and is reected
back through the magnifying
lens and into your eye. With your
microscope, however, you can
observe transparent objects, in
which the light from the lamp goes
through the opening on the stage
and your prepared specimen. Then
it passes through the objective,
the body of the microscope and
the eyepiece into your eye. In this
way, the microscope is only meant
for observing transparent objects.
Many aquatic microorganisms,
plant parts, and small animal parts
are naturally transparent. Other
things can be made transparent.
Transparency can be achieved
through a treatment or penetration
with the appropriate materials
(media), or by taking the thinnest
slices from them (using a hand
or specimen slicer), and then
examine them. You’ll now nd out
how this is done.
How to Produce Thin Specimen
Slices
WARNING
Only do this with an adult’s
supervision. Ask your parents to
help you. As already mentioned,
you need to get the thinnest slices
possible from an object so that
they are transparent and can be
looked at under the microscope.
First, you’ll need a simple candle.
Place the wax from the candle in an
old pot and heat it on the stovetop
until it becomes liquid. Now, use
tweezers to dip the object in the
liquid wax a few times. The wax is
very hot. Be careful. After each dip,
allow the wax to harden and then
dip the object into the wax again.
When the wax around the object
has hardened completely, you can
use the specimen slicer to cut thin
slices from it. These slices are to
be laid on a slide and covered with
a cover slip.
The Production of Specimens
There are two basic types of
specimens: Permanent specimens
and short-term specimens.
Short-term Specimens
Short-term specimens are
produced from objects that you
want to look at, but don’t want to
keep in your specimen collection.
These specimens are only meant
to be observed for a short period of
time, after which they are disposed
of. For short-term specimens,
place the object on the slide and
place a cover slip on top of it.
After looking at the object, clean
the slide and cover slip. One of the
secrets of successful observation
with microscope is the use of
clean slides and cover slips. Spots
or stains would only distract you
when looking at an object.
Permanent Prepared
Specimens
Permanent prepared specimens
are produced from objects you
will likely want to look at again
and again. The preparation of
dry objects (pollen, the wings
of a y, etc.) can only be done
with a special glue. This glue is
called „gum media“ and can be
purchased at a local hobby store or
online. Objects that contain liquid
must rst have the liquid taken out
of them.
How to Prepare a Dry Object
First, place the object in the middle
of a clean slide and cover it with
a drop of glue (gum media). Then
place a cover slip on the object that
is covered in the chemical. Lightly
press the cover slip so that the glue
spreads to the edges. Now you have
to let the specimen harden for 2-3
days. Only then is the specimen
rmly glued so you will be able to
use it.
