manuals.online logo
Brands
  1. Home
  2. •
  3. Brands
  4. •
  5. Brooks
  6. •
  7. Controllers
  8. •
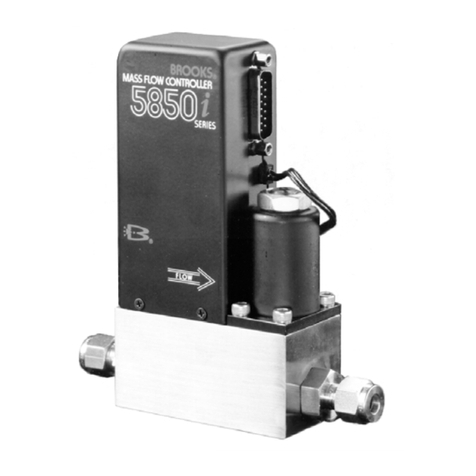
  9. Brooks 5850EMH User manual

Brooks 5850EMH User manual

Dear Customer,
Thank you for your purchase. We appreciate this opportunity to service your flow
measurement and control needs with a Brooks Instrument device. Brooks’ award-
winning meters and controllers consistently rank at the top of their category for
accuracy, reliability and user preference, as judged by the audience that matters -
real users of flow instrumentation, like you.
But Brooks’ products are only half of the story. You are backed by Brooks’
unsurpassed local technical expertise in virtually every corner of the planet. Your
local Brooks product and application specialist is truly your “partner in flow”.
They have been extensively trained to help you select the optimal solutions for
your flow measurement or control needs and offer years of experience solving
application problems just like yours.
Should you require any additional information concerning Brooks’ products and
services, please contact your local Brooks Sales and Service office listed on the
back cover of this guide.
Sincerely,
Brooks Instrument
Visit us online atVisit us online at
Visit us online at wwwwww
wwwwww
www.BrooksInstrument.com.BrooksInstrument.com
.BrooksInstrument.com.BrooksInstrument.com
.BrooksInstrument.com
QuicQuic
QuicQuic
Quick Start Guidek Start Guide
k Start Guidek Start Guide
k Start Guide
585xEMH High585xEMH High
585xEMH High TT
TT
Temperemper
emperemper
emperaturatur
aturatur
aturee
ee
e
Thermal Mass Flow ConThermal Mass Flow Con
Thermal Mass Flow Contrtr
trtr
trollersollers
ollersollers
ollers
Metal SealMetal Seal
Metal Seal
Thermal Mass FlowThermal Mass Flow
Thermal Mass Flow
PN: 541B209AAG/A
Reference: 834z986
Brooks is a trademark of Brooks Instrument, LLC.
All other marks are property of their respective owners.
5850EMH5850EMH
5850EMH5850EMH
5850EMH
This Quick Start Guide applies to the following Brooks product(s):
•E-Series: 5850EMH, 5851EMH
In an effort to be more eco-friendly, Brooks is no longer supplying
printed instruction manuals with the product shipments to reduce our
paper consumption.
For your product’s complete instruction manual, please download it
at: www.BrooksInstrument.com/Manuals .
Brooks InstrumentBrooks Instrument
Brooks Instrument
407 West Vine Street
P.O.Box 903
Hatfield, PA 19440-0903 USA
Tel (215) 362 3700
Fax (215) 362 3745
E-mail [email protected]
Brooks InstrumentBrooks Instrument
Brooks Instrument
Neonstraat 3
6718 WX Ede, Netherlands
P.O. Box 428
6710 BK Ede, Netherlands
Tel +31 (0) 318 549 300
Fax +31 (0) 318 549 309
E-mail [email protected]
Brooks InstrumentBrooks Instrument
Brooks Instrument
ITW-Japan Ltd.ITW-Japan Ltd.
ITW-Japan Ltd.
1-4-4 Kitasuna Koto Ku
Tokyo, 136-0073 Japan
Tel +81 (0) 3 5633 7100
Fax +81 (0) 3 5633 7101
E-mail [email protected]
23
X-TMF-585xEMH-QS-eng
January, 2016
PN: 541B209AAG/A
© Copyright 2016, Brooks Instrument, LLC,
All rights reserved. Printed in USA.
The instrument may be located anywhere in the process line, as long as the
following conditions are met:
• Ambient temperature must remain between 85° and 105°C (185°F and 221°F).
• The instrument (cable connections, wiring compartments and/or conduit
openings) should be accessible for service.
The instrument can be mounted in any orientation. It’s best if the mounting
orientation matches the orientation specified on the Calibration Data Sheet.
Refer to Figure 1 for the different mounting options:
1
2
3
After mounting the
Controller, carefully connect
and tighten the process lines.
Ensure the fittings are leak-free.
Step 2: Mounting the Controller to a Plate, Shelf or PanelStep 2: Mounting the Controller to a Plate, Shelf or Panel
Step 2: Mounting the Controller to a Plate, Shelf or Panel
Step 3: Gas ConnectionsStep 3: Gas Connections
Step 3: Gas Connections
Attitude #1
Flow: Horizontal
Mount: Base Down
Attitude #3
Flow: Horizontal
Mount: Either Side Down
Attitude #4
Flow: Vertical
Mount: Inlet Down
Step 1: Location/OrientationStep 1: Location/Orientation
Step 1: Location/Orientation
Attitude #2
Flow: Vertical
Mount: Inlet Up
Attitude #5
Flow: Horizontal
Mount: Upside Down
4
5850EMH
5851EMH
Inch
[mm]
6
Step 5: Electrical ConnectionsStep 5: Electrical Connections
Step 5: Electrical Connections
After the flow controller has been installed in the system it is ready for
operation.
Controller: You must provide a setpoint/command signal to the controller.
The controller will read the setpoint signal and will automatically adjust the
valve to the appropriate position to achieve the desired flow and will provide
a flow signal proportional to the full scale flow of the device as indicated on
the device label.
Step 6: OperationStep 6: Operation
Step 6: Operation
5
To insure proper operation, the Model 585xEMH must be connected per Figure 5.
As a minimum, the following connections must be made:
Voltage I/O VersionVoltage I/O Version
Voltage I/O Version
• Chassis Ground (Pin 14)
• Signal Common (Pin 10)
• Signal Output (Pin 2)
• +15 Vdc Supply (Pin 5)
• -15 Vdc Supply (Pin 6)
Each device is factory adjusted to provide a flow signal of zero volts (±10 mVdc)
at zero flow. The adjustment is made in our calibration laboratory which is
temperature controlled to the temperature specified at the time of order. After
initial installation and warm-up in the gas system, the zero flow indication may
be other than the factory setting. This is primarily caused by changes in
temperature between our calibration laboratory and the final installation. The
zero flow reading can also be affected, to a small degree, by changes in line
pressure and mounting attitude.
To check zero, always mount the controller in its final configuration and apply
power to the instrument and any associated heaters for 60 minutes to reach a
stable thermal condition prior to applying flow. Flow the process fluid into the
instrument and allow sufficient time for the sensor to reach normal operating
temperature.
Note: Before zeroing the instrument, zero pressure differential MUST be
established across the device. If there is pressure across the instrument during the
zero process, any detected flow through the sensor will be misinterpreted as the
zero flow reading. This will result in calibration inaccuracy during normal
operation.
Close the shutoff valve downstream of this instrument to eliminate any pressure
differential across the instrument. Once zero differential pressure is established
and verified, check the flow output signal using a suitable voltmeter. If it differs
from the factory setting, adjust it by removing the lower pot hole plug (refer to
Figure 4) which is located closest to the 7-pin circular connector on the remote
electronics module. Adjust the zero potentiometer until the desired output signal
is within +/- 10 mV of zero on the output of the device.
15 Pin D-Connector15 Pin D-Connector
15 Pin D-Connector
The remote electronics box can be mounted in any position that is convenient and within reach of the high temperature cable. The temperature limit of the
electronics is 0-50°C (32°F -122°F).
Connect the remote electronics box with the controller utilizing the 15-pin D sub connector on the end of the cable which is wired to the remote electronics box.
Step 4: Remote Electronics BoxStep 4: Remote Electronics Box
Step 4: Remote Electronics Box
Receipt of EquipmenReceipt of Equipmen
Receipt of Equipmentt
tt
t
If the packing case is damaged, the local carrier should be notified at once
regarding their liability. Carefully remove the equipment from the packing
case and inspect for damage or missing parts. If damaged, please contact
Brooks Instrument at one of the locations listed on the back of this Quick
Start Guide.
Return ShipmenReturn Shipmen
Return Shipmentt
tt
t
Please note that prior to returning any instrument to the factory Brooks
Instrument requires the completion of Form RPR003-1, a Brooks Instrument
Decontamination Statement, as well as a Materials Safety Data Sheet (MSDS)
for fluid(s) used in the instrument. Copies of these forms can be found
online at
BrBr
BrBr
BrooksInstrumenooksInstrumen
ooksInstrumenooksInstrumen
ooksInstrument/Returns.comt/Returns.com
t/Returns.comt/Returns.com
t/Returns.com along with complete details on
how to process your return shipment or you can contact your nearest Brooks
location for the necessary forms and instruction.
EquipmenEquipmen
EquipmenEquipmen
Equipment Receipt and Return Prt Receipt and Return Pr
t Receipt and Return Prt Receipt and Return Pr
t Receipt and Return Procedurocedur
ocedurocedur
ocedureses
eses
es
4
Pin Function
1 Command Common
2 0-5 Volt, Signal Output
3 Not Used
4 Not Used
5 +15 Vdc Supply
6 -15 Vdc Supply
7 Valve Voltage Out
8 Command Input
9 Supply Voltage Common
10 0-5 Volt Signal Common
11 +5 Vdc Reference Output
12 Valve Override
13 Not Used
14 Chassis Ground
15 Not Used
5
Other Brooks Controllers manuals

Brooks 609638 User manual

Brooks

Brooks 609638 User manual

Brooks SLA5810 User manual

Brooks

Brooks SLA5810 User manual

Brooks 4860 User manual

Brooks

Brooks 4860 User manual

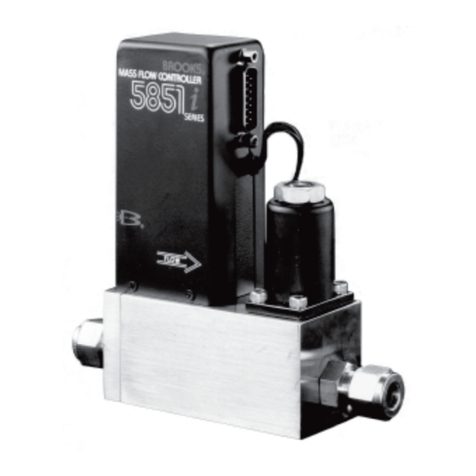
Brooks 5850i User manual

Brooks

Brooks 5850i User manual

Brooks Granville-Phillips Convectron 316 Series User manual

Brooks

Brooks Granville-Phillips Convectron 316 Series User manual

Brooks SLA7840 User manual

Brooks

Brooks SLA7840 User manual

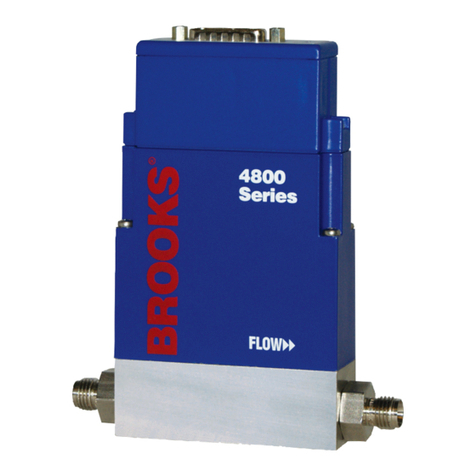
Brooks 4800 Series Owner's manual

Brooks

Brooks 4800 Series Owner's manual

Brooks GF100 Series User manual

Brooks

Brooks GF100 Series User manual

Brooks SLA7810 Series User manual

Brooks

Brooks SLA7810 Series User manual

Brooks SLA7950S User manual

Brooks

Brooks SLA7950S User manual

Brooks QMBC User manual

Brooks

Brooks QMBC User manual

Brooks 5866 User manual

Brooks

Brooks 5866 User manual

Brooks GP200 Owner's manual

Brooks

Brooks GP200 Owner's manual

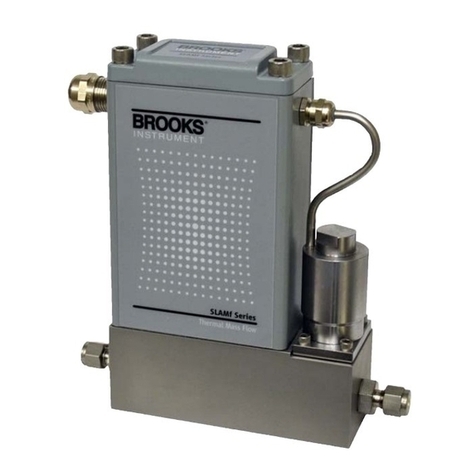
Brooks SLAMf Series Owner's manual

Brooks

Brooks SLAMf Series Owner's manual

Brooks 5851i User manual

Brooks

Brooks 5851i User manual

Brooks On-Board IS User manual

Brooks

Brooks On-Board IS User manual

Brooks 5851EM Series User manual

Brooks

Brooks 5851EM Series User manual

Brooks MFM User manual

Brooks

Brooks MFM User manual

Brooks GF Series User manual

Brooks

Brooks GF Series User manual

Brooks Electronics RadioLINK EIB450 User manual

Brooks

Brooks Electronics RadioLINK EIB450 User manual

Brooks SLA5810/20 User manual

Brooks

Brooks SLA5810/20 User manual

Brooks FAC20 User manual

Brooks

Brooks FAC20 User manual

Popular Controllers manuals by other brands

BENSHAW RediStart EXEXMVRMX3 Series user manual

BENSHAW

BENSHAW RediStart EXEXMVRMX3 Series user manual

Johnson Controls Facility Explorer FX20 installation instructions

Johnson Controls

Johnson Controls Facility Explorer FX20 installation instructions

LIXiSE SX440 Operation manual

LIXiSE

LIXiSE SX440 Operation manual

Viso Systems VX01 installation guide

Viso Systems

Viso Systems VX01 installation guide

Honeywell SUPER TRADELINE S8610U user manual

Honeywell

Honeywell SUPER TRADELINE S8610U user manual

Honeywell UDC3500 quick start guide

Honeywell

Honeywell UDC3500 quick start guide

Mitsubishi Electric Q173DSCPU Programming manual

Mitsubishi Electric

Mitsubishi Electric Q173DSCPU Programming manual

Omron CJ1W-CT021 Operation manuals

Omron

Omron CJ1W-CT021 Operation manuals

Milesight UC50 Series user guide

Milesight

Milesight UC50 Series user guide

Technische Alternative UVR610K-OD installation instructions

Technische Alternative

Technische Alternative UVR610K-OD installation instructions

Hitachi CMU Series user manual

Hitachi

Hitachi CMU Series user manual

HP Enterprise Aruba7200 Series installation guide

HP Enterprise

HP Enterprise Aruba7200 Series installation guide

REACIONA AVR-A-OPT-02 Installation and operation manual

REACIONA

REACIONA AVR-A-OPT-02 Installation and operation manual

Innotech M2K04 User instructions

Innotech

Innotech M2K04 User instructions

Carel easy quick start guide

Carel

Carel easy quick start guide

oventrop Hycocon DTZ Installation and operating instructions

oventrop

oventrop Hycocon DTZ Installation and operating instructions

rotork IQ Range Full Configuration, status and monitoring user manual

rotork

rotork IQ Range Full Configuration, status and monitoring user manual

Gruetzner Lubricus LUB-C-1 user guide

Gruetzner

Gruetzner Lubricus LUB-C-1 user guide

manuals.online logo
manuals.online logoBrands
  • About & Mission
  • Contact us
  • Privacy Policy
  • Terms and Conditions

Copyright 2025 Manuals.Online. All Rights Reserved.