manuals.online logo
Brands
  1. Home
  2. •
  3. Brands
  4. •
  5. Brother
  6. •
  7. All In One Printer
  8. •
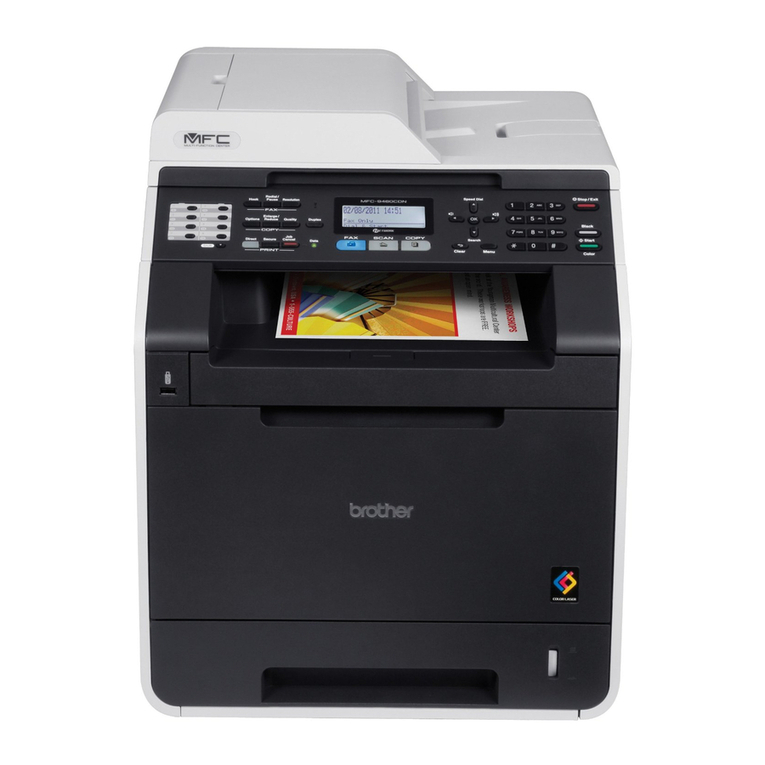
  9. Brother DCP-9040CN User manual

Brother DCP-9040CN User manual

Other manuals for DCP-9040CN

11

This manual suits for next models

7

Other Brother All In One Printer manuals
Brother DCP 350C - Color Inkjet - All-in-One User manual

Brother

Brother DCP 350C - Color Inkjet - All-in-One User manual

Brother MFC-J825DW User manual

Brother

Brother MFC-J825DW User manual

Brother DCP-J572DW User manual

Brother

Brother DCP-J572DW User manual

Brother DCP-9020CDN Assembly instructions

Brother

Brother DCP-9020CDN Assembly instructions

Brother HL-L8250CDN User manual

Brother

Brother HL-L8250CDN User manual

Brother MFC-8420 User manual

Brother

Brother MFC-8420 User manual

Brother intelliFAX-800c Installation instructions

Brother

Brother intelliFAX-800c Installation instructions

Brother MFC-J985W Technical manual

Brother

Brother MFC-J985W Technical manual

Brother DCP-J140W Safety guide

Brother

Brother DCP-J140W Safety guide

Brother MFC-9125CN User manual

Brother

Brother MFC-9125CN User manual

Brother MFC-9180 User manual

Brother

Brother MFC-9180 User manual

Brother MFC-5895CW User manual

Brother

Brother MFC-5895CW User manual

Brother HL1210W User manual

Brother

Brother HL1210W User manual

Brother MFC-790CW User manual

Brother

Brother MFC-790CW User manual

Brother MFC-J4610DW Operating manual

Brother

Brother MFC-J4610DW Operating manual

Brother DCP-9040CN User manual

Brother

Brother DCP-9040CN User manual

Brother MFC-J280W Assembly instructions

Brother

Brother MFC-J280W Assembly instructions

Brother HL-L3290CDW User manual

Brother

Brother HL-L3290CDW User manual

Brother MFC-8420 User manual

Brother

Brother MFC-8420 User manual

Brother P2500 User manual

Brother

Brother P2500 User manual

Brother 9840CDW - Color Laser - All-in-One User manual

Brother

Brother 9840CDW - Color Laser - All-in-One User manual

Brother MFC-9140CDN Assembly instructions

Brother

Brother MFC-9140CDN Assembly instructions

Brother MFC-820CW User manual

Brother

Brother MFC-820CW User manual

Brother DCP 8085DN User manual

Brother

Brother DCP 8085DN User manual
Popular All In One Printer manuals by other brands

Ricoh Aficio FX200 Service training

Ricoh

Ricoh Aficio FX200 Service training

Olivetti d-Copia 16W Operation manual

Olivetti

Olivetti d-Copia 16W Operation manual

Konica Minolta bizhub C3850FS user guide

Konica Minolta

Konica Minolta bizhub C3850FS user guide

Konica Minolta bizhub 758 manual

Konica Minolta

Konica Minolta bizhub 758 manual

Lexmark MX310 Series Service manual

Lexmark

Lexmark MX310 Series Service manual

Ricoh Aficio 3224C operating instructions

Ricoh

Ricoh Aficio 3224C operating instructions

Sagem MF 3625 user manual

Sagem

Sagem MF 3625 user manual

Epson Epson Stylus NX530 quick guide

Epson

Epson Epson Stylus NX530 quick guide

Konica Minolta 7033 instruction manual

Konica Minolta

Konica Minolta 7033 instruction manual

Ricoh Aficio MP 161F operating instructions

Ricoh

Ricoh Aficio MP 161F operating instructions

Epson WorkForce WF-2510 Basic guide

Epson

Epson WorkForce WF-2510 Basic guide

Epson Stylus Scan 2000 Product information guide

Epson

Epson Stylus Scan 2000 Product information guide

Epson PictureMate Snap PM 240 Start here

Epson

Epson PictureMate Snap PM 240 Start here

Konica Minolta BIZHUB 558 Quick reference guide

Konica Minolta

Konica Minolta BIZHUB 558 Quick reference guide
Lexmark MX710 Series setup sheet

Lexmark

Lexmark MX710 Series setup sheet

Sharp MX-2310U Start guide

Sharp

Sharp MX-2310U Start guide

Lexmark XC8155 user guide

Lexmark

Lexmark XC8155 user guide

Xerox B205 Quick use guide

Xerox

Xerox B205 Quick use guide

manuals.online logo
manuals.online logoBrands
  • About & Mission
  • Contact us
  • Privacy Policy
  • Terms and Conditions

Copyright 2025 Manuals.Online. All Rights Reserved.

1 Ver. 122009
CLEANING THE DRUM UNIT
DCP9040CN, DCP9045CDN, HL4040CN, HL4040CDN, HL4070CDW, MFC9440CN,
MFC9450CDN & MFC9840CDW
The following is a procedure for cleaning the drum unit using either a medical alcohol swab (available at local
retail pharmacy or drugstore) or a cotton swab that has been moistened with Isopropyl alcohol. Warning:
Isopropyl alcohol is flammable and should be kept away from fire or flame.
Please note that this cleaning process may have to be repeated several times to remove certain kinds of foreign
material from the drum unit surface.
In some cases, the foreign material can not be removed and the drum unit will require replacement.
1. Turn off the machine’s power switch.
2. Unplug the telephone line cord first (if
applicable), disconnect all cables, and
then unplug the power cord from the AC
power outlet.
3. Press the front cover release button and
then fully open the front cover.
4. Grasp the green handle of the drum unit.
Lift the drum unit up slightly and then pull
it out until it stops.
2 Ver. 122009
5. Release the gray lock lever (1) that is on
the left side of the machine. Lift the front
of the drum unit and pull the drum unit
completely out of the machine using the
green handles on the drum unit.
CAUTION
Hold the handles of drum unit when you carry it.
DO NOT hold the sides of the drum unit.
CAUTION
We recommend that you place the drum unit on a
clean, flat surface with a piece of disposable
paper underneath it in case you accidentally spill
or scatter toner.
3 Ver. 122009
6. Hold the handle of the toner cartridge and
pull it out of the drum unit. Repeat this for
all of the toner cartridges.
CAUTION
We recommend that you place the toner
cartridges on a clean, flat surface with a piece of
disposable paper underneath it in case you
accidentally spill or scatter toner.
Handle the toner cartridge carefully. If toner
scatters on your hands or clothes, wipe or wash it
off with cold water
immediately
.
To avoid print quality problems, DO NOT touch
the shaded parts shown in the illustrations.
4 Ver. 122009
7. Turn the drum unit over by holding the
green handles. Make sure that the drum
unit gears (1) are on the left hand side.
8. Look at a print sample to identify the color
causing the problem. The color of the
spots or print defect is the color of the
drum you should clean. For example, if
the spots or print defect is cyan, you
should clean the drum for cyan. Put the
print sample in front of the drum, and the
find the exact position of the poor print.
NOTE
The Cyan drum will be closest to you then further
out will be Magenta, then Yellow and Black will be
the farthest from you.
CAUTION
The drum is photosensitive and should not be
touched directly with your fingers or hand as it will
result in body oils being applied to the drum unit.
DO NOT attempt to clean the surface of the
photosensitive drum with any sharp object.
9. Turn the drum unit gear toward you by
hand while looking at the surface of the
drum (1).
10. When you have found the mark on the
drum that matches the print sample, wipe
the surface of the drum gently with a prep
pad or cotton swab until the dust or paper
powder on the surface comes off.
11. Allow the alcohol to evaporate from the
drum surface before continuing. In some
cases there maybe several areas on a
drum that require cleaning.
5 Ver. 122009
12. Turn the drum gear towards you enough
times to inspect the entire drum surface.
Use the numbers next to the drum gear
as a reference to ensure the drum has
been rotated completely.
13. Turn the drum unit over by holding the
green handles.
14. Reinstall the toner cartridges by holding
the handle of the toner cartridge and slide
the toner cartridge into the drum unit.
Make sure that you match the toner
cartridge color to the same color label on
the drum unit, and make sure that you
fold down the toner cartridge handle (A)
once the toner cartridge is in place.
Repeat this for all the toner cartridges.
6 Ver. 122009
15. Put the drum unit back in the machine as
follows.
a. Make sure that the gray lock lever
(1) is in the up position and put
the drum unit in the machine.
Push down the gray lock lever (1).
NOTE
When you put the drum unit in the machine,
match the green guides (1) of the drum unit
handle to the green arrows (2) on both sides of
the machine.
7 Ver. 122009
b. Push the drum unit in until it
stops.
16. Close the front cover of the machine.
17. Reconnect all cables and the telephone
line cord (if applicable).
18. Plug the AC power cord into an AC outlet,
and then turn on the machine’s power
switch.
19. Test the machine by printing a document.
Compare this print result to prior prints to
see if the quality has been improved.
NOTE
In some cases it maybe necessary to repeat
the cleaning process. If the issue can not be
resolved, the drum unit will have to be
replaced.