www.browertiming.com
12 www.browertiming.com 13
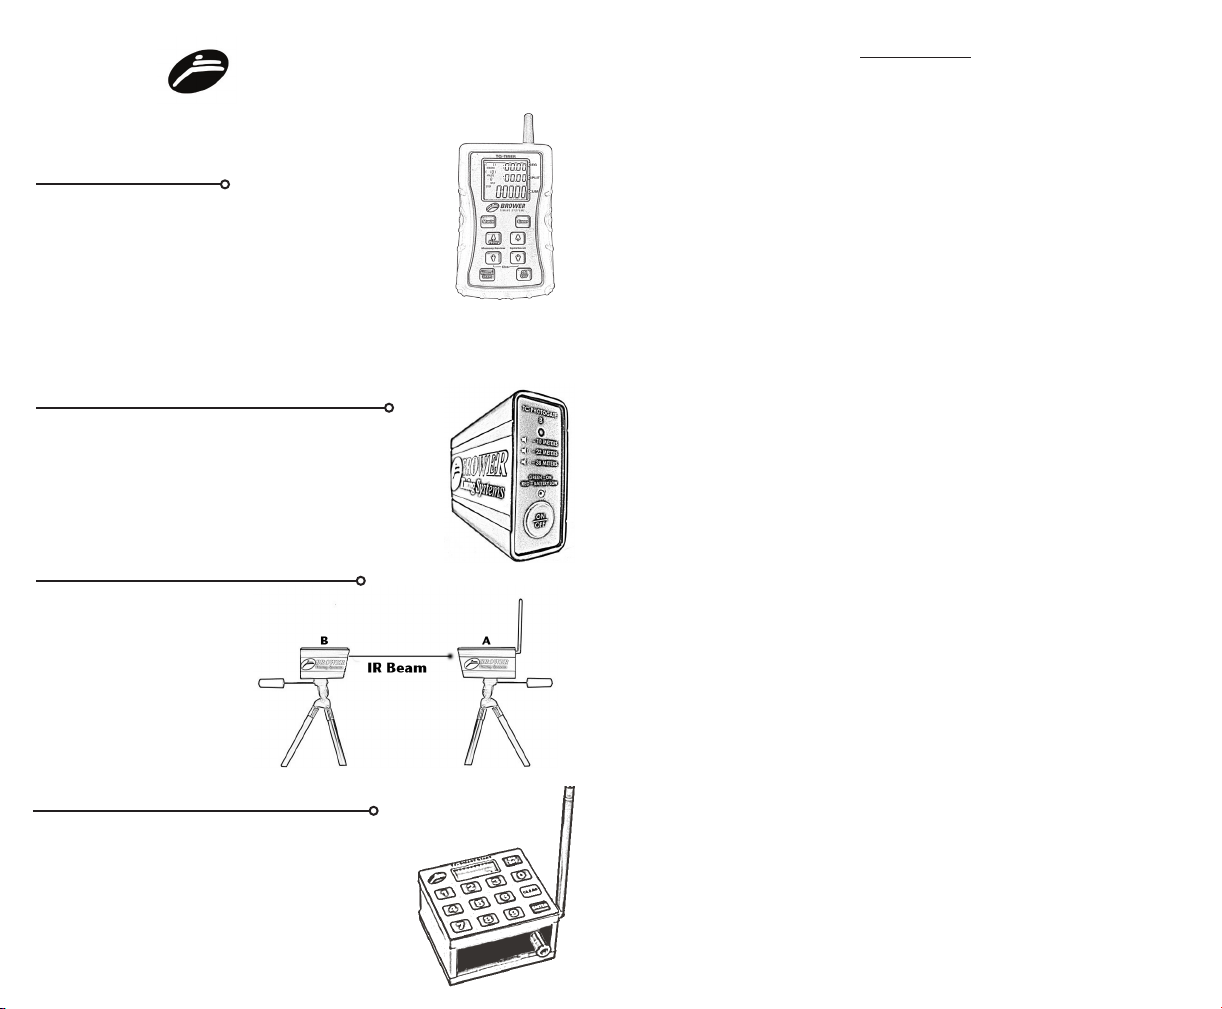
Frequency Select Mode
RSSI Mode
FREQ mode allows the user to change
the radio frequency of the timing system.
This allows two or more TCi Systems to
work in the same location. After setting
the TCi-Timer radio frequency (0-4), the
frequency must also be changed to match
in TCi-PhotoGate A and TCi-Smart
Start. For the PhotoGate A this is done
by removing the aluminum case. Locate
the blue switch panel and shift a lever to
select a frequency. More than one
switch cannot be down at the same
time. (All switches up is FREQ 0)
On the TCi-Smart Start, hold the
On/Off button until the unit beeps 3 times
and the display shows “FrE,” select the
frequency number and press ENTER.
1 2 3 4
ON
Relative Signal Strength Indicator
RSSI Test Mode allows you to self diag-
nose the distance capability of reception
or problems with signal reception.
Problem I occasionally miss a start or
stop signal.
Solution Check RSSI to see if their is ra-
dio interference at your location. Indoor
Interference could come from equipment i.e. machines and computers,
or Bluetooth. This may be the case if your RSSI reads 30/40 or higher
without your TCi-PhotoGate A transmitting.
Problem I need to time distances over 1000 feet, and I want to know if I
will get reliable reception.
Solution Set up your TCi-PhotoGates and have someone break the beam
every three seconds. Go to the desired distance, the RSSI needs to read at
least 29/35.
Problem I have noise or other users on my frequency. (38/50)
Solution Try frequency 1, 2, 3 or 4. (Must also be changed in TCi-Photo-
Gate A and TCi-Smart Start.)
TC-Display
The TC-Display is a hands free timer that will display a time until a new
time starts. The TC-Display has 10 different modes. To select a mode:
Hold down MEM/MODE button until the mode number blinks
Press the MEM/MODE button to scroll through each mode
Hold down MEM/MODE button to select mode
For modes with a selectable distance:
Scroll to the number of feet or meters between two PhotoGates by
pressing the MEM/MODE button repeatedly
Hold button for 3 seconds to select distance
Mode 0: Start and nish.
Mode 1: Start, split and nish.
Mode 2: Continual lap times.
Mode 3: Miles Per Hour (Select distance between 1 and 99 Feet)
Mode 4: Kilometers Per Hour (Select distance between 1 and 30 Meters)
Mode 5: Meters Per Second (Select distance between 1 and 30 Meters)
Mode 6: Displays two split intervals (Curling)
Mode 7: Times in 1/1000ths of a second
Mode 8: Times up to 9 Minutes. (Minutes, Seconds, 1/10ths of a Second)
Mode 9: Automatic Mode. Allows for unlimited split times. Time will
reset to zero after 5, 10 or 15 seconds
The MEM/MODE button can be pressed to scroll through up to 10 previ-
ous times. A start will automatically bring the TC-Display back to the
latest time.
The TC-Display will show b-Lo to signal a low battery after power up.
The TC-Display is capable of 5 different radio frequencies. Remove the
end cap from the side of the TC-Display by removing two small screws.
Locate the blue switch panel and switch the appropriate lever. More than
one switch cannot be down at the same time. (All switches up is FREQ 0)
The included mounting clamp attaches
to the back of the TC-Display and can
be used as an adjustable tilt stand.
MEM/MODE
Button
1 2 3 4
ON