41) Select Windows icon (start menu)
Sélectionnez l'icône Windows (menu de démarrage)
2) Select ‘Settings’
Sélectionnez "Paramètres"
3) Select ‘Devices’
Sélectionnez "Périphériques"
4) Select ‘Bluetooth’
Sélectionnez "Bluetooth"
5) Confirm Bluetooth is on
Confirmer que Bluetooth est activé
6) Select ‘Brydge 12.3’, then ‘pair’
Sélectionnez "Brydge 12.3", puis "paire"
7) Enter the on-screen passcode and press enter
Entrez le code d'accès à l'écran et appuyez sur Entrée.
To manually power on, press and hold Fn + Delete keys
The light will turn green for 3 seconds to indicate power
NOTE: Once paired, your Brydge will automatically wake upon
opening the Surface. The Delete key will turn green for three
seconds to let you know your Brydge is awake
POWER
3
Delete
To pair, press and hold the Bluetooth key for three seconds.
The Delete key light will flash blue confirming your Brydge is in
pairing mode
NOTE: If pairing takes longer than one minute, the blue light will
stop flashing and you will need to press the Bluetooth button
again
Pour coupler, maintenez la touche Bluetooth enfoncée pendant
trois secondes.
Le voyant de la touche Supprimer clignotera en bleu pour
confirmer que votre Brydge est en mode de couplage.
REMARQUE: Si la liaison prend plus d’une minute, le voyant bleu
cesse de clignoter et vous devez appuyer sur le bouton
Bluetooth
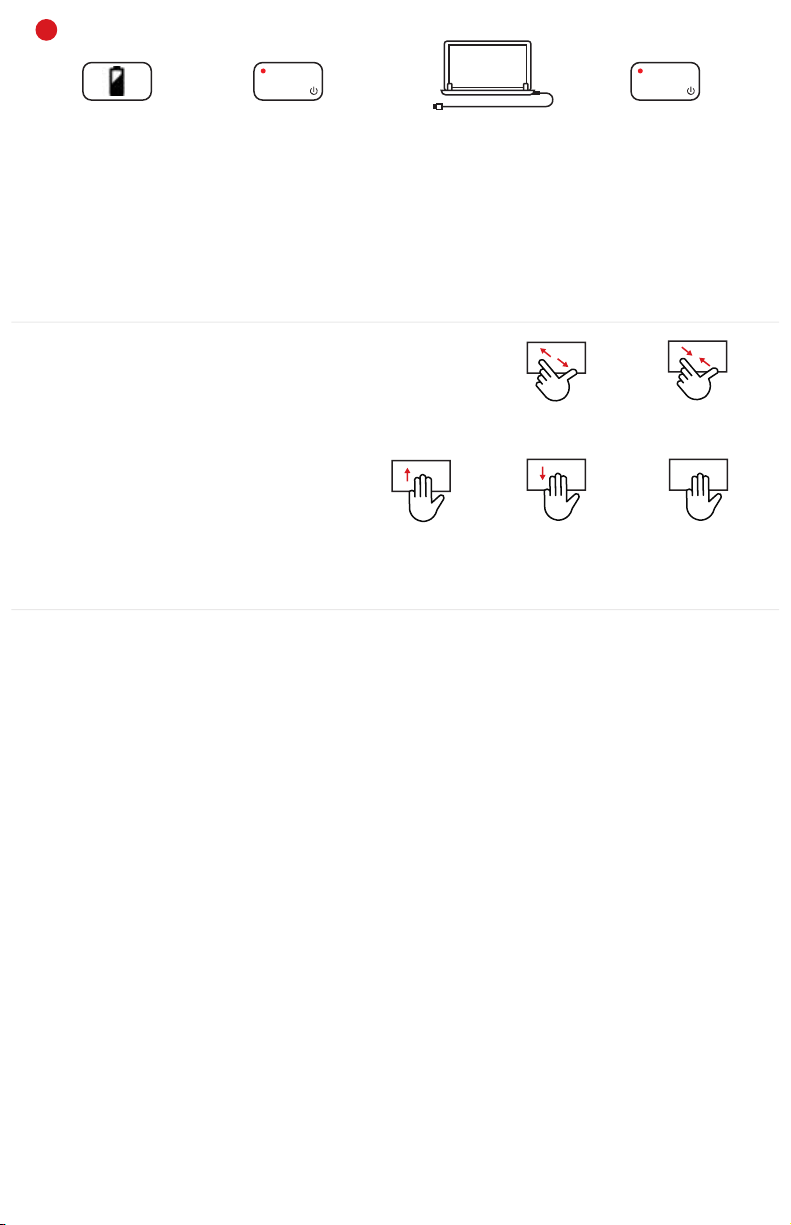
To manually power off, press and hold Fn + Delete keys for 3
seconds. The light will turn red momentarily to indicate it’s
powered off
NOTE: To conserve battery, your Brydge will enter sleep mode
after 20 minutes of non-use. Press any key to turn back on. Your
Brydge will enter sleep mode when both devices are closed like a
laptop
Pour allumer manuellement, maintenez les touches Fn + Suppr
enfoncées
Le voyant deviendra vert pendant 3 secondes pour indiquer la
mise sous tension
REMARQUE: Une fois jumelé, votre Brydge se réveillera
automatiquement lors de l’ouverture de la surface. La touche
Suppr devient verte pendant trois secondes pour vous informer
que votre Brydge est réveillé.
Pour éteindre manuellement, maintenez les touches Fn + Suppr
enfoncées pendant 3 secondes. Le voyant s'allume momentané-
ment en rouge pour indiquer qu'il est éteint
REMARQUE: pour économiser la batterie, votre Brydge passera en
mode veille après 20 minutes de non-utilisation. Appuyez sur
n’importe quelle touche pour le rallumer. Votre Brydge entrera en
mode veille lorsque les deux appareils seront fermés comme un
ordinateur portable.
F12
PAIR
Delete
To remove, hold your Surface
and pull straight up, with one
hand firmly holding your Brydge
against a hard surface
Place your Brydge on a flat
surface, rotate the hinges
upright to 90º and insert your
Surface into the hinges with
the home button on the right
If the Surface is loose, remove
and give the hinges a gentle
squeeze. Repeat this process
until your Surface is held firmly
INSERT/REMOVE
INSÉRER / RETIRER
Lift your Surface to test the hinge
grip. Your iPad and Brydge should
be held firmly together
Pour l'enlever, tenez votre
Surface et tirez droit, d'une main
tenant votre Brydge contre une
surface dure
Placez votre Brydge sur une
surface plane, faites pivoter
les charnières à 90 ° et insérez
votre Surface dans les
charnières avec le bouton
d'accueil à droite.
Si La Surface est lâche, retirez-le
et exercez une légère pression
sur les charnières. Répétez cette
procédure jusqu'à ce que votre
Surface soit maintenu fermement
Soulevez votre Surface pour tester
le grip de la charnière. Votre iPad
et Brydge doivent être maintenus
fermement ensemble
SHIMS
CALES
TO REPLACE: Remove the current
shims, and ensure the surface is
smooth
NOTE: Removing all remaining glue is
not essential
POUR REMPLACER: Enlevez les
cales actuelles et assurez-vous
que la surface est lisse
REMARQUE: Il n'est pas essentiel
de retirer toute la colle restante.
NOTE: Ensure the shim is
pressed firmly against the
bottom of the hinge before
pressing on the front and back
REMARQUE: Assurez-vous que
la cale est bien appuyée contre le
bas de la charnière avant
d'appuyer sur l'avant et l'arrière
Remove tape backing from front
and back of new shims and insert
evenly into hinges
Retirer le ruban adhésif de l'avant
et de l'arrière des nouvelles cales
et l'insérer uniformément dans les
charnières
3M
M
Esc
F1 F2 F3 F4 F5 F6 F7 F9 F10 F11 F12
F8
PrtSc Delete
Backspace
Tab
Caps Lock
Shift
Ctrl Fn
€
Alt Alt Ctrl Home End
PgUp
PgDn
Enter
Shift
PAIRE
PUISSANCE