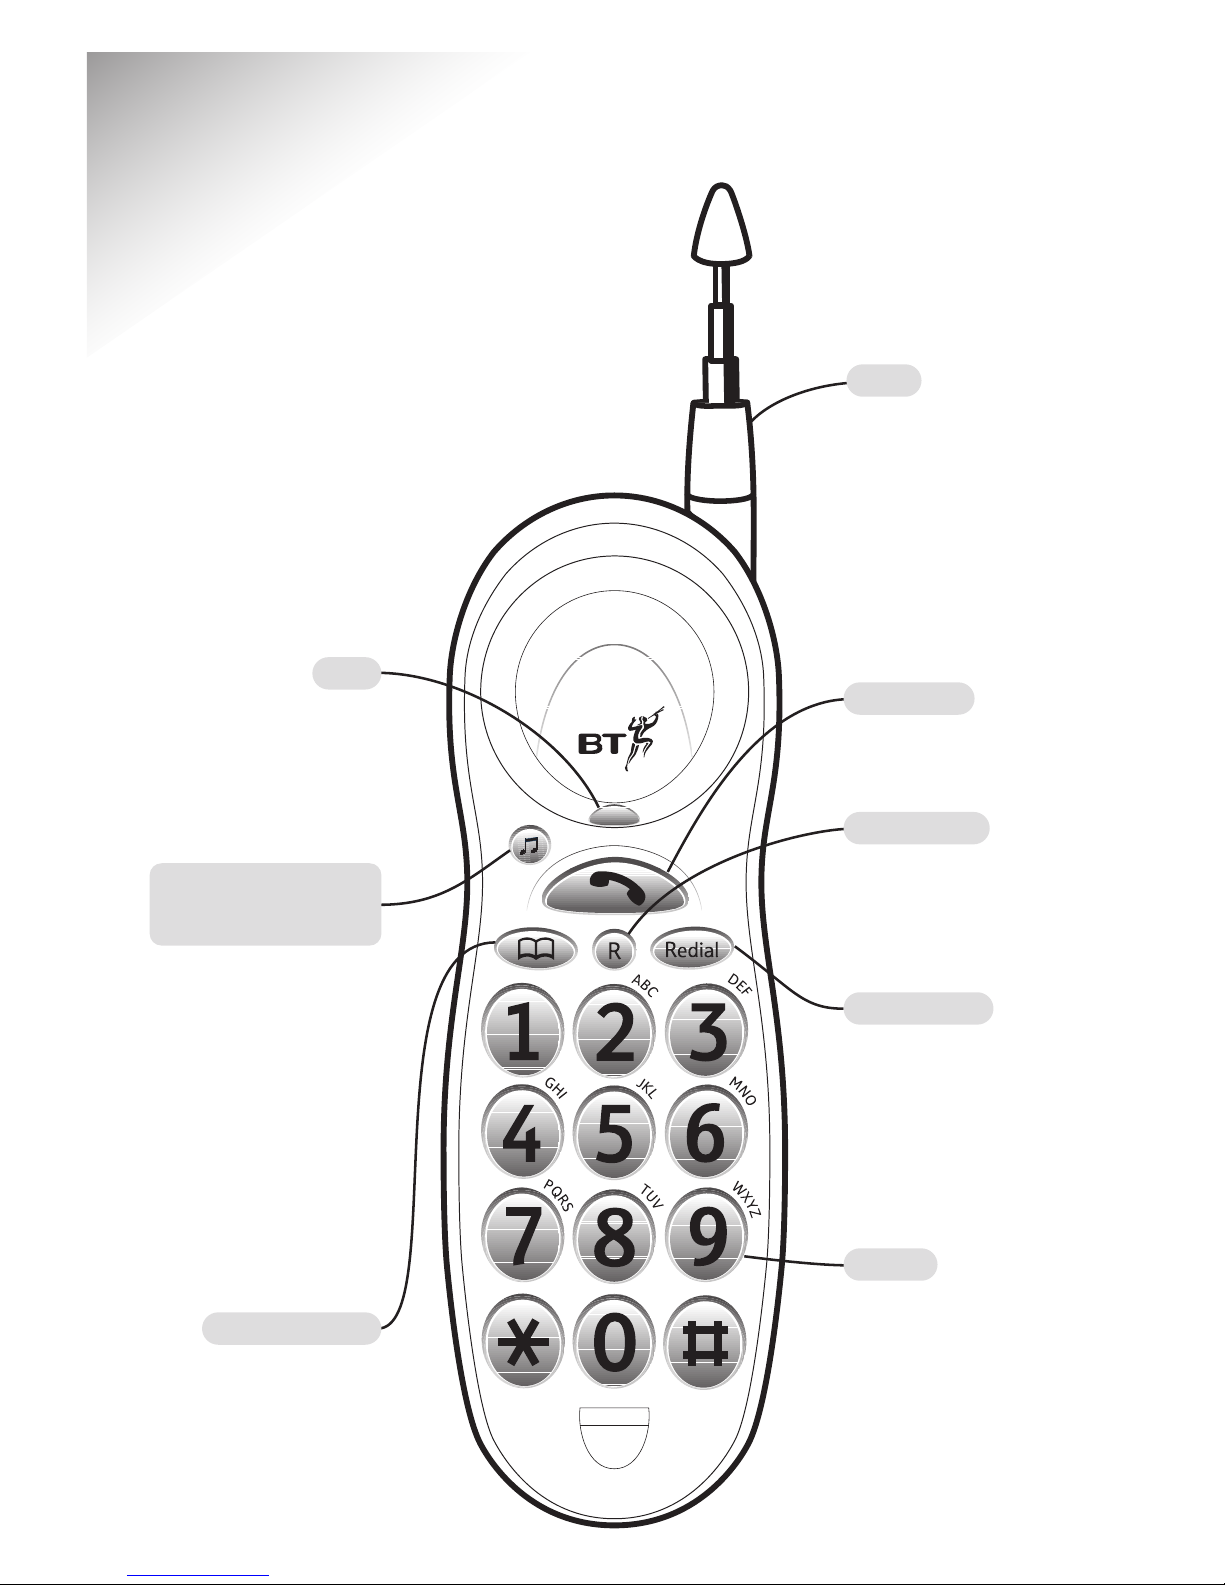
6
Freestyle 6 User Guide ~ th Edition ~ th April ’02 ~ 39 0
Safety information
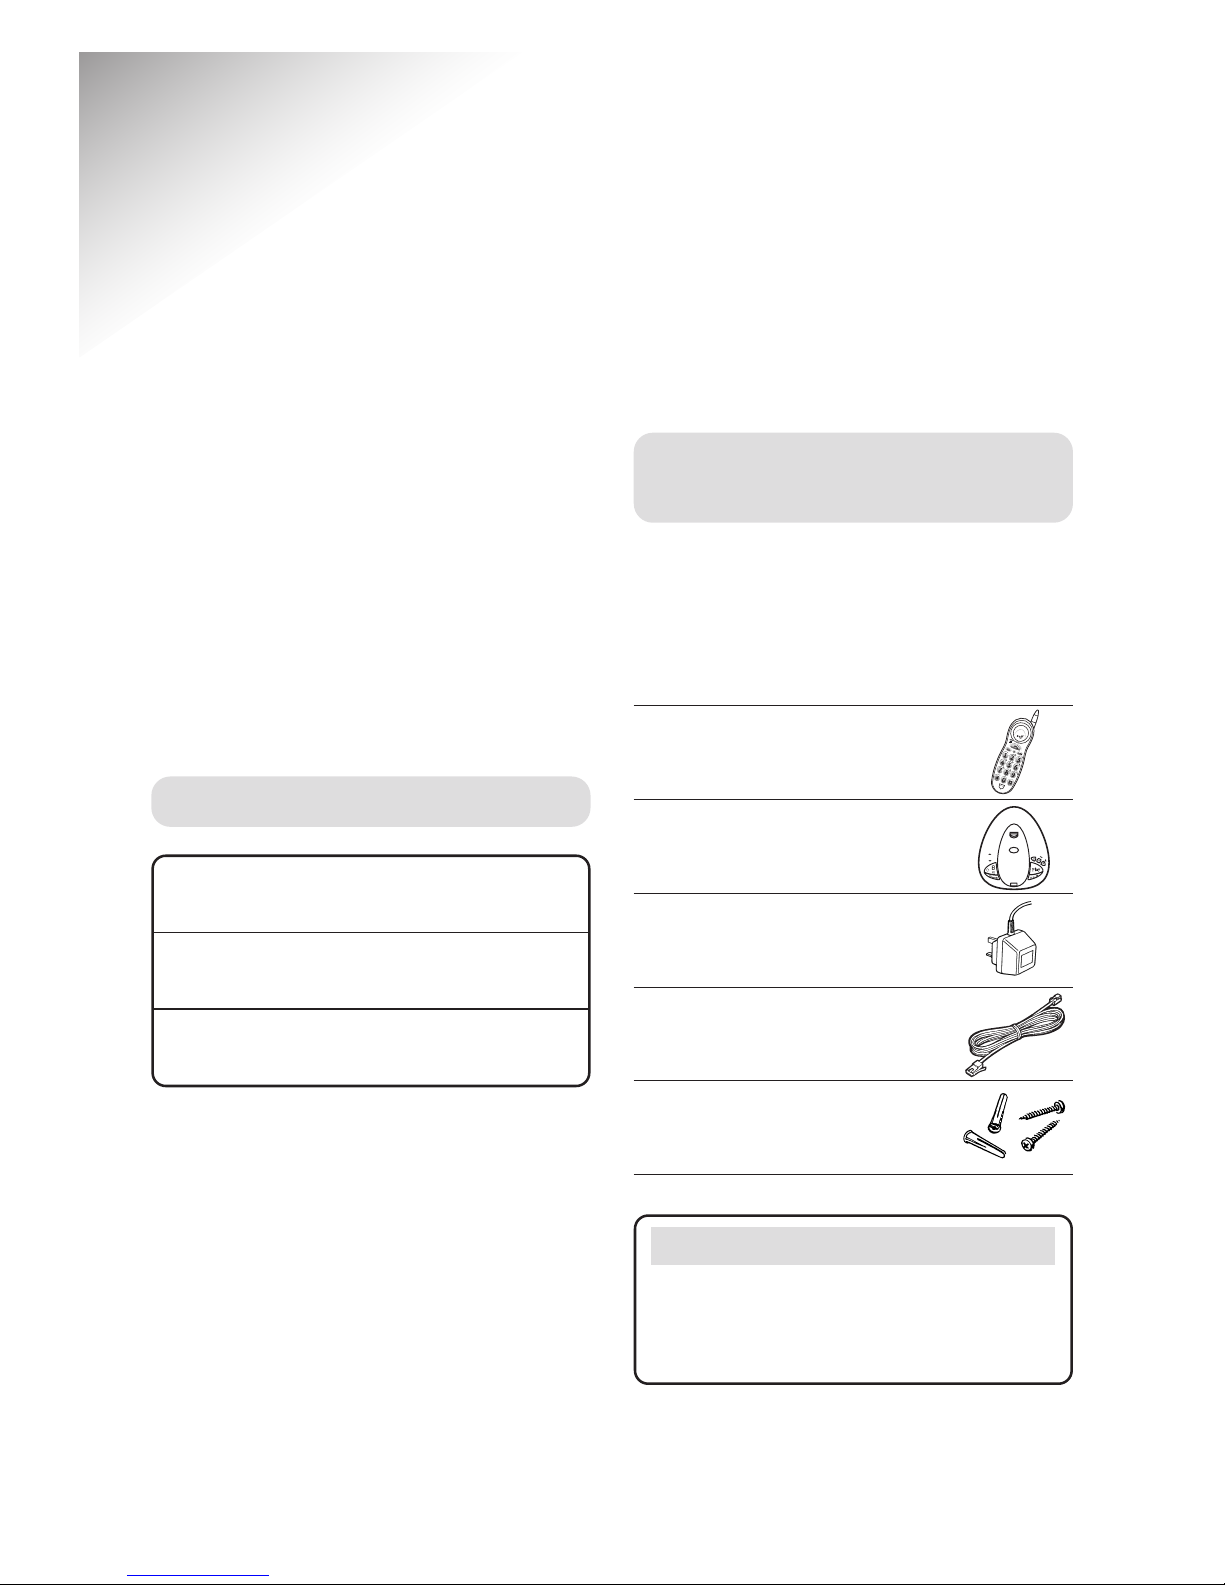
General
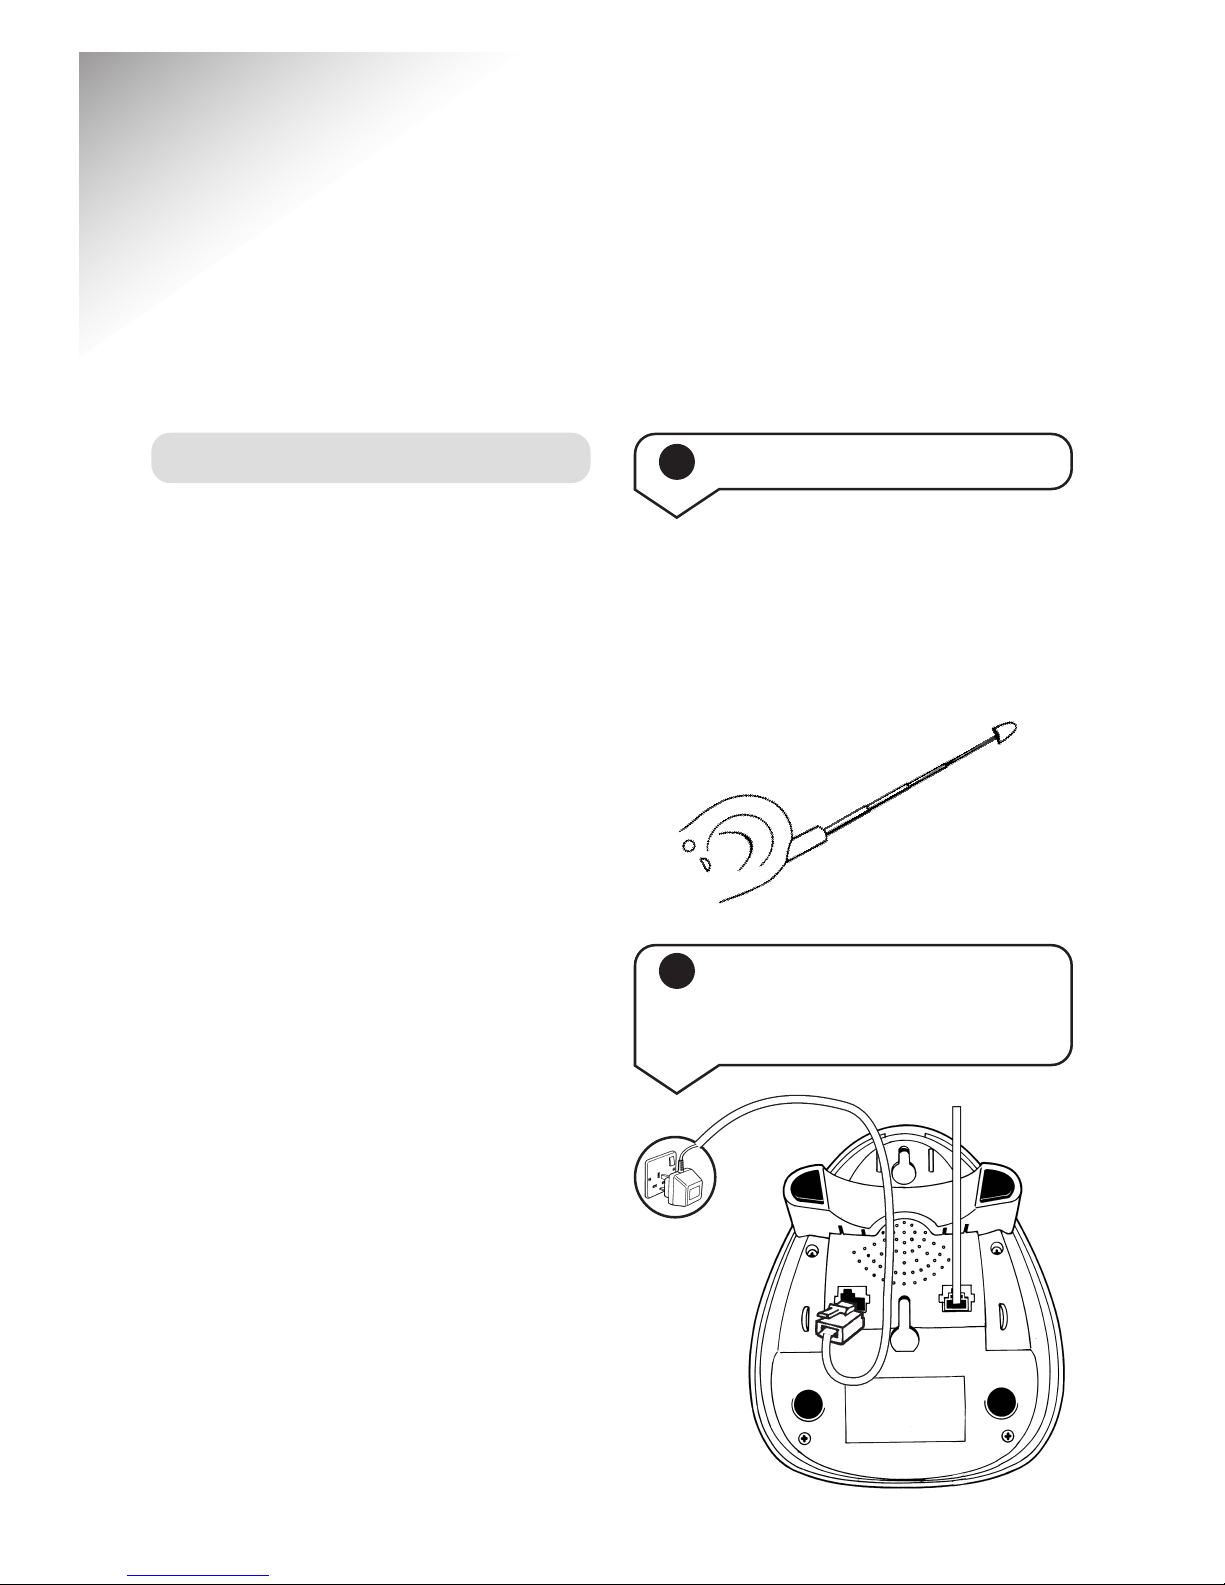
Only use the power supply unit
included with the product. Using an
unauthorised power supply will
invalidate your guarantee and may
damage the telephone. The item
number for the power supply unit
is 872264.
For the handset use only approved
rechargeable battery pack. Under
no circumstances should non-
rechargeable batteries be used.
Using unapproved batteries will
invalidate your guarantee and may
damage the telephone.
Radio signals transmitted between
the handset and base may cause
interference to some hearing aids.
Do not dismantle the handset or
base station. This could expose you
to high voltages or other risks.
Contact the Helpline for repairs.
Never dispose of batteries in a fire.
There is a serious risk of explosion
and/or the release of highly toxic
chemicals.
Cleaning
Simply clean the handset and base
station with a damp (not wet) cloth,
or an antistatic wipe. Never use
household polish as this will damage
the product. Never use a dry cloth
as this may cause a static shock.
Environmental
Do not expose to direct sunlight.
The product may heat up when
the batteries are being recharged.
This is normal. However, to avoid
damage we recommend that you
do not place the product on
antique/veneered wood.
Do not expose your product to
fire, explosive or other hazardous
conditions.
There is a slight chance that your
phone could be damaged by an
electrical storm. We recommend
that you unplug the power and
telephone line cord for the
duration of the storm.