Page | 2
Connect the Air Line and LED Lights
Route the blue air line tubing & LED lighting power supply cord into the base stand from the cut-out
underneath the unit. There is a small notch in the bottom of the base stand for these connections to exit to
the left side
Attach air line tubing to the blue valve coming from the tank, and the LED power supply plug to the white LED
controller box as shown in Figure 2
Plug in the air pump & LED power supply
Air pump should be on and delivering air to the tank before filling with water
Water Fill
Remove the top cover from the top of tank
Fill to about 1/4 full with distilled water and check for leaks (if leaks are present, be sure to unplug the
power cord and drain the tank immediately). Use care to not spill water down the front or back of your
tank
Fill the tank to about 1 inch from the top, and replace top cover
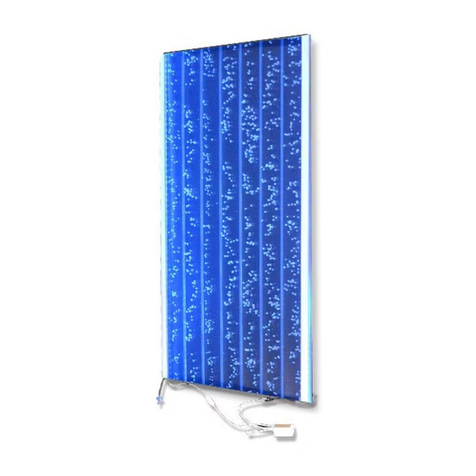
Enjoy the relaxing and memorizing effect of your new bubble wall!
Care and Maintenance
Regular top offs should be performed to maintain water level, keep plastic insert in place to prevent
evaporation
Check airline connections regularly to inspect for leaks or loosening tubes
Wipe down your bubble wall with a damp soft towel to clean, never use abrasive cleaners or glass
cleaners
To drain your tank, following these directions in reverse, disconnect from power and connections, remove
top cover, then tank may be dumped out from the top fill area
If bubble output becomes clogged, drain tank and remove bubble wand tube from tank by pulling the
wand straight out away from the tank. Wand output holes may be cleaned with a tooth brush (do not use
metal brushes, picks, needles etc. as they will damage your bubble wand)
Re-insert the bubble wand by first lubricating with soapy water and sliding back into place
Replacement parts may be purchased on our website at www.bubblewall.com


