Air purifier may be damaged, or a foreign object may be inside.
Stop using the air purifier and please contact us:
yourself.
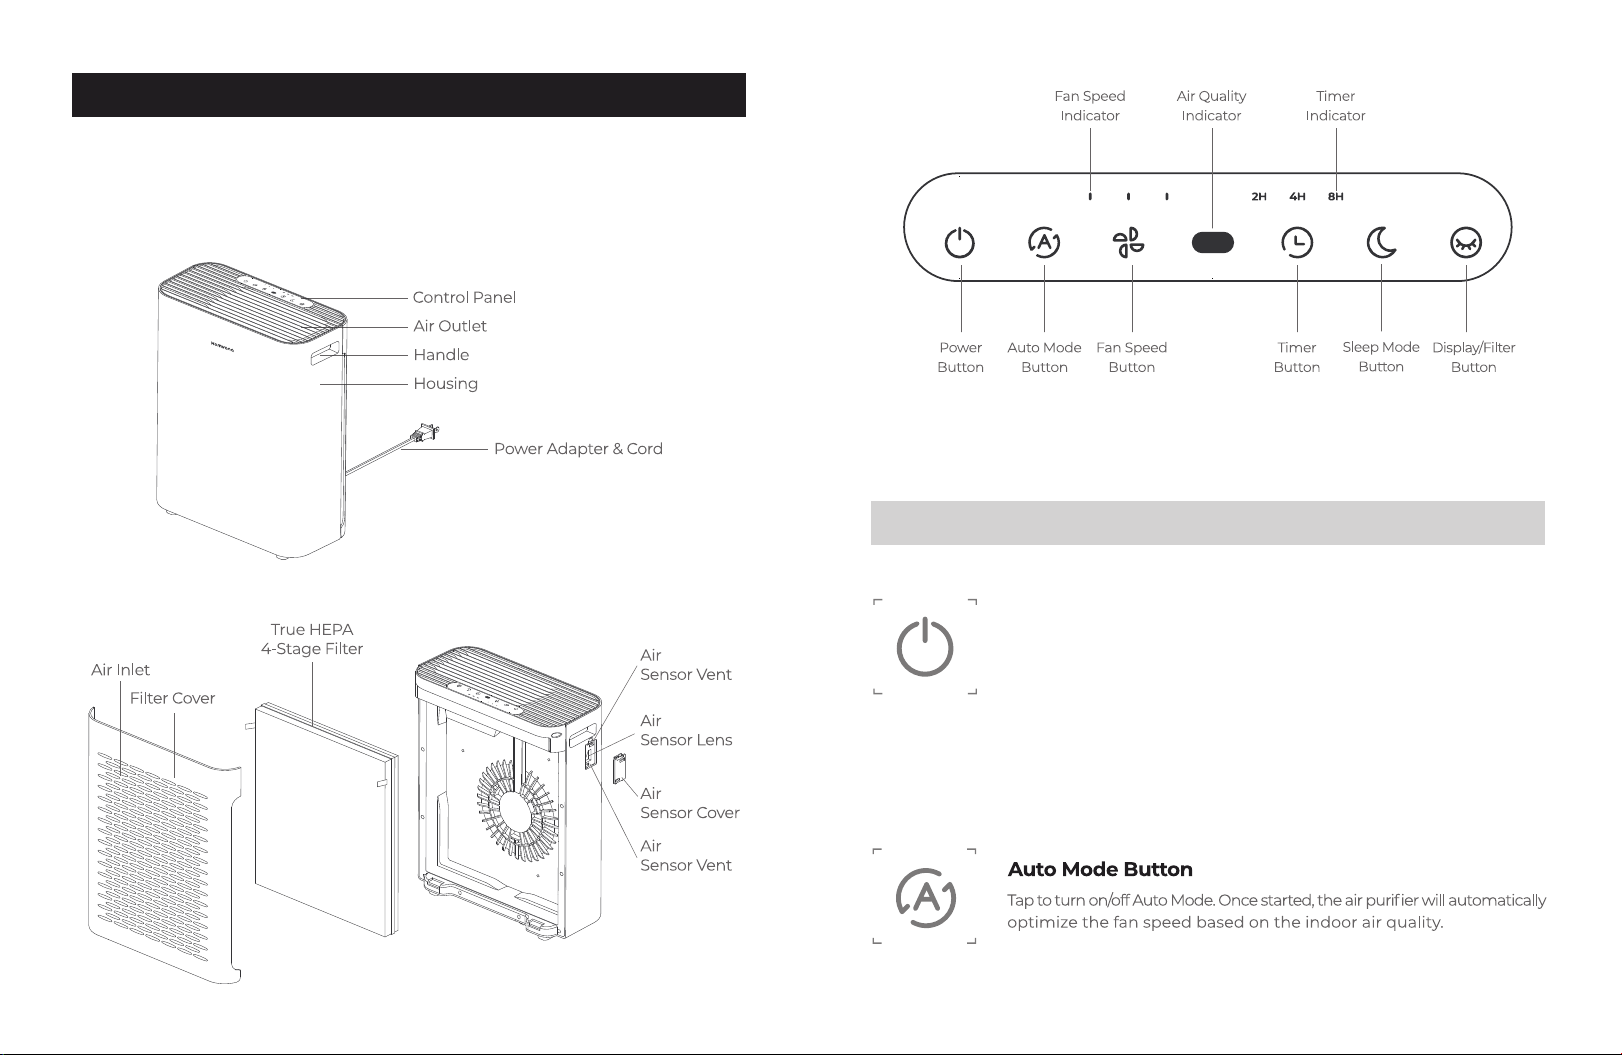
Make sure the air purifier is operating on a flat, even surface.
Clean the filter or replace it if necessary (see Cleaning
& Maintenance, page 9).
Air purifier
makes an
unusual noise
when the fan
is on.
Airflow is
significantly
reduced.
Make sure the filter is properly in place with plastic packaging
removed.
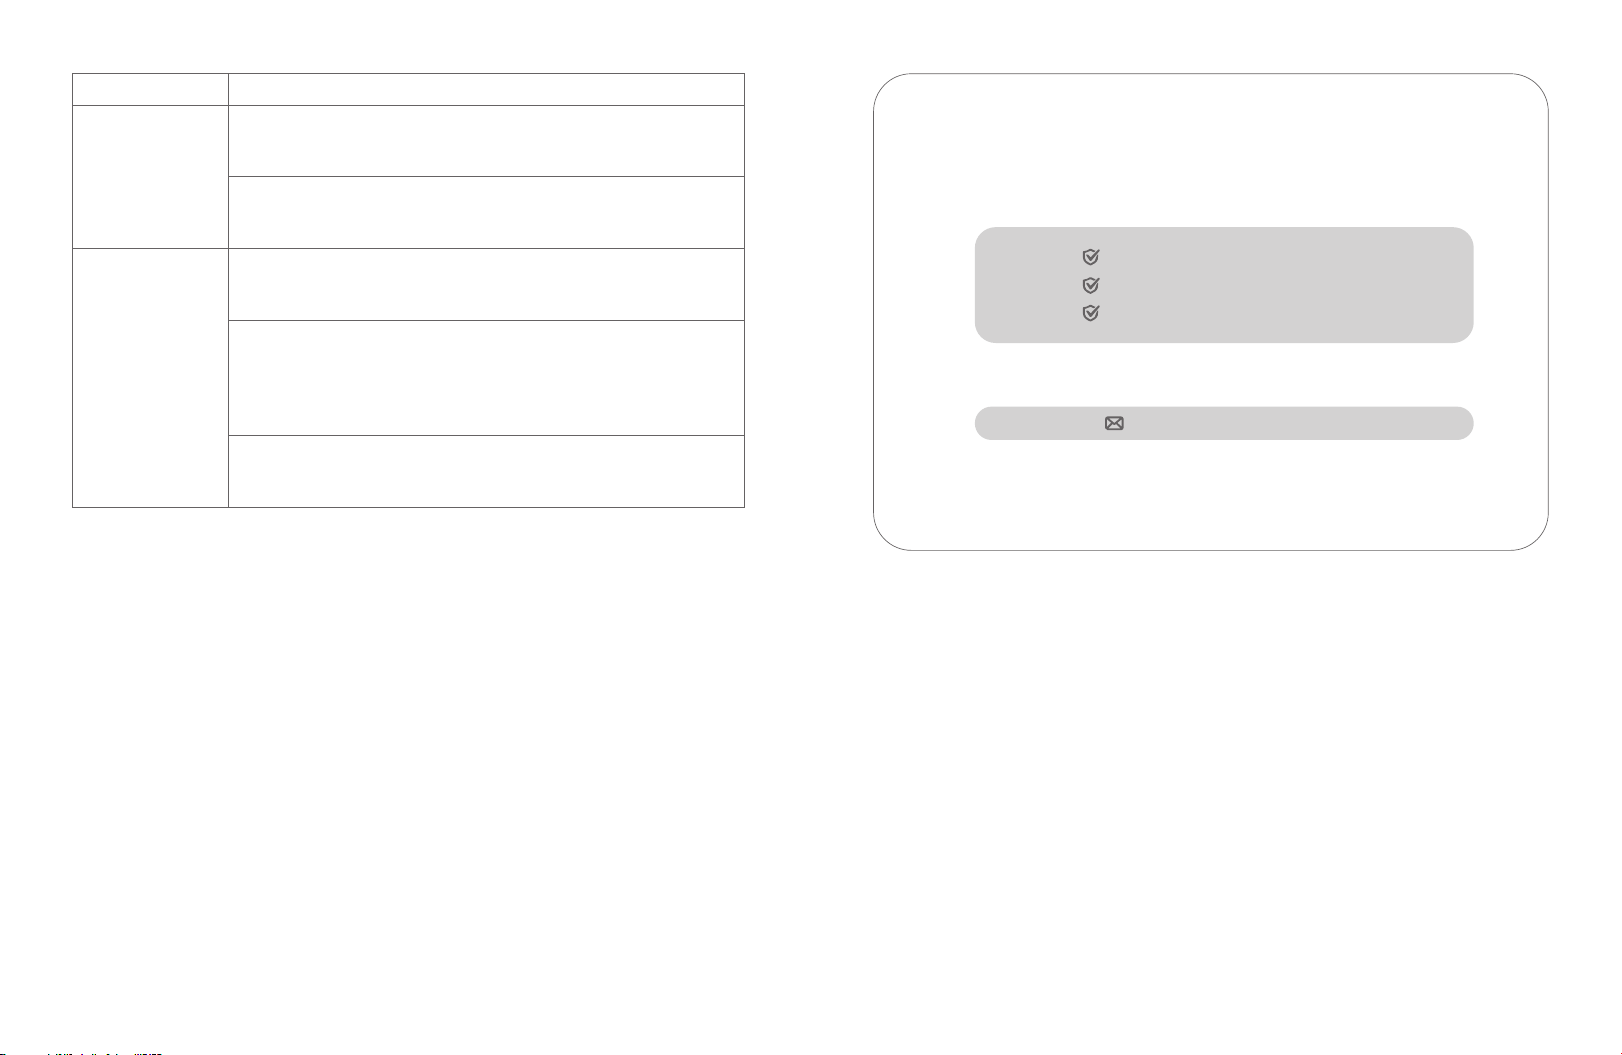
Problem Possible Solutions
Problem Possible Solutions
Air purifier will
not turn on or
respond to
button controls.
Plug in the air purifier.
Plug the air purifier into a different outlet.
Air purifier may be malfunctioning. Please contact us:
Troubleshooting
Poor air
purification
quality. If the room is larger than 375ft²/ 35m², air purification will take
longer. The air purifier may not be as effective in significantly
larger rooms.
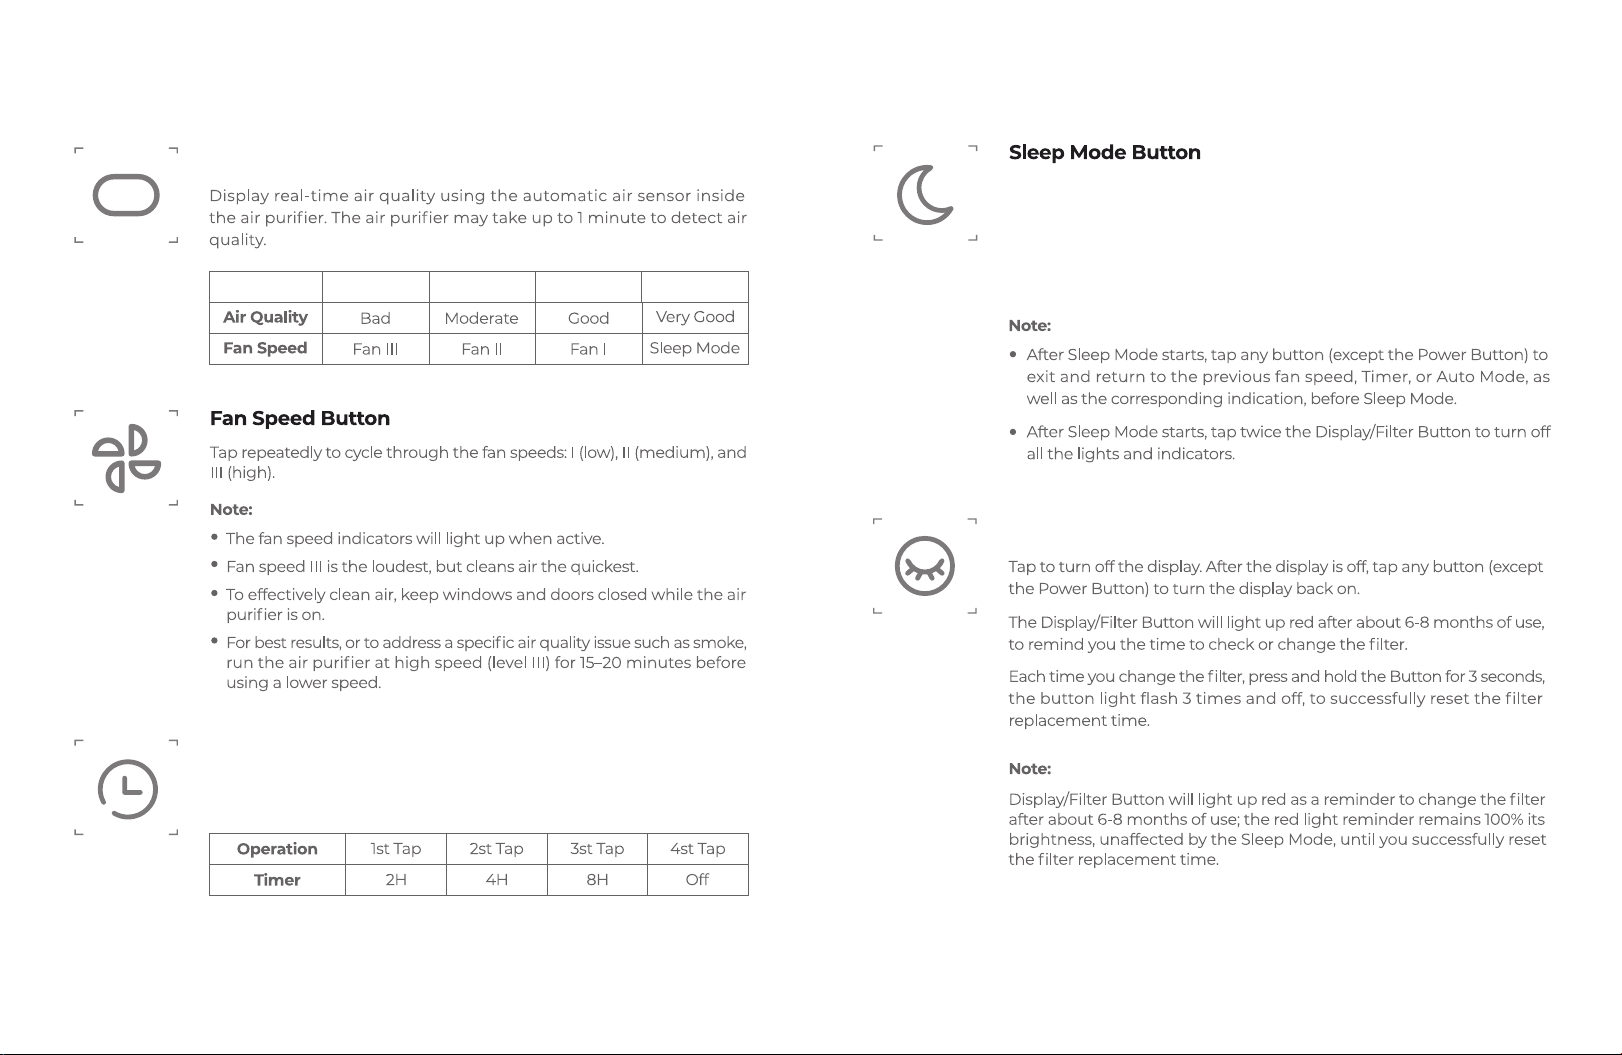
Tap to increase the fan speed.
Make sure the filter’s plastic packaging is removed.
Tap to increase the fan speed.
The washable pre-filter may be clogged by large particles, such
as hair or lint, blocking air flow. Clean the Pre-Filter (see Cleaning
& Maintenance, page 9)
Clean the filter or replace it if necessary
(see Cleaning & Maintenance, page 9).
Leave at least 15 in / 38 cm of clearance on all sides of the air purifier.
Close doors and windows while running the air purifier.
Clean the air sensor (see Clean the Air Sensor Lens, page 10).
Clean the filter or replace it if necessary
(see Cleaning & Maintenance, page 9)
Make sure no objects are blocking the top or sides of the
air purifier for proper airflow.
Make sure the filter is removed from its plastic packaging
and properly in place.
11 12
If not using the air purifier for an extended period of time, wrap both the air
purifier and the filter in plastic packaging and store in a dry place to avoid
moisture damage.
Storage
Note:
Depending on how often you use the air purifier, the Display/Filter Button light
should turn on after about 6-8 months of use, reminding you to change the filter.
To maintain the performance of your air purifier, only use official filters. To buy
replacement filters, visit Homvana’s online store on Amazon.