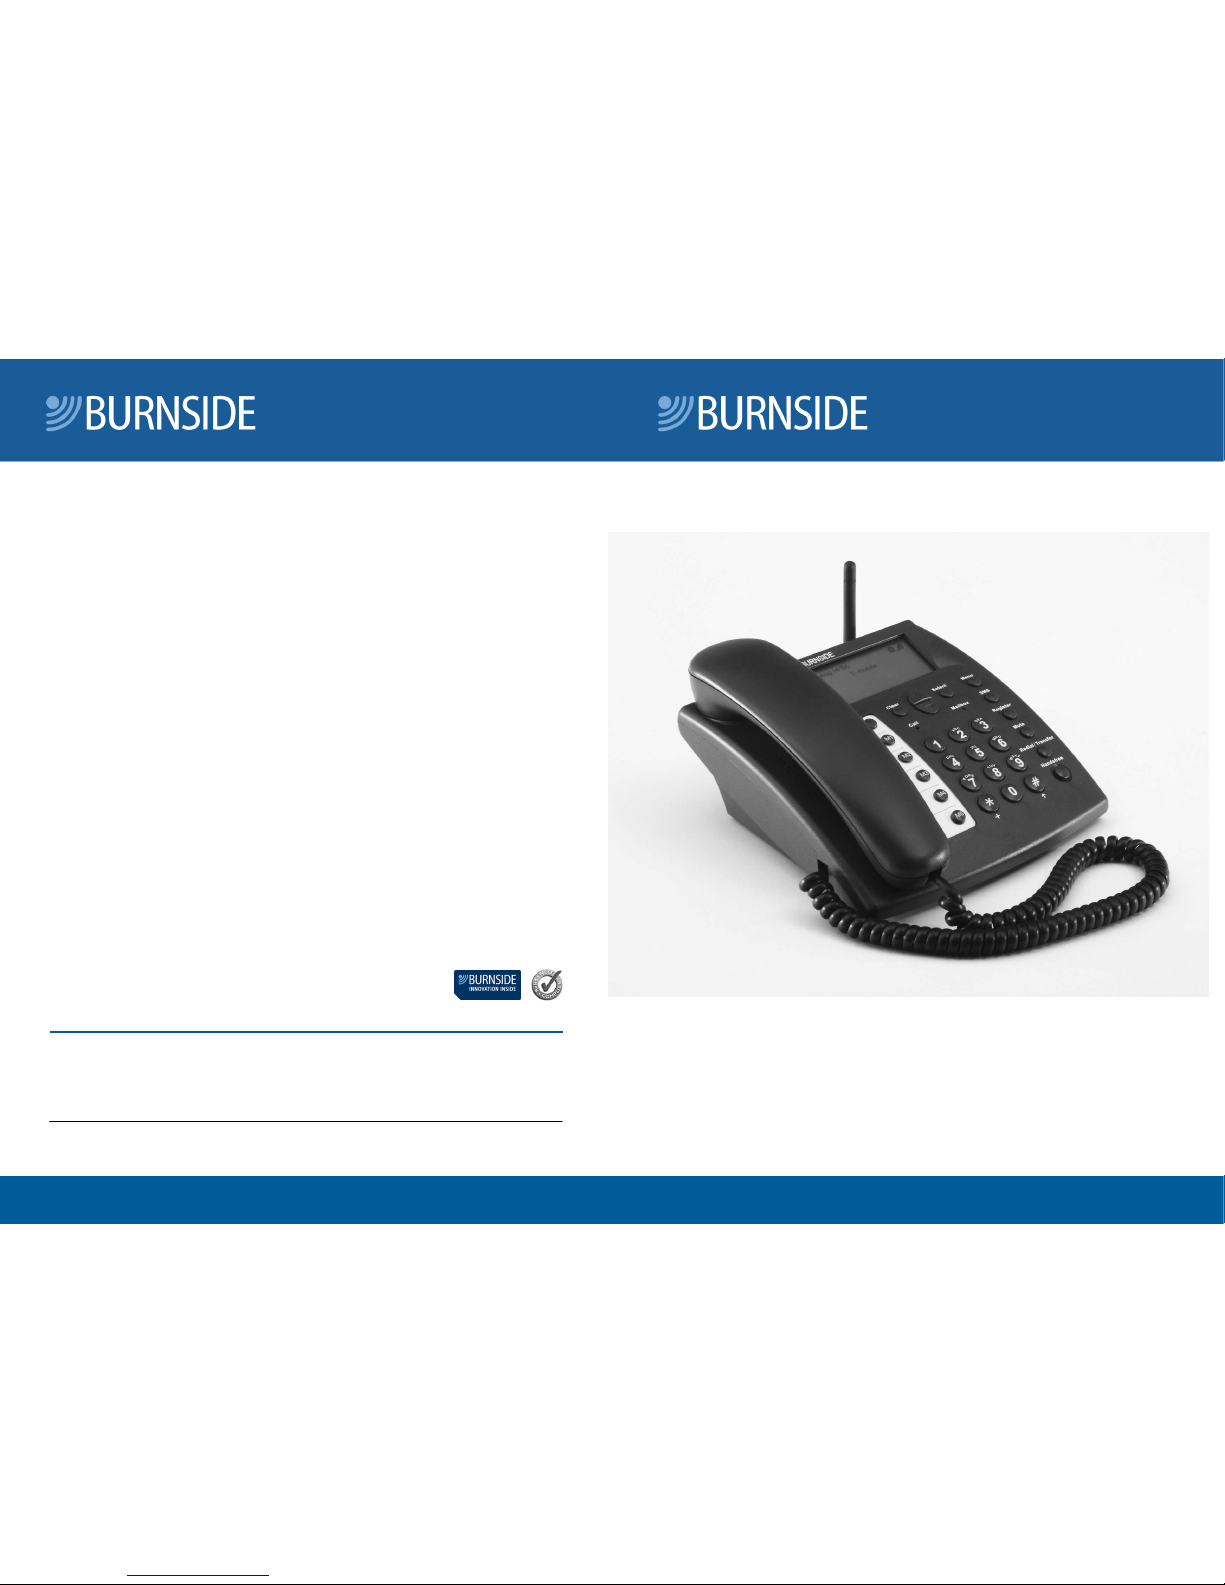
Burnside P355 GSM Phone
Burnside P355 GSM PhoneBurnside P355 GSM Phone
Burnside P355 GSM Phone
QuickStart Guide
QuickStart GuideQuickStart Guide
QuickStart Guide
When dialling numbers...
• Remember that this is a mobile phone and ou must enter the full phone
number, including area code, even if the contact is in our area.
• To erase the last entered digit, press and release the Clear
Clear Clear
Clear button.
• To erase all entered digits, press and hold the Clear
Clear Clear
Clear button.
• To enter an international number, press the *
**
* button twice (a +
++
+ s mbol will
be displa ed to represent the international dialling code). Then enter the
countr code (one or more digits) and the remaining number (with the initial
zero of the area code removed). For example:
France (Paris) 01 9876 5432, enter **33198765432
• If ou picked up the handset or pressed the Handsfree
Handsfree Handsfree
Handsfree button before dialling,
the phone will connect the call a short time after the last digit is pressed.
To redial a previously called number
From the standb screen, press the Redial
Redial Redial
Redial button to displa a list of previousl
dialled numbers. Use the arrow ke s to highlight the required number or name,
then press the Select
Select Select
Select button. Either pick up the handset or press the Handsfree
Handsfree Handsfree
Handsfree
button to place the call.
To make a call using your phonebook
From the standb screen, press the Names
Names Names
Names button adjacent to the lower left
corner of the screen. You can either press the Select
Select Select
Select button to view the first entr
in the phonebook, or press the numeric button that contains the first character of
our required contact (press it repeatedl until the appropriate letter is shown
underlined on the screen) and press the Select
Select Select
Select button to displa the entries that
begin with the chosen character.
Use the arrow ke s to move up or down the list until the required contact is
highlighted, then press the Select
Select Select
Select button. Either pick up the handset or press the
Handsfree
Handsfree Handsfree
Handsfree button to place the call.
To make a call using the calls register
From the standb screen, press the Register
Register Register
Register button. Use the arrow ke s to
highlight the required option -
Missed calls
,
Received calls
or
Dialled numbers
-
and press the Select
Select Select
Select button to displa the chosen list.
Use the arrow ke s to highlight the required number and press the Select
Select Select
Select button.
Either pick up the handset or press the Handsfree
Handsfree Handsfree
Handsfree button to place the call.
To receive incoming calls
When a call is received, our phone will emit the currentl selected ringtone. If the
caller’s number has been declared b the network, it will be shown on the displa .
If the number is stored in our phonebook, the corresponding name of the
contact will also be shown on the displa . To answer the call, either pick up the
handset or press the Handsfree
Handsfree Handsfree
Handsfree button.
Missed calls and voicemail
You can return missed calls via the Register
Register Register
Register button, as described above. The
Burnside P355 Desk Phone does not have a built-in voicemail feature. However,
voicemail is provided as an option b most mobile network providers. Refer to
our network provider for details of how to enable and use voicemail for the SIM
card in our phone.
Tip: For eas access to our voicemail, ou can program our network voicemail number
into one of the speed dial memor buttons - see page 8.
Page 5
Page 5Page 5
Page 5
Page 6
Page 6Page 6
Page 6
Making and receiving calls
Although our phone uses mobile communication technolog , it has been
designed to make standard functions work in the same wa as a high qualit
landline phone, but with the added benefit of man mobile phone features.
Important:
Important: Important:
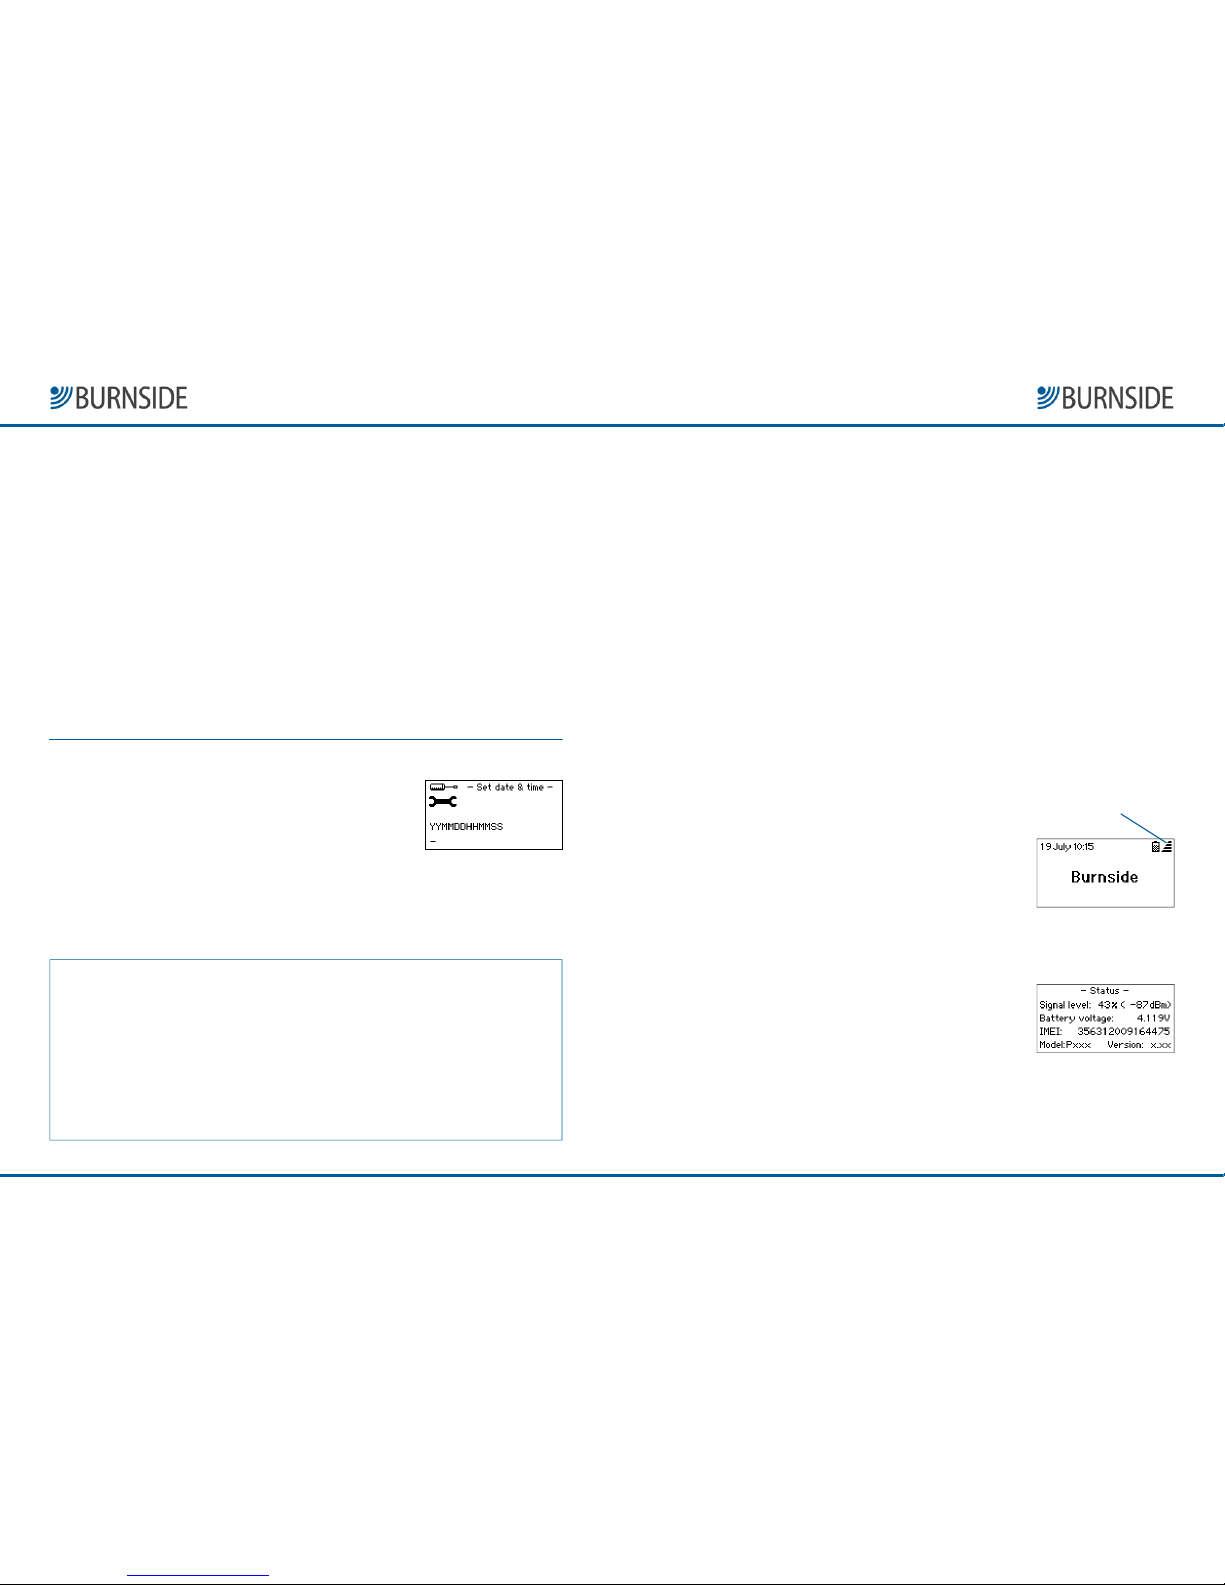
Important: If the status displa shows
Searching...
ou will not be able to successfull
make or receive calls. If this problem persists, make sure the antenna is vertical, and tr
re-positioning the phone elsewhere. There are man factors that can affect network
availabilit and for this reason, the phone should not be considered as a fail-safe resource
for making emergenc calls. Please refer to the Troubleshooting
Troubleshooting Troubleshooting
Troubleshooting section on page 10.
To make a call by dialling
Before making a call, ensure that the standb screen is displa ed. Whether ou are
using the handset or the handsfree speaker, ou can choose to either:
dial first, then pick up the handset (or press the Handsfree
Handsfree Handsfree
Handsfree button)
OR
pick up the handset (or press the Handsfree
Handsfree Handsfree
Handsfree button) and then dial.
You will hear the called number ringing and when it is answered, ou can talk
normall . You can adjust the handset earpiece and handsfree speaker volume
using the arrow ke s. Press the Mute
MuteMute
Mute button if ou wish to mute or un-mute the
call at an time.
To end any call
Either replace the handset or, if ou are using the handsfree speaker, press the
Handsfree
Handsfree Handsfree
Handsfree button.