Awning Fitment Instructions
The Bush Company www.thebushcompany.com 8
Awning Install Instructions v3.0.docx Last Updated: 2023/10/02 05:43:00
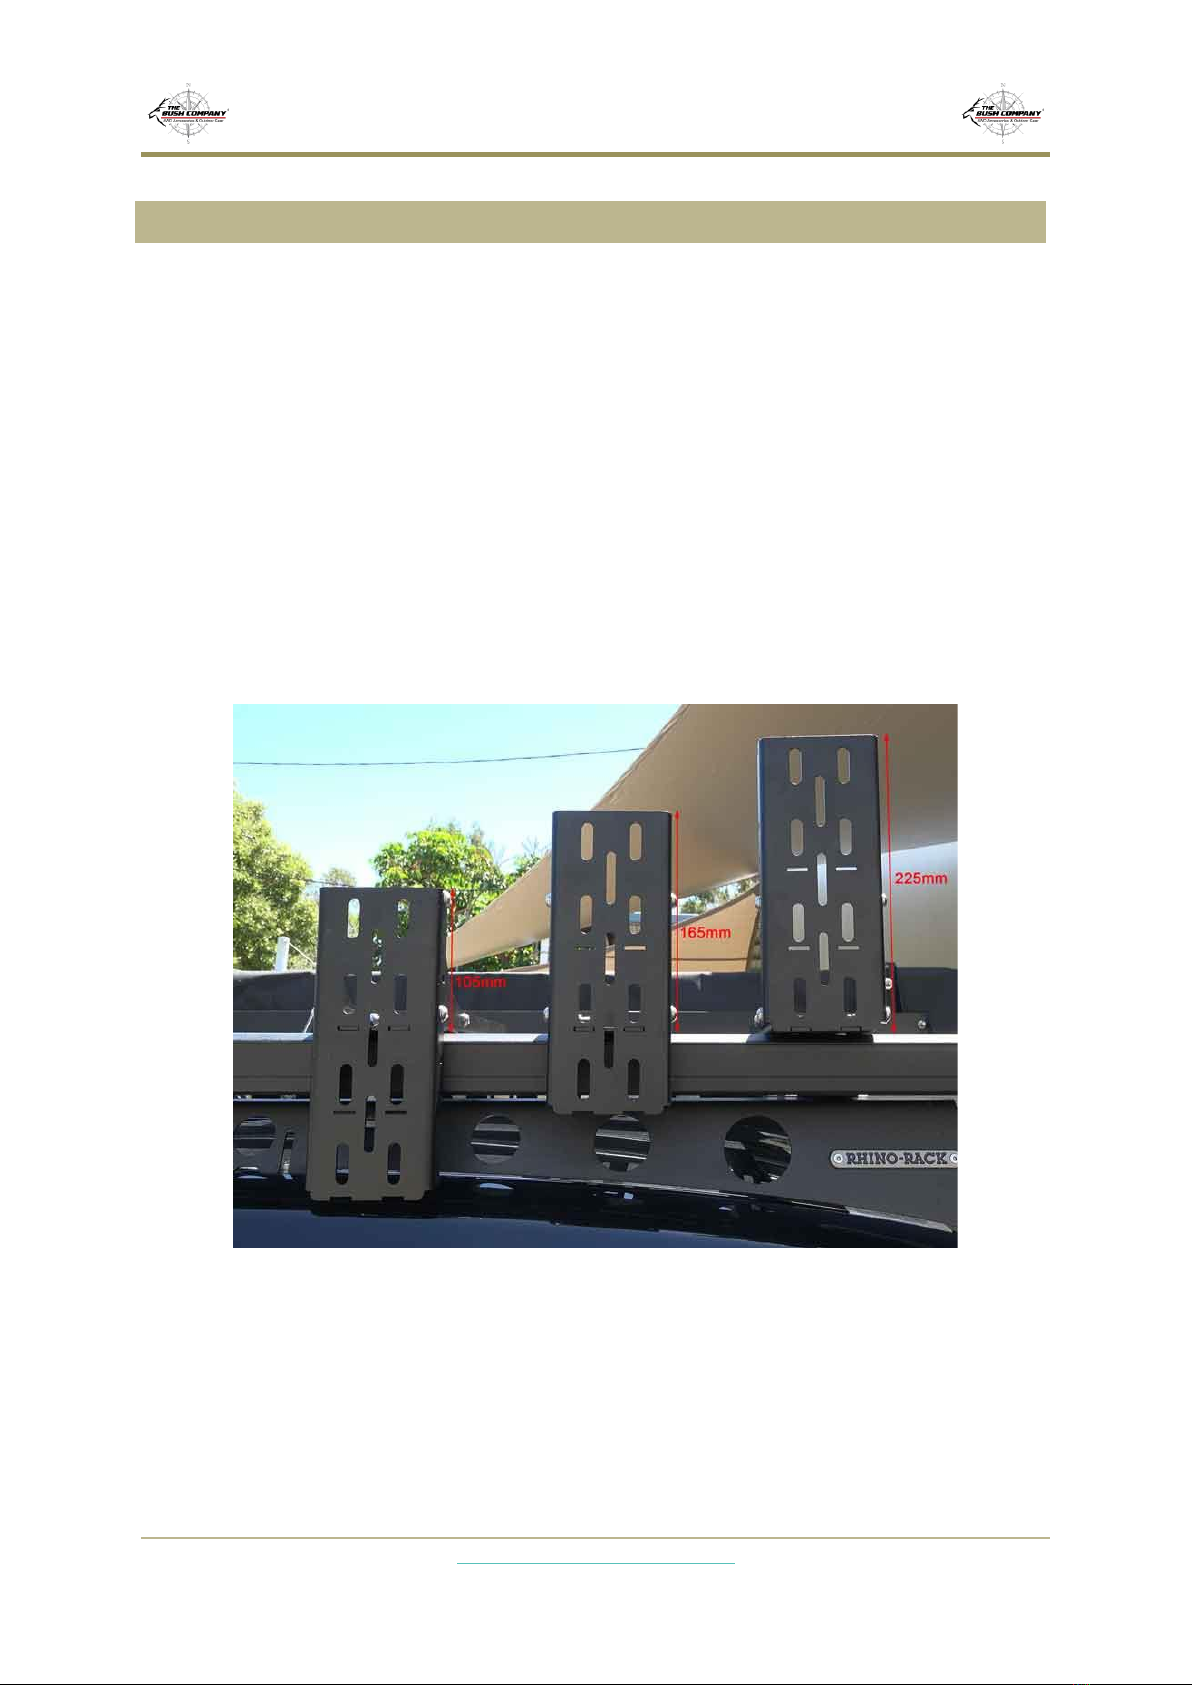
Figure 4
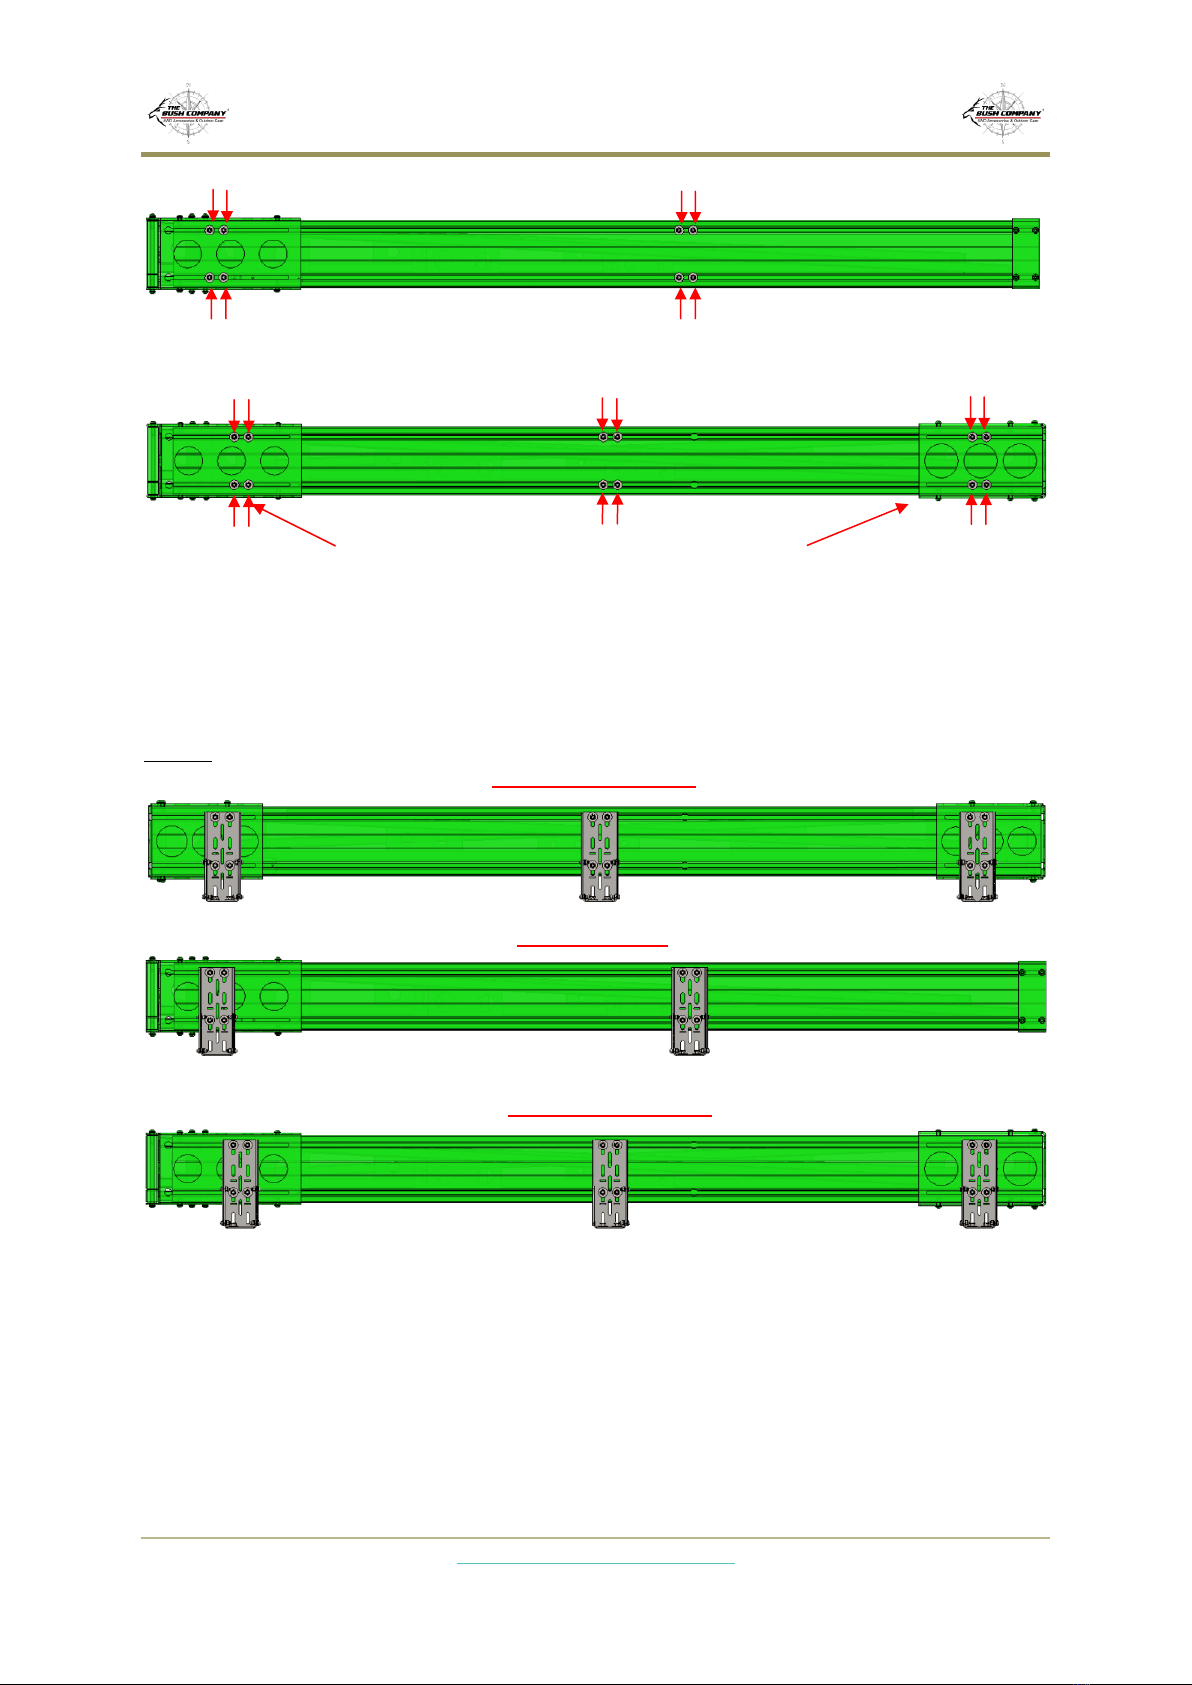
✓Do not over tighten the bolts attaching the brackets to your rack/load bars, to allow for fine
adjustment when aligning the bolts of the awning into the brackets.
✓Once the brackets are fitted to the vehicle, we recommend ‘test fitting’ the awning to the brackets
on the vehicle at this stage (without the awning bag) to ensure that the bolts are in the correct
position in the awning frame. Hold the awning in place by fitting some of the nuts on the rear of
the brackets. Open out the awning to confirm that it is in the correct position and that when open
it is clear of any obstructions such as tailgates etc.
✓Lift the awning back down from the vehicle and place the awning into the awning bag with the
bolts facing upwards and center the awning within the bag, making sure that the logo on the bag
is facing outwards and the zipper is on the bottom side of the awning.
✓Make an incision on the bag on top of each bolt. Ensure to make a small incision to still have to
force the bag over the bolts. This is a critical step, so make sure that the bolts have not moved in
the channels of the awning before cutting the awning bag.
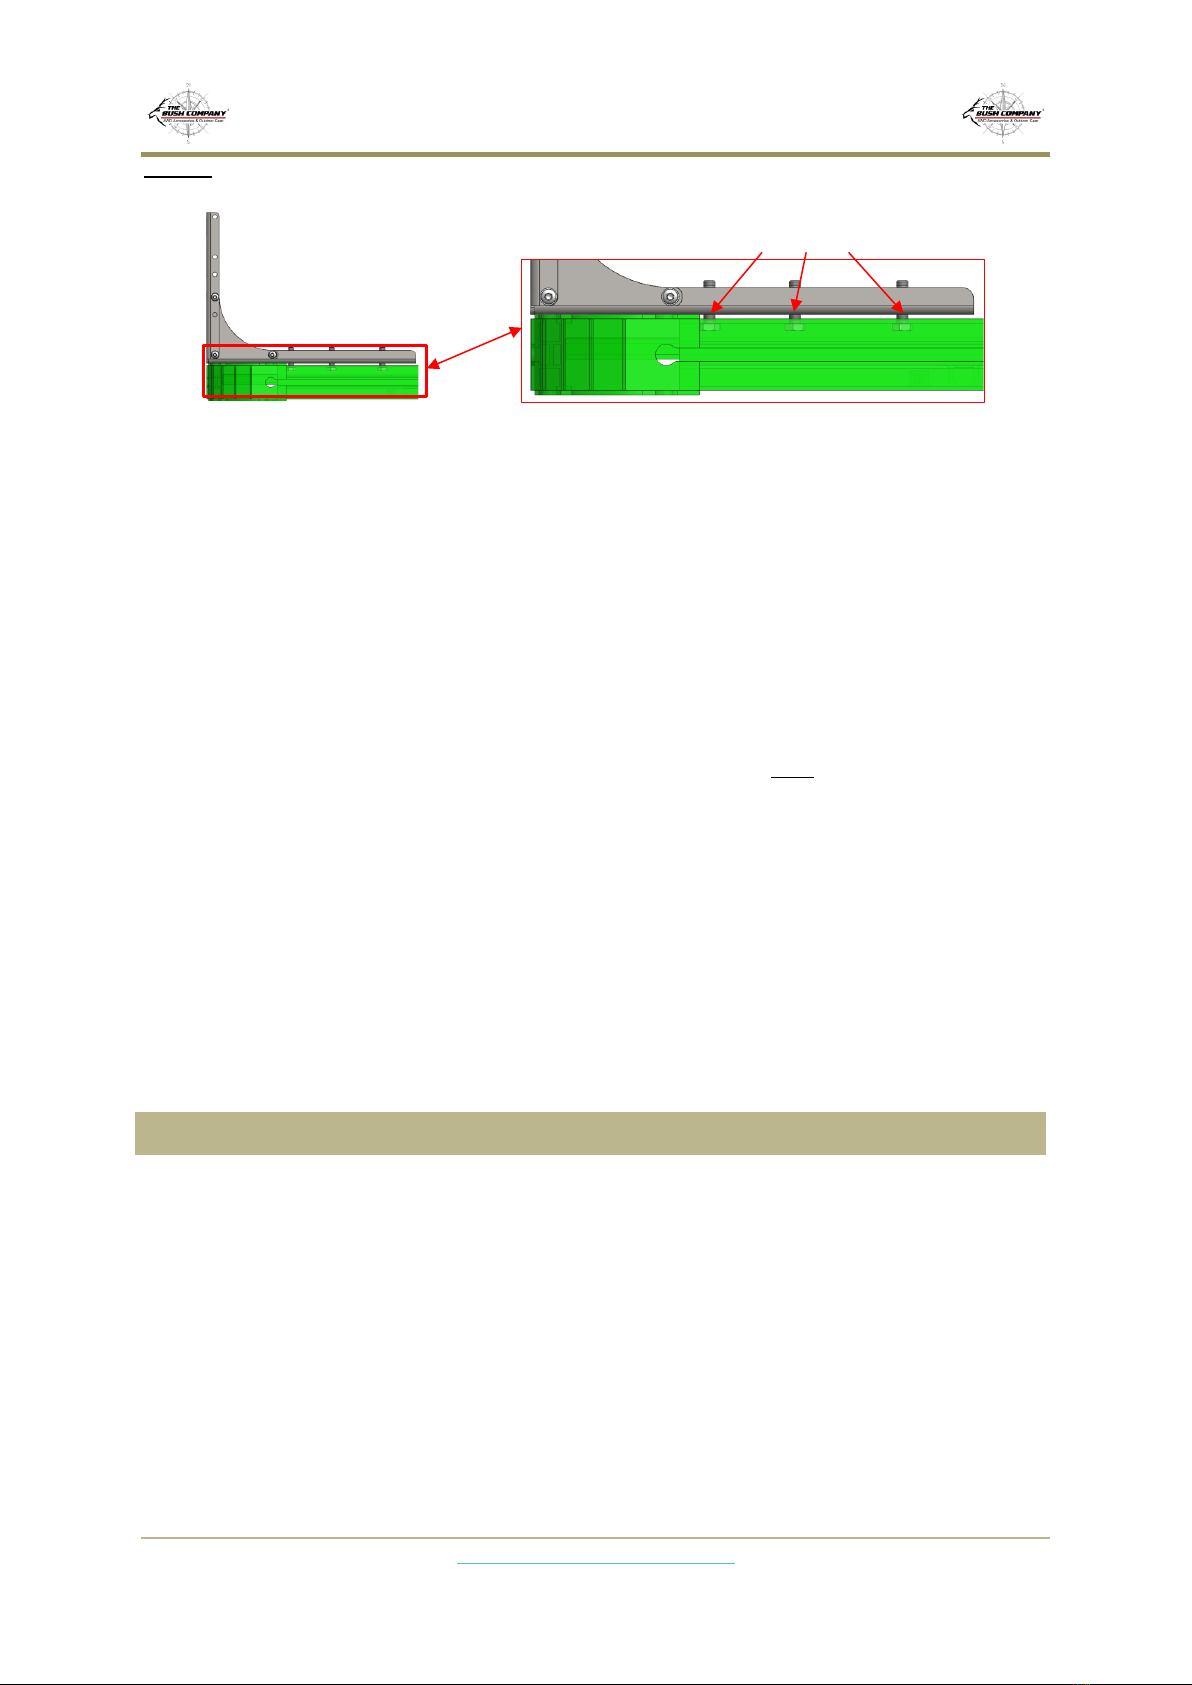
✓Load the awning (now in the bag) back onto the fitment brackets on the vehicle by aligning the
bolts in the awning to the relevant holes in the fitment brackets. Fasten the awning to the brackets
by means of a M8 x 24 washers and lock nut supplied with the bracket sets.
✓Tighten all the fasteners across the fitment brackets.
✓Ensure all the fasteners are properly fastened one last time.
✓Completely erect the awning to ensure there are no obstructions.
✓Enjoy your NEW The Bush Company XT Awning.
3USING & CARING FOR YOUR AWNING
3.1 Before Use:
We recommend that new awnings are thoroughly wet down before first use. This will ensure
that your awning performs well in wet weather by allowing the poly/cotton corespun thread
and canvas to swell ensuring the take up of any potential leaks in the stitching.
3.2 Deploying & Packing Away:
✓When deploying your awning if the canvas seems excessively tight, STOP and check that the
canvas is not caught on the hinge mechanism and that it has not slid too far one way in the sail-
track on the awning frame.